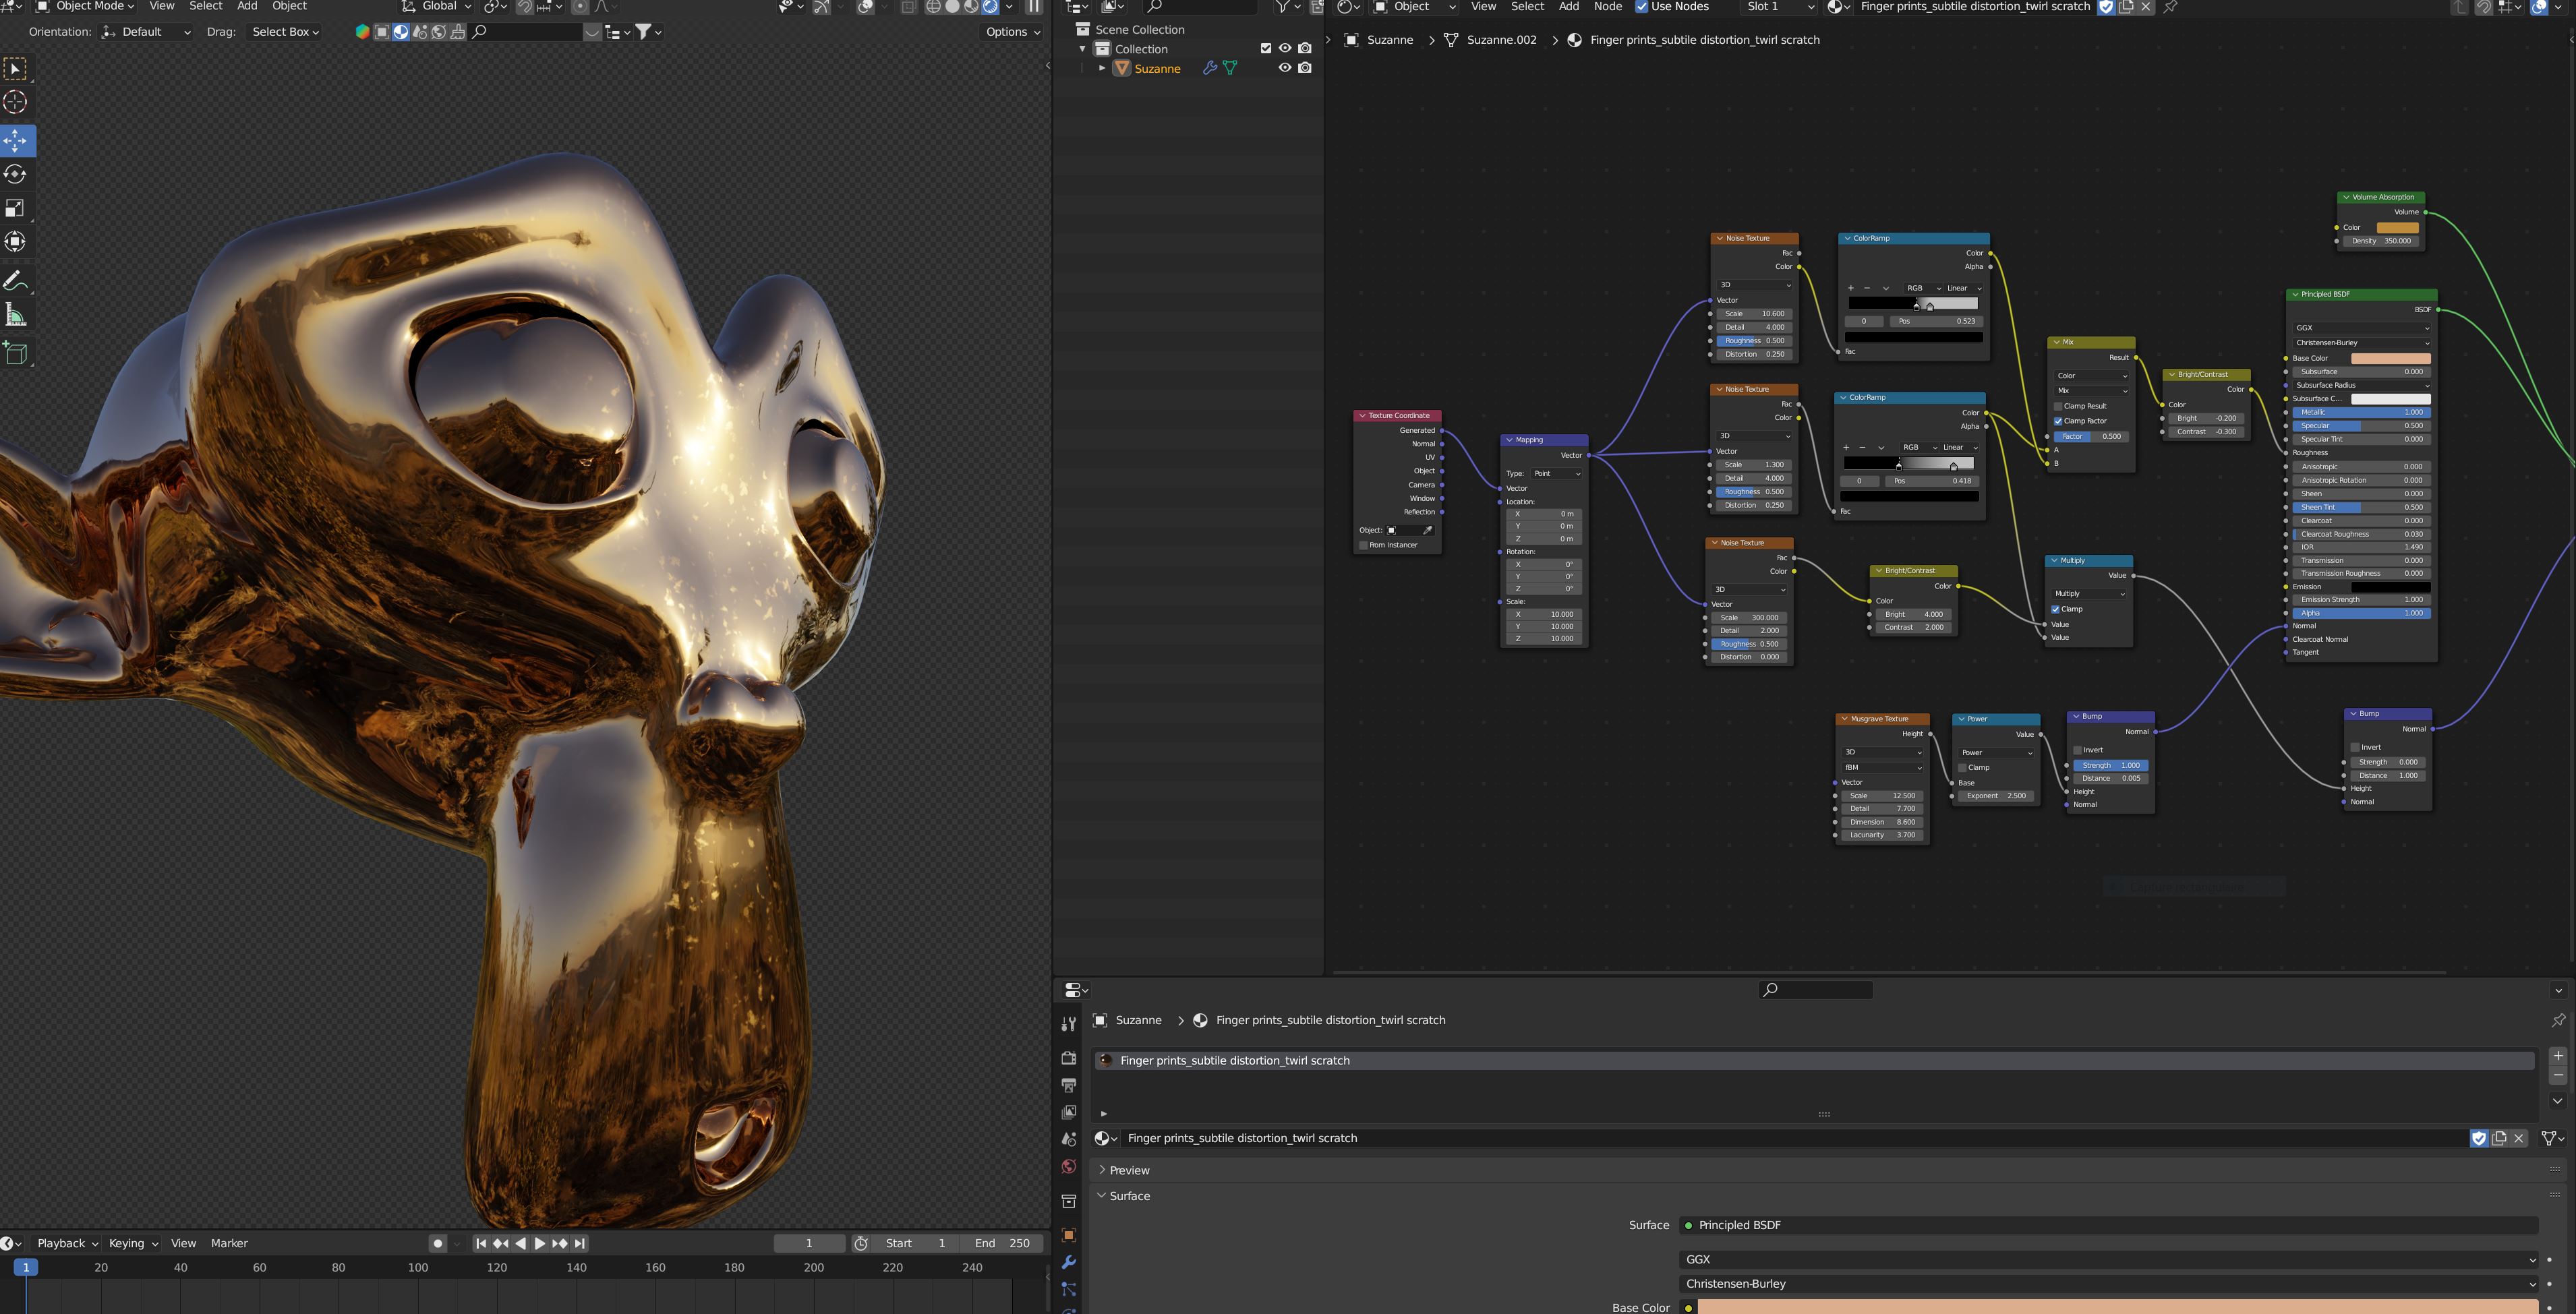
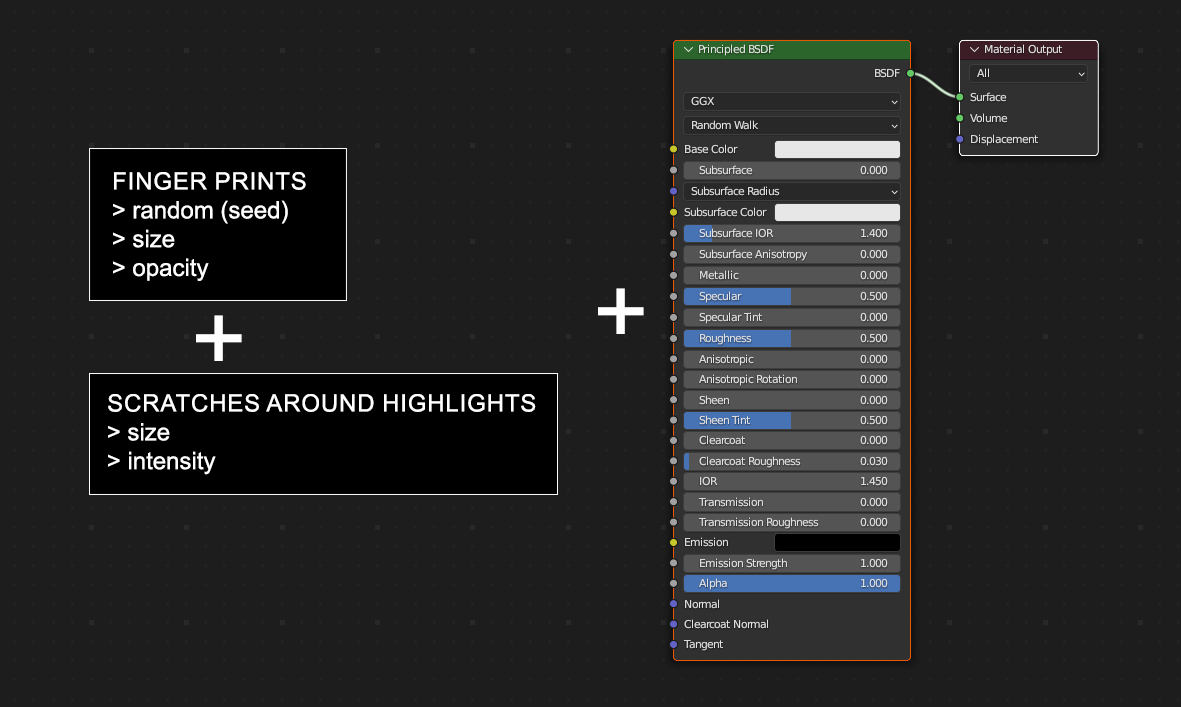
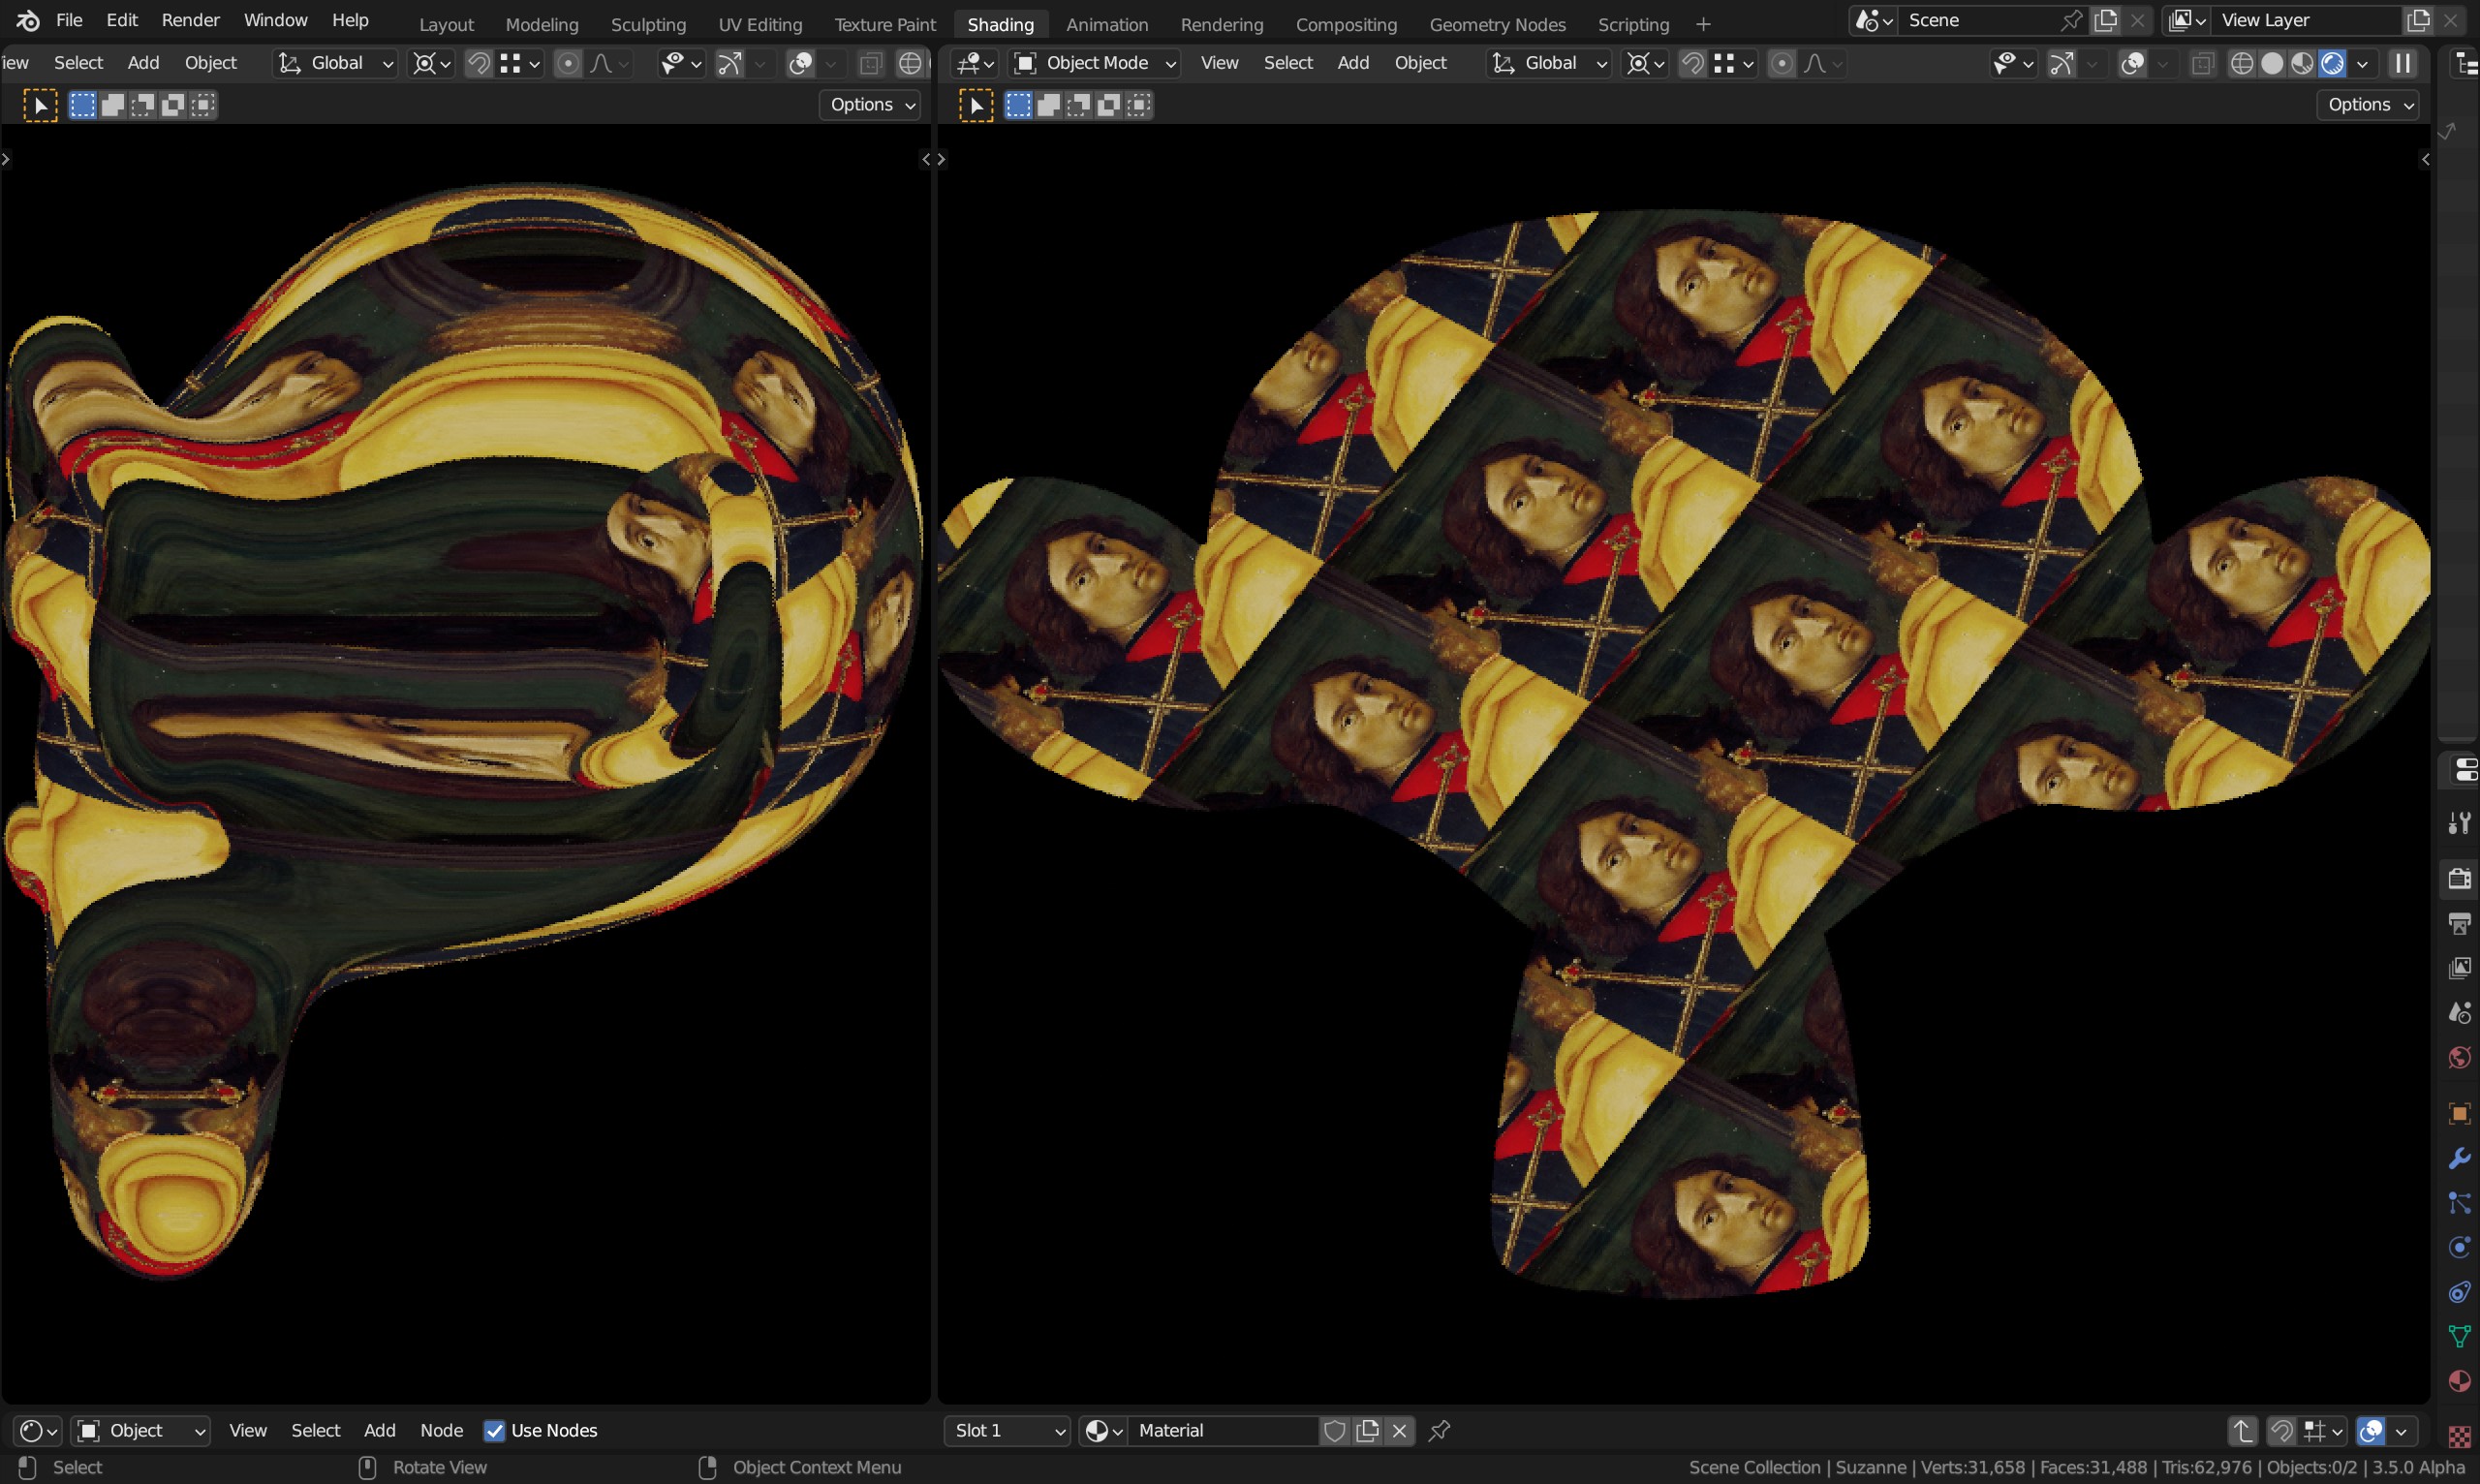
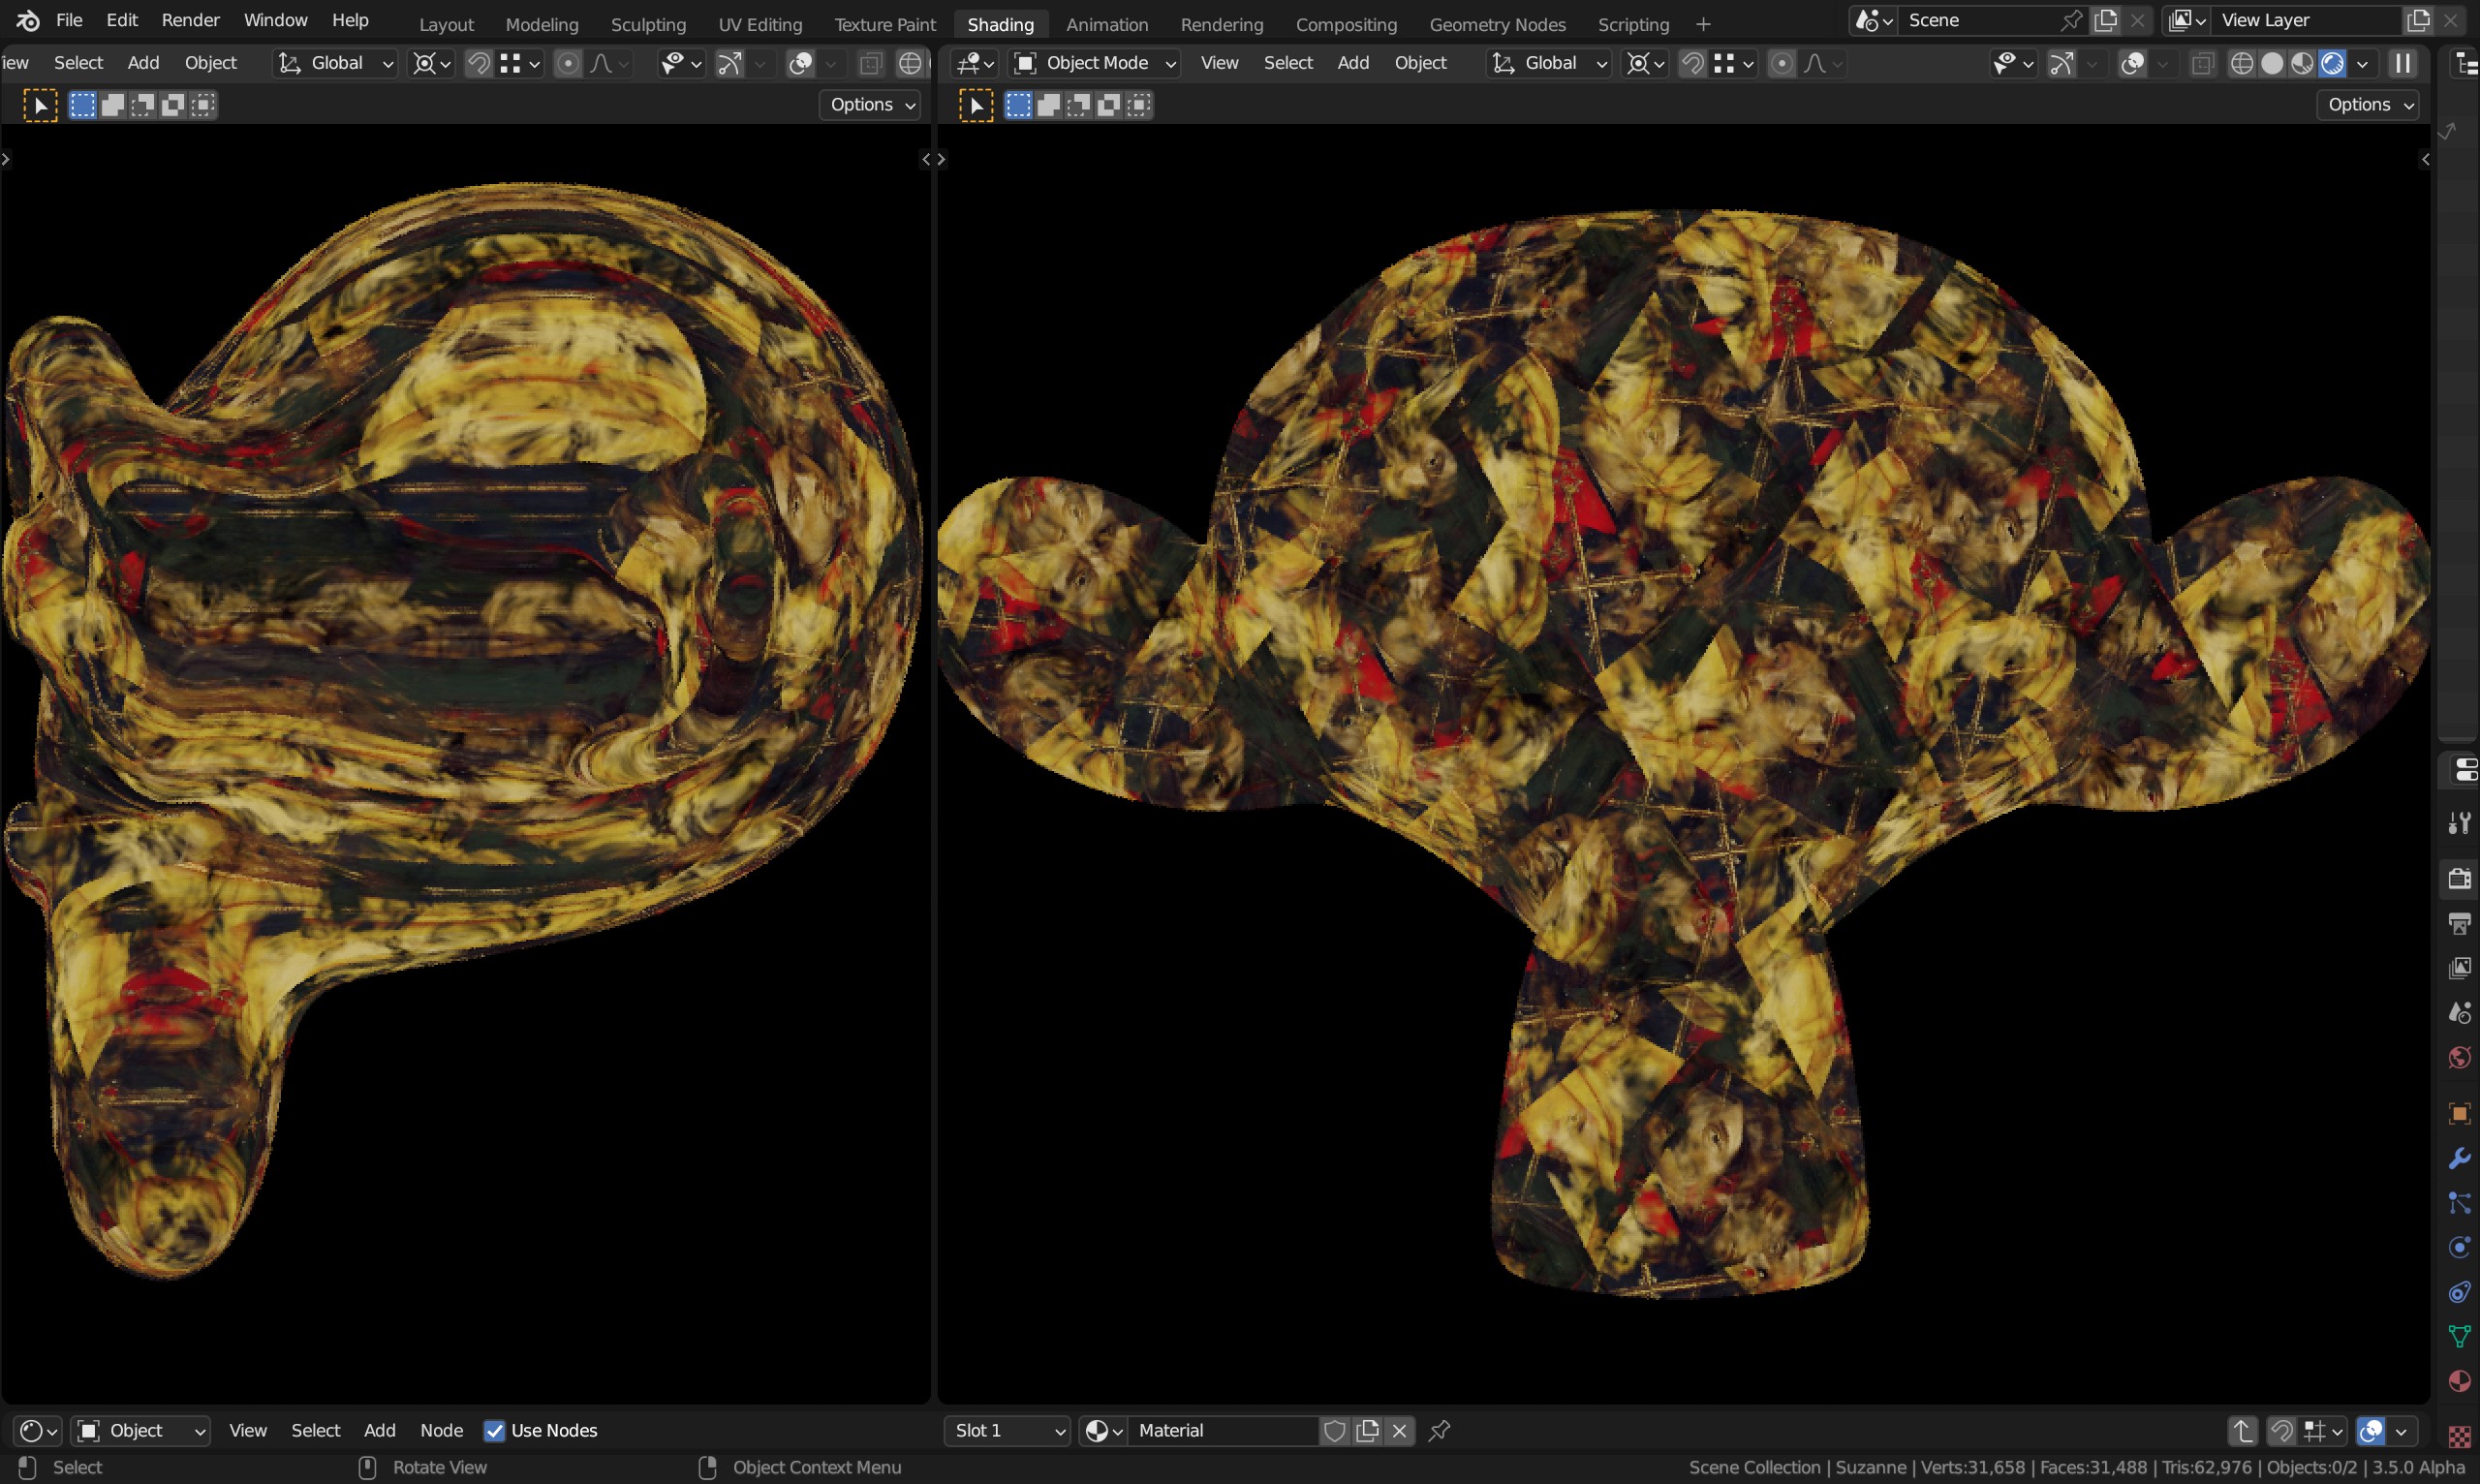
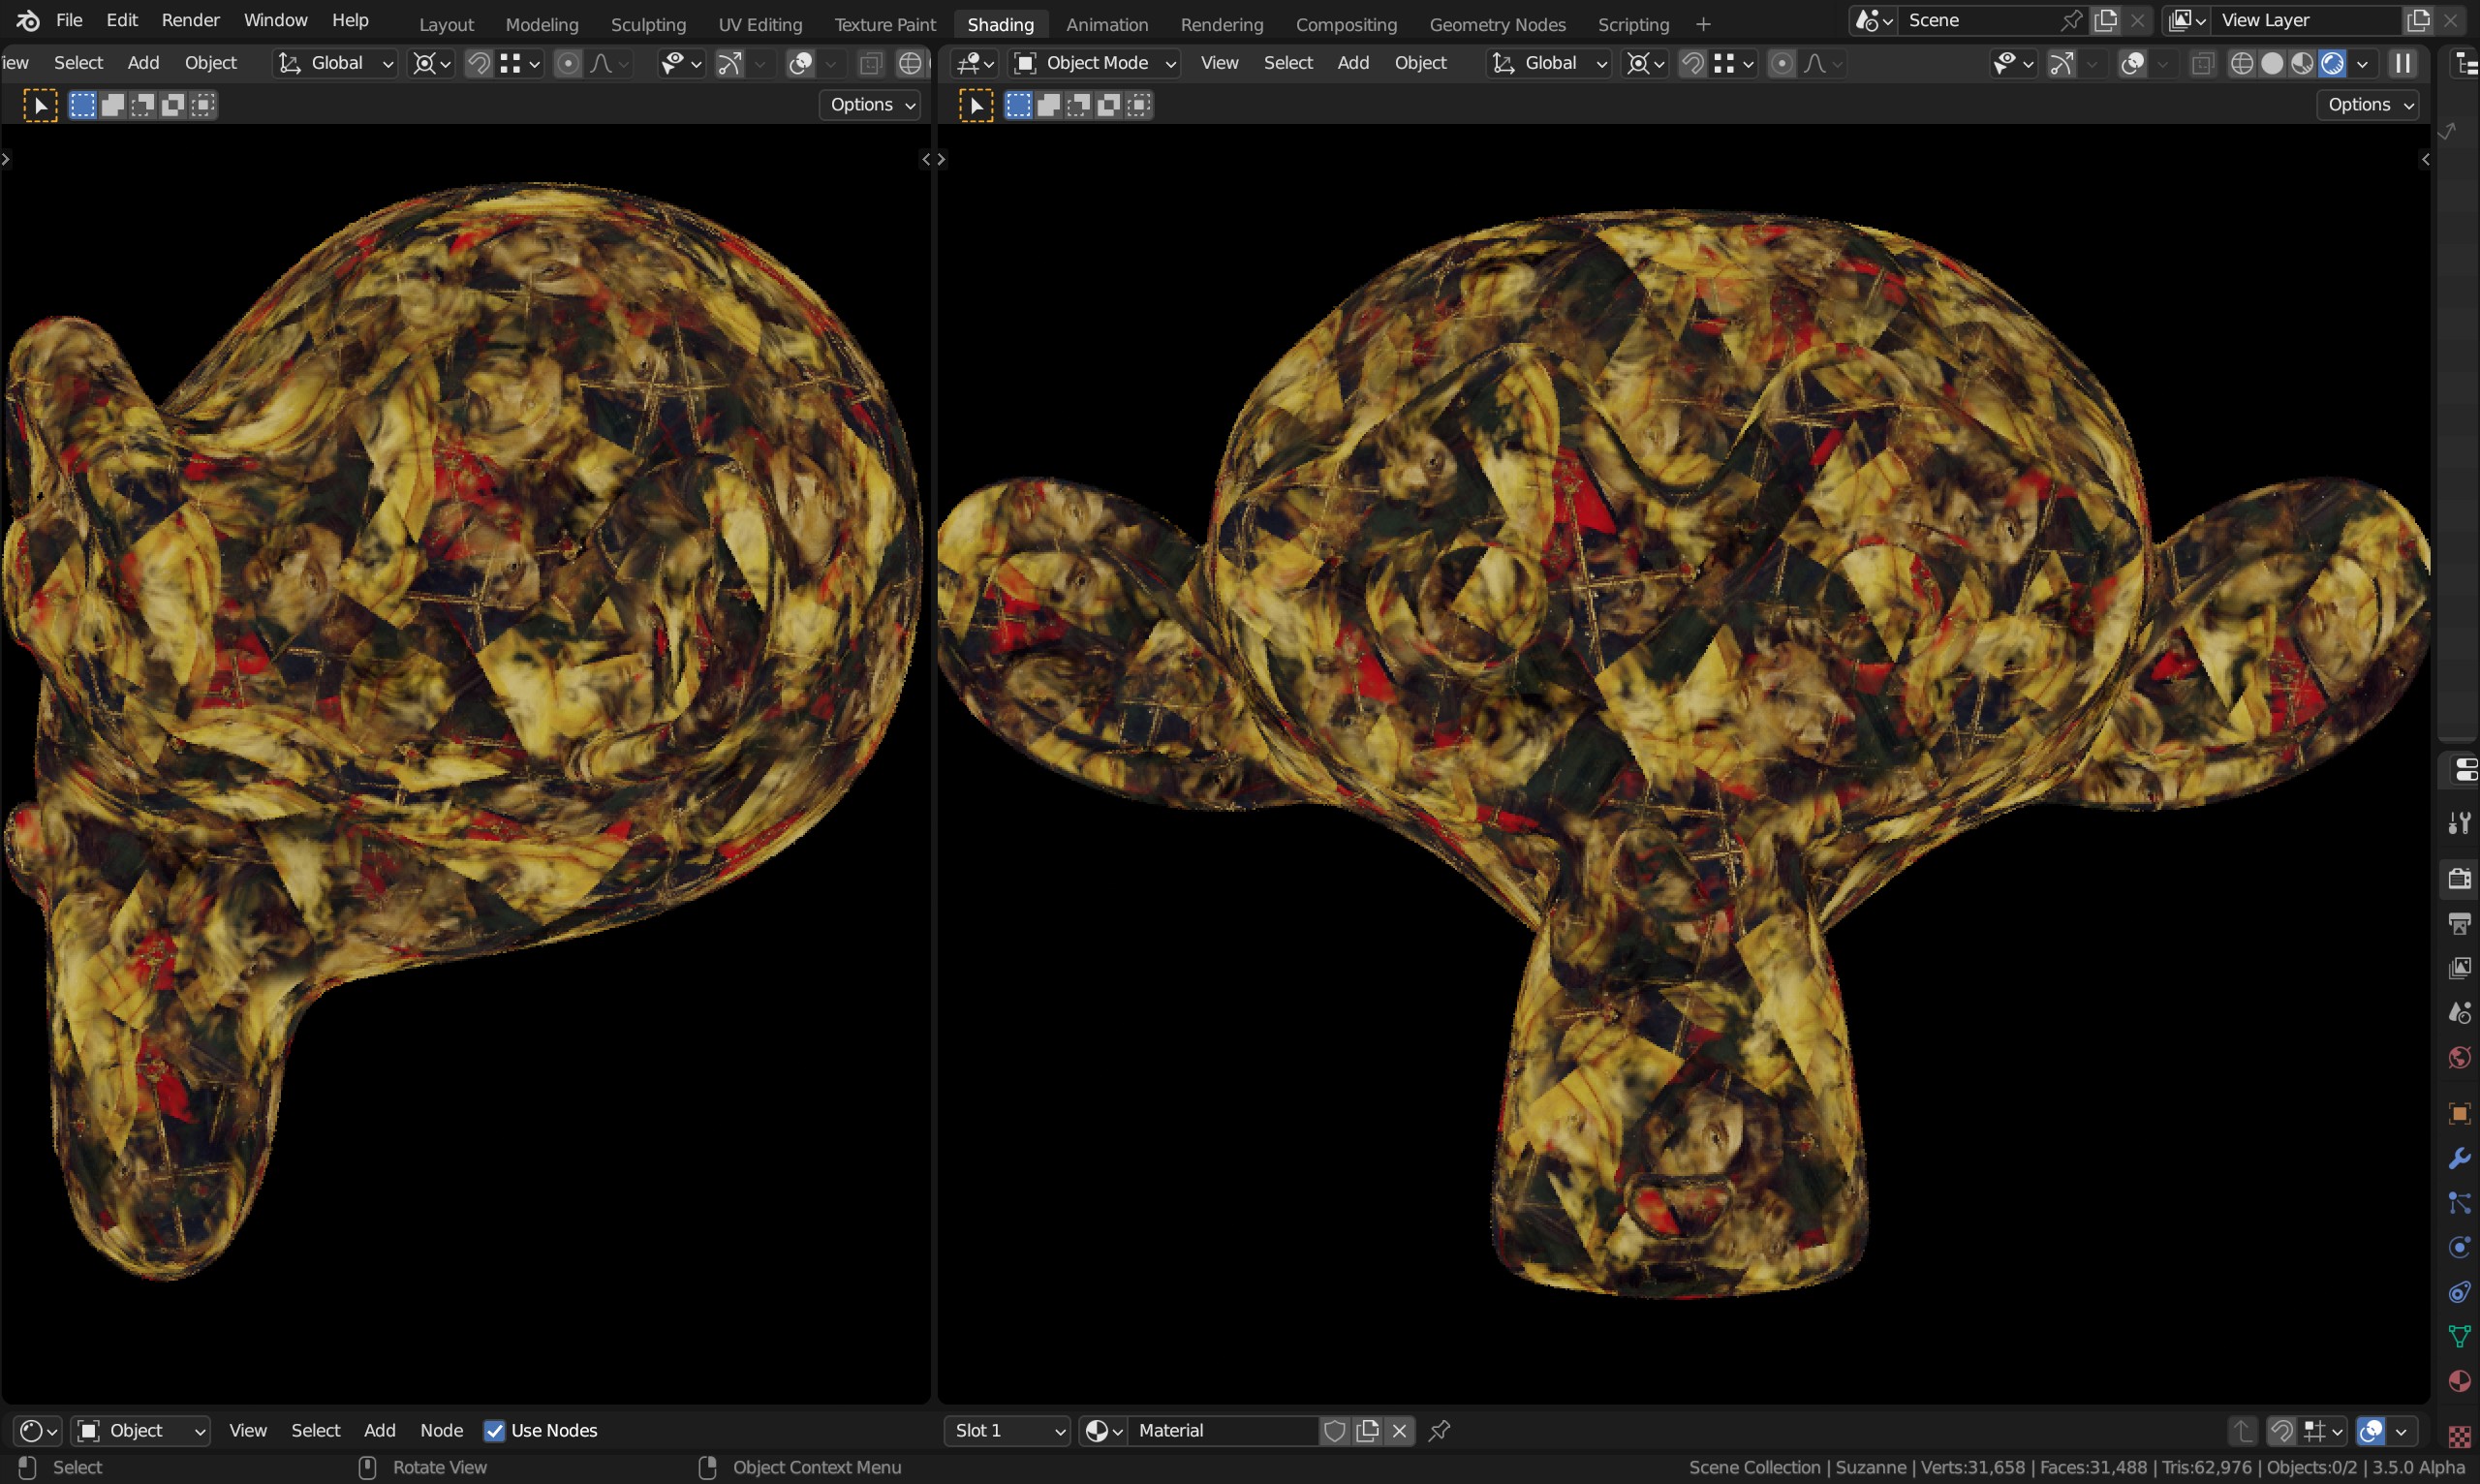
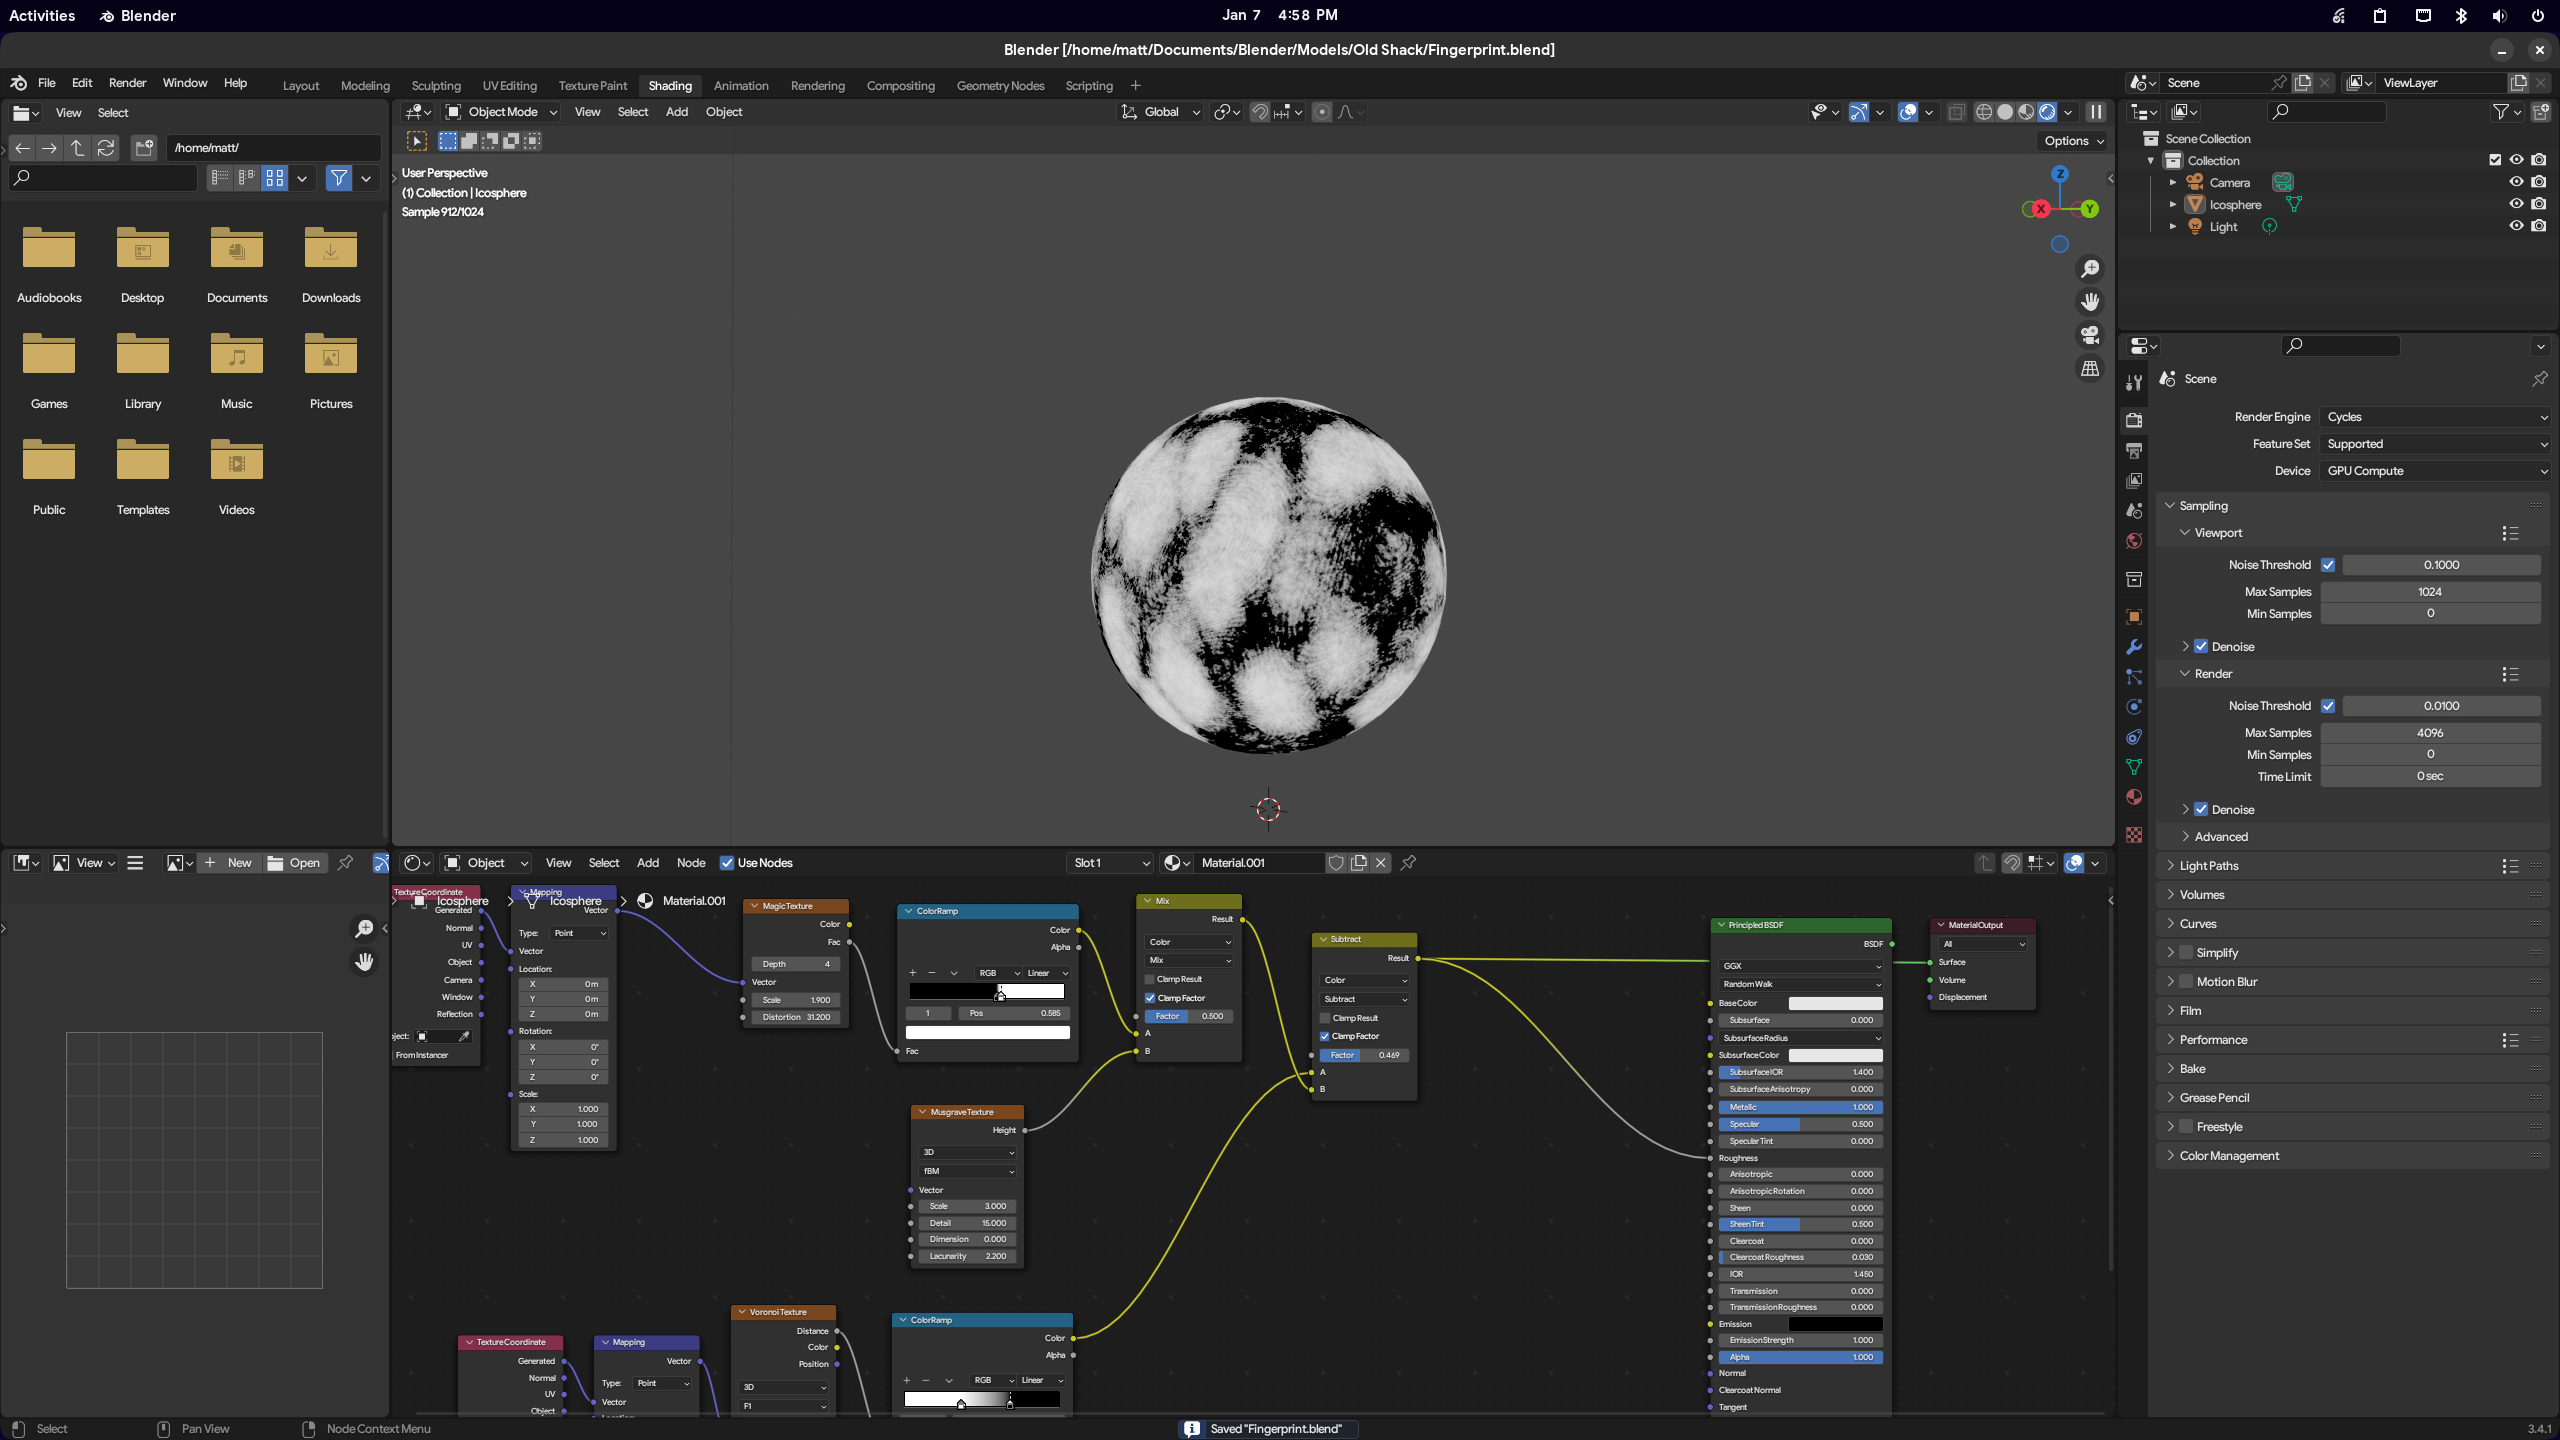
For the finger prints I made things with roughness and displacement.
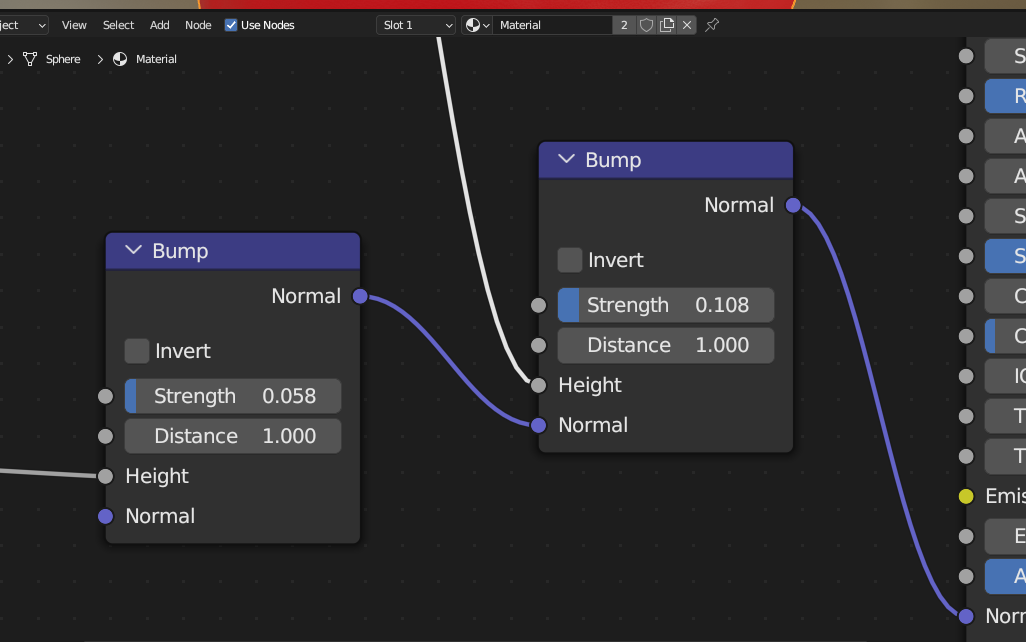
For subtile distortion I made it with the normal.
But I don’t know how to add a twirl scratch effect…
By the way maybe my shader is not well made , don’t hesitate if you have a better way to do this 3 effects (finger, distortion, scratch)
Search for triplanar/box mapping and use image based instead. Also be VERY aware what Brightness/Contrast node outputs and make sure it produces values that can be properly interpreted. If you want to randomize tiling on each projection direction as well, things can get kinda messy but this is something I frequently use.
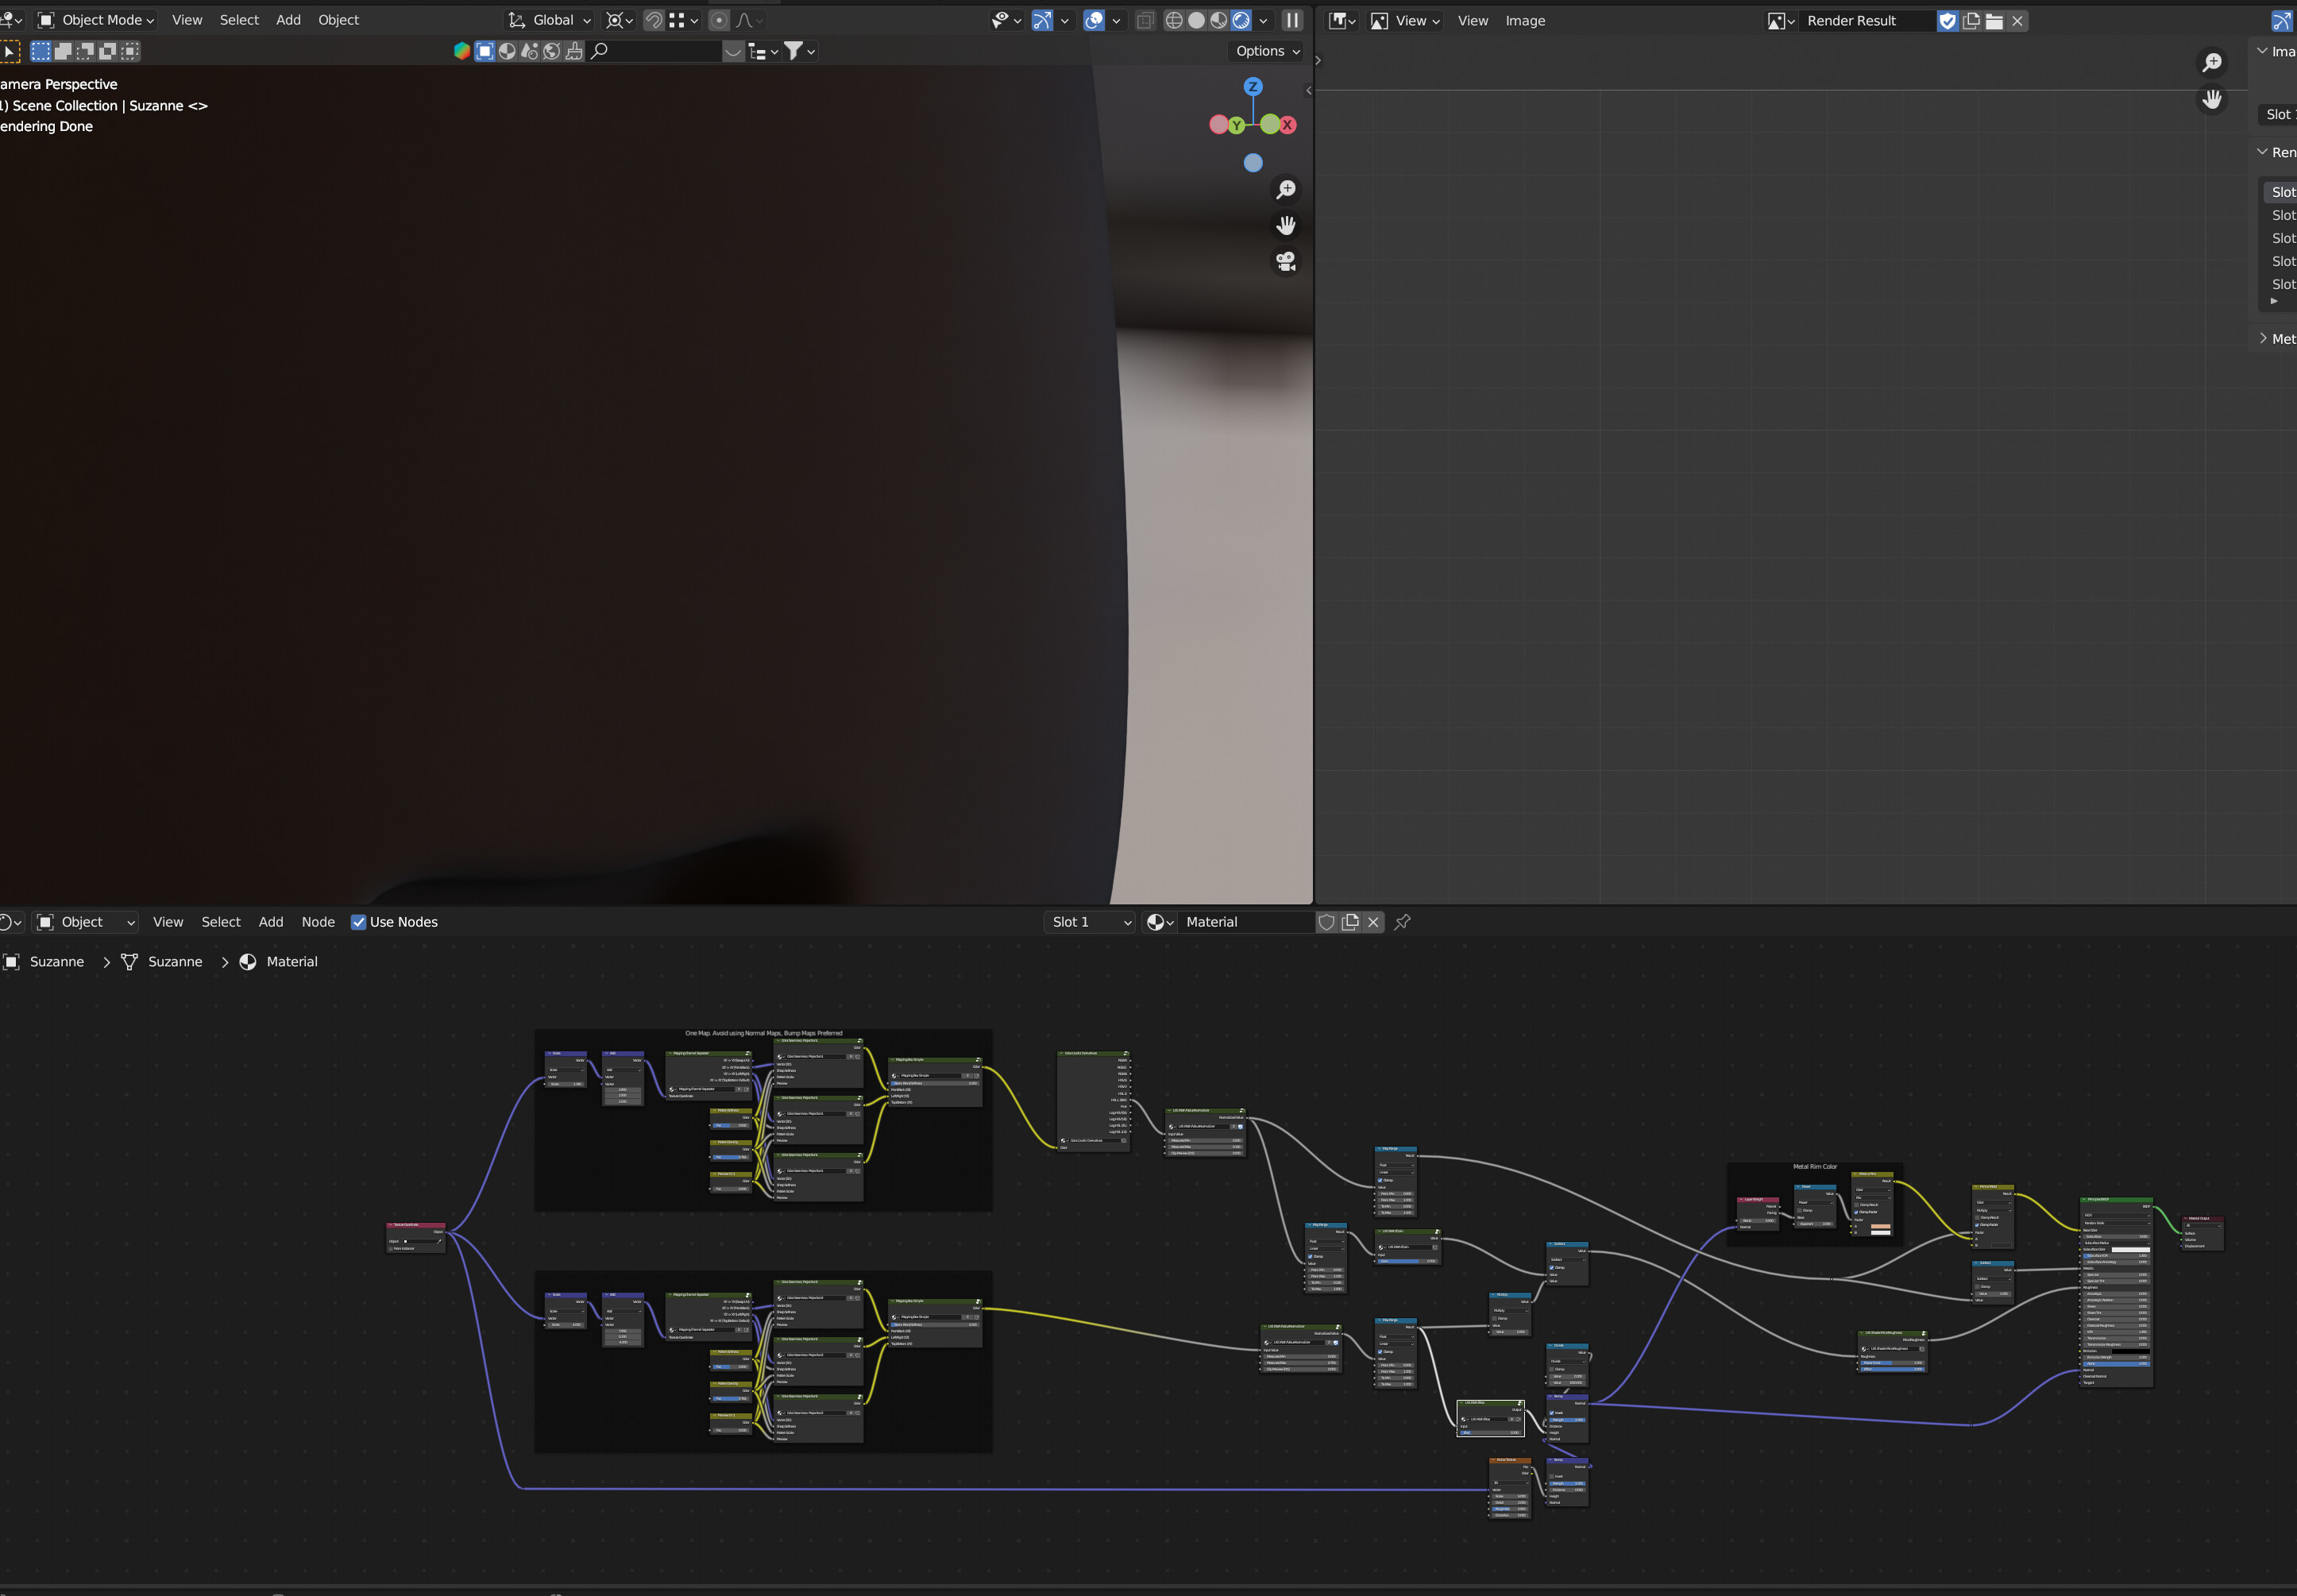
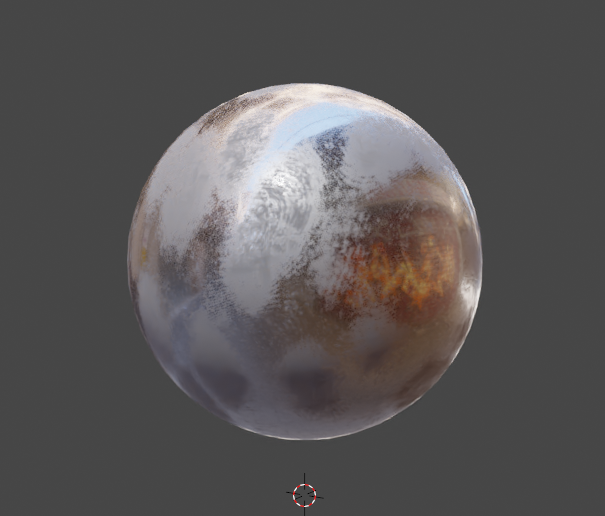
Here is how I would approach something like this using textures, box mapped, and avoiding obvious tiling. Due complex nested node groups, using material preview (Eevee) completely locked up my computer and I had to reboot. Rendered preview (Cycles) works fine. Textures found one some cc0 texture site, can’t remember which. Not packed to keep the size down. Could be a possible starting point. Metal with finger prints and scratch edit.blend (1.6 MB)
You need to go into the node groups, locate the image texture node, and locate the images you want to use. This is all image based for the details, it’s just the distribution and projection of them that are procedural. Also tweak as required, images you use may require different control values.
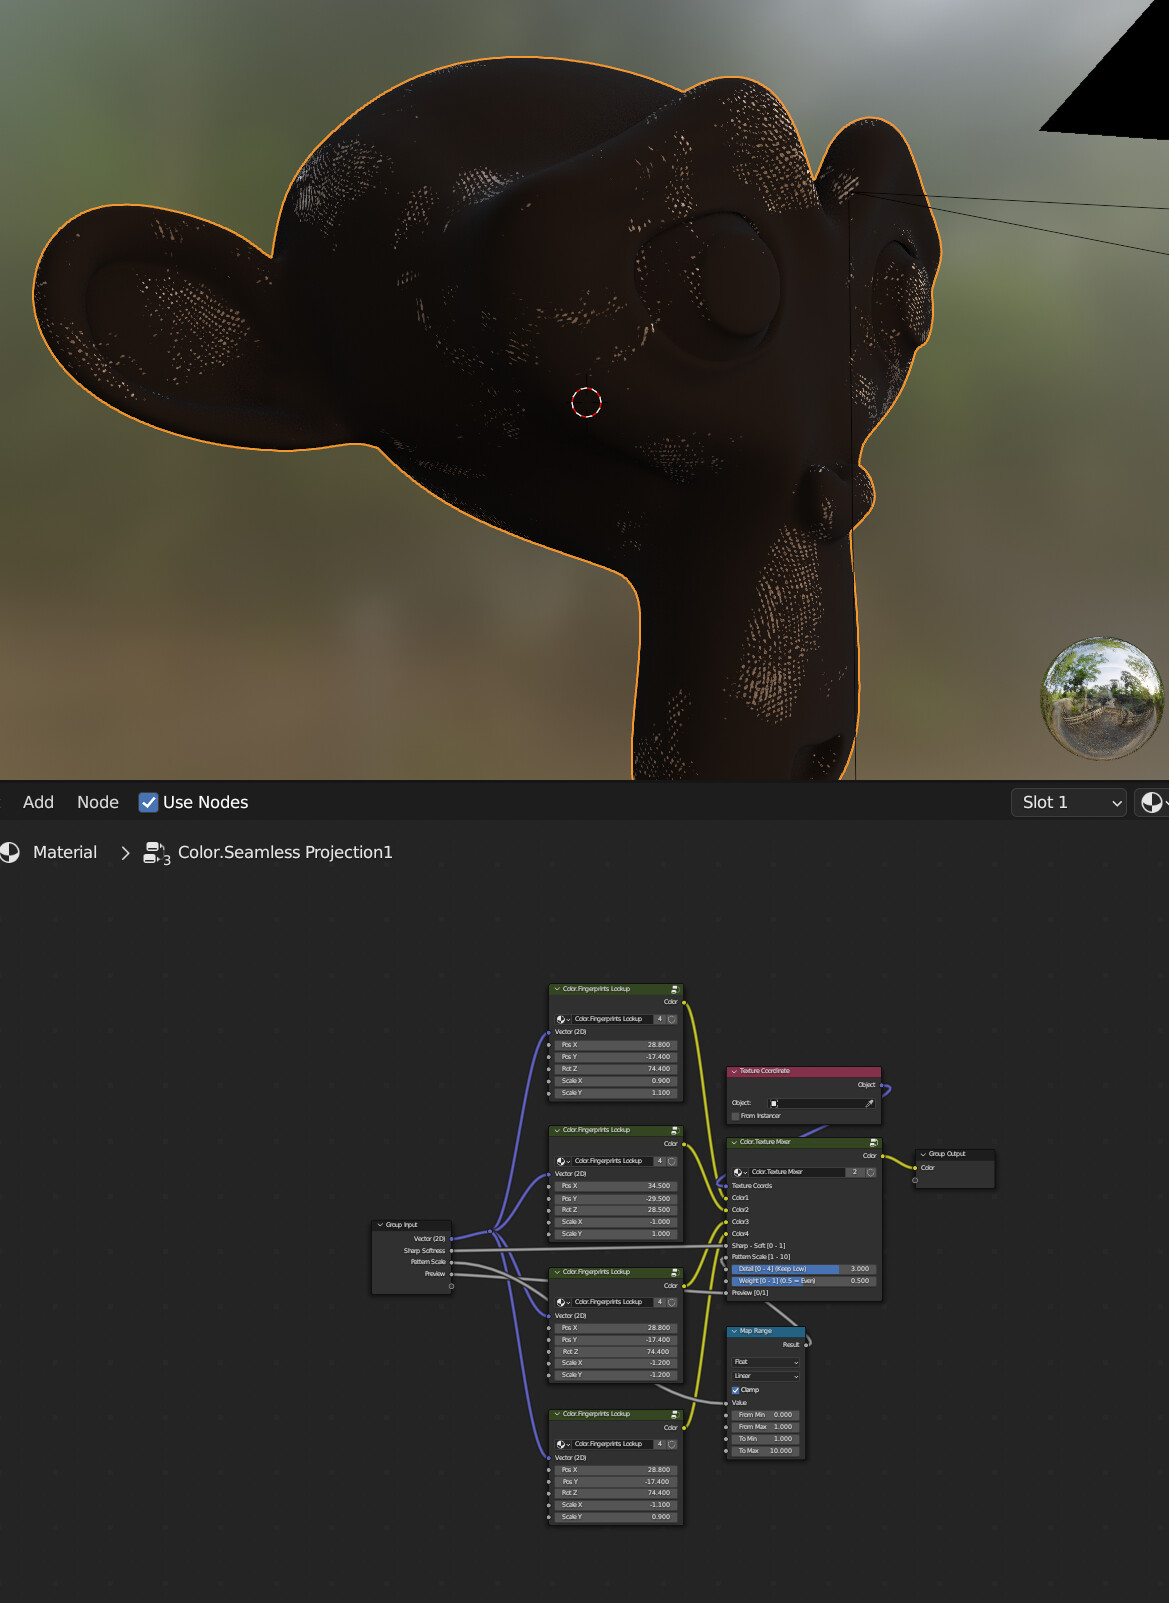
Don’t have it in front of me, but should be in the left-most groups, but yes, within a second group. One inside for the “top chain” and one inside for the “bottom chain” - mainly to show how you need to make these groups unique to handle different image data. I could open it all up, but that would look messy. Since we can’t push/reference image data into a node group manipulating it’s inputs (the coordinate vector), there is no other way currently.
Ok so I found the node for the finger print, I put a picture inside, but now I’m stuck, impossible to go back
And obviously I have to modify the scale of my fingers, I didn’t see a mapping node
Sorry to be pushy about this subject, I really need this shader, please someone don’t hesitate to contact me for a contribution, this is a serious ask.
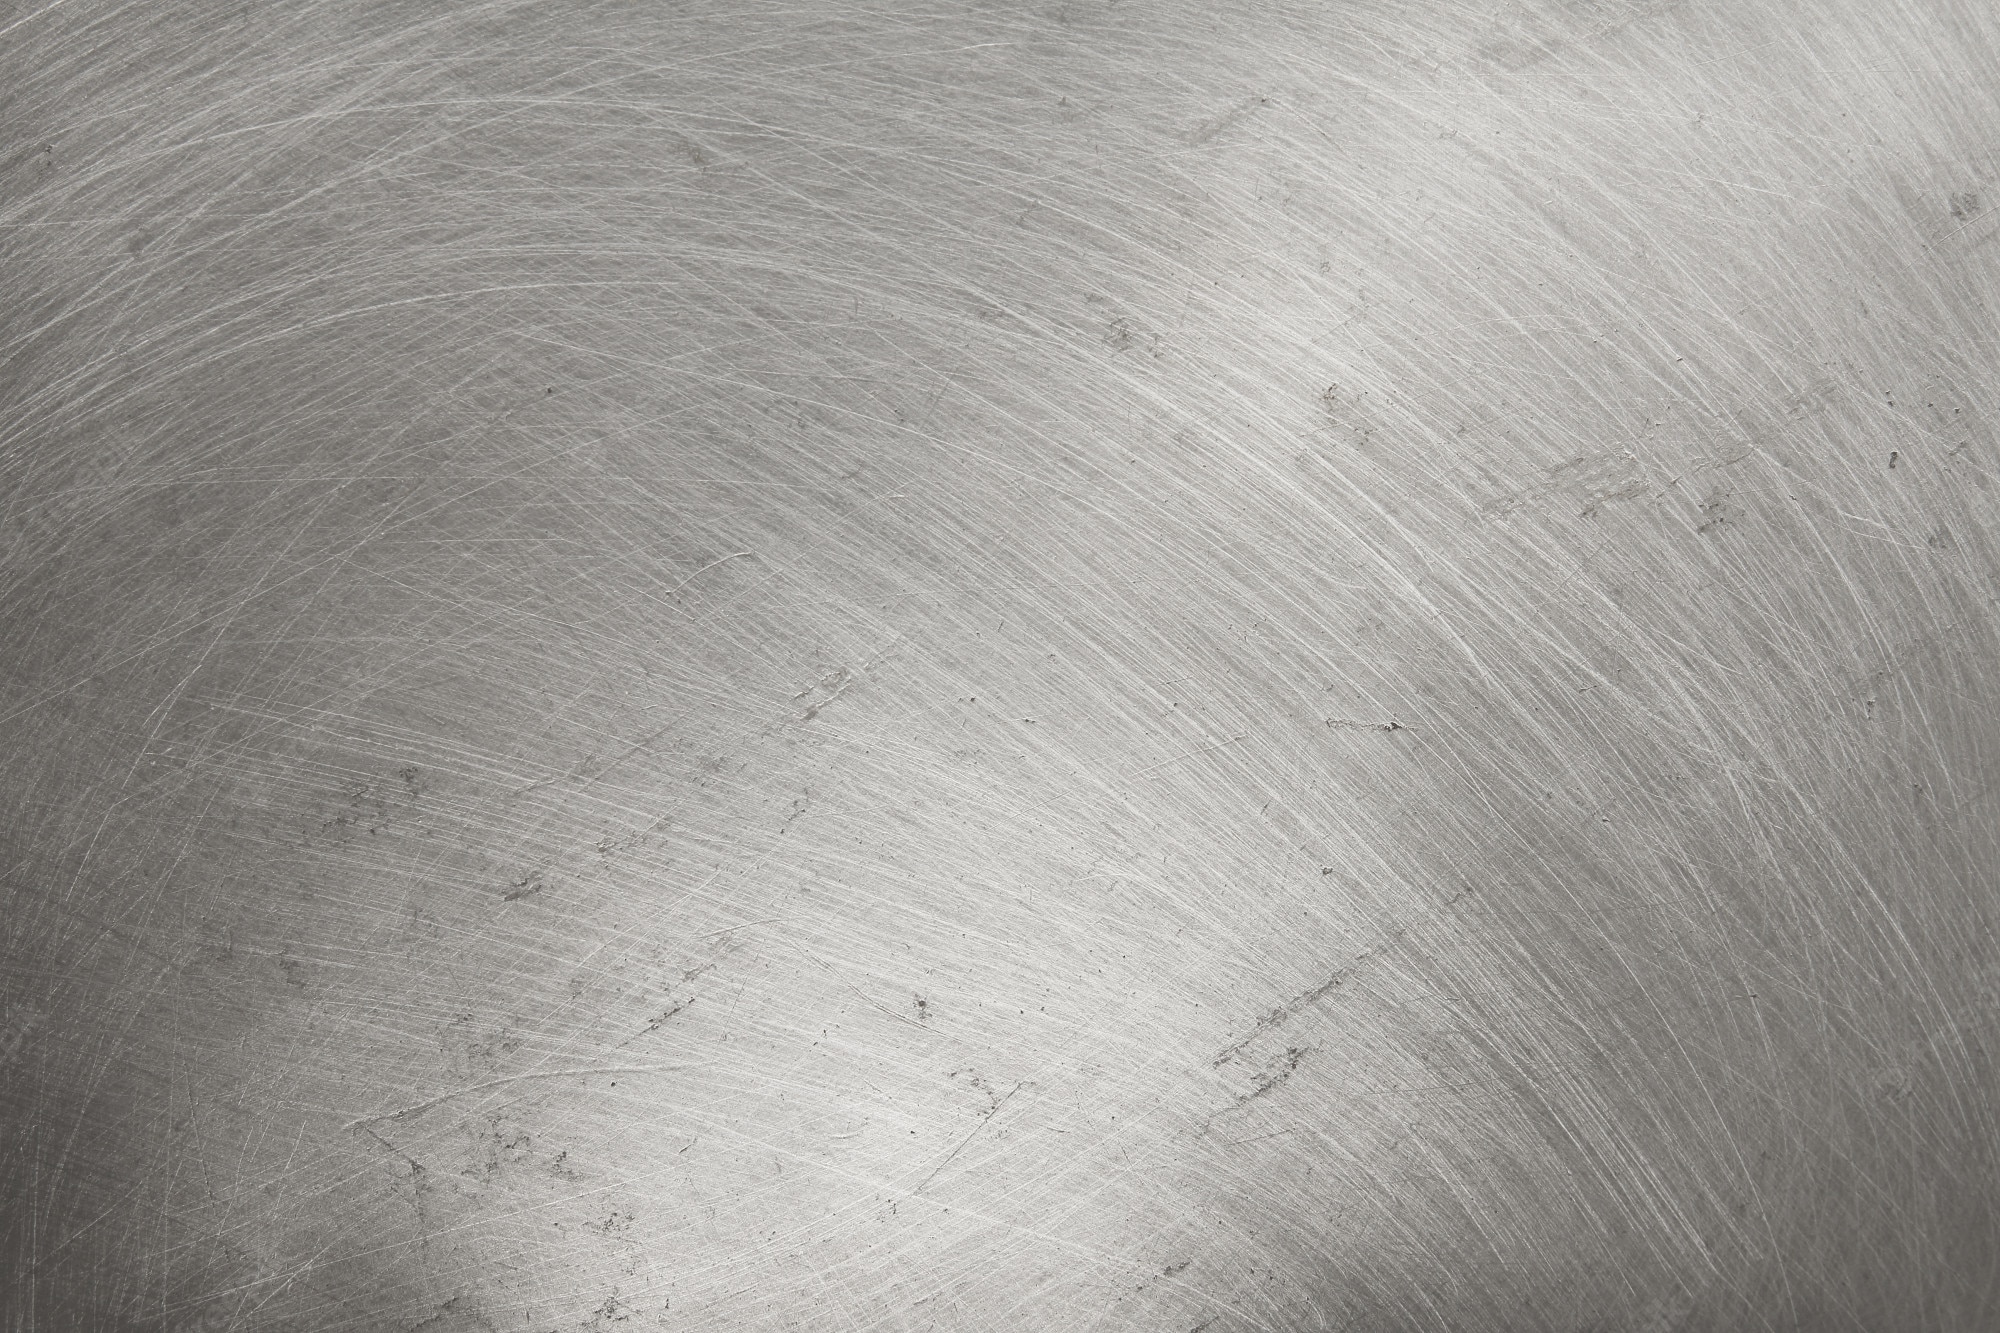
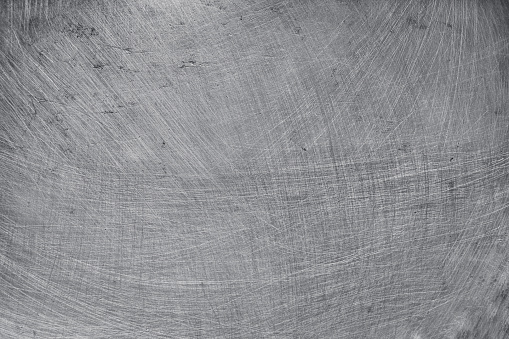
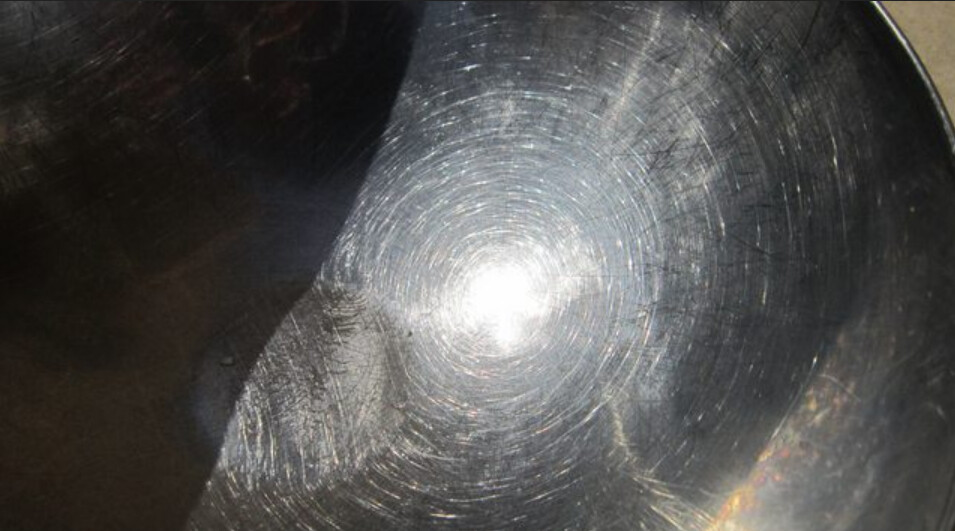
What I wish to have is this
The scale (vector math/scale) is controlled from outside the node group, so that all the same scale value can easily control all the projection mappings that are used in box mapping. It’s prior to a vector math/add node that just serves as a random seed generator. I used vector math/scale in order to avoid mapping node, as that exposes stuff that shouldn’t be touched in this case, such as excess rotation will lead to visible distortions. Play with the Color.Seamless Projection nodes, maybe you want less detail in it, use preview mode to visualize the four (slight) scalings and (proper) rotations in different colors. For the box mapping, disconnect the inputs so see what it does in pure RGB colors. I wanted to expose/promote as little as possible to make the usage clearer. Guess I failed.
Using a simple texture that doesn’t repeat at all as an example, here is what happens during the process:
Blended 01 Simple Flat Projection Only - Preview of a single image texture output.
Glint rendering and the appearance of concentric microscratches around highlights isn’t something Blender can really do currently. I didn’t test Secrops OSL script back then, as that would just be too slow. I know he’s an absolute beast when it comes to doing the apparently impossible, but just the idea of tons of generators makes my stomach hurt. While I do have a “glint shader”, it uses a different approach during voronoi bump to drive anisotropic tangents - still sounds nuts to me, but it kinda works. Except that it is scale dependent, and the effect would probably get completely ruined by de-noising today. I had some fun with it, but it wasn’t for realistic use. Can’t remember who came up with that approach. Still, I don’t think concentric glint rendering is what he’s asking for here.
2 Likes
Renzatic
(Professor Emeritus Billy H. Wafflesmith XIV Esq.)
20