Hey everyone for a few days my Mozilla fire fox went bonkers and i couldn’t reply or give updates also, I had miss placed my blend files which were on my usb of my new renders and blend files.
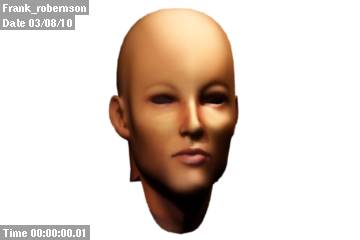
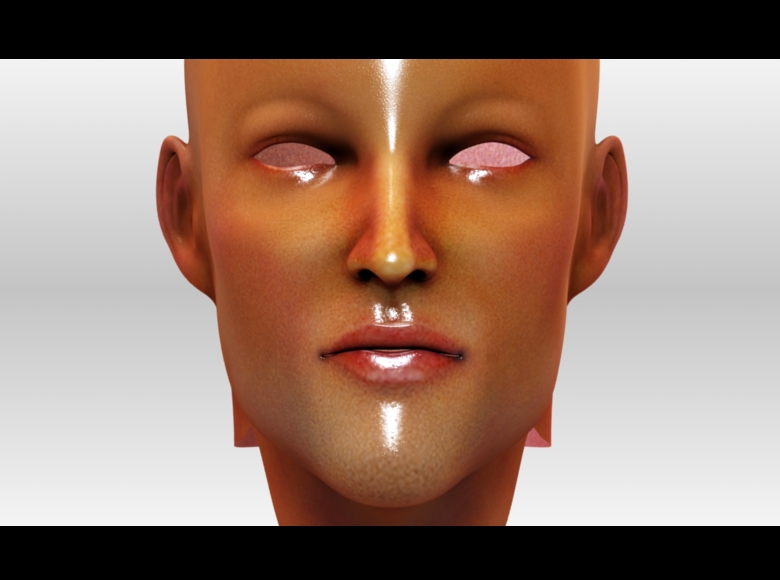
I figured they were all unorganized too but I found one of my new render blend files and now can continue updating, my gosh it has been stressful without a working browser so i changed to Google, chrome anyway now here are some renders of the old basic SSS set ups with my new model.
I am no longer doing had 2000-2000 resolution it takes an hour and i need to be able to update more frequently oh oh and i need someone who can tell me a good basic set up for the render settings in order to still have a good standard.
:so that you can still see detail and so I can render them faster, I don’t wont unclear images else you can not tell what is right or wrong okay back to blending heh have a laugh at how bad they look.
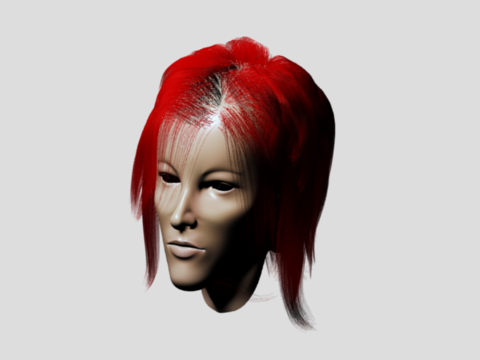
Also some bad hair tests not everyone is perfect and I knew they’d turn out bad …
Because I didn’t follow my technique to get good hair results.
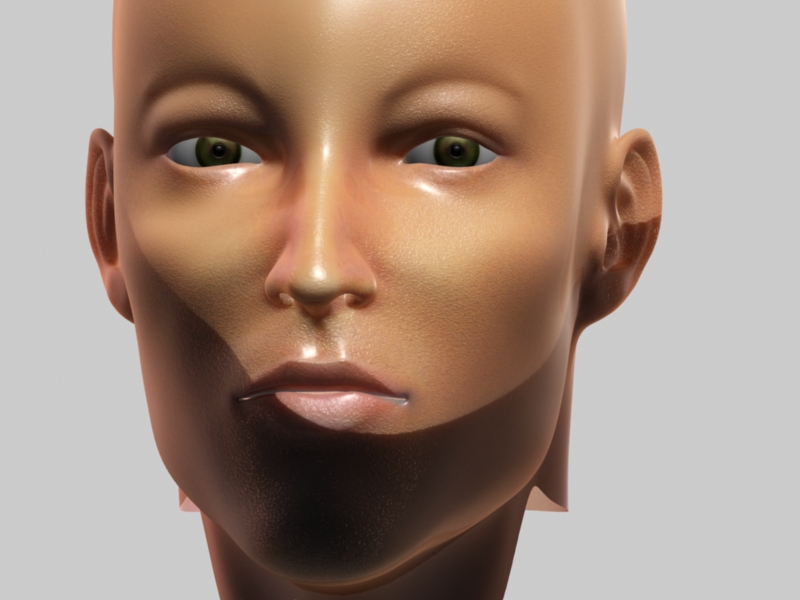
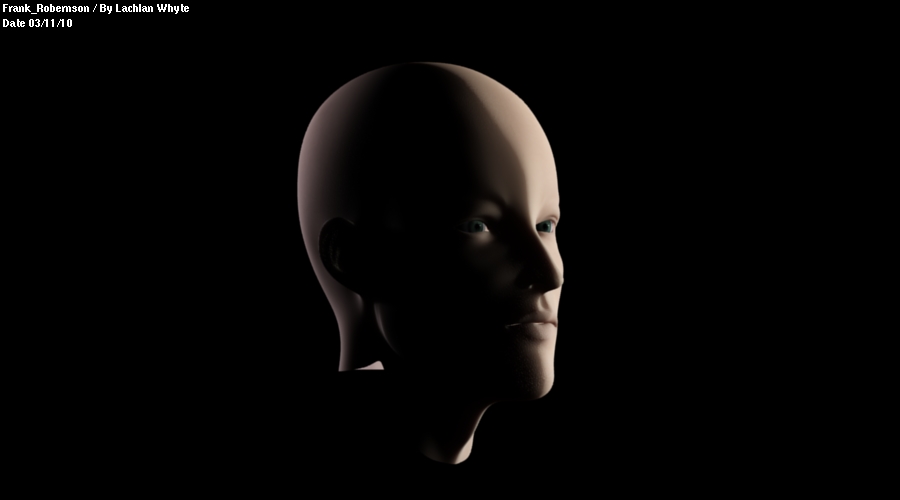
Right now I am focusing on lighting there are some 3 point + light set up renders they’r the worst for my model my original sey up is perfect… heh He-mi, warm and cool lamps " negative don’t work for me either they make my model …less dramatic and less effective.
Thanks for those who’ve replied so far its helped so much!
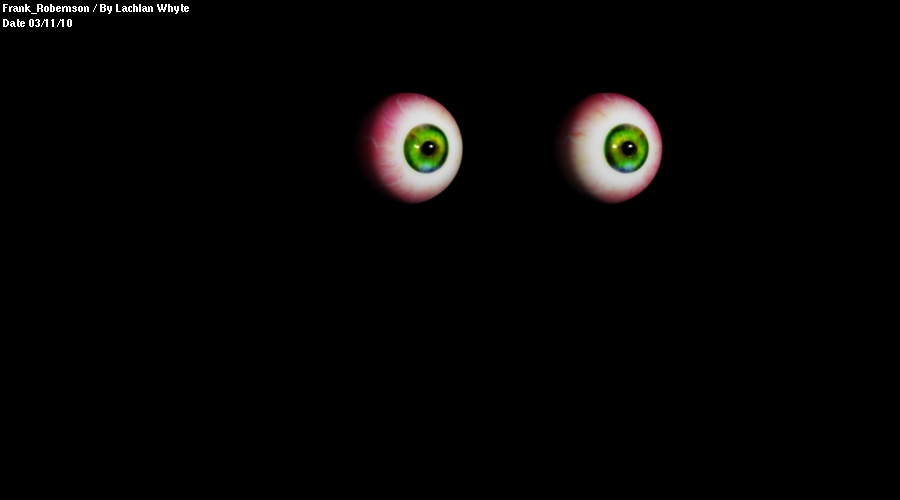
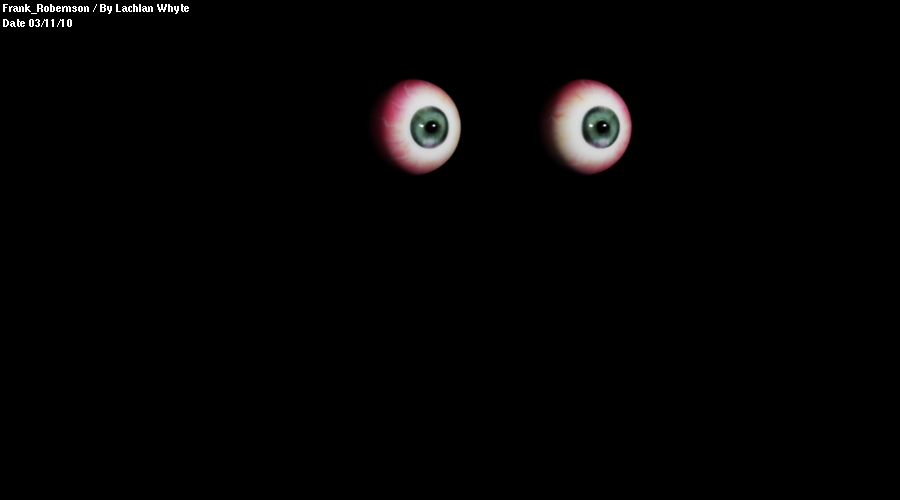
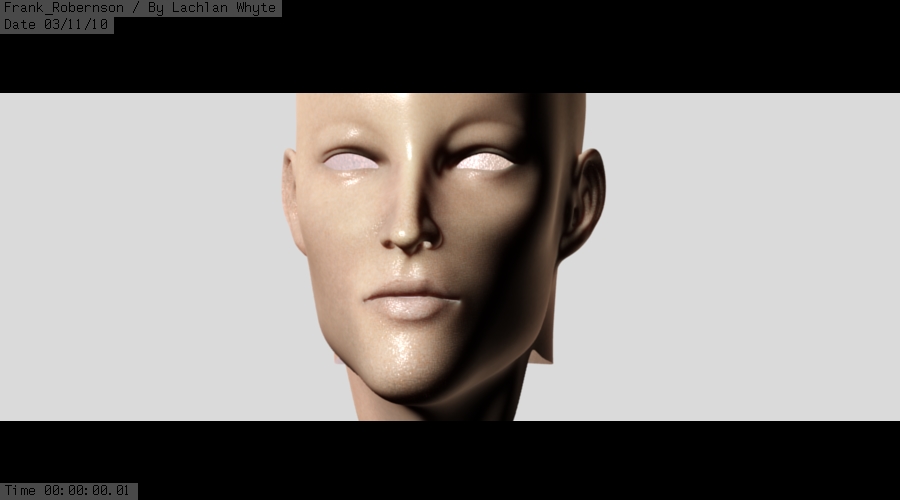
-Am presently working on textures that are 4000-4000 res for the eye ball.
Changed the color again and I think its intentional not to look like an average eye color.
Working on concepts Illustrations and story boards too.
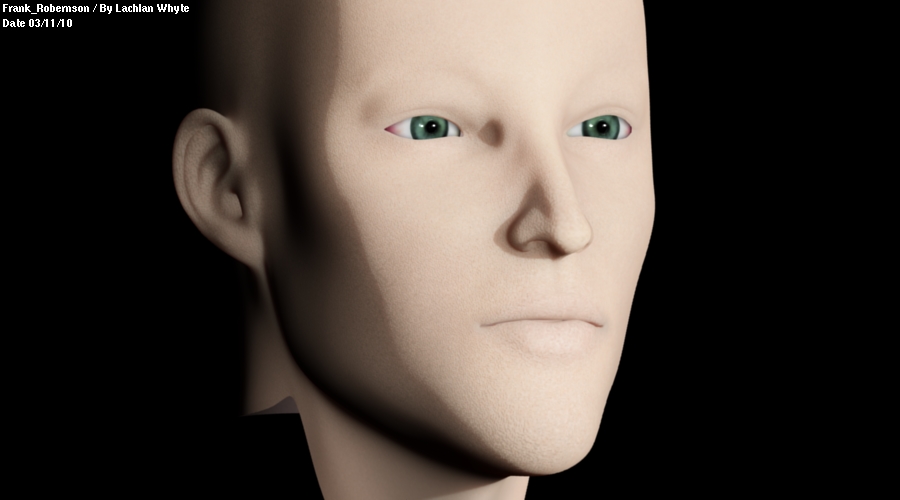
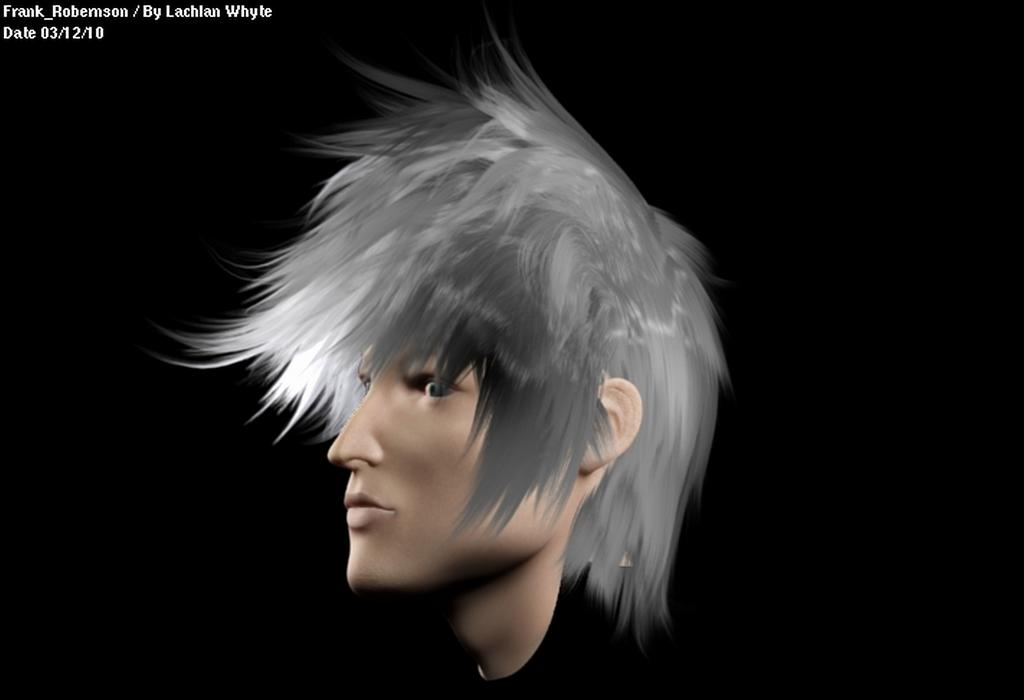
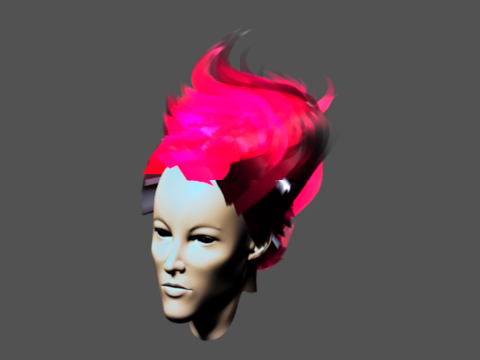
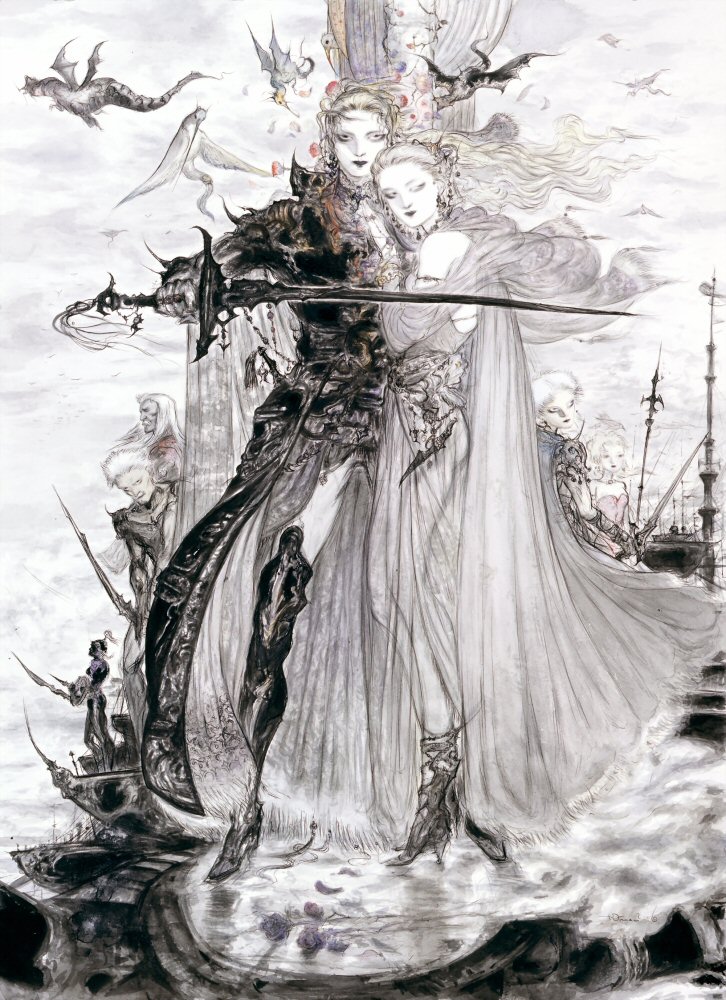
Not the render above, but the one with the gray hair from the front view. Reminded me a bit of Amanos art style. Not much just a bit, with the hair and a bit with the eyes as well. Don’t make him have red hair and look like brainwashed teenager. Take inspiration from this instead
Amano, hmm, Namssil I am Inspired thank you
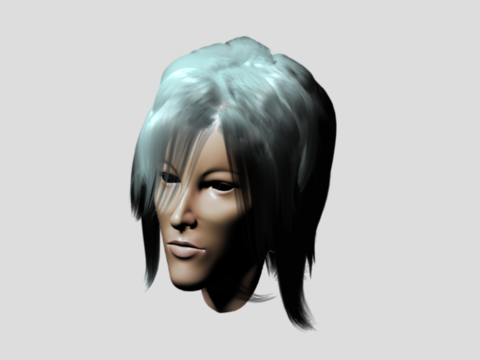
I saved it to my desktop wallpaper, could you now, remone the rather enormous attachment from your reply please, anyway I won’t destroy Iden with those bad stages of hair modeling and rendering ha ha, yes the one I did the other day with the mush and beard that is my latest, I’ll do something on the lines along that-Hair styling is so much fun and today I learnt how to set up materials for hair properly so I’ll integrate my set up and the basic set up to better the structure of my particle set up.
By the way like I said when I posted the “Bad Hair” Basic SSS " Bad lighting set ups- they wouldn’t be something I would wont to look at ever again.Grays my favorite color, I haven’t actually been doing anything in blender today (OOPZ)>_<
got to let the brain regenerate those imagination cell’s, so I better go to sleep, will have some sort of results in the next week or two.
Okay so I did do something today, I painted some of the textures for the UV Map’s…updates should come Tuesday if not earlier.
Sorry guys the textures were screwing my memory when i tried rendering big images like 2000 by 2000 with textures 2x the size …so 4000 by 4000 shut down my blender, but it never crashes it saves it and closes nicely …?My lap-top Compaq presario c500- which is 3 years old and cost me $999 ha ha has the basic Intel graphics card which isn’t even a card lol. … -__-?
Anyway Am rendering a image with textures back down to 2000 I wonder if it effects detail ?Honestly in the real world Ive only seen, professionals use 1280 by 754 and 72 pixels so settings depend on the user really and who will zoom into a picture?Unless they are like "Obsessed with zoom lol. 0_o!!!
I’m stepping out of the lighting and hair and returning to the texturing as it needs to be done properly…
This is my first time I have tried to texture my models, so my mind is a little blurred and out of perspective, reading different tutorials, videos etc.0_O" and nothing has helped me, with what I’ve done …
But for some reason I know what I am doing and I am going to continue blender-ring…
Render Duration: 12:00 am - 3:15 am
*Parented all Lamps to the Camera, it intentional.
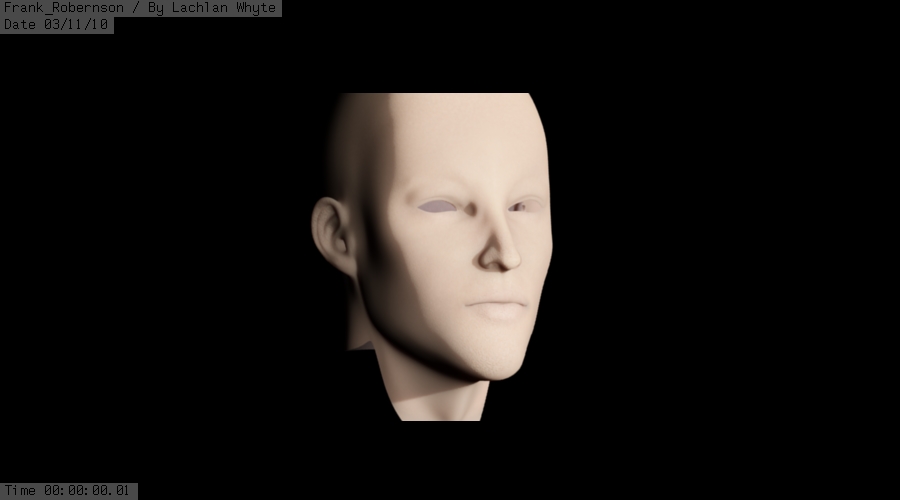
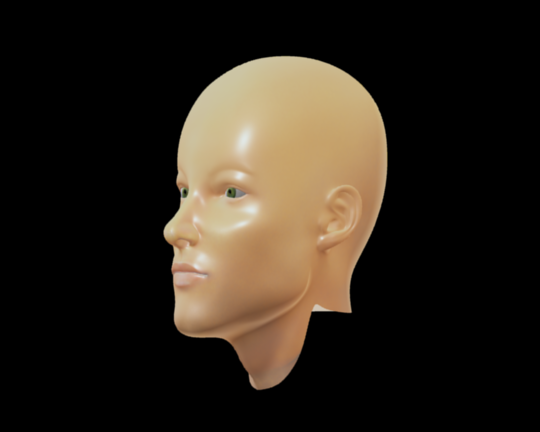
*Re-shaped the Nose.
*Re-shaped The Chin.
*Reset the Specular & Reflections.
*Added, deleted and tweaked Lamps.
*Re-Shaped Jaw.
*Deleted Un-used textures.
*Fixed Baked Normal Map to UV Map from two Bump Textures.
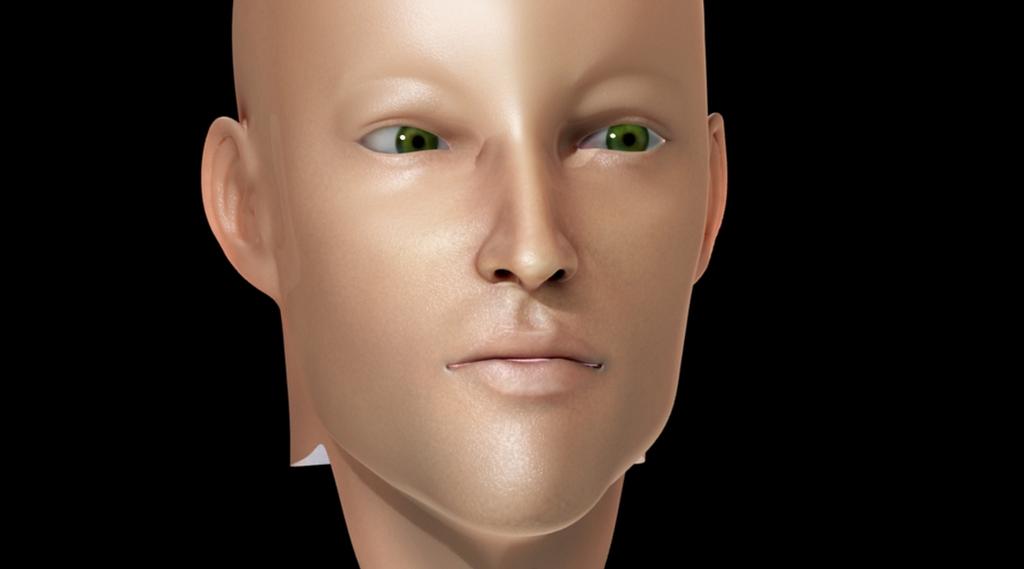
*Fixed Eye Texture, Wet and Specular.
*Edited the color map-still needs red lips and other areas-no sub-dermal uv, as of yet.
*Edit Render settings and Camera Settings.
*Changed A.O settings and took off FSA.
*Changed OSA to 11 from 16.
*Checked all shader’s are correct and connected correctly.
*Changed the background to black -Grey & white was doing my head.
*Dither:changed from 100 -300 then 150 seeing different results.
*Object Axy’s re freshed and all is aligned so there is no wonky coordinates or dimensions.
*asp -aspect ratio changed from 1asp by 1asp to 100 or 50 depending on the resolution.
*Changed resolution.
*Quality from 100% to 90%
*Deleted Particles - will look at doing these again, even better.
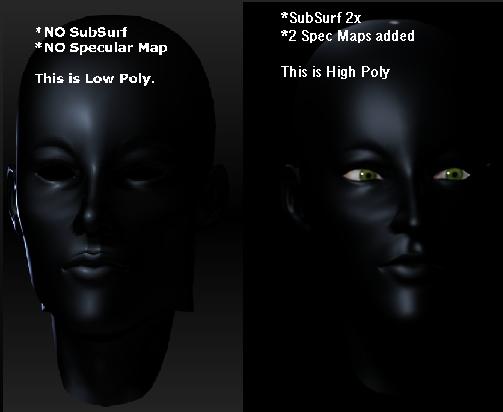
*Added Sub surf as The sub surf was not on so all previous renders of Iden are low poly."OOPs
*Memory usage dropped dramatically from 500-700 down to 230-400 now only using 30 of my ram!
*No signs of Error or corruption.
*Added some negative lamps.
So those are what I did Yesterday at 12am and I checked the usage of my virtual memory which is was 296,896Vm and 30,444k I have no idea what that means but its way smaller then before’s calculations.
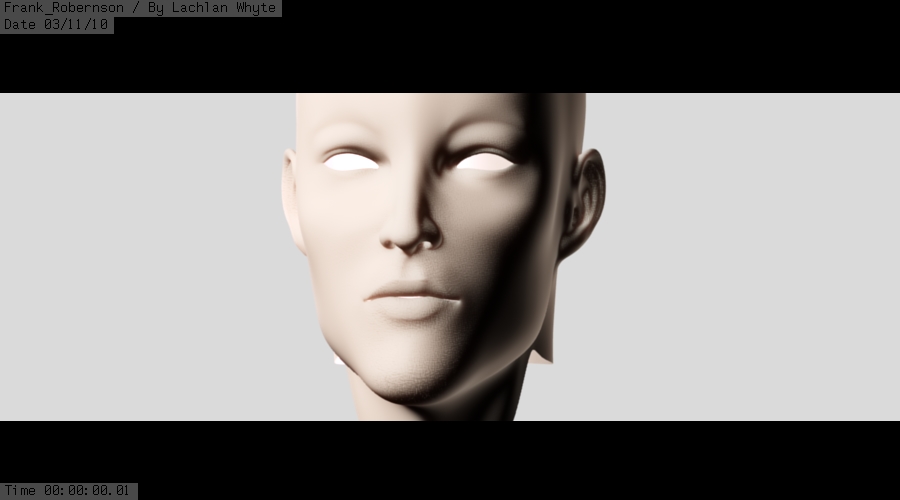
I have been studying the specular, sub-dermal, epidermal and weight Maps to connect with the shaders as I have only the Bump and Color maps presently, Looking for things to edit on my topology slowly so it has better characteristics and a distinct style, But I need some decent tutorials on those …Hmm
I’m going to take a look around at threads, TMCTHREE :I put all the Uv map textures down to 1280 by 1280 so there no so huge and saves me rendering time by miles!
Okay here is an update -there is obvious problems point them out its so much fun to dig in and just fix stuff now!But hey I might not notice something you see…
I want to see if it is the wet making a shadow and reflection back onto the skin… or is it the reflection levels.:rolleyes:
Hm will do some tests to get rid of it, for now ponder this renders issues.
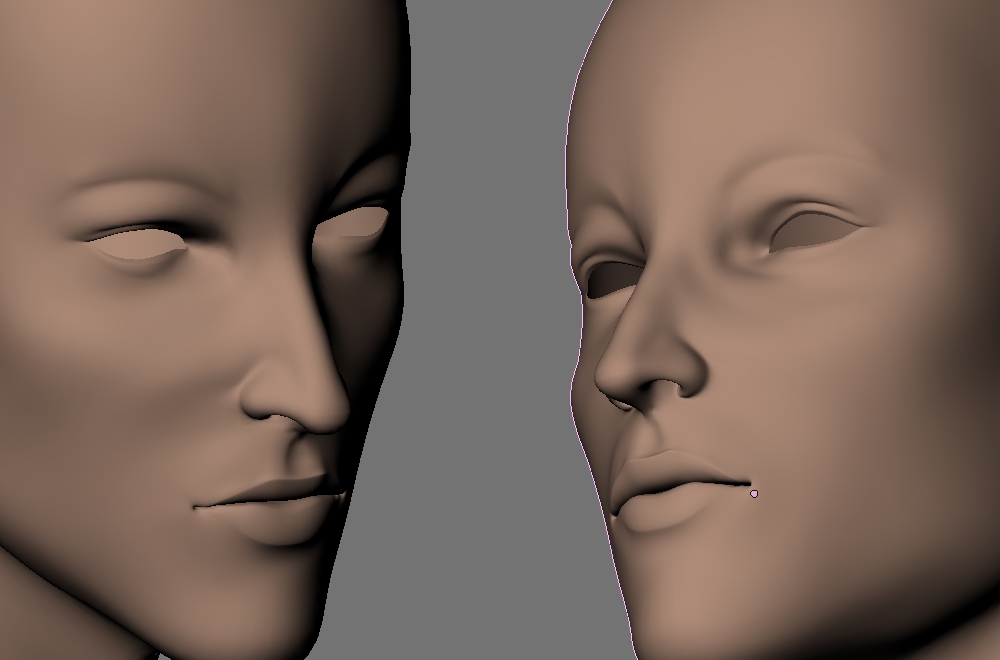
I did a screen capture to show you the nose more closer, from a top angle to a bottom view angle…
Also I added a small render which the model has no specular shader’s at all… its really bad quality too. ha ha ha
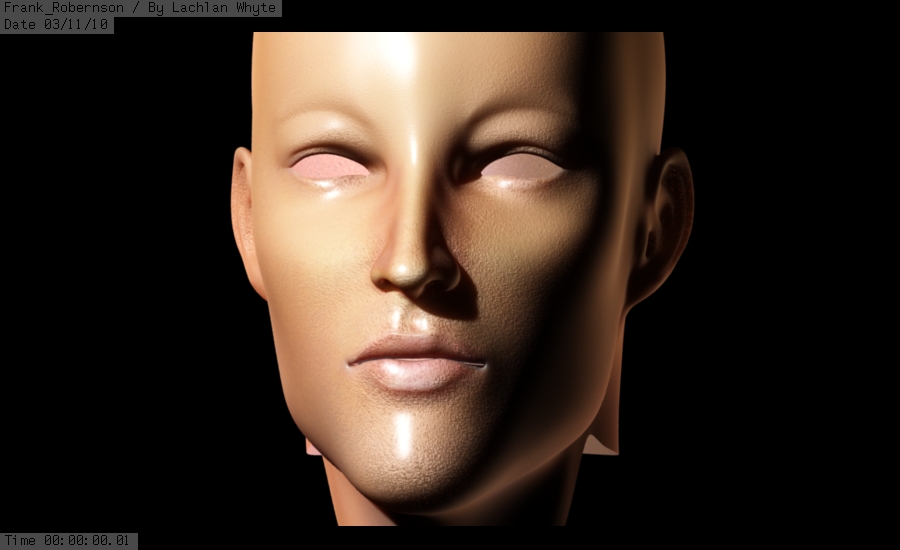
(The main render has Ambient Occlusion Ill take it off and delete some lamps as I dont need this many, I’ll edit the reflection shader’s too and hopefully have more dramatic lighting with out any A.O…yup.
hmm… i wouldn’t do so much reflection, because it looks a bit like shiny body lotion and lipstick … that makes him look a bit female … maybe try to use a lighting map so you can make the nose more shiny(sweaty) then the rest of the face… (just some thoughts of mine …)
When I started I used blenders clouds and placed the size to 0.002 which gave a grain effect but was nothing like real skin as I moved the character further away the strange texture seemed to create huge color differences… So I did the Projection Paint which everyone does now and I create two different bump maps one for all the soft areas and one for all the hard areas, then baked them together, I am no expert as somethings with texturing are trail and error.As no one ever has any good tutorial of how to set it all up and how to connect things properly, but my method is no different to anyone els’s.
Hey all, Here is an update, I forgot to apply sub surf and now the models surface is smoother, the two new spec maps are better but I think now its the lighting not making the spec’s look so nice.:):o
Here is a render of just the Reflection map and a specular shader set up, When I render all shader’s together I’ll edit the Mirror settings not to pick up too much as you can see it is high on the last full render which the ear reflected on the side of the head… which isn’t realistic at all.:spin::eek:
Also I did these high lights with vertex paint added a noise texture screened it then backed it exported it to gimp and edited it till i was happy with it.I’m trying to use blender as much as possible I really want to show how good blender is and I am only using 2.49 c.
More updates coming.
The eyes look good better add a few more things to that too.
I won’t be showing the texture ha ha, personal for now Until I clean it up and make it look clean and presentable.
orco? What is that? I used loads of things in blender and gimp, but started with just projection map which is a good tool if you watch the projection tutorials, I just study everything not just one thing. So I am taking a look at epidermal maps and sub dermal maps right now also I think they’ll destroy this model, as I don’t want aging or bad skin area ha ha I know we have these but I think just the shader’s connected does enough.
creating textures makes it unrealistic.A few textures don’t always make your character better, but only sometimes even worse, shader’s can be bad too if the lighting is wrong its all got to relate in some way or balance out, back to rendering a new image of the shader’s and all these maps together.
Trail error was mainly my testing at the start now I have the understanding from tutorials and researching and still there are area’s so if I go by luck or a hunch for something and think I’ll do it this way instead it works better most of the time.
Here are some problem renders where i tried fixing one thing then the next thing popped up I have taken out a.o passes Full sampling and deleted the reflections shader’s as they don’t help and correcter some lamps these are all the wrongs of my doings, oh and then adding sub dermal and epidermal made my bumps disappear so i asked someone for help and got the answer i needed to correct this, rendering now. :o
oh and with some of these renders some are just plain retarded because i couldn’t be bothered doing things properly ha ha ha.TRAIL & ERROR! :eek:
Favorite line right now: “Don’t you just love it, when that happens” :ba:
Image 1= a random spot light and bad specular.
Image 2= a smaller eye by 100th of scale
image 2= a offset eye
These three files I am no longer using.
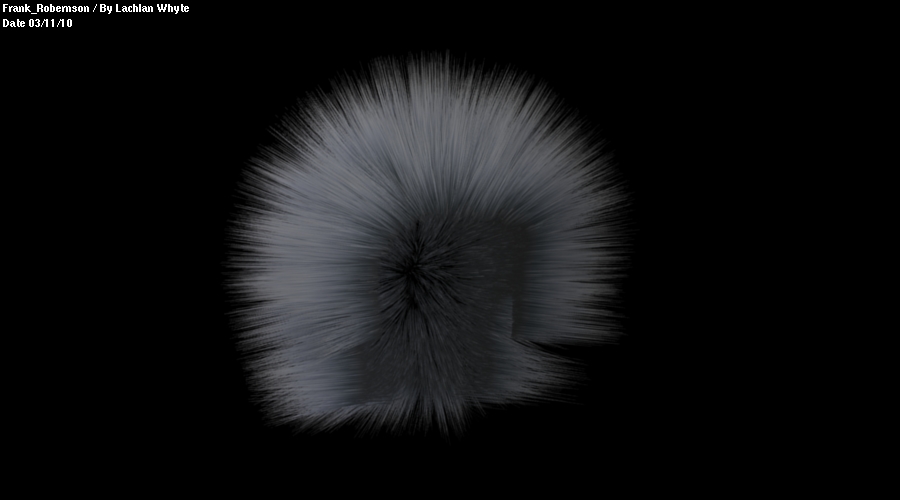
Better add some hair to see how that will be effected …Hmm:confused:
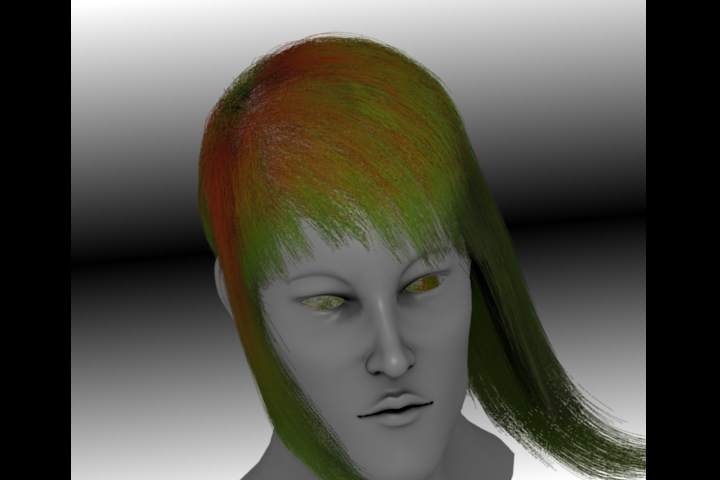
Here is a style and comb of the hair to show the effect of the lighting its very out of it
I’ll add some more things to the hair which doesn’t take long to render these about 15 because the resolution for now is small and asp is still at 1 by 1 so its just clear enough.
:spin:
Point out something!;)
The new render image is not good with normals acting up with epidermal and subderm.:rolleyes:
:spin:
then we have trail and error with spec and reflections OMG who hates this “I DO”
-Noway!I am not even that sweaty unless you baked me in he oven with OIL!:eek:
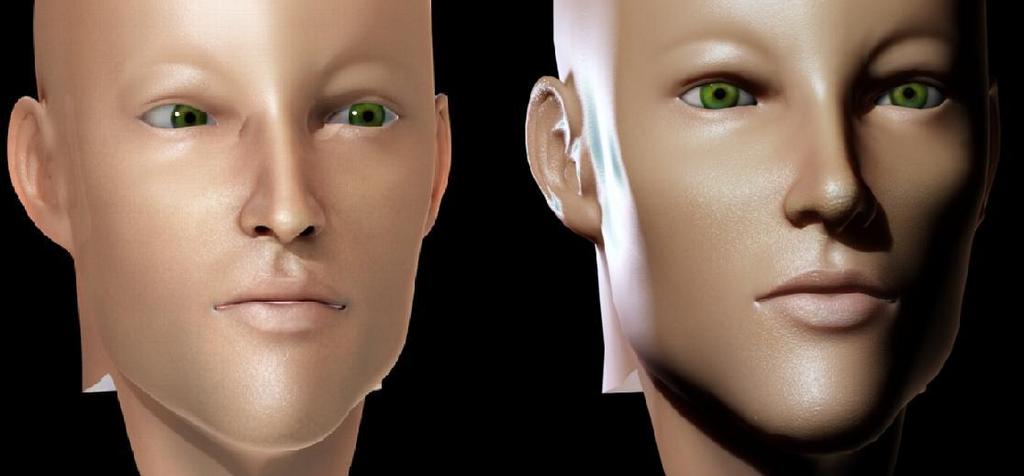
and last of all comparing the two renders with changes but now its changed and will change again but be close with the coloured one as I will paint my own color map-FUN!:evilgrin:
Here is the hair render, hope it is a good enough test for now to show if I did it properly, next time it will come out better… because, I will add some things to make it more real as this is only a few hours playing with lamps and applying particles and giving this a quick comb to show you the lighting -as it effects the eye’s , the model and the depth of the image …
:rolleyes: Hope it is good enough for now. its not finished yet and this is also where the skin settings are at for now without the uv maps, I guess to see it properly I should do a bigger resolution next time with all the maps loaded.
I just wanted to give you a preview, of how i will light the hair, also I am doing physic tests for the animation part.
Ok that last image reminds me of teenage wanting to look like a manga character with spiky hair. The hair doesn’t look natural. And the shadow under the eye bone, is too strong. Right now it looks like some kind of makeup making the character that could look cool. Look very gay…also where are the eyebrowns? With that much hair he should have bushes over his eyes.

 … -__-?
 ( can’t wait to see the sexy body ^^")