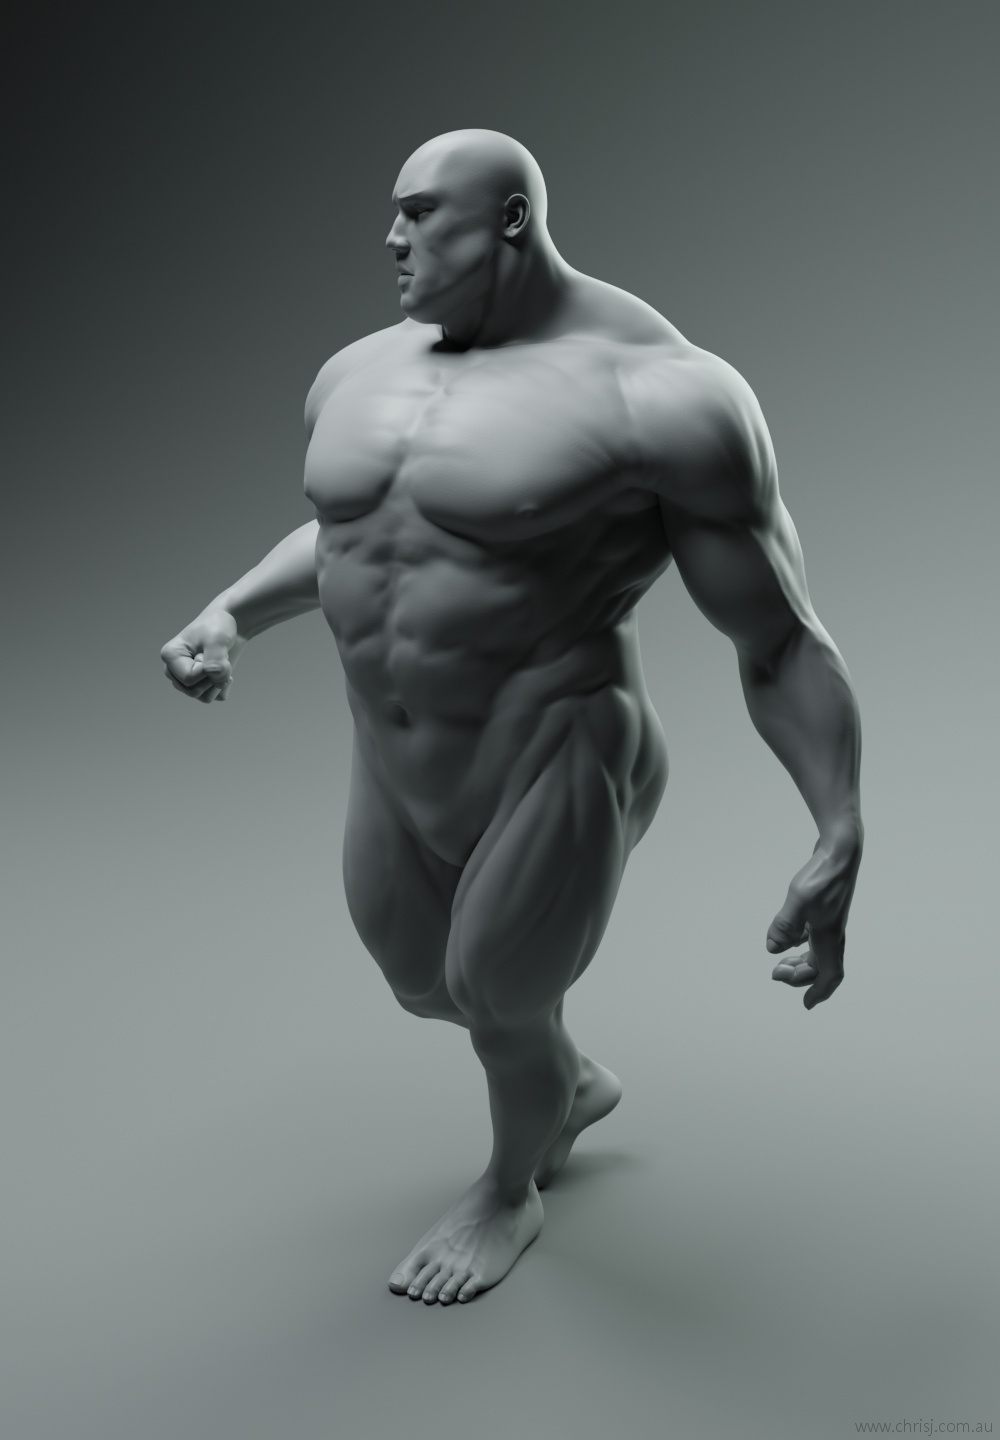
There are dealt ones these days. My sister is a window dresser and remember her showing some freaky models. They actually looked like your model, super long limbs
I agree, it’s just so hard not to play with it ![]() . I’m doing comic style things nowadays, so I’m constantly changing proportions.
. I’m doing comic style things nowadays, so I’m constantly changing proportions.
I switched off the Damper Target copy location constraint, that pretty much does what I want, I think at least.
But ye, to be on the safe side I’ll hold off picking the rig apart until it’s part of the feature set. I have a tendency to messy things up, and this rig is just so nice and clean, no millions of layers, controls make all perfect sense and are easy to use, real nice deformations, I really feel bad fiddling with the constraints.
1 Like
That should do the trick, as long as you don’t mind the leg stretching to reach the foot control. Mess it up all you please, that’s how you learn stuff! ![]()
1 Like
@ChrisJones
hey Chris thank you for sharing your work!
does Universal Human Rigged Base Mesh include skin and other materials ? If not, are you planning to sell those as well?
Also are you planning to sell any tutorials?
Just the rig and base mesh, materials/textures are planned for later on. Tutorials - probably not, unless I find a way to bash them out fast.
Looks great Chris… are those proportions done with the Universal Human Rigged Base Mesh?
1 Like
Technically no, however it’s possible to hack it to some extent as dan2 has done above.
Hey rocko, I’d suggest you open a new thread for this, to not go off-topic on Chris’s own thread.
As for your question, the best way to start is by just using the minimum amount of nodes to see how the maps affect the shader, so start with just a sss node and the maps, then you can start combining things and adding more complexity as you get more comfortable with it.
In addition to what julperado said, you might want to experiment with the tone and colour of the images going into the Color and Radius inputs, and turn off the ambient lighting and use a single light source so you can better see what you’re doing to it. Also check that your object is at a realistic scale, as that affects the amount of SSS.
What’s TS…?
TS stands for
Thris Jones’
Sead project.
Thank you for your kind reply! TS - thread/topic starter, meaning you.
I removed all unneeded messages.
Thank you all and wish a good day

23 Likes
Amazing, hilarious, and terrifying all at once!
2 Likes
um… okay…
Fantastic 3d catwalk 
1 Like
Very nice work. 
hello chris jones , may i ask how did you hide the neck seam since you have used 2 UV Maps ?
Thanks @Magnavis, @DERBENDER & @FletcHR
Technically I haven’t reached the point where I’ve needed to do that yet, however I’ll answer based on what I would do.
First, just to make sure we’re on the same page, the two UV maps both contain the whole body; they’re just different layouts and scalings of the UV islands. The head and body also have separate materials, which can be painted on as a whole just by copying one material and pasting it to the other.
If you’re referring to seams caused by the separate UV islands, I’d probably be inclined to paint the initial texture using a combination of 3D painting in Texture paint and 2D painting in the Image Editor and externally in Krita, then use the clone brush in Texture Paint using nearby areas to clean up any visible seam.
(c:
1 Like
very very thank you