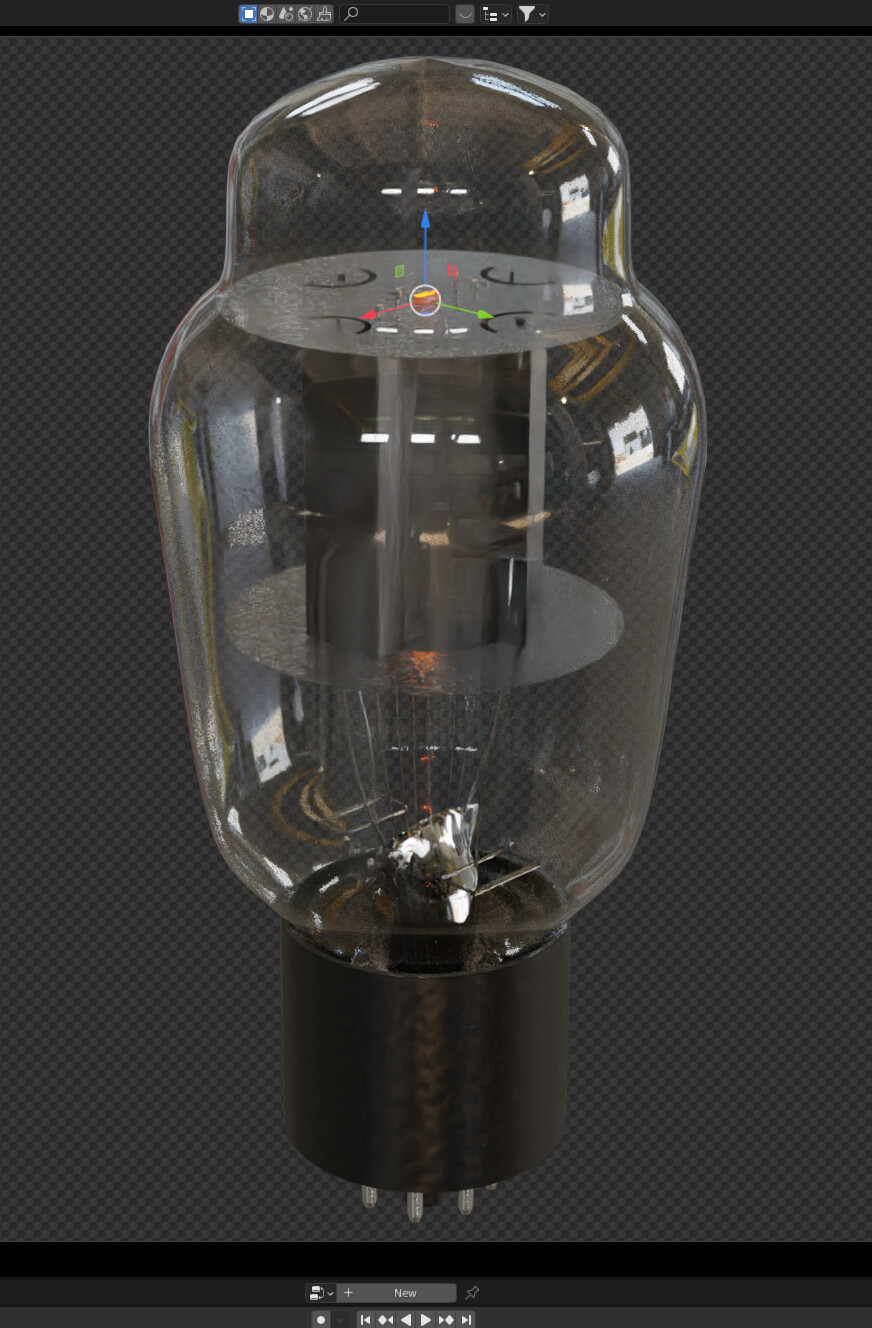
I’m working on a vacuum tube model. The mica insulators have presented a challenge. There are many types of mica, but in electronics, most mica insulators are flat sheets with multiple, flaky, layers of mica. Semi transparent, with cracks and a slight tint. Some mica are more of a powdery white texture.
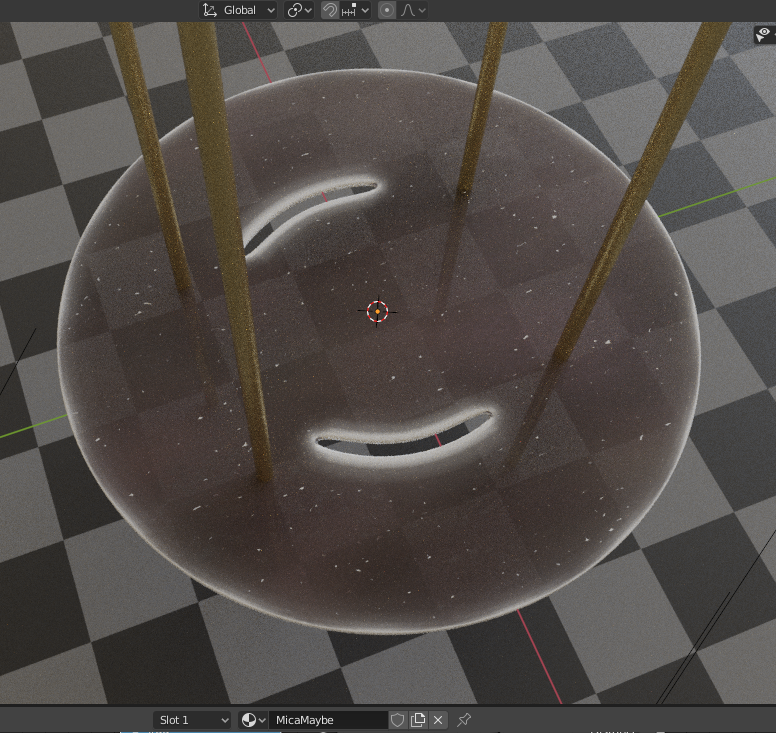
I tried using voronoi texture into noise texture modified by color ramp, feeding metallic and roughness of a Principled shader. It’s passable for a casual model, but it doesn’t look anything like the mica sample I have in front of me.
I wouldn’t say it doesn’t look anything like the sample, but I tried to find some more reference and it’s really hard to really get a sense of the material from images online. Iirc mica has a bit of “pearlescence” to it, doesn’t it? I wonder if it’d help to look at the nodes presented here and maybe add a touch of that to your shader?
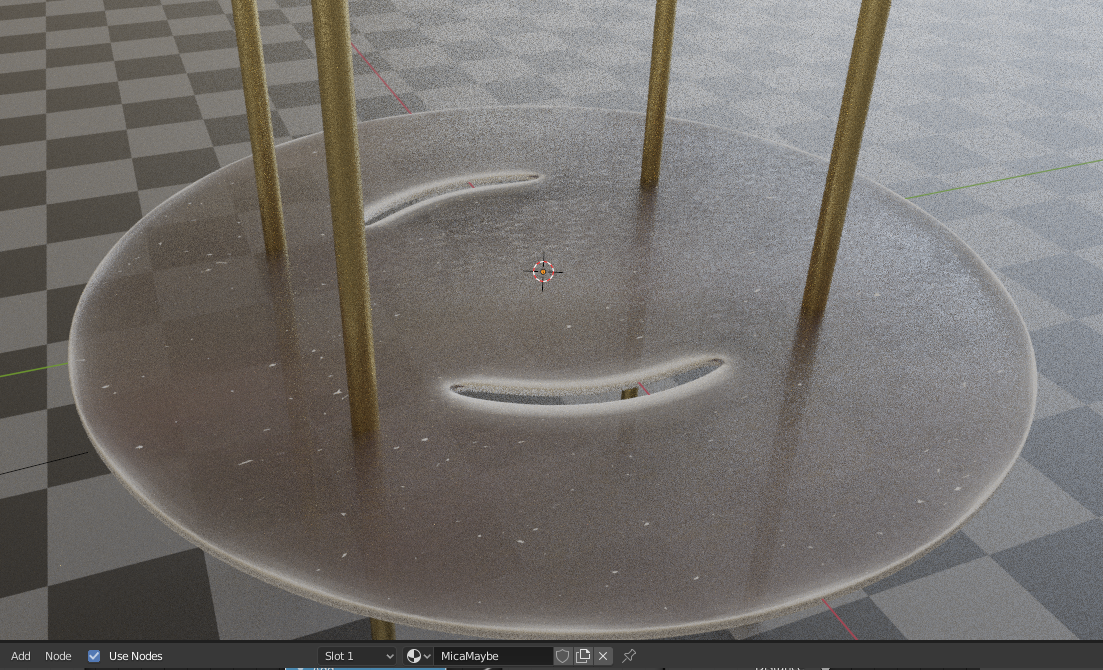
The example on the photo has smooth surface with barely any bumps, and yours is too rough. Perhaps add a Clearcoat effect through Principled shader for second specular layer? The grain of your texture is too fine, and lacks color and value variations
I think if I could make several transparent layers of pearl shaders, it may bring me closer to the look of this particular type of mica. And the light scatters a lot at the cutouts, as you’ve observed. This is likely a very complex shader to create.
I’m working from a physical specimen as my reference. Over my long career in electronics, I’ve disassembled many vacuum tubes, so I have a pretty good mental picture of the innards without taking them apart nowadays. I’m thinking that I need to use Clamp function in some Math nodes to get the effect where layers are pressed together in spots, making those areas more transparent. Like water between sheets of glass, that effect.
The surface smoothness is somewhat hard to determine. But it varies in flatness over the object. Good suggestion about the clearcoat. Maybe if I plug in a texture into that input, I can get some variability.
Okay, tried adding Clearcoat, but it didn’t change the appearance.
show a pic for the Mica and if possible the Nodes set up or a sample file
i did many tubes model in blender but did not really made this Mica mat
so find this interesting
may be do some multi layers glass with some noise + other
to get like transp multi layers noisy glass
should give closer to real MICA with noisy layers
Your suggestion about multiple layers of glass with noise sounds interesting. I had a glimmer of that thought myself but wondered if I could do it in one object with a fancy shader network.
I posted the shader network in my first post. Is there other info you’re looking for about this?
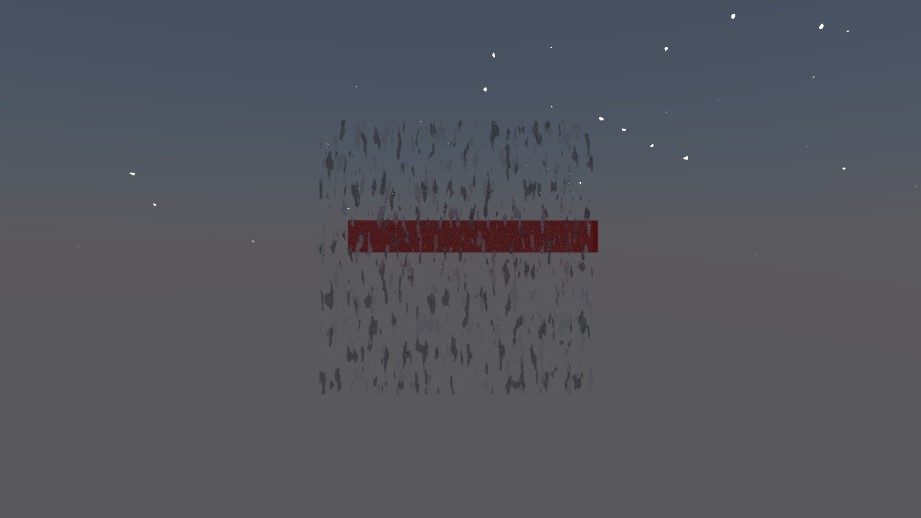
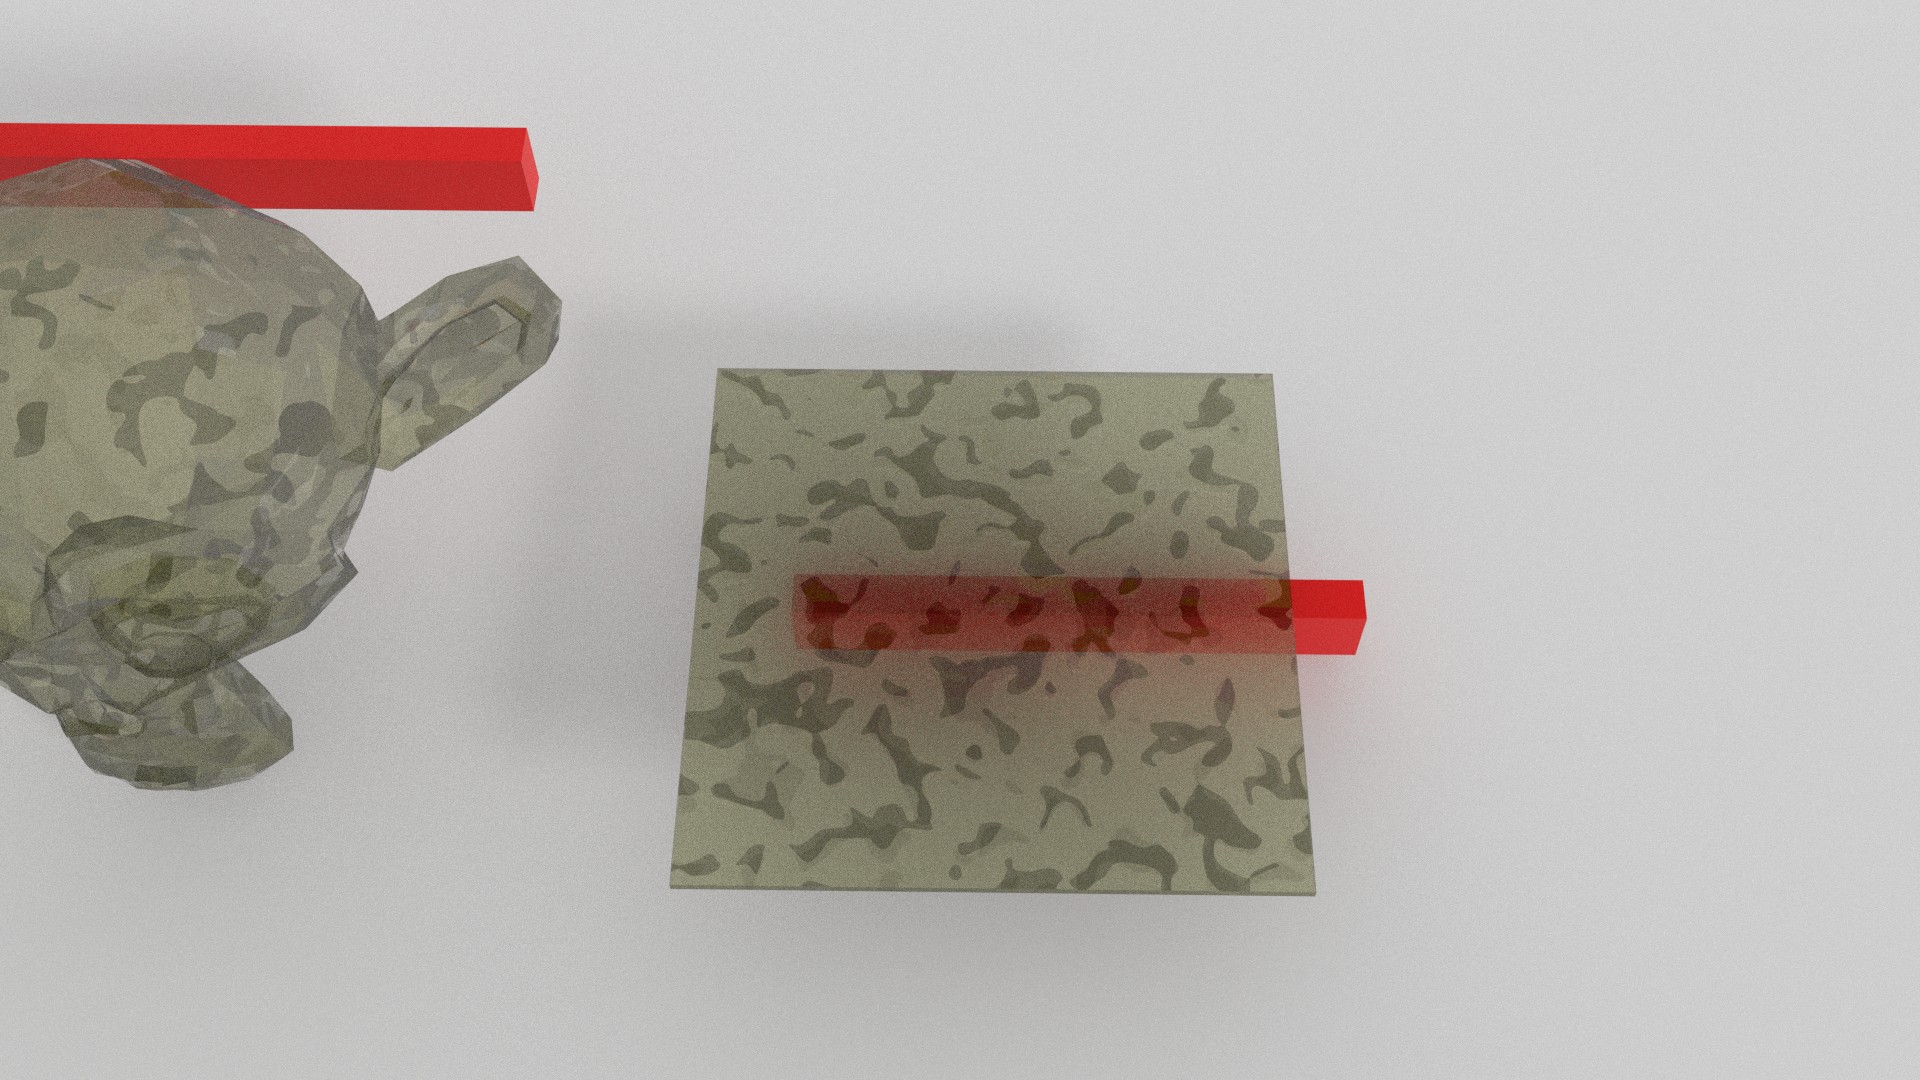
idk what you think - I took your original nodes (roughly), made the overall color more brown, mixed in the white edges, mixed in that pearl shader with a pinkish tone, and added some transparency filtered by a noise texture. If it’s interesting I can attach the blend here; since i don’t have a piece of mica nor your experience I can’t tell if this is any closer or farther from the goal. I added those white flecks but not sure if I like them. Anyway:
interesting
use a simple glass but could be better with standard transluscent mat
might do some test on this
but with many layers would be too dark i think
I like what you’re accomplishing with the cutouts with their increased light scattering which emulates the look of real mica cuts, though in my sample, that effect if much more subtle. I wonder if it can be dialed back to about 20%? That’s half the battle right there. The other half is the light transmission through the mica and it’s many layers with some parts pressed together and other parts with gaps, changing the way light passes through and refracts.
I’m curious what your node tree looks like for this edge damage effect. I could not get the example shown earlier in this thread to work.
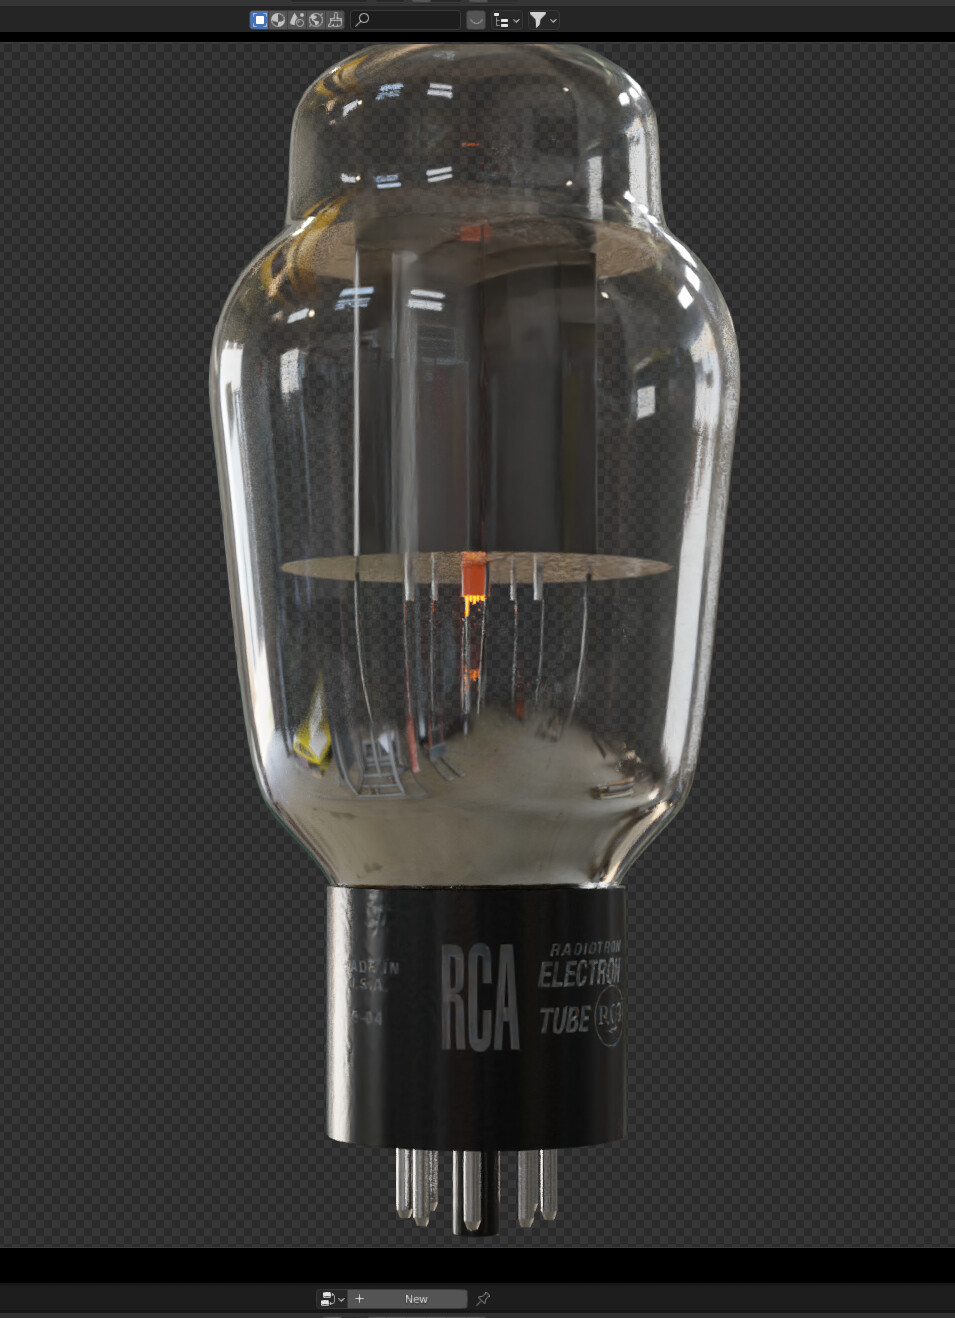
Today, I decided to work on the silver deposit on the glass… Another step toward realism: adding the silver deposit on the lower part of the glass envelope. In a vacuum tube, this is a result of the “getter” firing during manufacture. The getter is made of magnesium and other materials that burn real hot. When it burns, it condenses on the glass and that silvery coating is the result.
I produced this with texture painting. The areas that are transparent are black in the map. The silvered areas are white. I then took the base color and unplugged it from the base color input of the principled BSDF shader and plugged it into the Metallic input.
First, I had to get inside the glass envelope and paint from the inside, so that the silvering would be on the inside of the glass.
I could not paint directly in to the UV map because for some reason, Blender fragments the pieces that correspond to faces and puts them in separate islands when they should be contiguous. This drove me nuts for about 20 minutes, so I gave up trying to paint in the UV editor and just went inside the glass and painted directly there.
I turned it down a bit already from my render, but to make it even more subtle, you could increase the value of that first Multiply by a little, or you can also increase the value of that Add node.
The white Diffuse shader is the edge shader; you could plug anything in there if you wanted a more advanced edge.