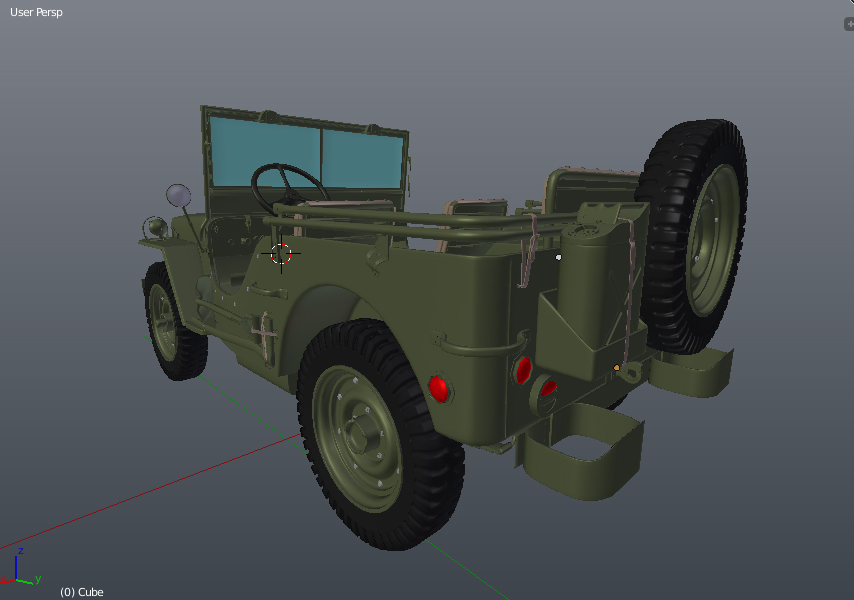
Response to Question at #44: It’s the blackout light from the front of the jeep to drive at night. Each jeep has two blackout lights in the rear that are calibrated to guide the jeep or truck with blackout lights behind it. There is a black strip of glass that has two triangles that look like bookends. The driver in the jeep behind keeps the triangles aligned at night so knows how close he is to the jeep in front.
The details of the blackout lights are hard to see, but if you google it, there are descriptions on how they worked.
The shield over the blackout light in front is there to prevent enemy aircraft from seeing the light. It wasn’t possible for an aircraft to week the ones in the rear.
I’m sure that you haven’t finished the details so take my comments with a grain of salt. I have been in the process of modeling a Willys Jeep circa 1943 for a long time. I run my own business and this year I’ve traveled a lot (22 weeks in hotel rooms since 1 June), so I don’t get to model as much as I would like to. And when I am able to get a few hours to model, I’ve forgotten many of the tips, tricks, and techniques I thought I learned.
Anyway, here are a few friendly observations:
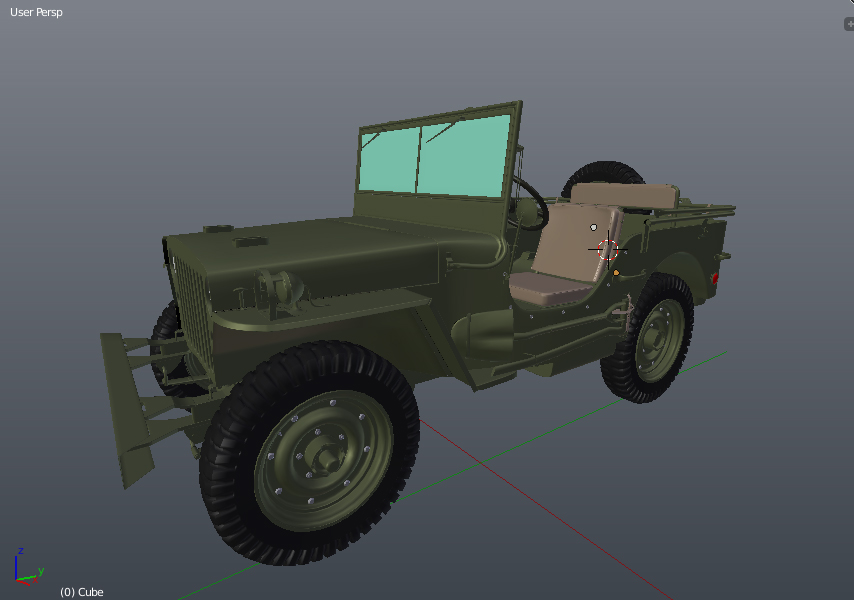
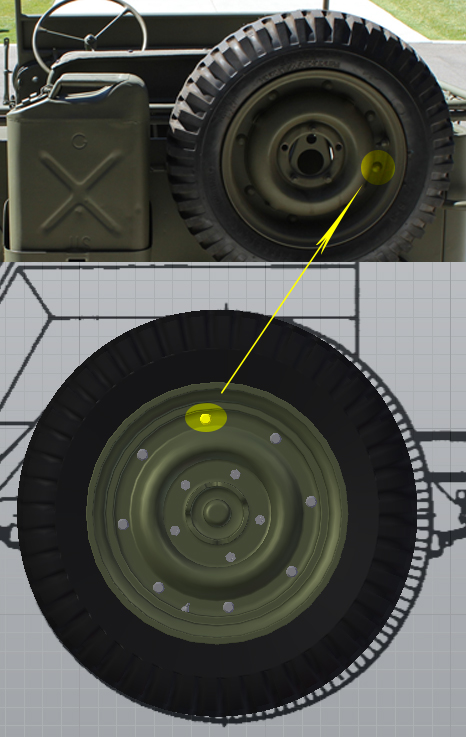
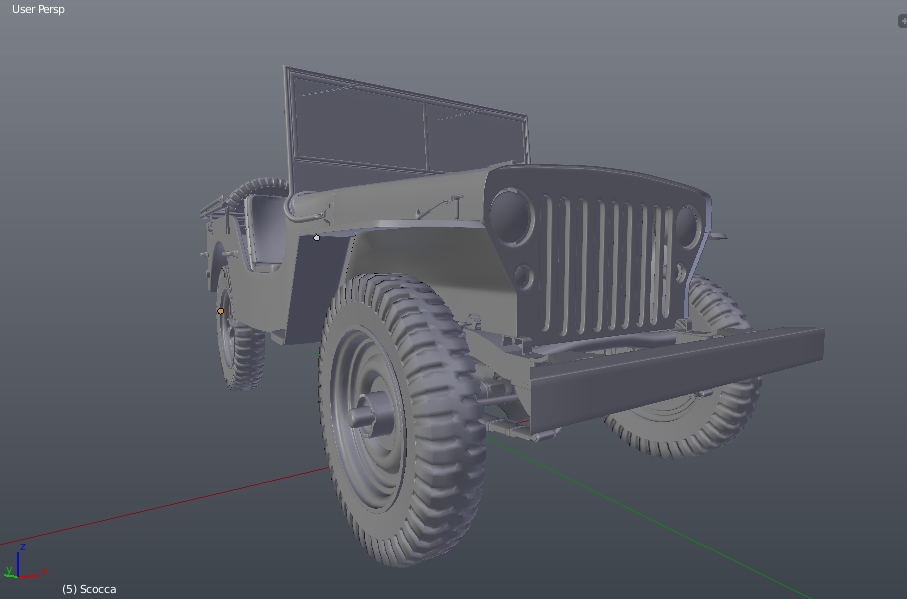
You are one of the few who has taken the time to model the front and rear rims differently. However, I would recommend that you take the time to add the rivets, nuts, and air valves as it will add realism. Also nice touch with the pheumatic tubing for the windshild wiper motors. And nice job on the dashboard with the winshield locks, gages, etc. Also good attention to detail in modeling the hinges for the hood and the lids to the tool compartments–not many take the time to add that kind of detail.
There are a number of snaps and prominent screws on the sides that would also add to the realism.
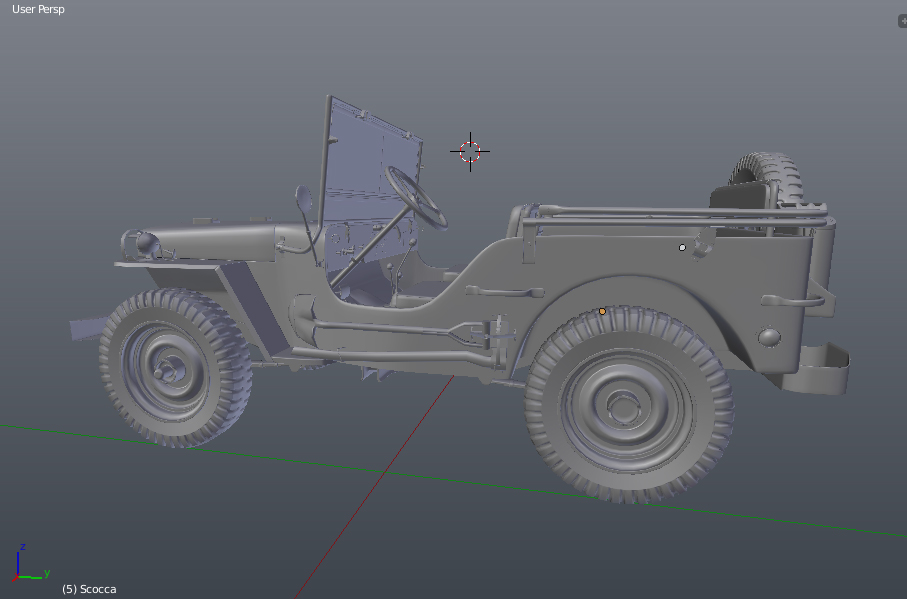
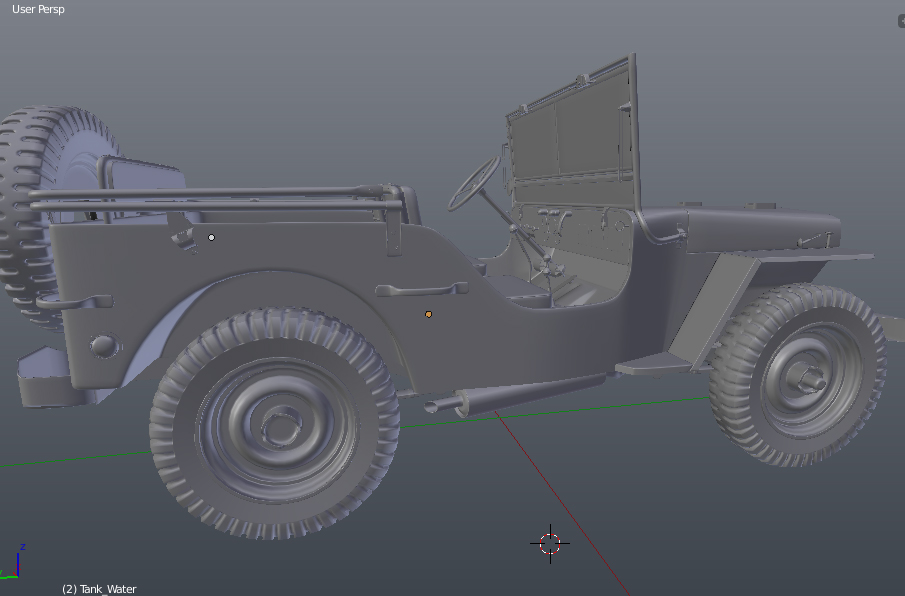
You are missing the drain box under the driver’s side and the muffler on the passener’s side. Both are readily visible from the side views.
You are missing a set of laches on the hood for securing the windshield when it’s folded down.
It appears that you have started to model the windshield guides / lock that allowed the windshield to be opened outward, but I see you haven’t yet modeled the guide (the long medal strip with the center cut out).
The floor up front where the driver and passenger would sit could use some additional details, though it’s difficult to tell how much you have included because of the angle of the screen capture.
Early in the war, the Germans were stringing wire across roads to decapitate jeep passengers. The Army quickly added the wire cutter welded to the front of the jeep that would catch the wire and force up into slots at the top that would cut the wire. There were a lot of low hanging electric and telephone wires as well that the wire cutter would cut through. If your model is a early 1941/42 design, then they didn’t have wire cutters. But by the time we were fighting in North Africa, Sicily, and Italy, wire cutters were considered standard equipment.
Most jeeps had a tow rope wound around the front bumper, but some were modified with steel tow bars or had chains.
I’m sure that you will eventually have tires that look more like jeep tires. But try to include some of the embossed lettering on the sidewalls of the tires that were used during the war. BF Goodrich and Firestone were the primary manufactures, but there were other companies producing jeep tires as well. Some of the information included is a bit esoteric but there are a few prominent labels that will help to sell the realism such as: the tire manufacture with the tire size and info below, “Military”, S-3, and one or two others. If your tires are high res, you can use bump or displacement, or you can use Normal maps. I’ve tried all three, and there is little difference in appearance, so go for the easiest one to do.
There are some other minor details, but overall, you have taken your model futher than most with your attention to detail.
I’ve done considerable research and have reviewed in detail hundreds of reference photographs of both WW II photos as well as those that have been restored to authentic conditions down to the last detail.
One thing I’ve learned from it all, is that no two jeeps were the same. They were heavily modified in the field and they were painted with whatever paint was availble to the factory or repair shops in the field. Also the markings are very different as you reivew the WW II photographs. Many of the “decals” were applied in the field and not strictly according to Army guidelines and the stars, stars with bars, and identification markings on the front and real fenders were not strictly standard either. They were different sizes, some were painted with stencile and other were hand painted. The variations in jeeps is pretty amazing and varied from Service to Service.
You can see my WIP from May under FMB. I will be posting a significan update in a few weeks, but Cycles is driving me crazy at the monent. Nothing seems all that intuitive to me.
Congratulations on the modeling you’ve done so far. Keep up the good work.
When I was modeling my Willys Jeep, I came across a number of features that I had no idea what they did or were for. It’s hard to google blackout lights when you don’t know what they are, so it took me a while. At first, I thought the front blackout light was a horn. And it toom me a while to realize that the box under the driver side of the chassie was a drain box. The ilst goes on.
What I enjoy about modeling historic objects is the learning process.
A number of people have modeled the jeep with a .30 or .50 cal machinegun, but the more interesting configurations in my opinion are the radio jeeps, the wire laying jeeps, the medical jeeps, the jeeps that were modified in the field with armor, etc. There are easily two dozen completely different configurations for the jeep.
Also, I haven’t yet seen anyone model the jeep in winter with snow chains.
I’m still working on my jeep model. I rarel have time to model and so it takes me forever to finish a project. I posted my last WIP in May under fmb501. I will update it in a couple/few weeks when I get time. I’m not sure yet what the final scene will be.
Thank fmb501 for your advice, critical and considerations; It is always useful
As I said at the beginning of wip, my intent is not create a model super-detailed, so many small objects such as screws, bolts, etc. are deliberately left aside (practically I use blender for a couple of months). I hope (with a more powerful computer) to create a model super detailed forward (I still have to study the unwrap and textures in Blender). However, I will follow your advice a lot (considerations 2, 3, 4, and 9)
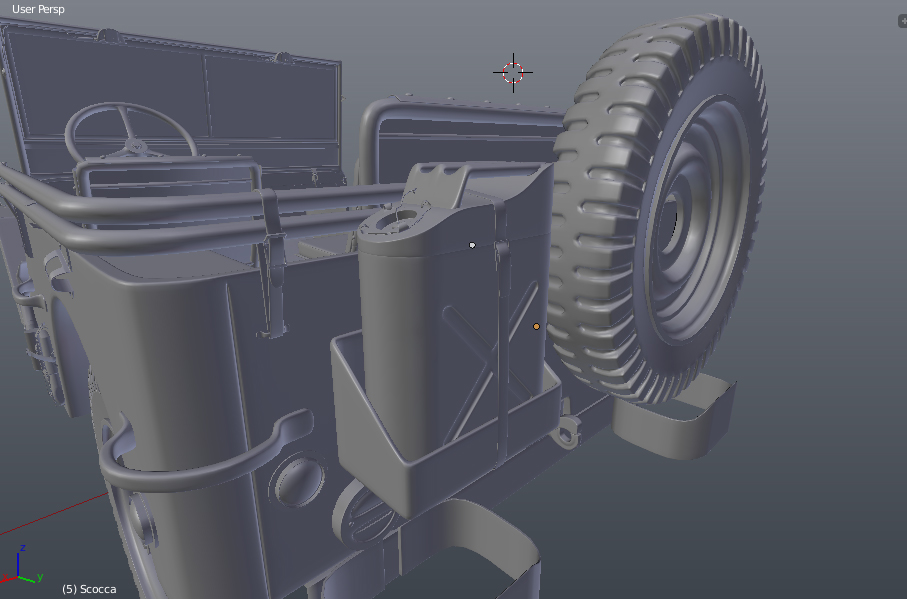
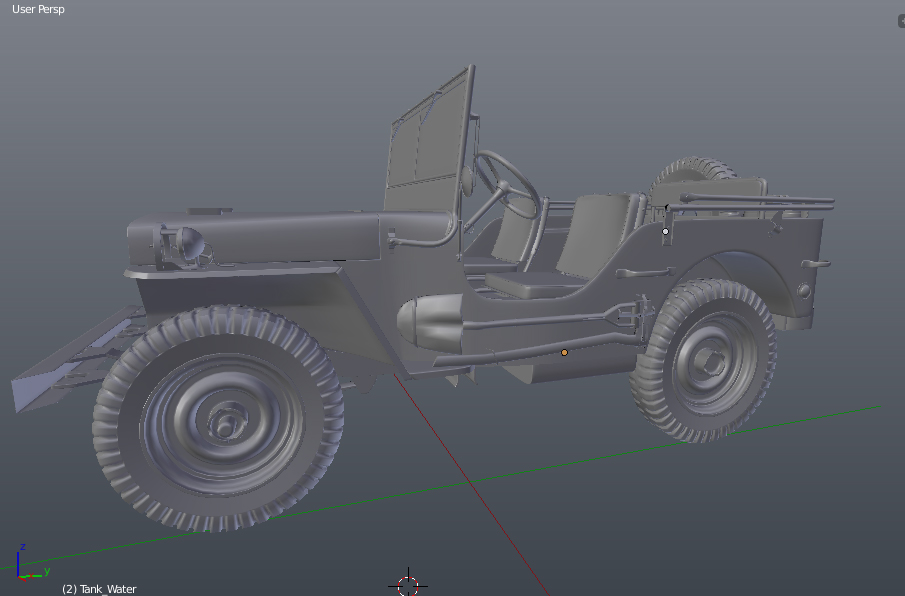
Added to the model tires (to finish the spare tire) and Jerry can.
If you think it’s wrong my model, exactly where? Since I am still in the process of modeling, I will provide to modify it!!
For the material I want wait the end of the unwrap heheheheheehh
Thanks again for your continuous and welcome support RickyBlender!!
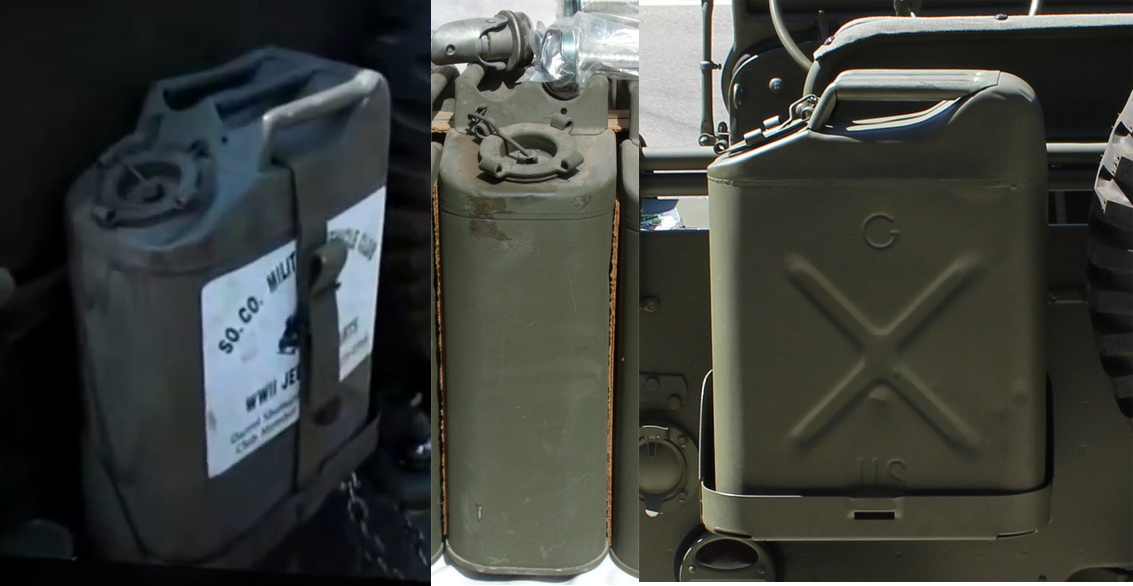
OK thanks RickyBlender!!! I did not know that the Water can is “X” marked Well, last thing to do is the petrol tank Thanks for the info! (now I modeling the muffler…)
Seeing well you’re right RickyBlender for the windshield (I’ve scale them. I now think that the measure is right …) For brackets/straps for tools, you mean this??
The rivets (based cone) side serve to couple the two halves of the rims (sincerely I did not understand why ). For the Jerry Can I’ve to model that for petrol and, yes, the metal base It’s to be adjusted


 (I’ve scale them. I now think that the measure is right …) For brackets/straps for tools, you mean this??
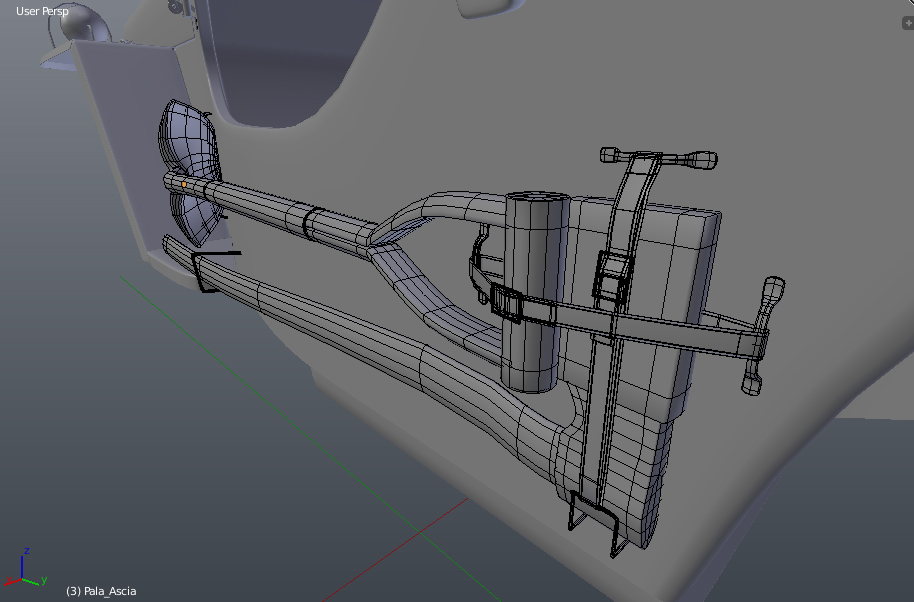
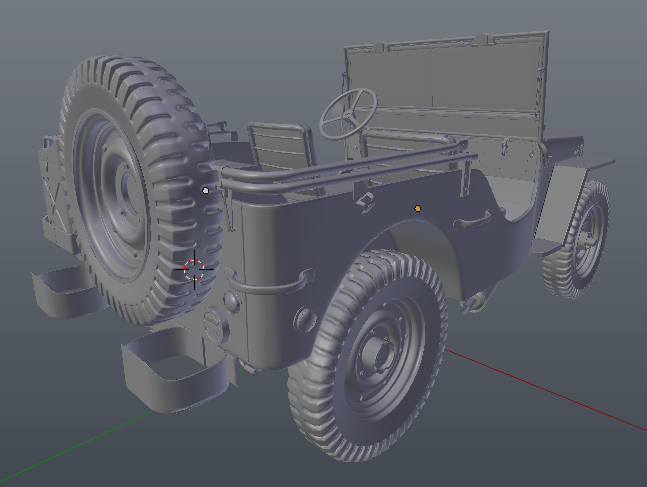
 Unfortunately, without rendering, many details are lost in the viewport.