I should have created one of these threads a long time ago . I almost never upload any of my wips to my social networks and the ones I have published are from a long time ago, so I thought it was better to upload them here. Much of this is still halfway done so excuse the mess, suggestions are appreciated.
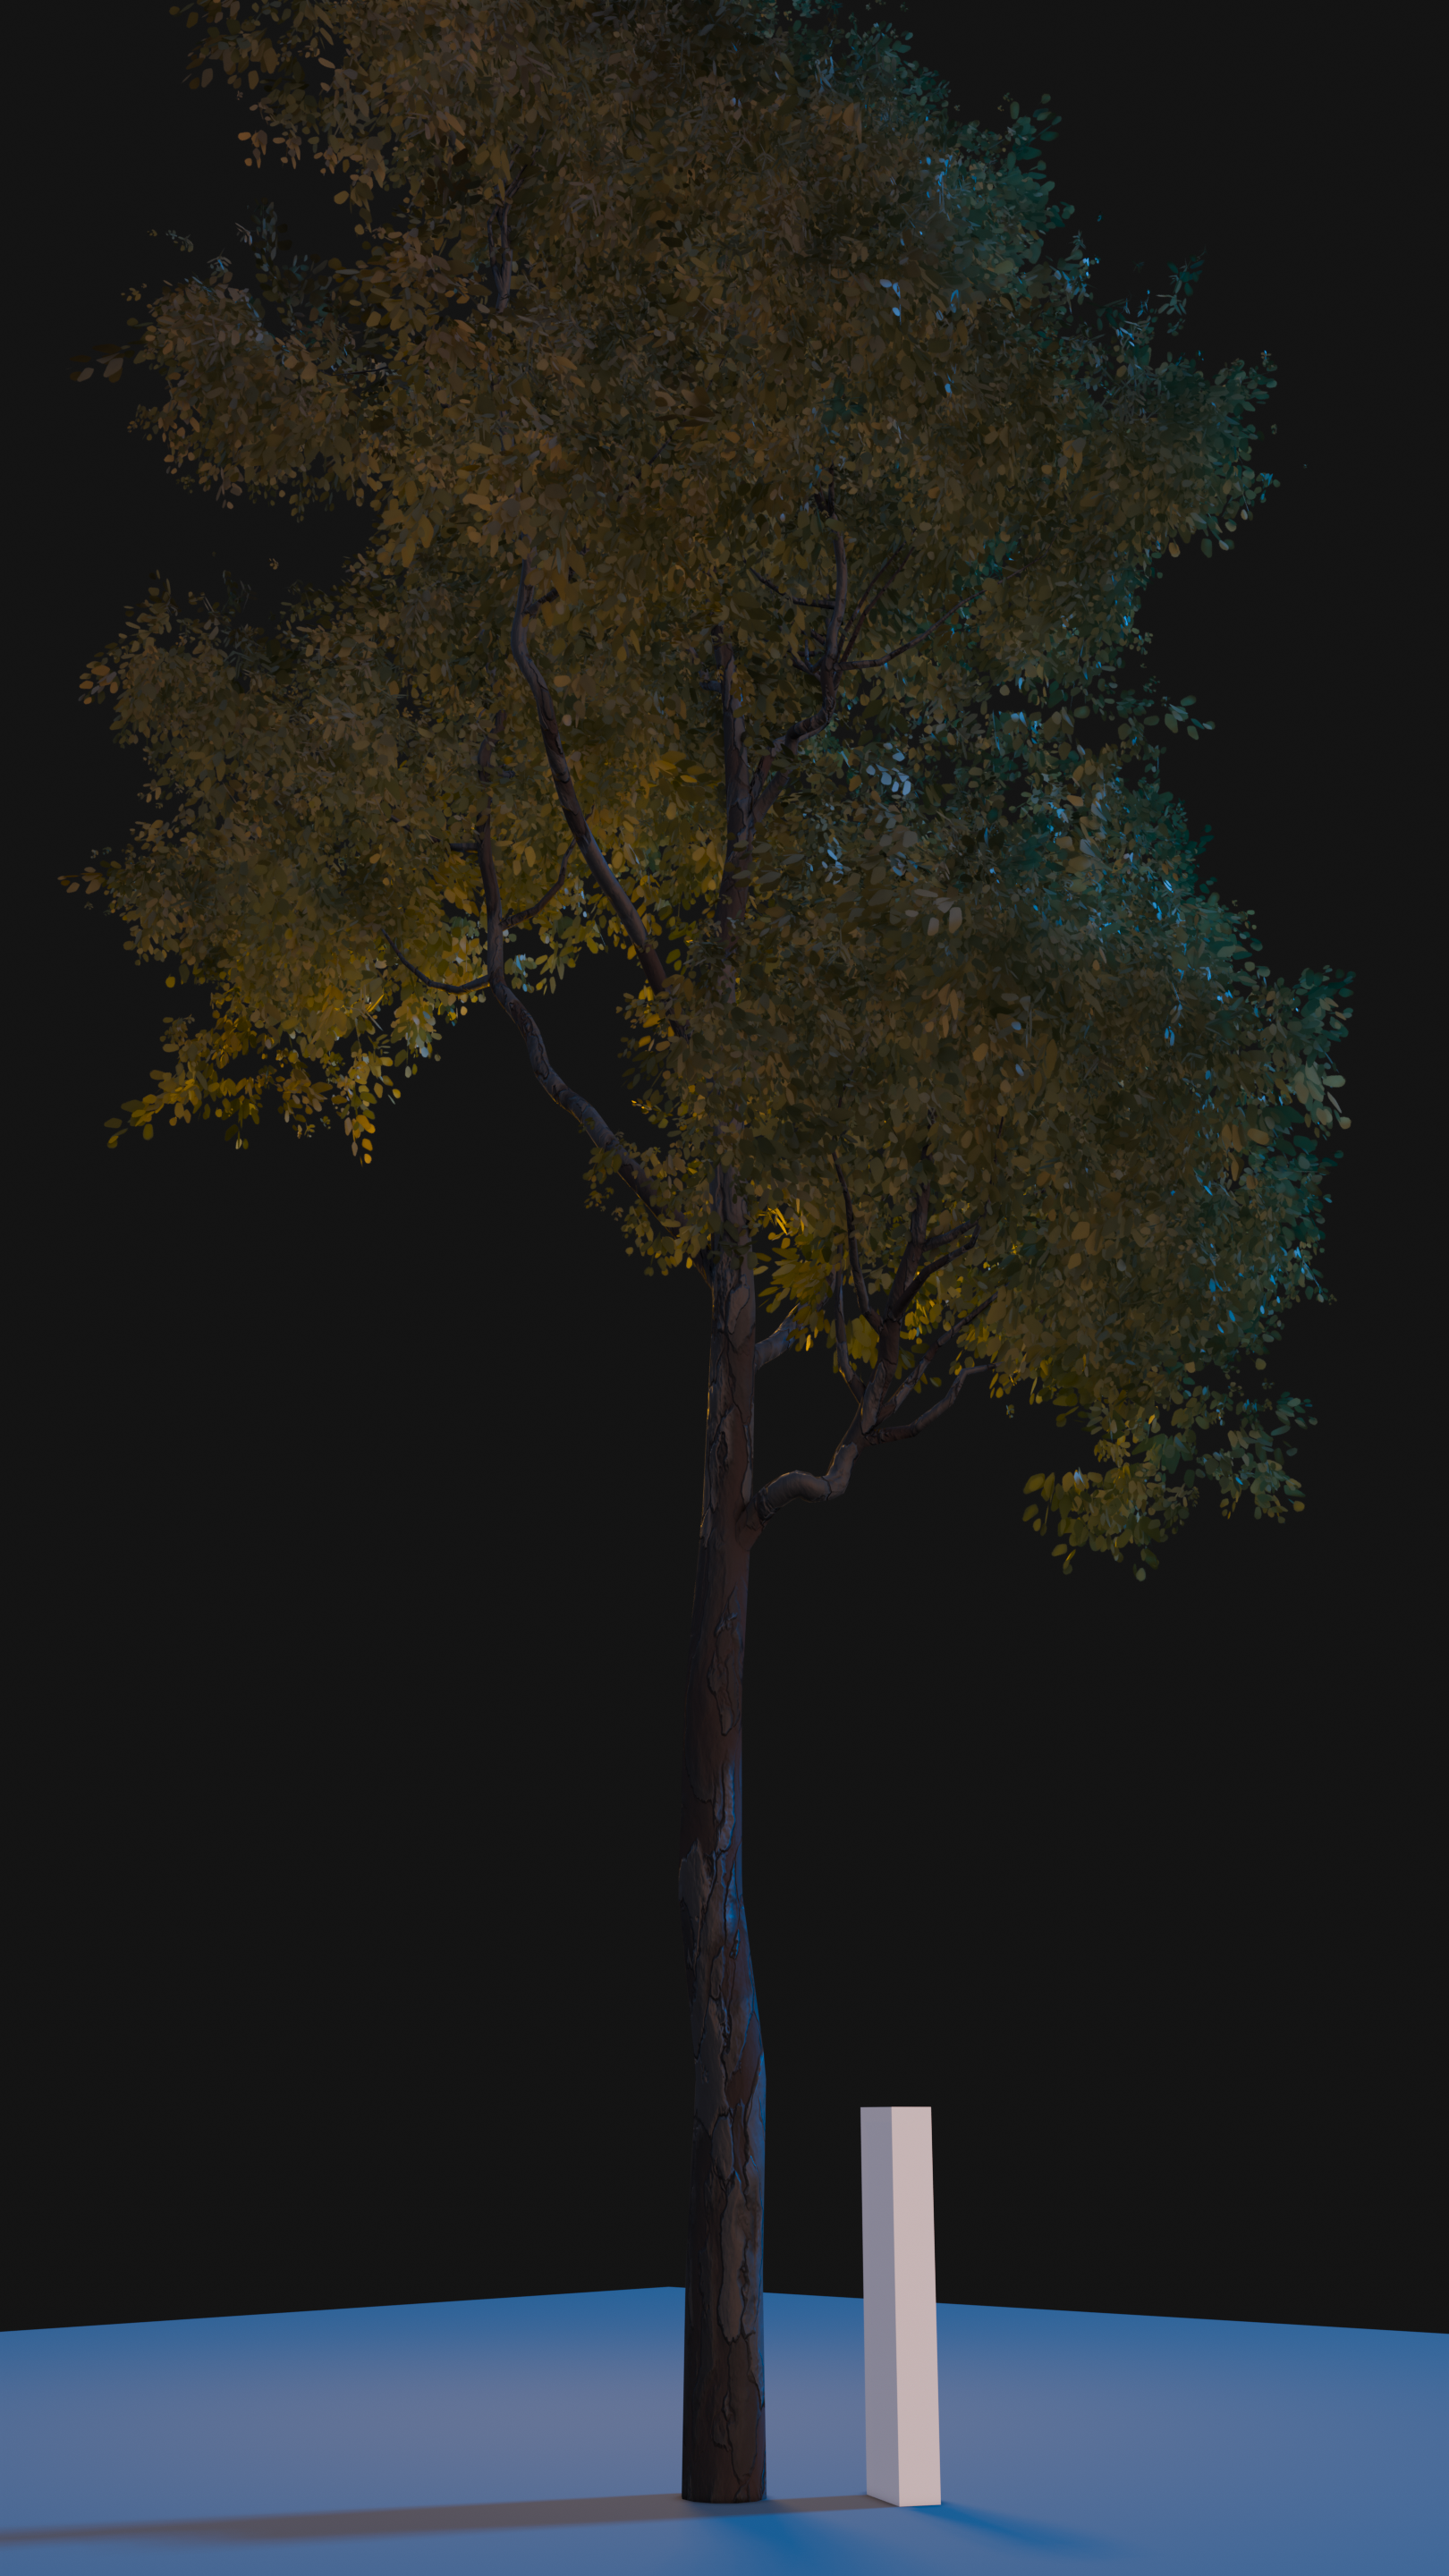
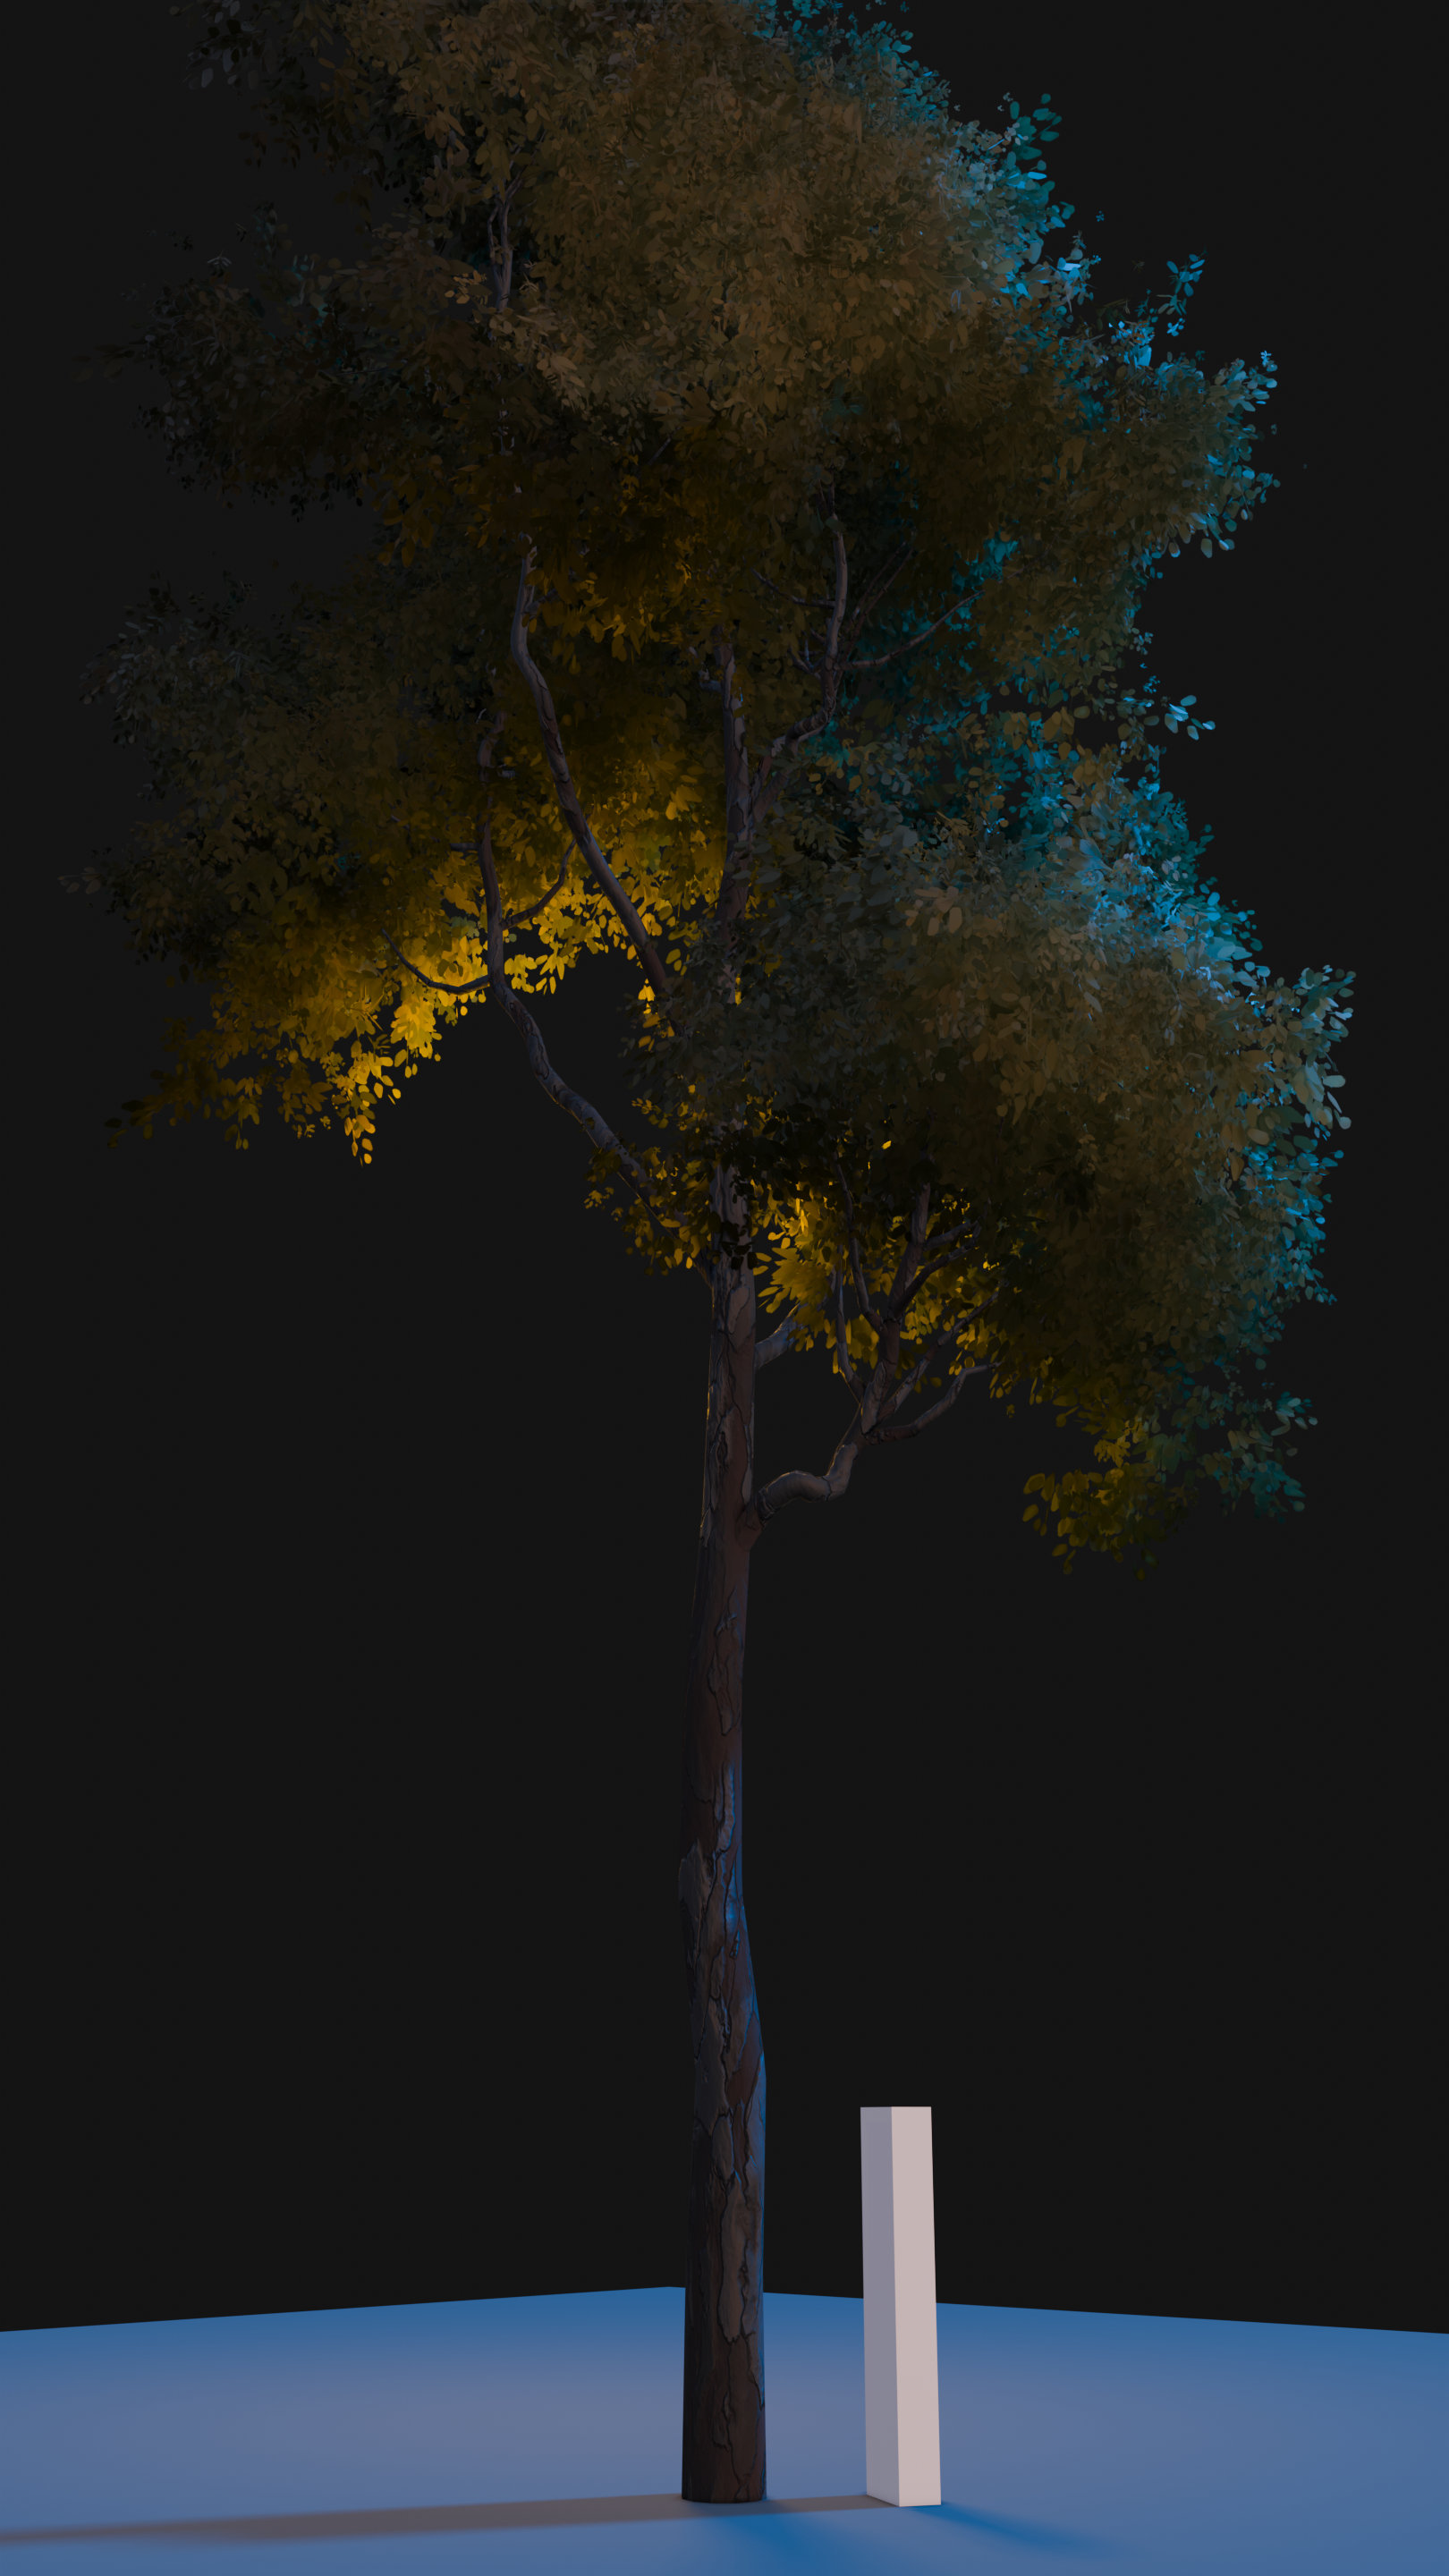
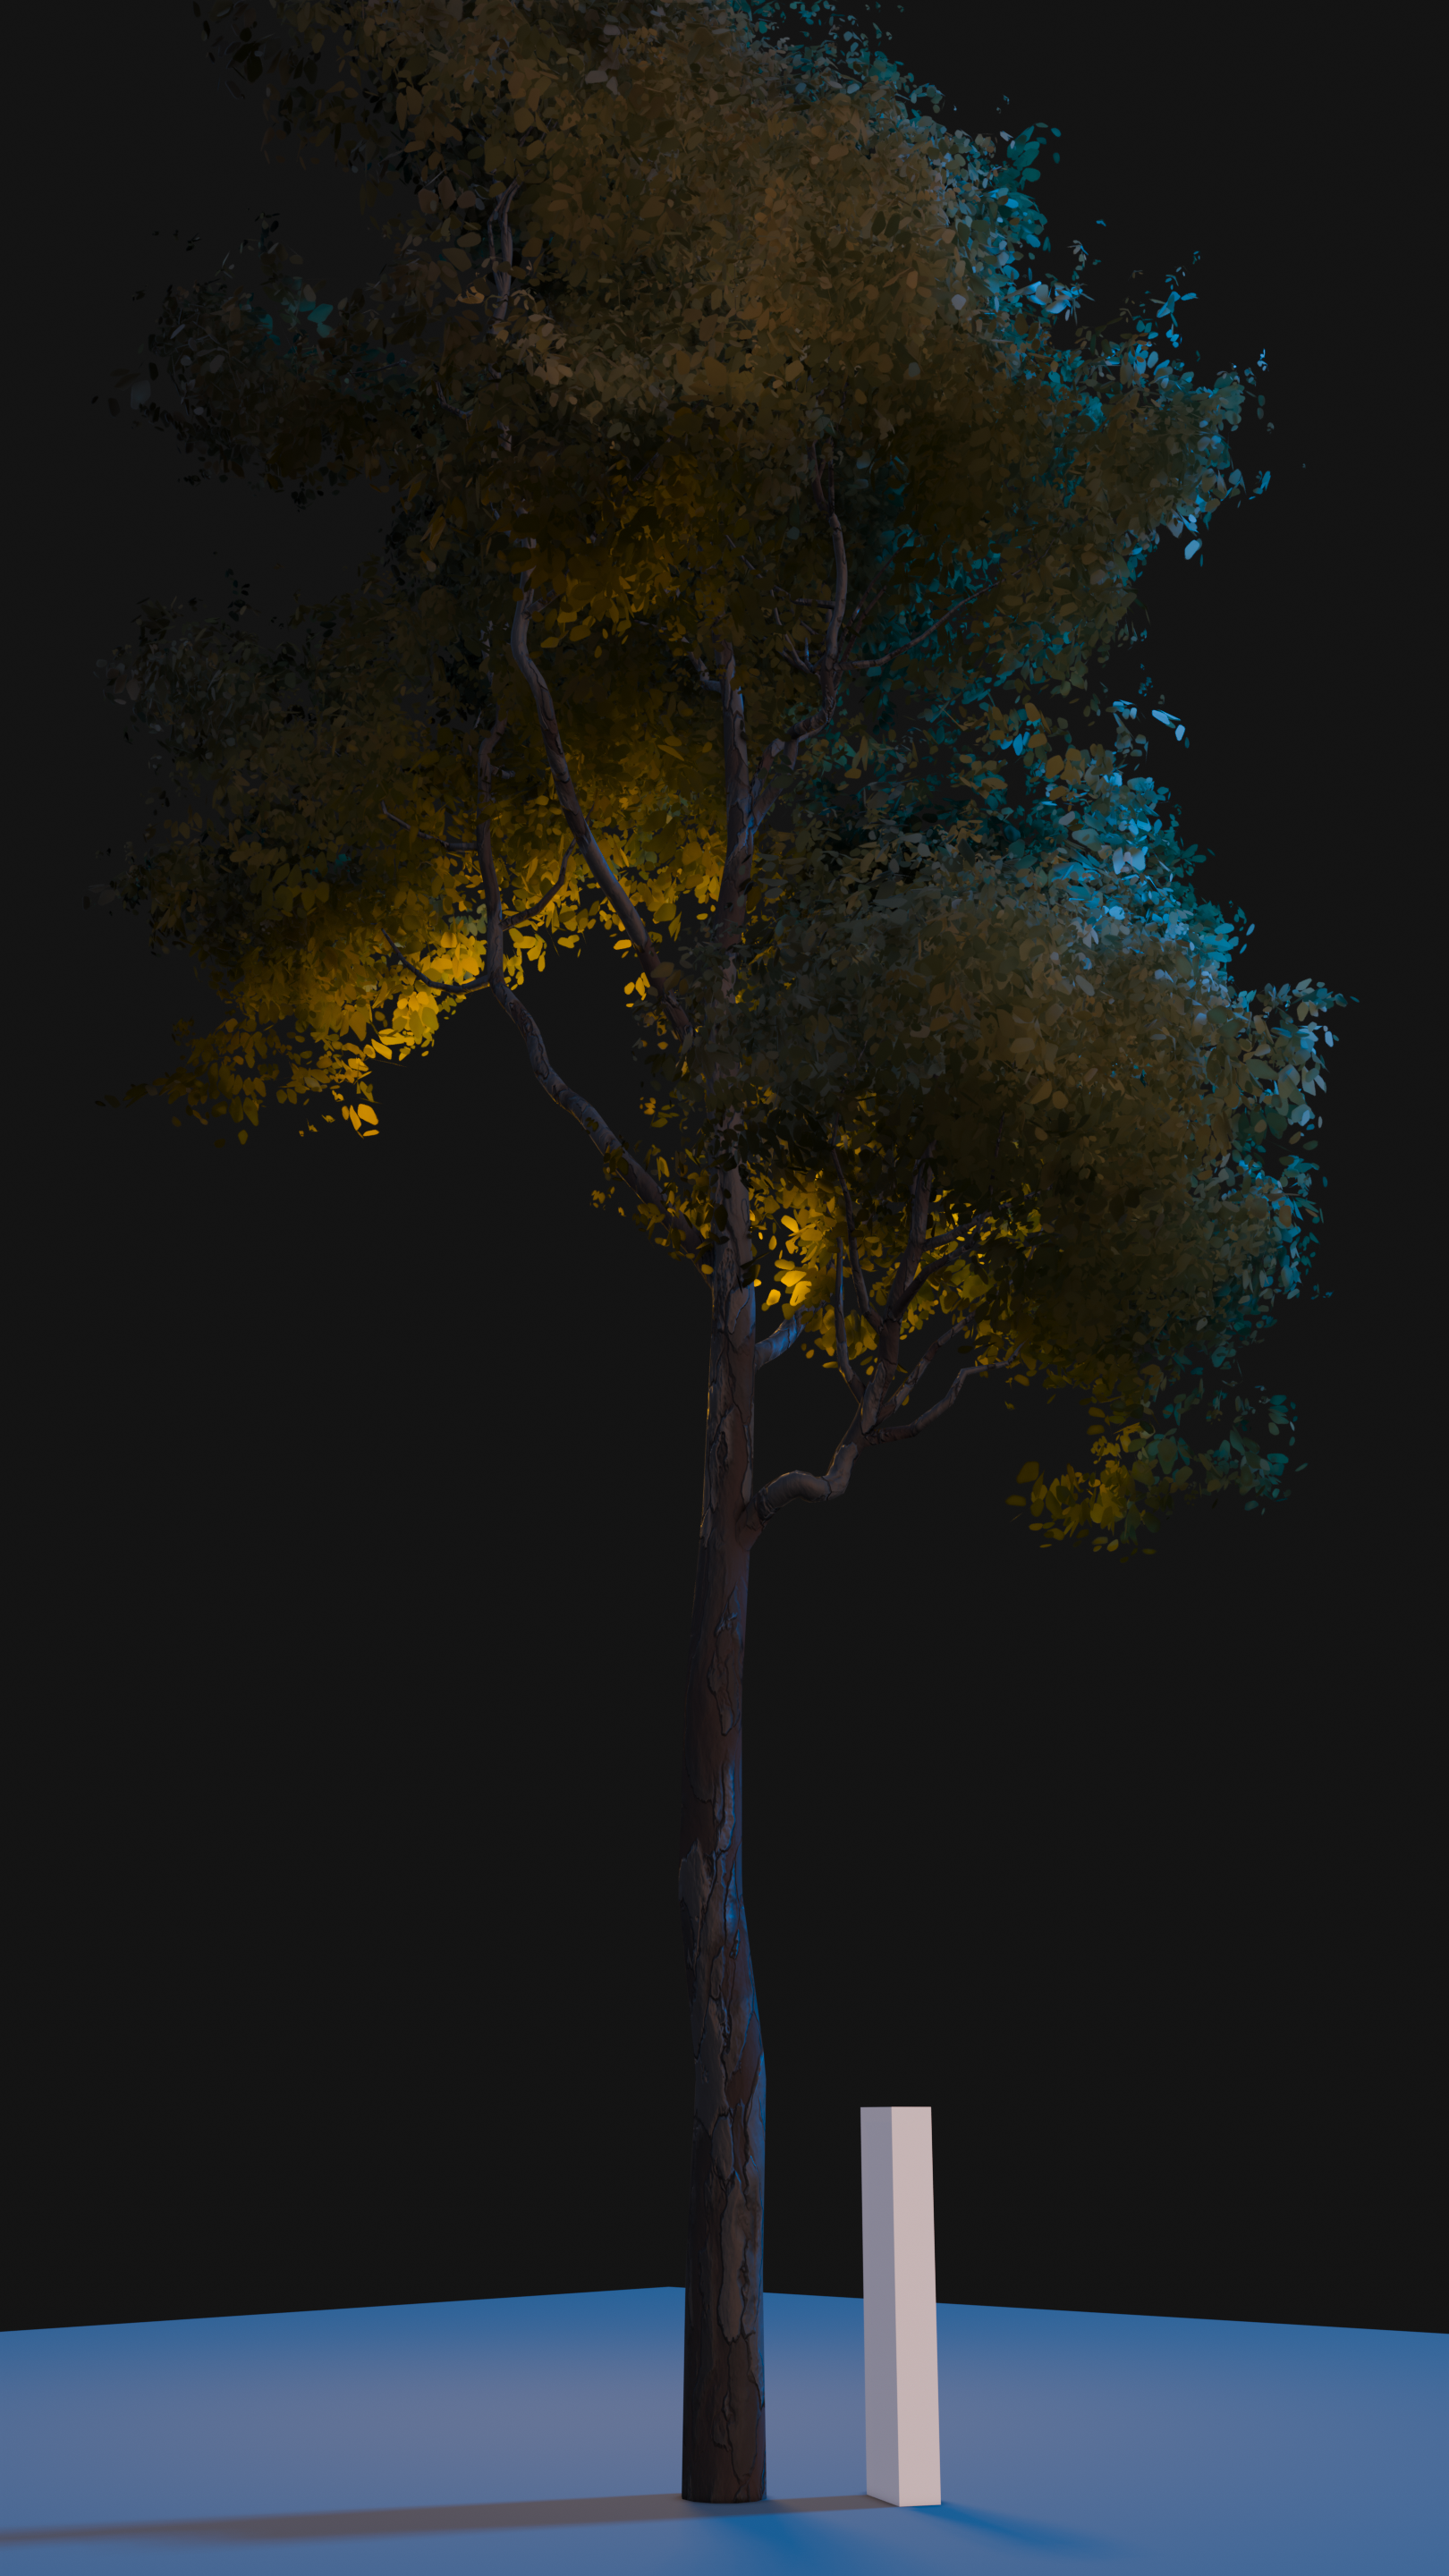
This is a scene that I have been working on from time to time, it started as a practice to learn how to create UVs and texturing in Substance, then I was experimenting with adding interesting lighting in cycles and currently I am exploring the “bokeh” shadow effect with EEVEE (animated procedural shadows).
I haven’t uploaded anything in a while hehe . I made an update to one of the first works I uploaded here, I feel like I’m finally improving in shading and lighting (Thanks to AgX too ) :
I was also testing the group of nodes from this thread:
It is very flexible and very interesting to use. My goal was to create semi-stylized trees (with pbr shading but with certain npr characteristics such as shading of stylized normals), luckily using geometry nodes I can create a mesh that wraps the leaves and transfers their normal to these, so I can further accentuate its “bush” look.
Hi. Yes, one way to obtain the blob shape is by using a convex hull node on the branches, although if you are going to do it that way I recommend that you use the branches from the penultimate node group iteration (before the smaller branches in which they will be spread leaves), helps in computing time and in obtaining less realistic normals.
The other way is manual although with more control: duplicate the object, only show the leaves, make the real instances and apply the modifier, then you make a less dense voxel remesh (it can be better than the convex operation because you can have concave shapes close to the general shape of the object) and apply modifier.
and in the shader nodes you add an attribute node with the name you give to the custom normal, you just have to connect it to the normal shader input and that’s it.
The setup is somewhat good, I’m sorry, I think I didn’t show the complete configuration. This is inside the leaves group node, I connected the output of one of the branches to use it there.
Regarding the transfer of normals, the input of the store attribute node is the geometry of the leaves, the attribute it receives does come from the sample node.
Using Realize instances seems to help with performance, according to my tests, if you don’t use it the instances the viewport become laggy and if you want to instantiate this tree it will become completely slow, but if you use it this problem is solved, I deduce that it has to do with with nested instances. Also, the geometry type is “Instance” and goes before “realize instances” first to achieve a more stylized effect on the normals (the normals would be transferred to each instance as a single point, if they were made before transferring the normals they would be transferred for each vertex) and second, according to my tests, this way I get less computing time, if you want you can try too.
I was working on a sky lantern simulation, what kept me busy was the collision of the lanterns, the outdated particle system couldn’t do this so it was a motivation to try the simulation with geometry nodes, I’m new to it so I was testing what worked and what didn’t. I think so far I have found a way to solve it, technically it is not a collision because it detects the proximity before the points make contact and applies the opposite force (or half, I found that doing so repels them more smoothly, otherwise they bounce sharply) at the speed at which that point is going (well, at least that’s how I came to understand my setup). My first contact with the simulation zone was interesting, I am enthusiastic about reapplying an idea with those nodes.
and I also did some work on shading, for the paper texture and the lights (I’m using eevee so I can’t use light objects, my laptop dies ) and its animation, to compensate I’m using the branch with the SSGI patch of Blender from one of the threads on this site. I will update with the animation later.