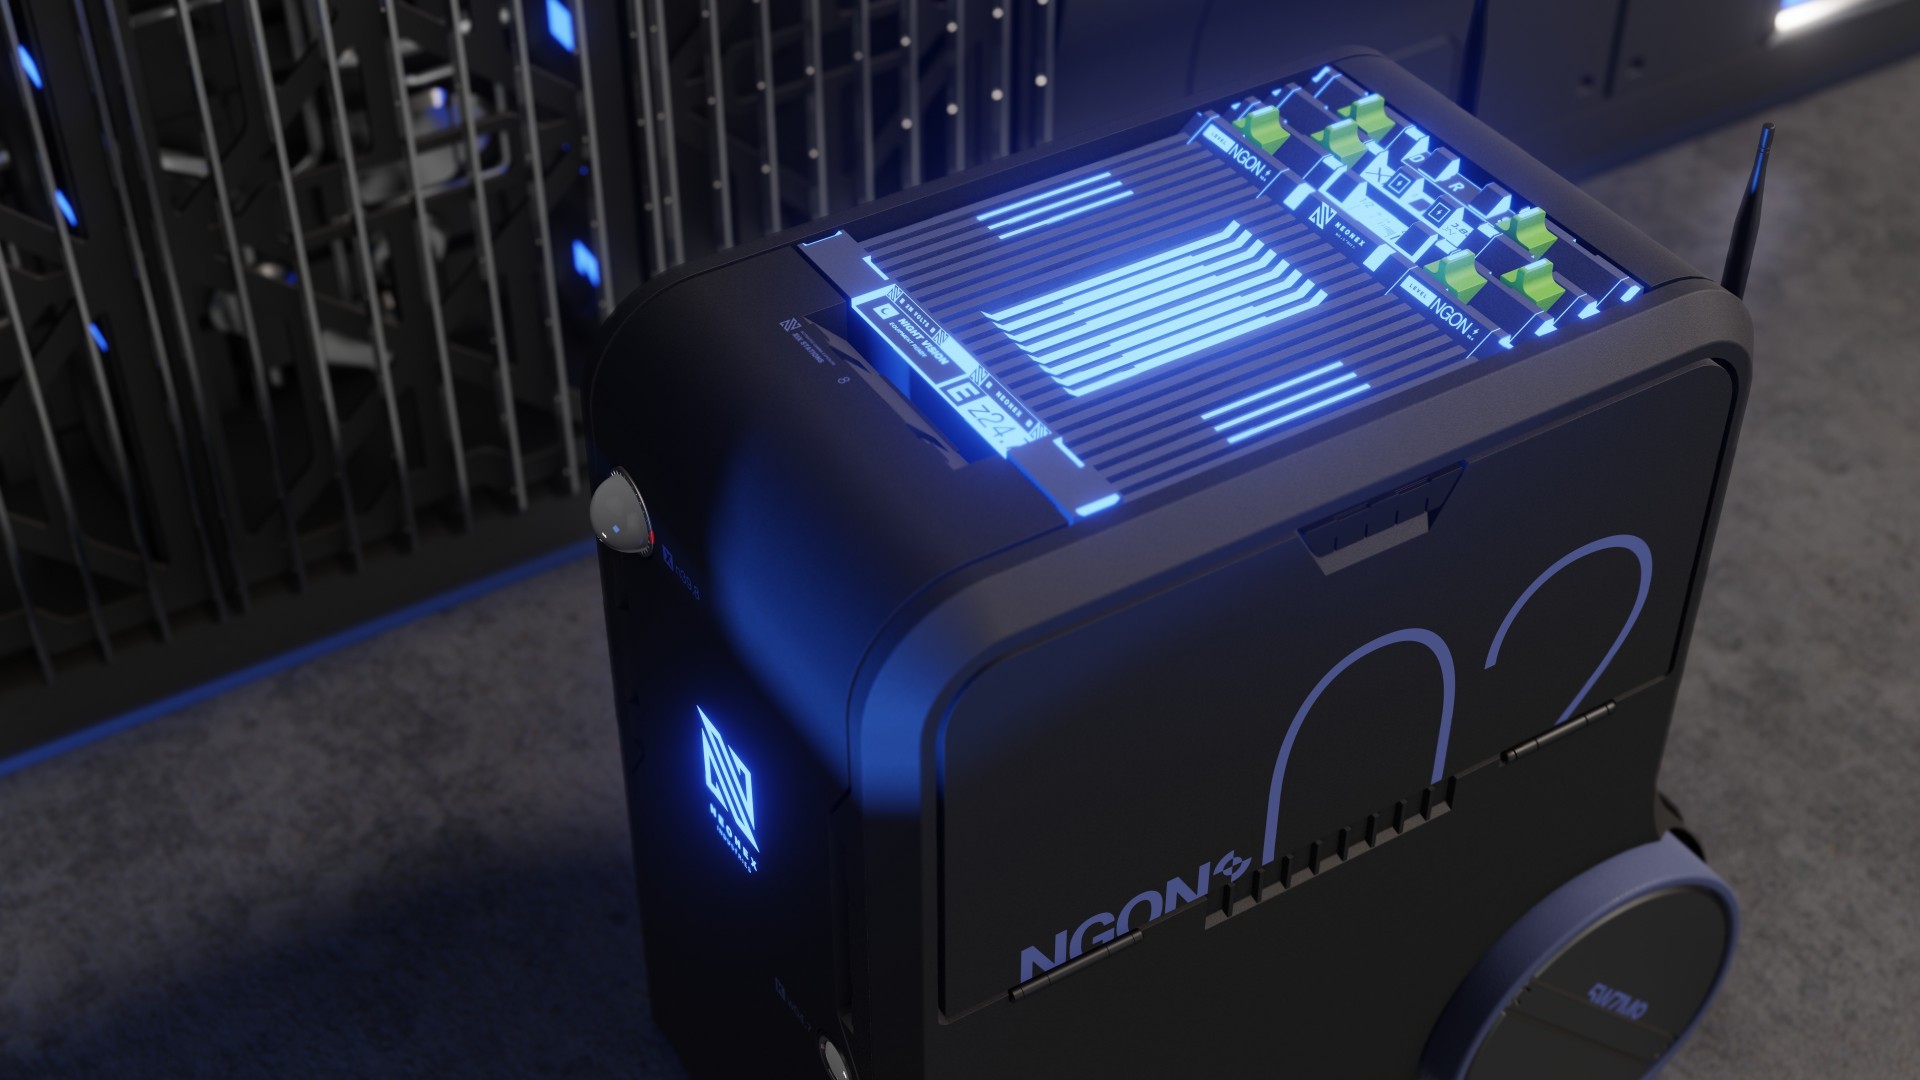
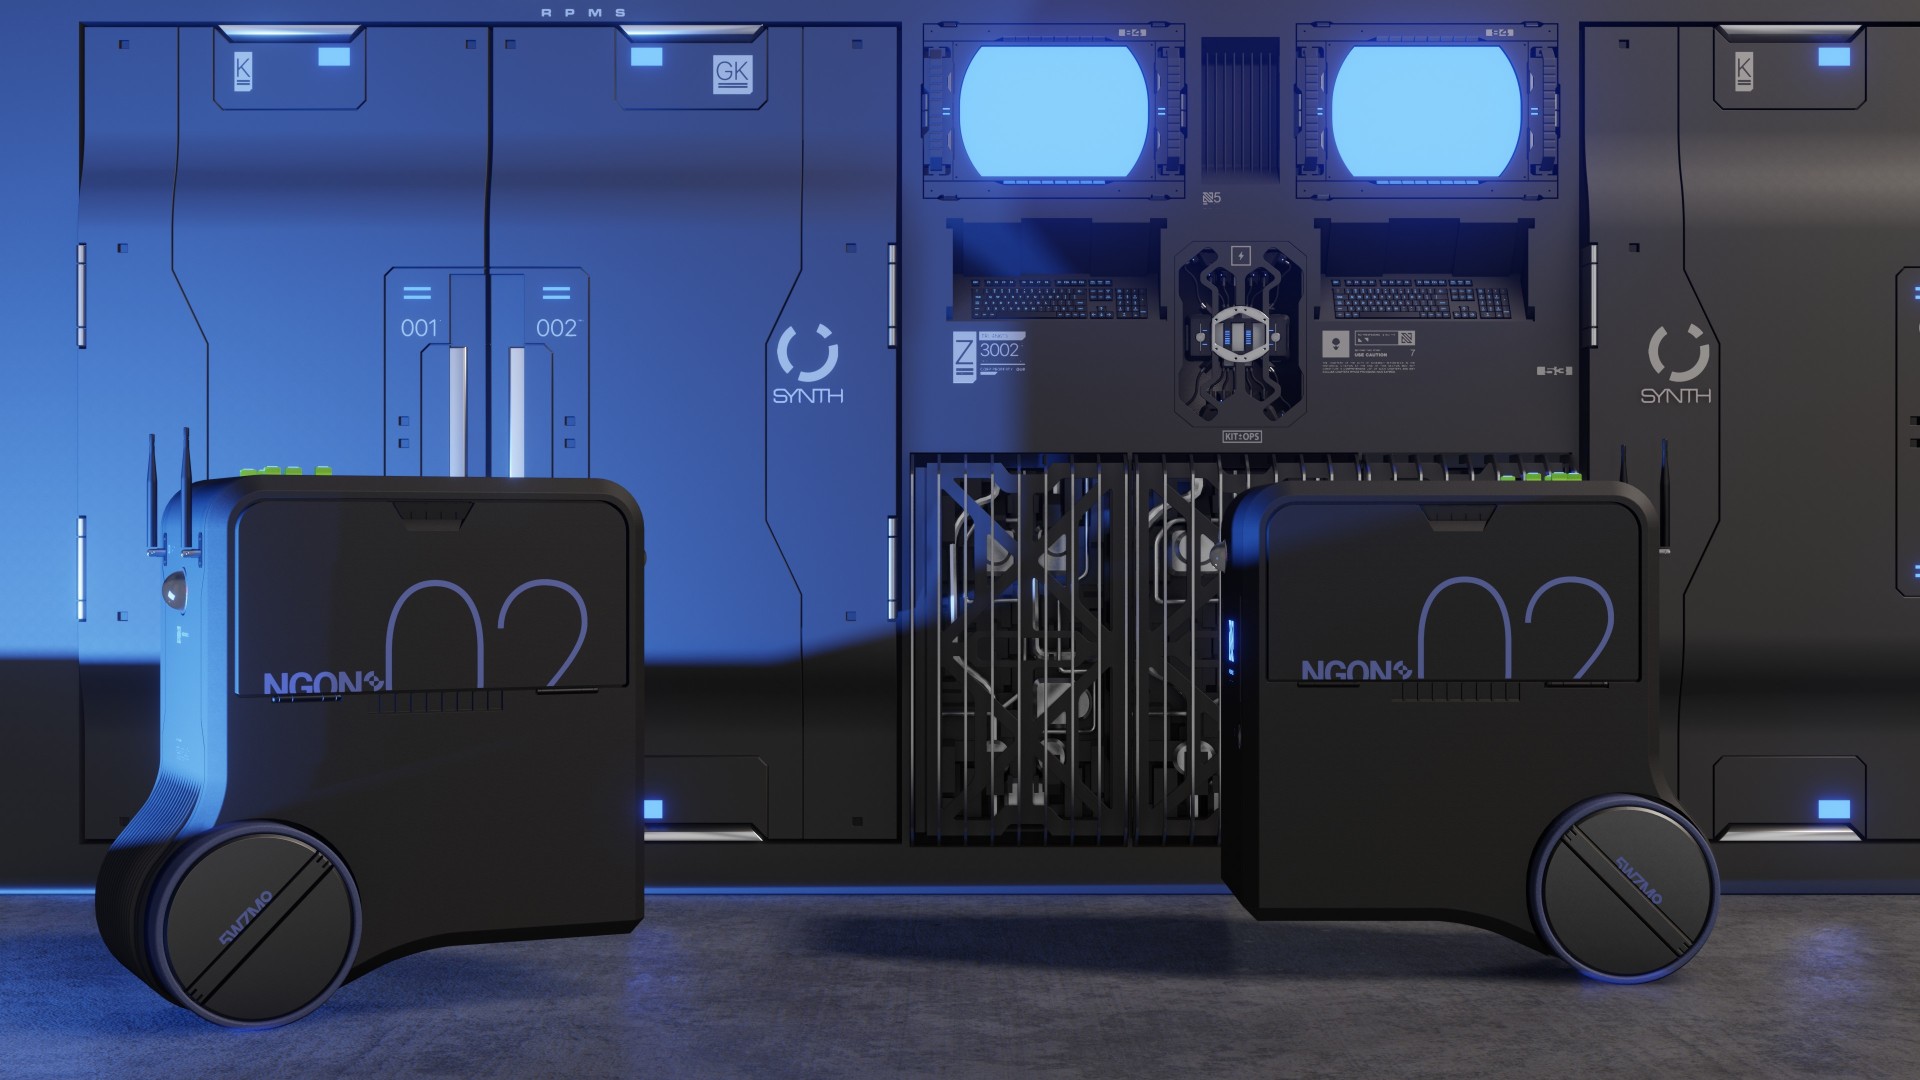
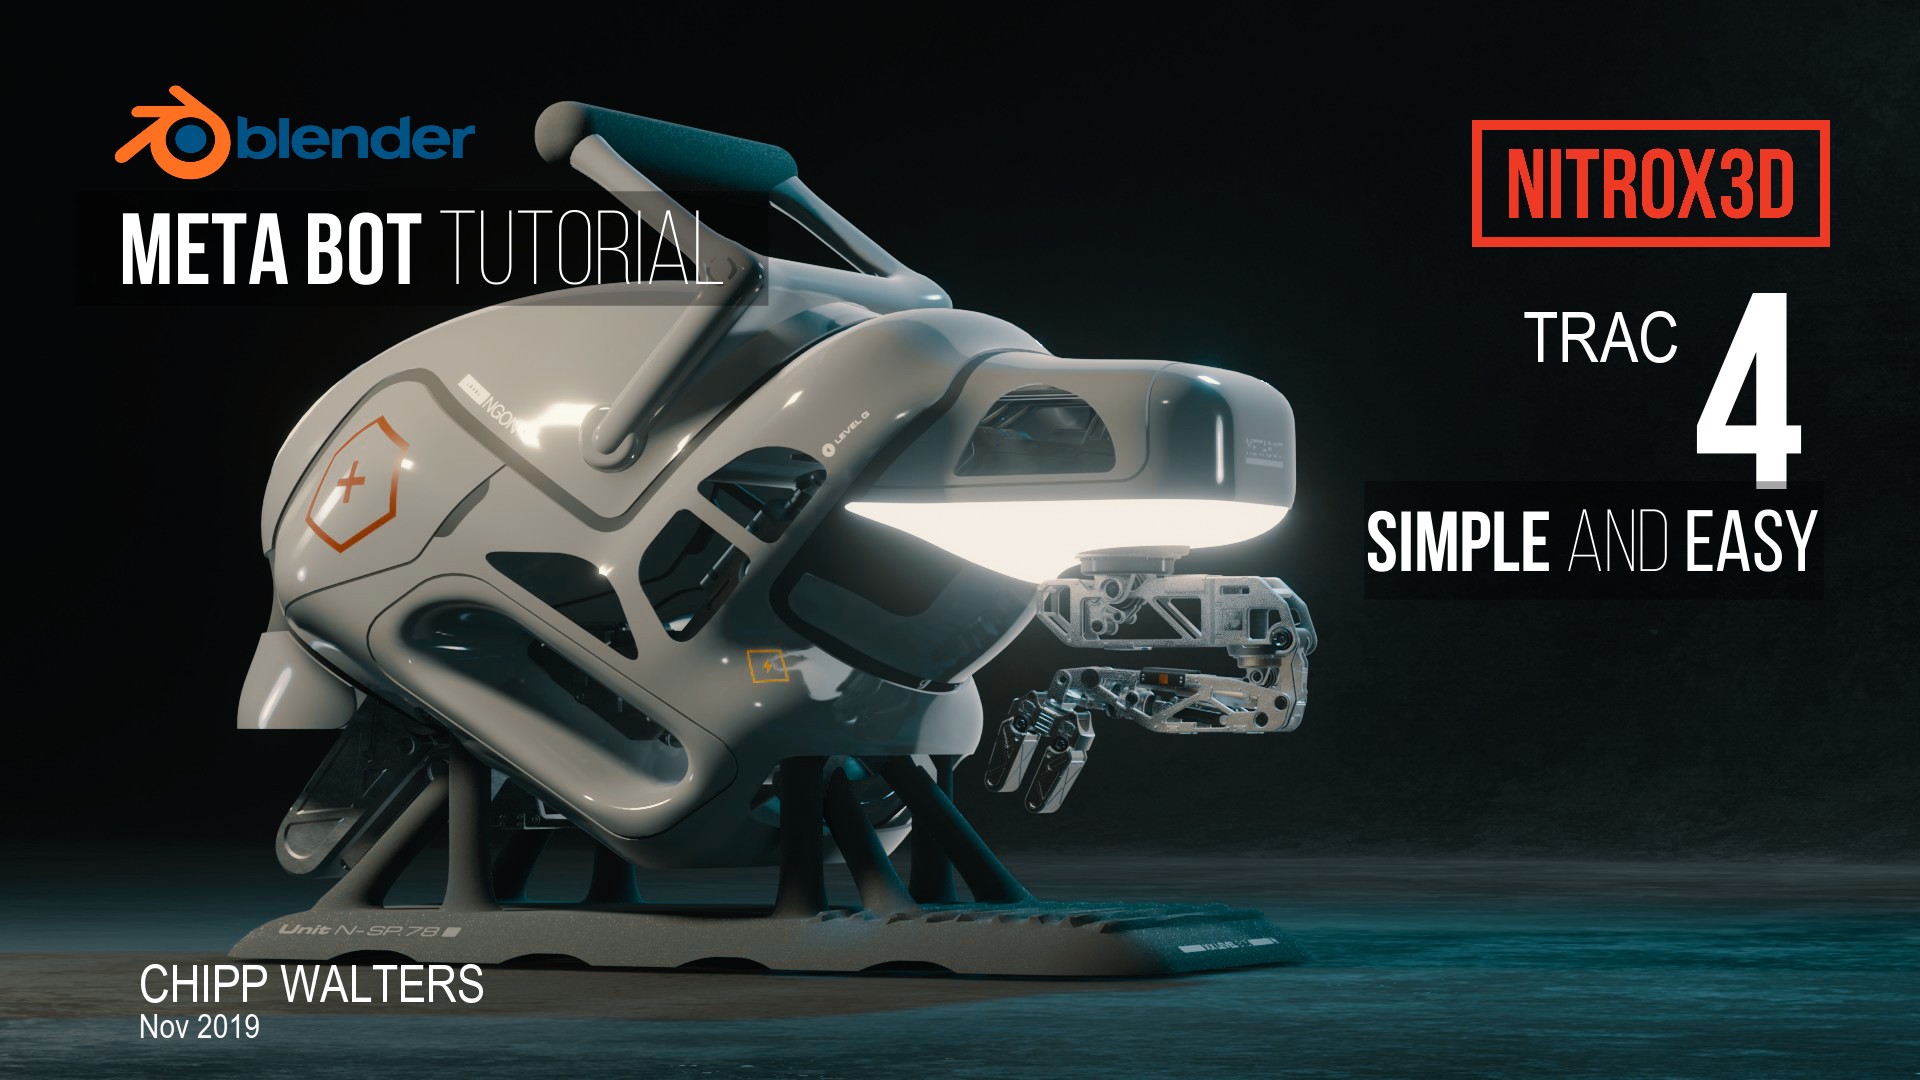
Added a robot to the above scene. Most all built with NITROX3D techniques (other than a couple KIT OPS Inserts). I really enjoy designing this way as it’s easy to keep tweaking the form and details.
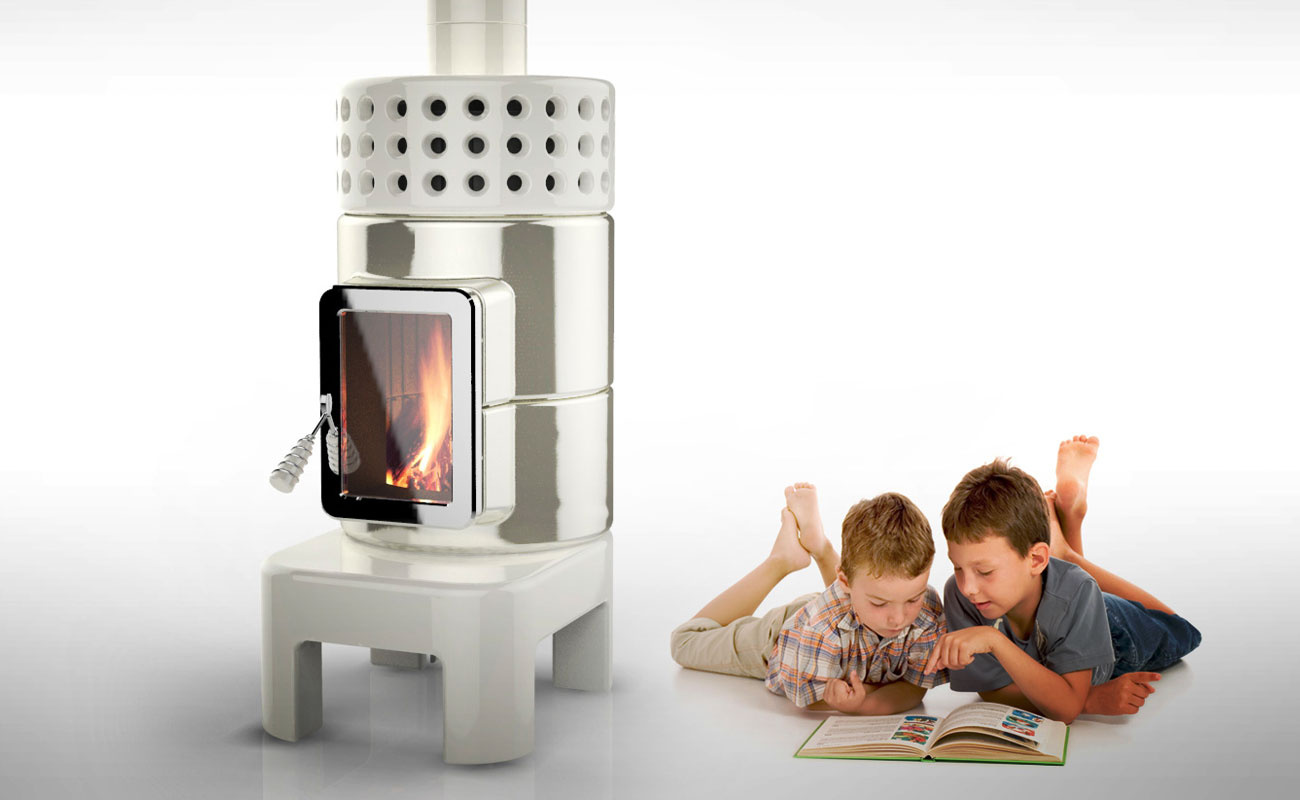
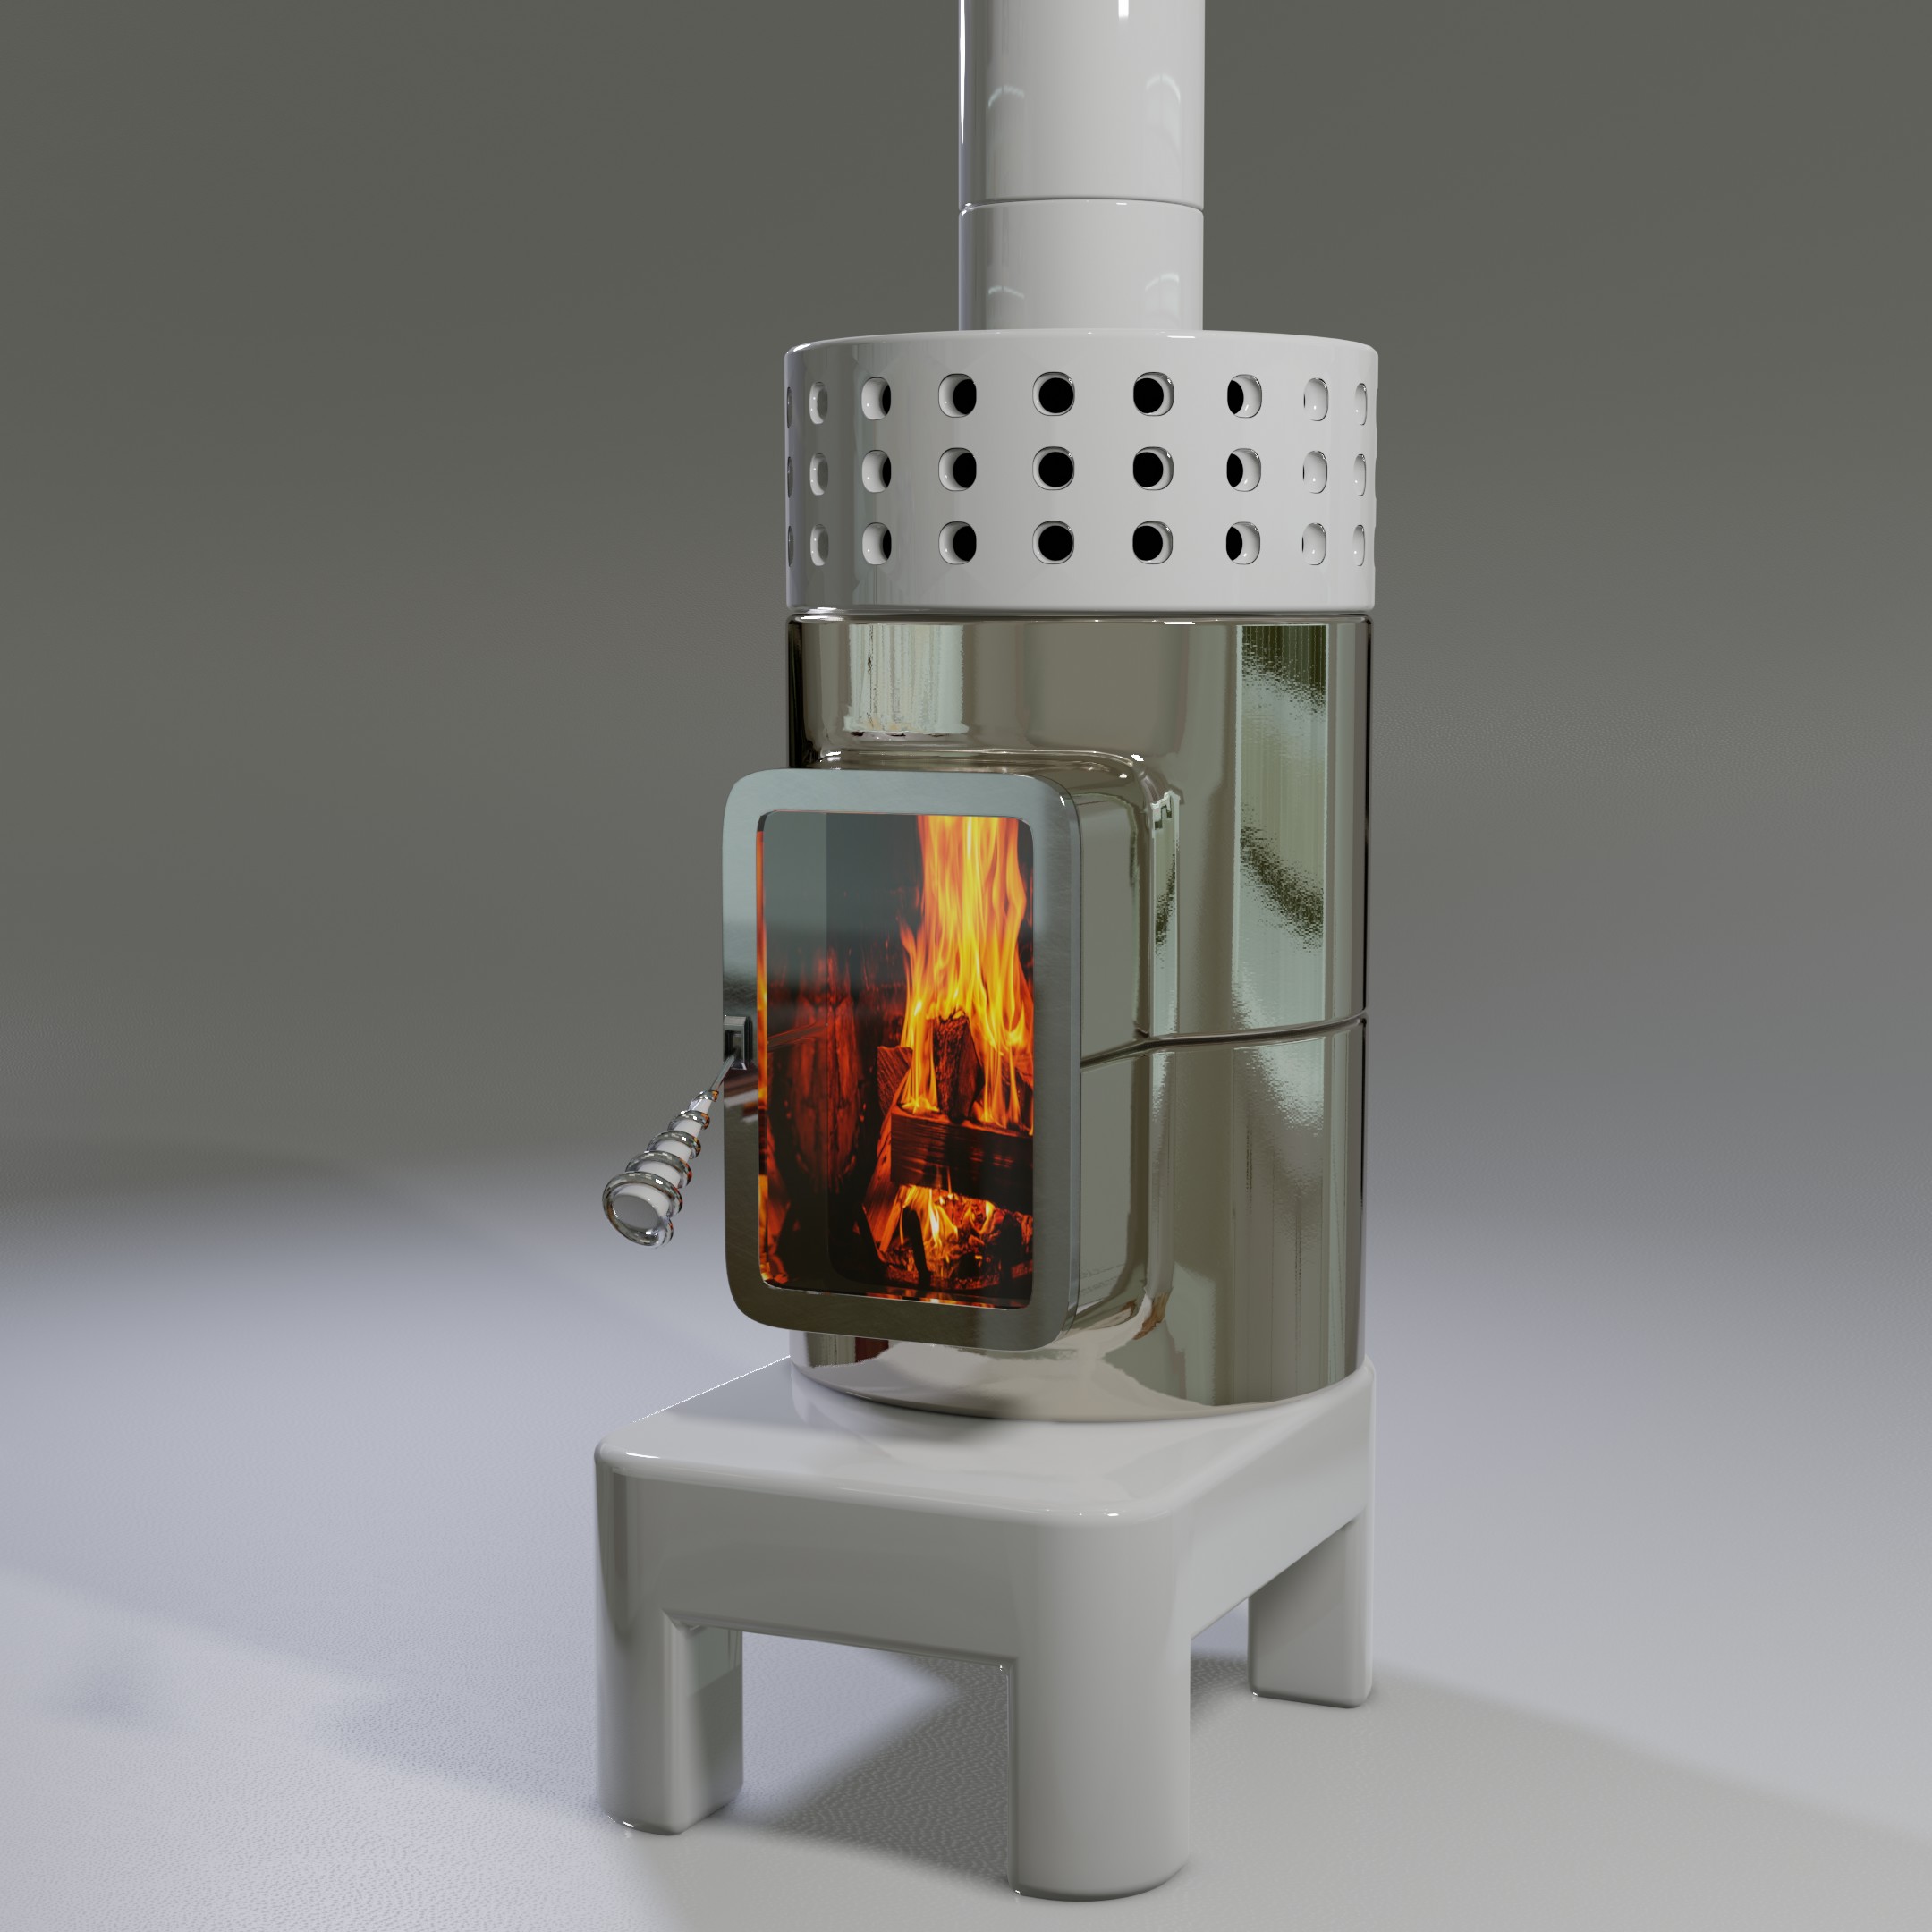
Received a request from @bkjernisted for some help creating a stove model from StackStoves using modifiers. While I didn’t do a tutorial, I did manage to provide a decent rendition. Here’s the source image:
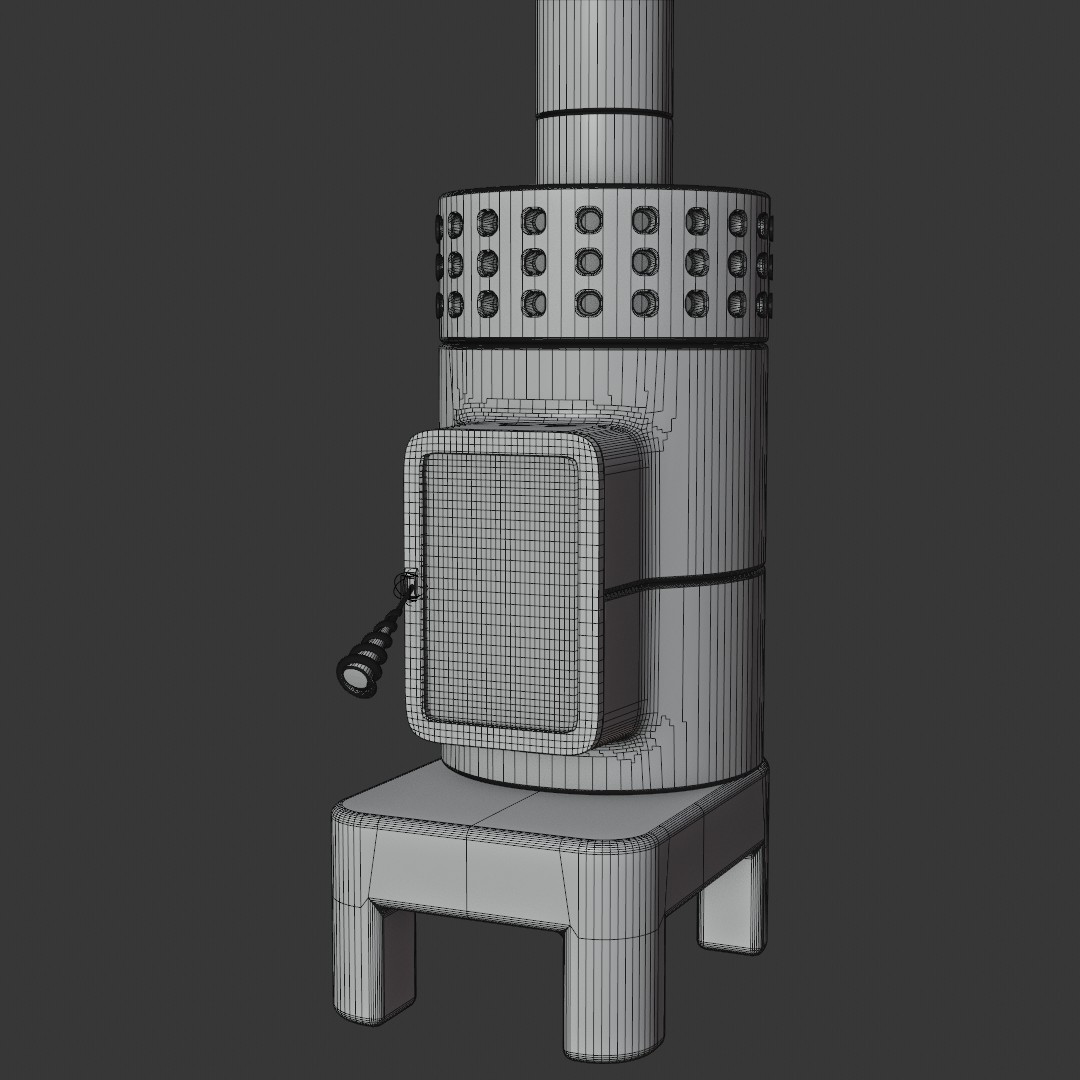
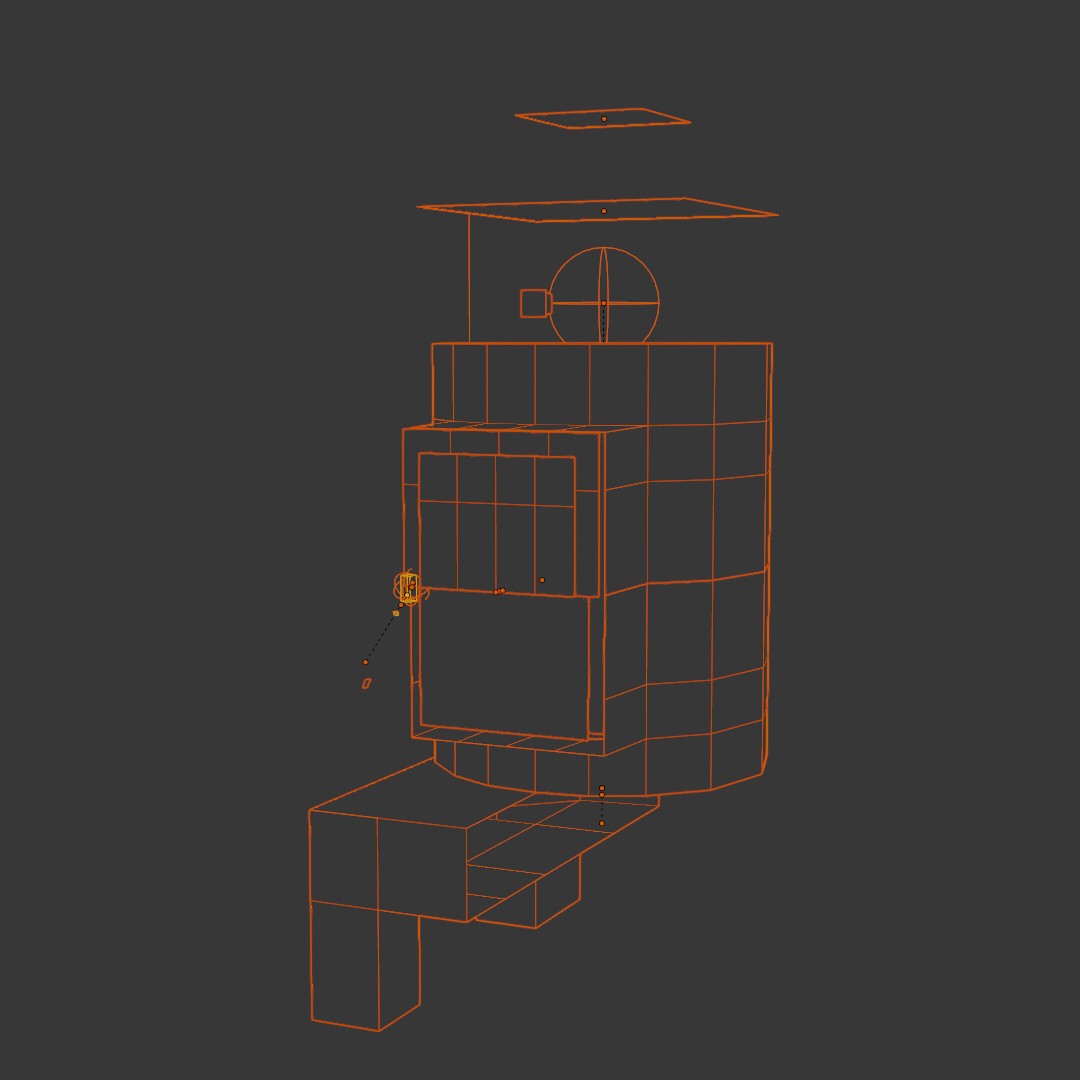
Just created a new tutorial on how to create a mesh from an object loaded with modifiers. It’s targeted at KIT OPS users, but also will work for NITROX3D.
10 New videos added to the NITROX3D series including how to model with metaballs and meta elelments, how to use the new remesh tools and much more. Free update for those who have purchased the full NITROX3D course.
Those who have purchased both Track 2 and Track 3 can receive a complimentary upgrade to this Full Course. Please contact Chipp at: https://kit-ops.com/support and include the email address with which you purchased both courses.
Those who have only purchased one track, can pay the difference between it and this course and receive the full course product. Please indicate which you purchased on the form.
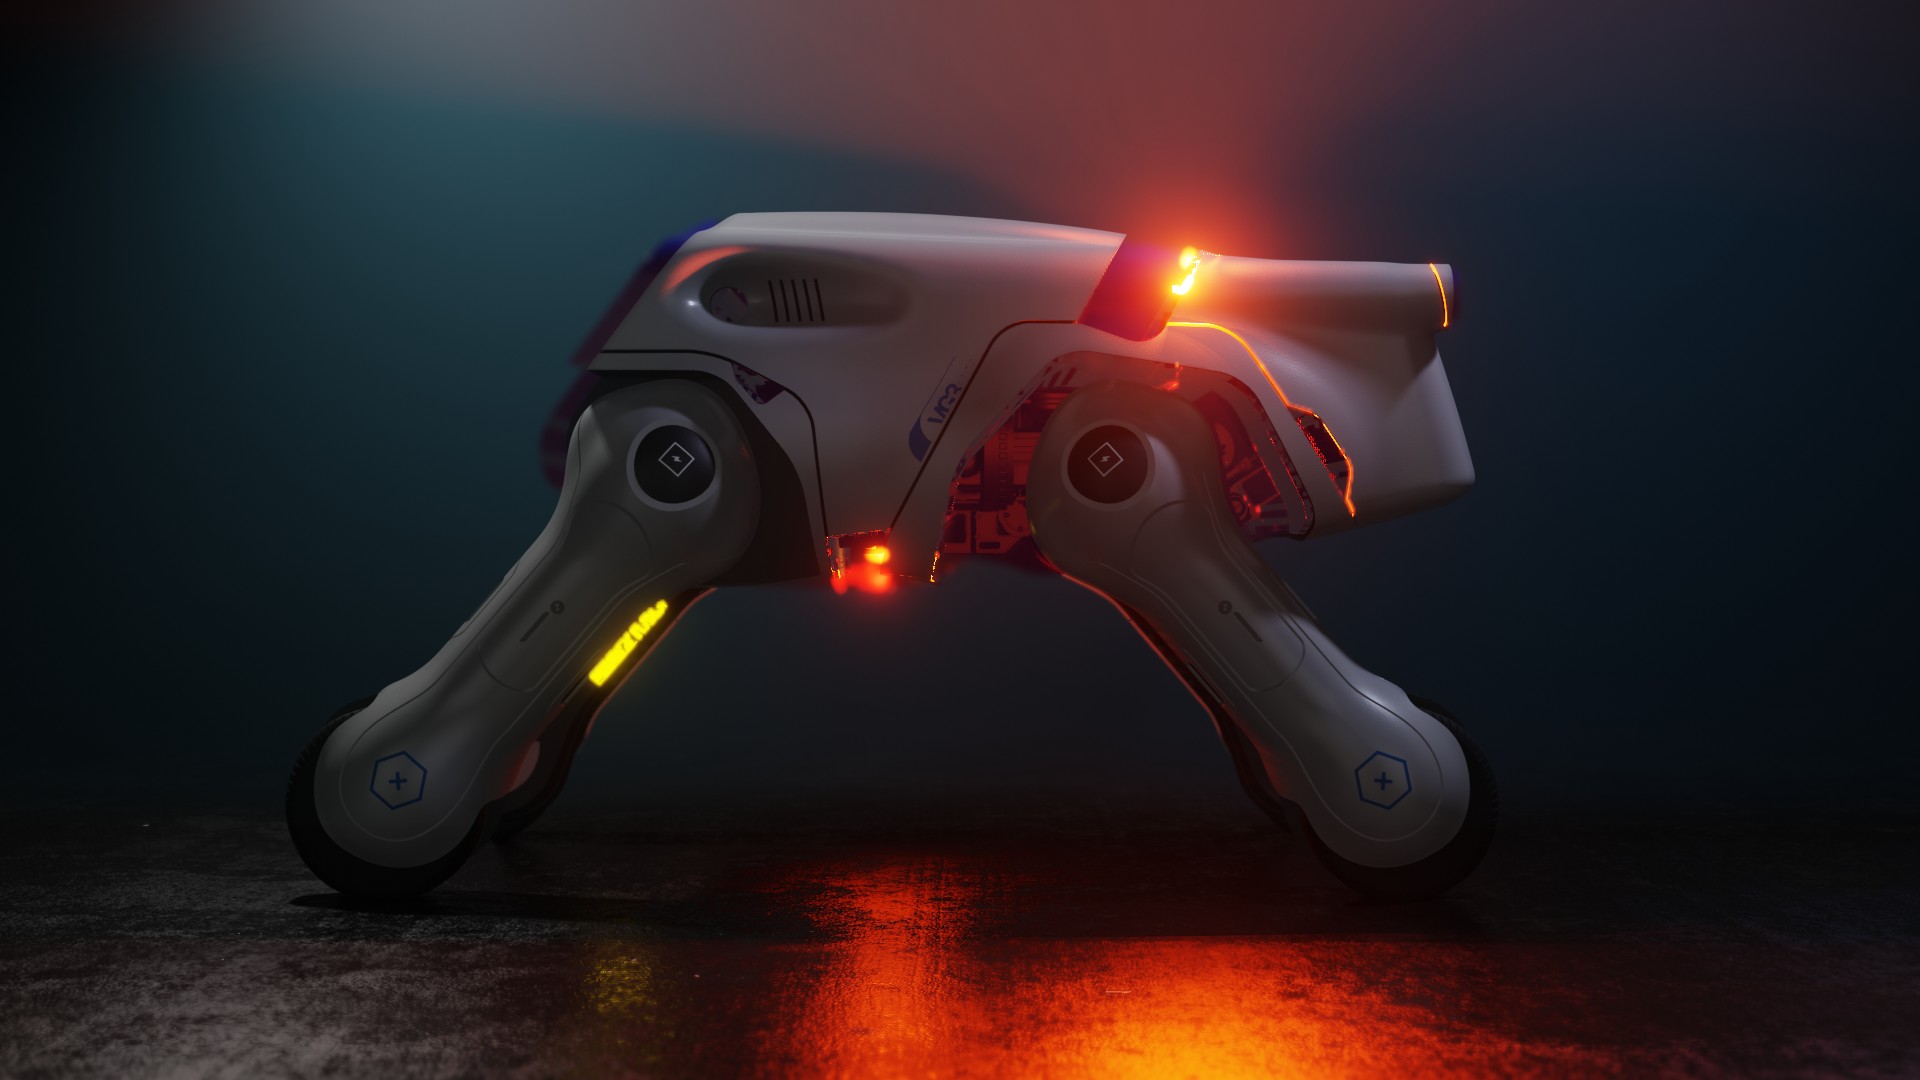
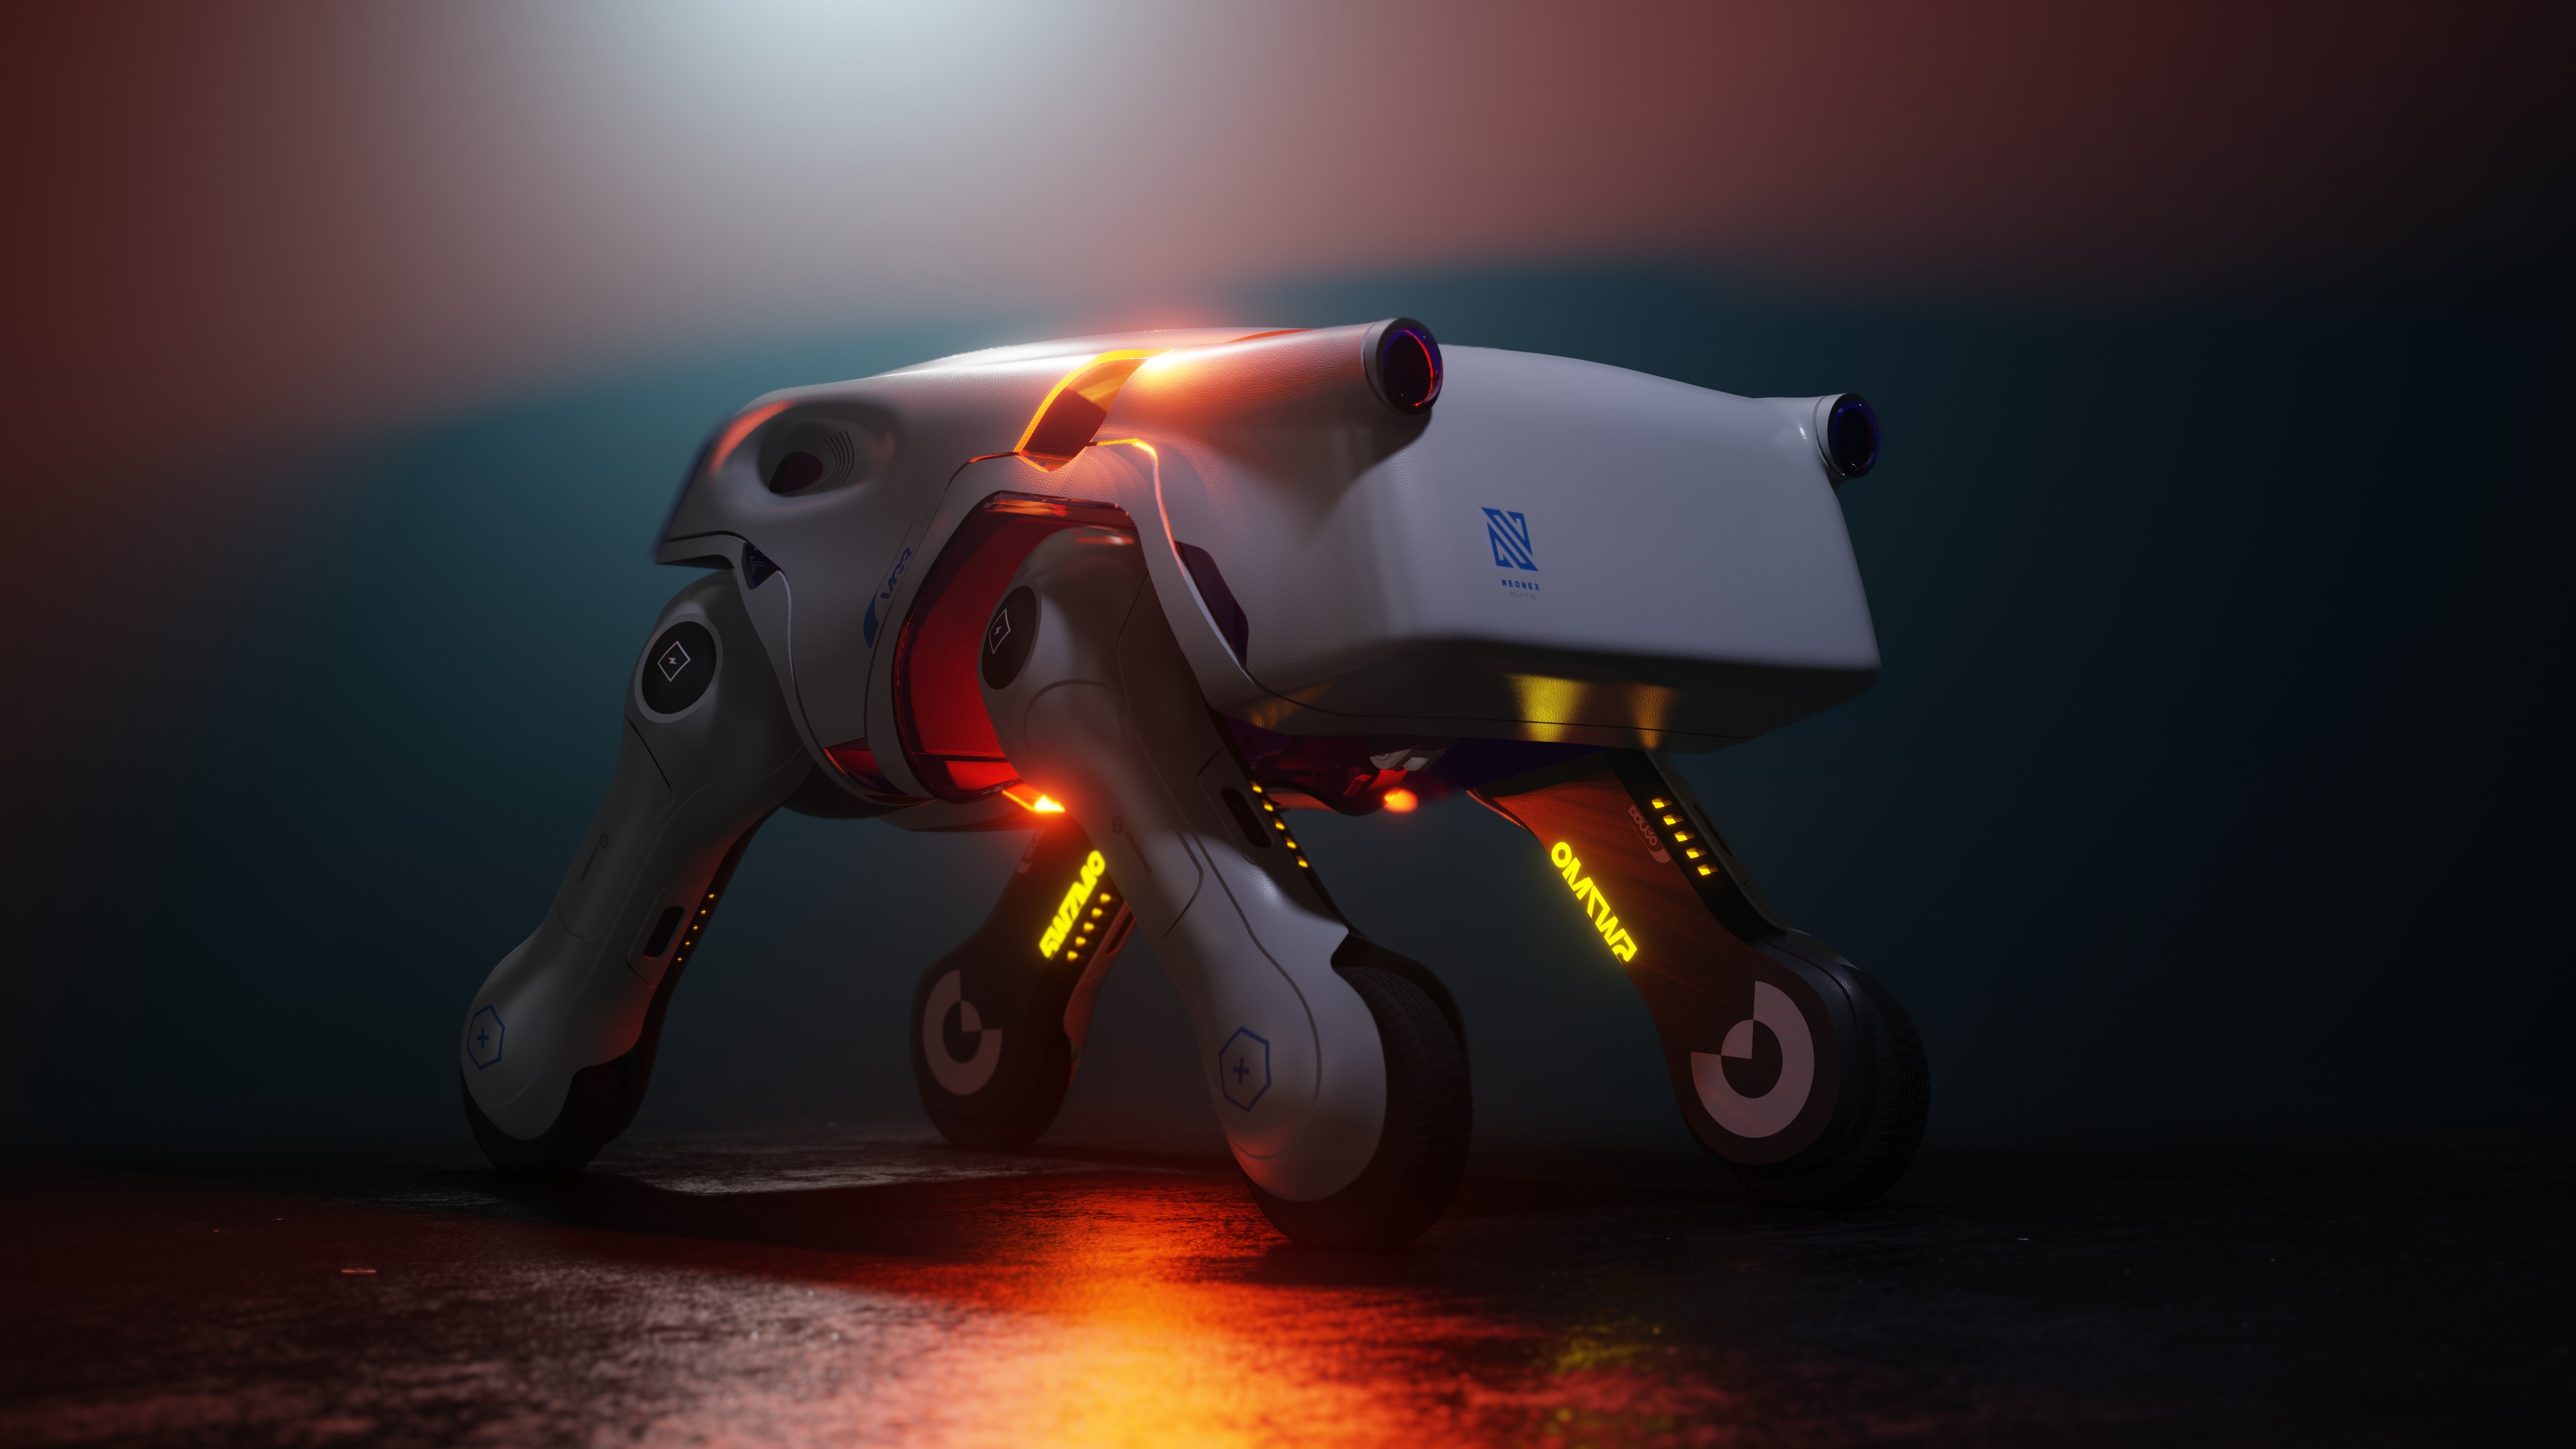
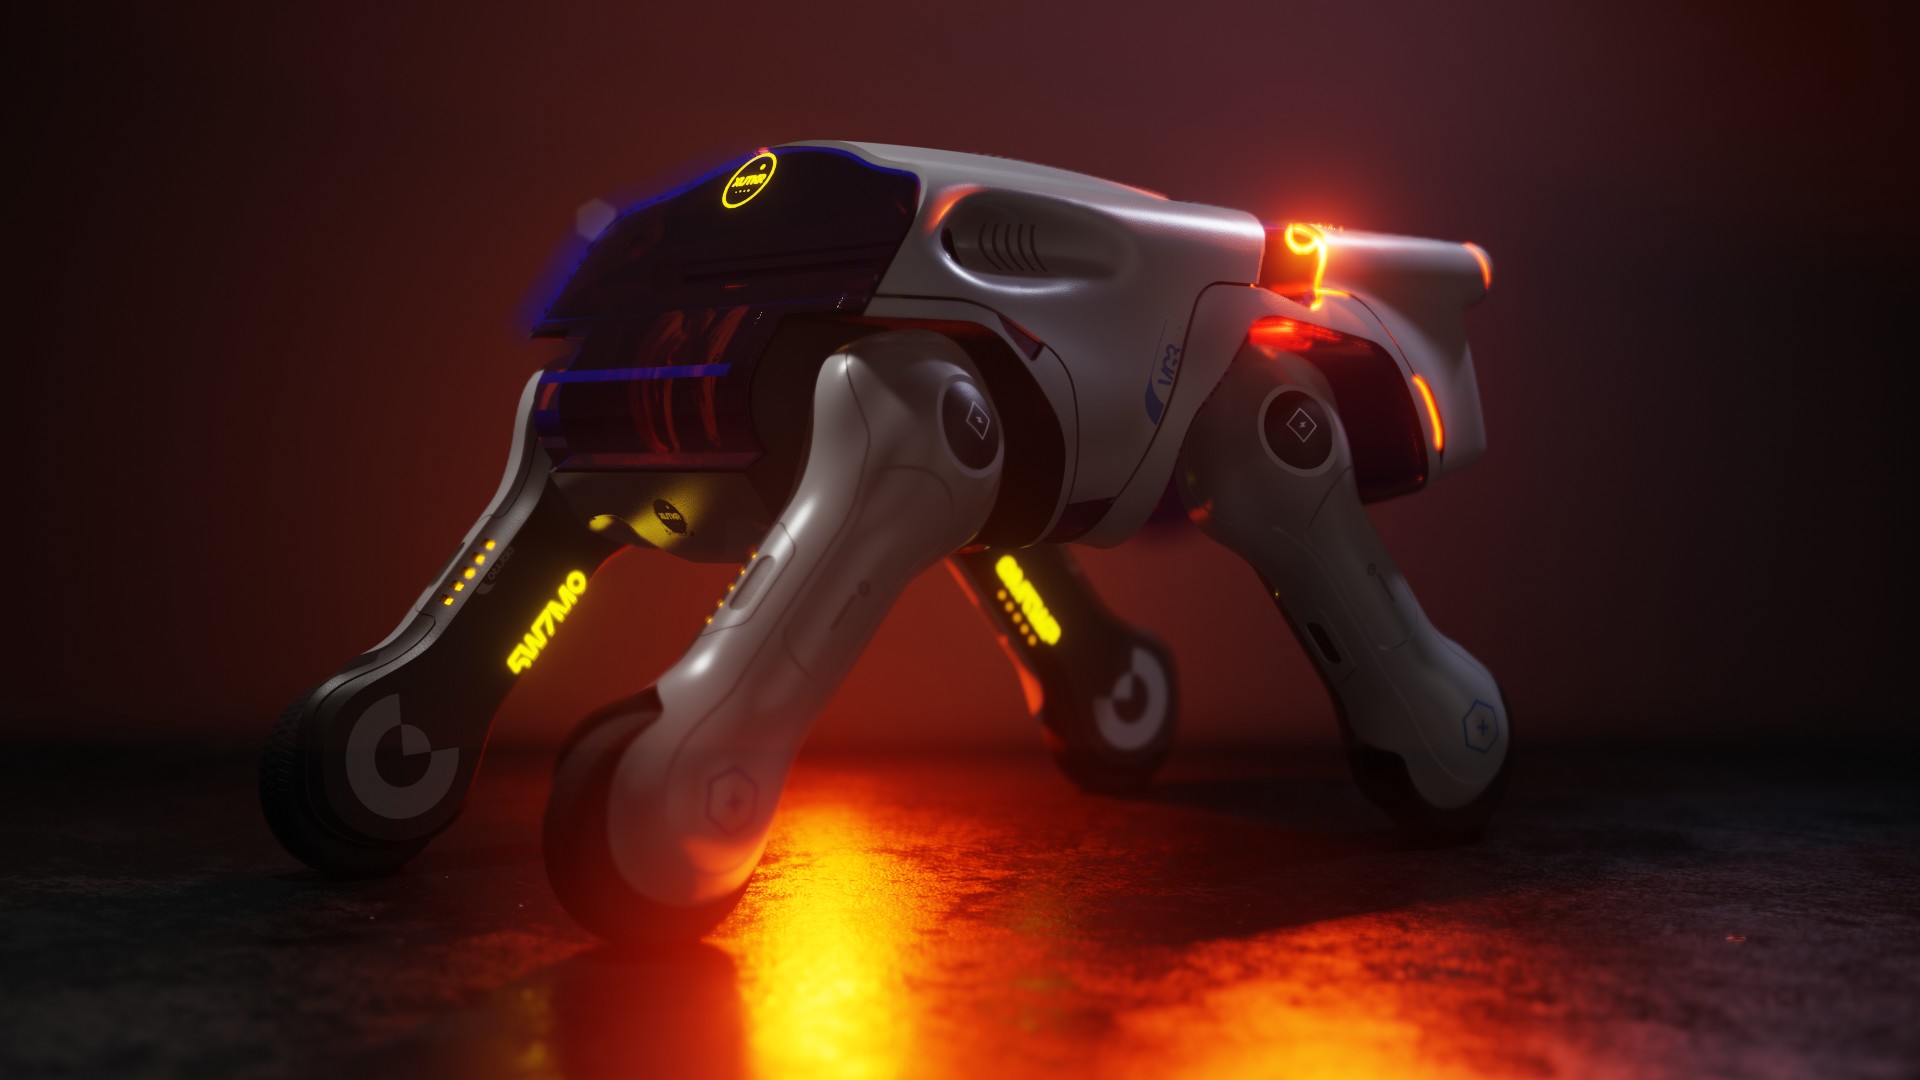
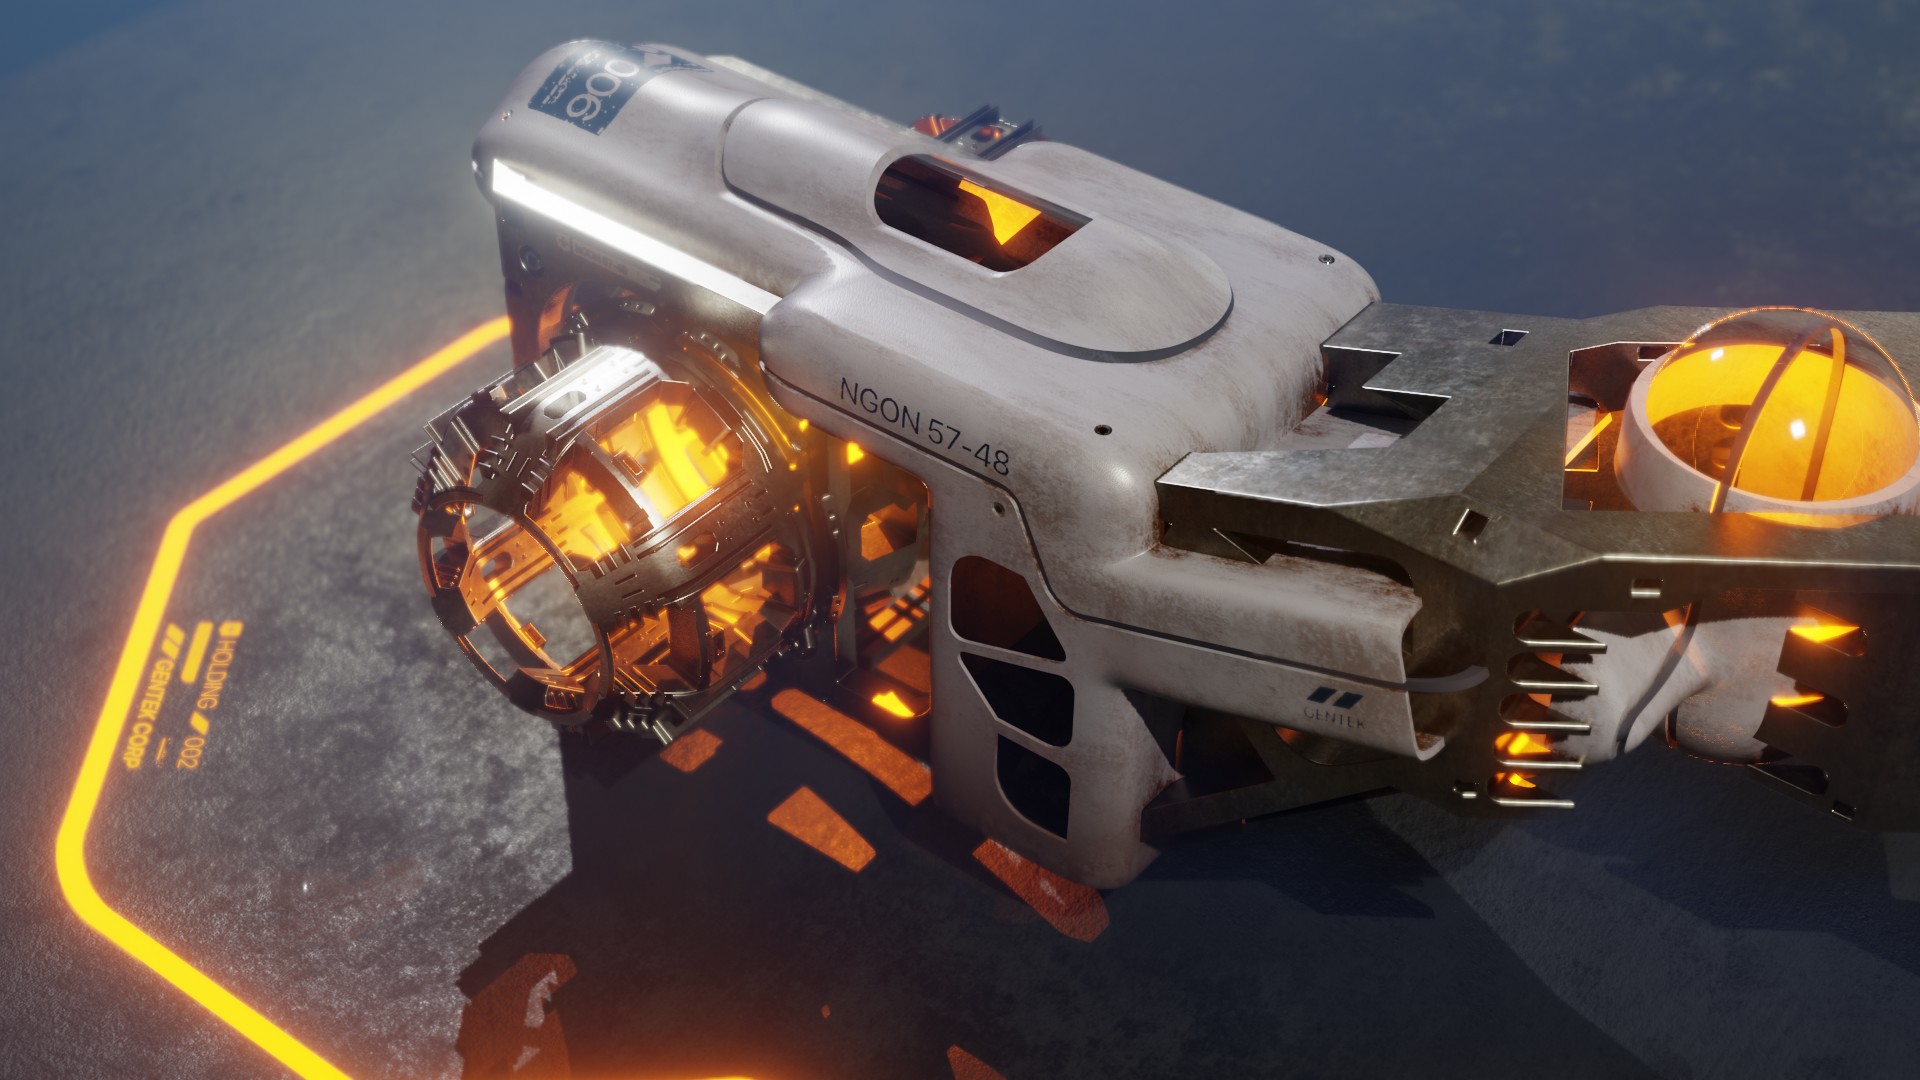
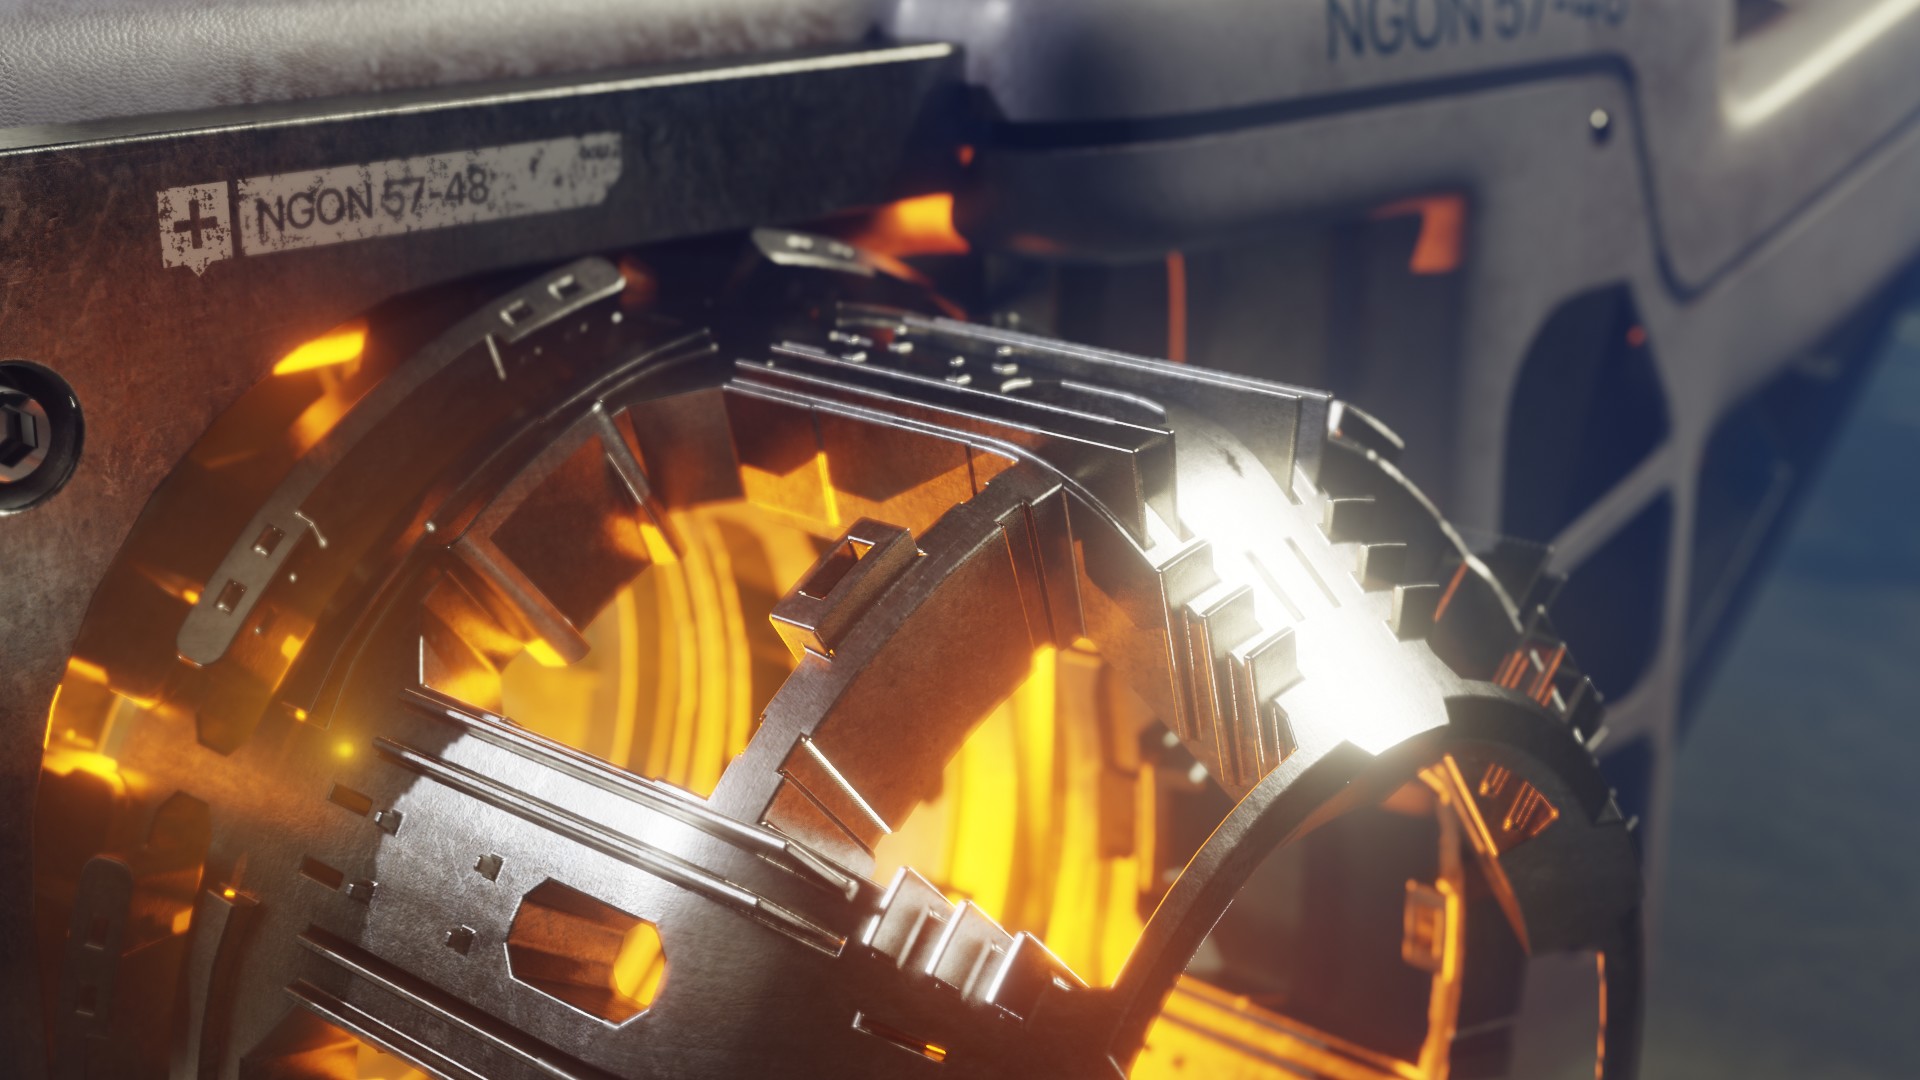
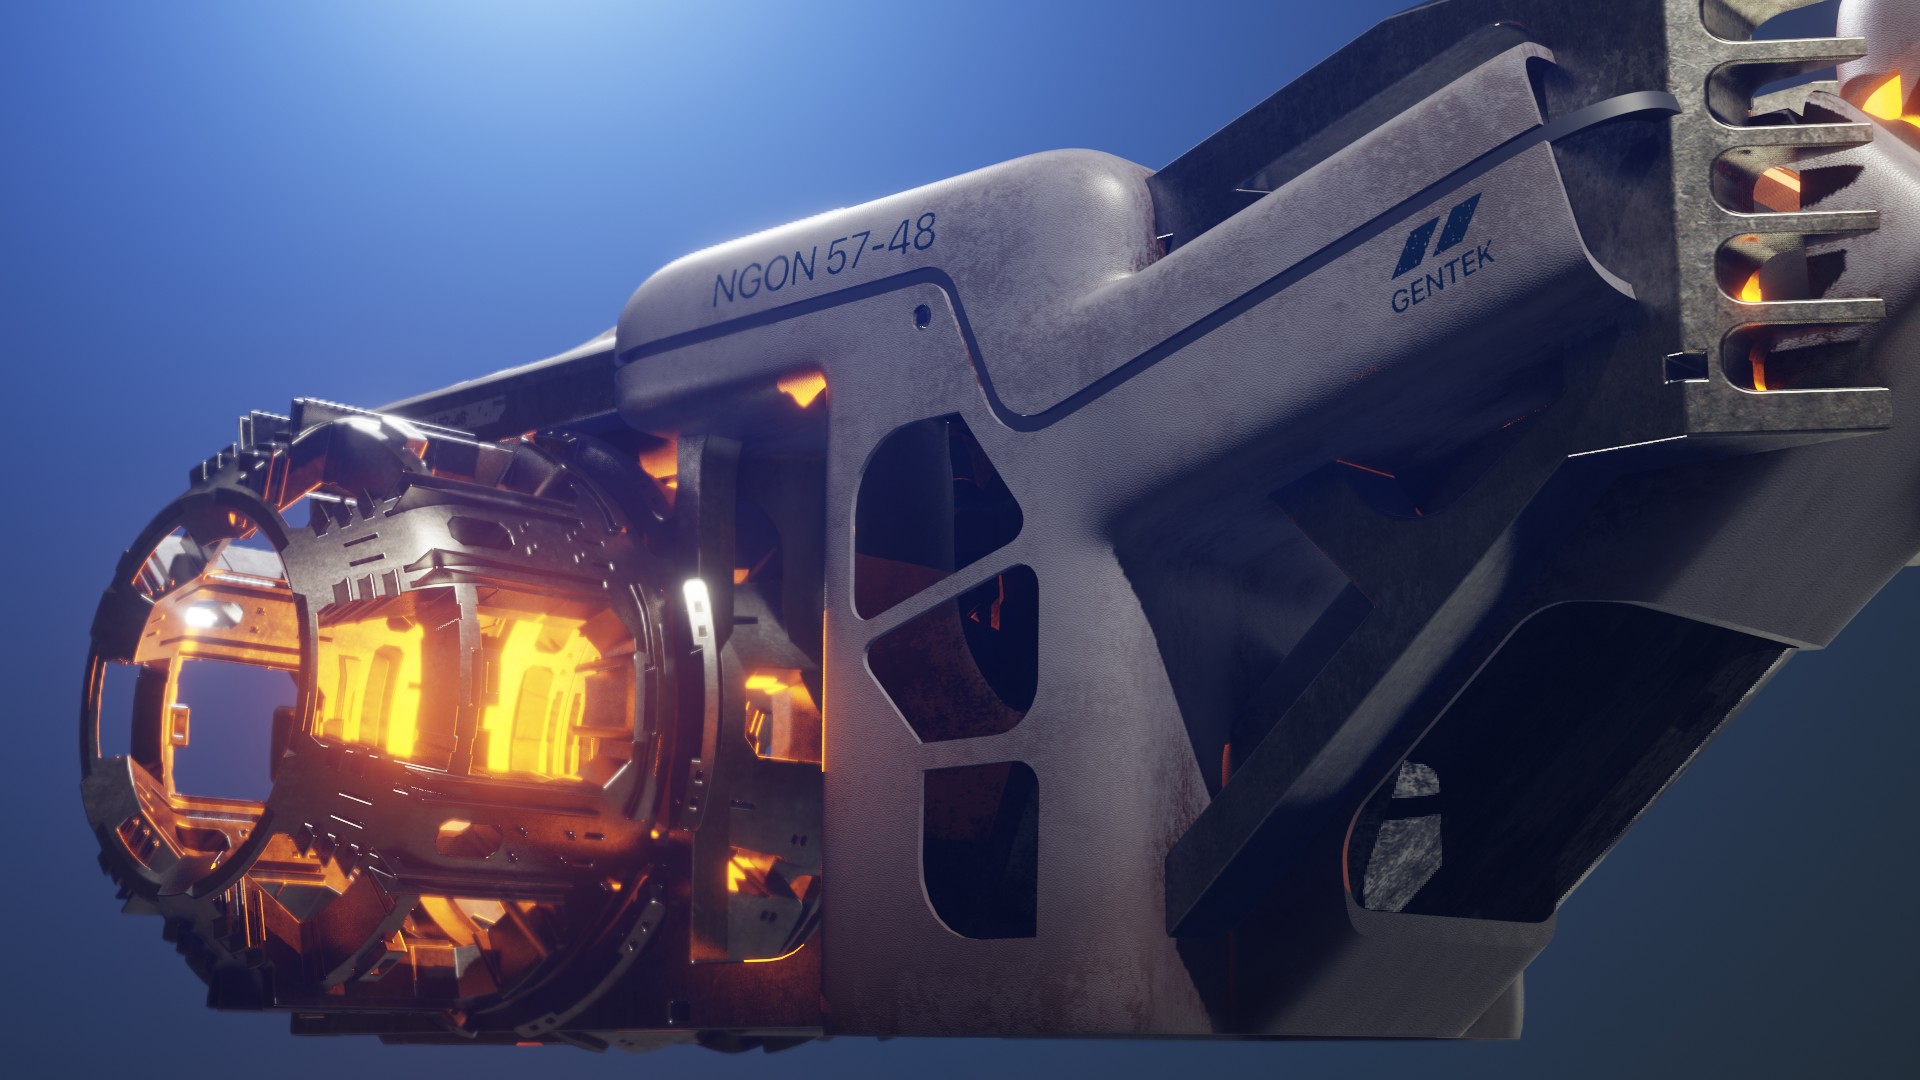
Back to work using the Metaball technique and have come up with some more images demonstrating it:
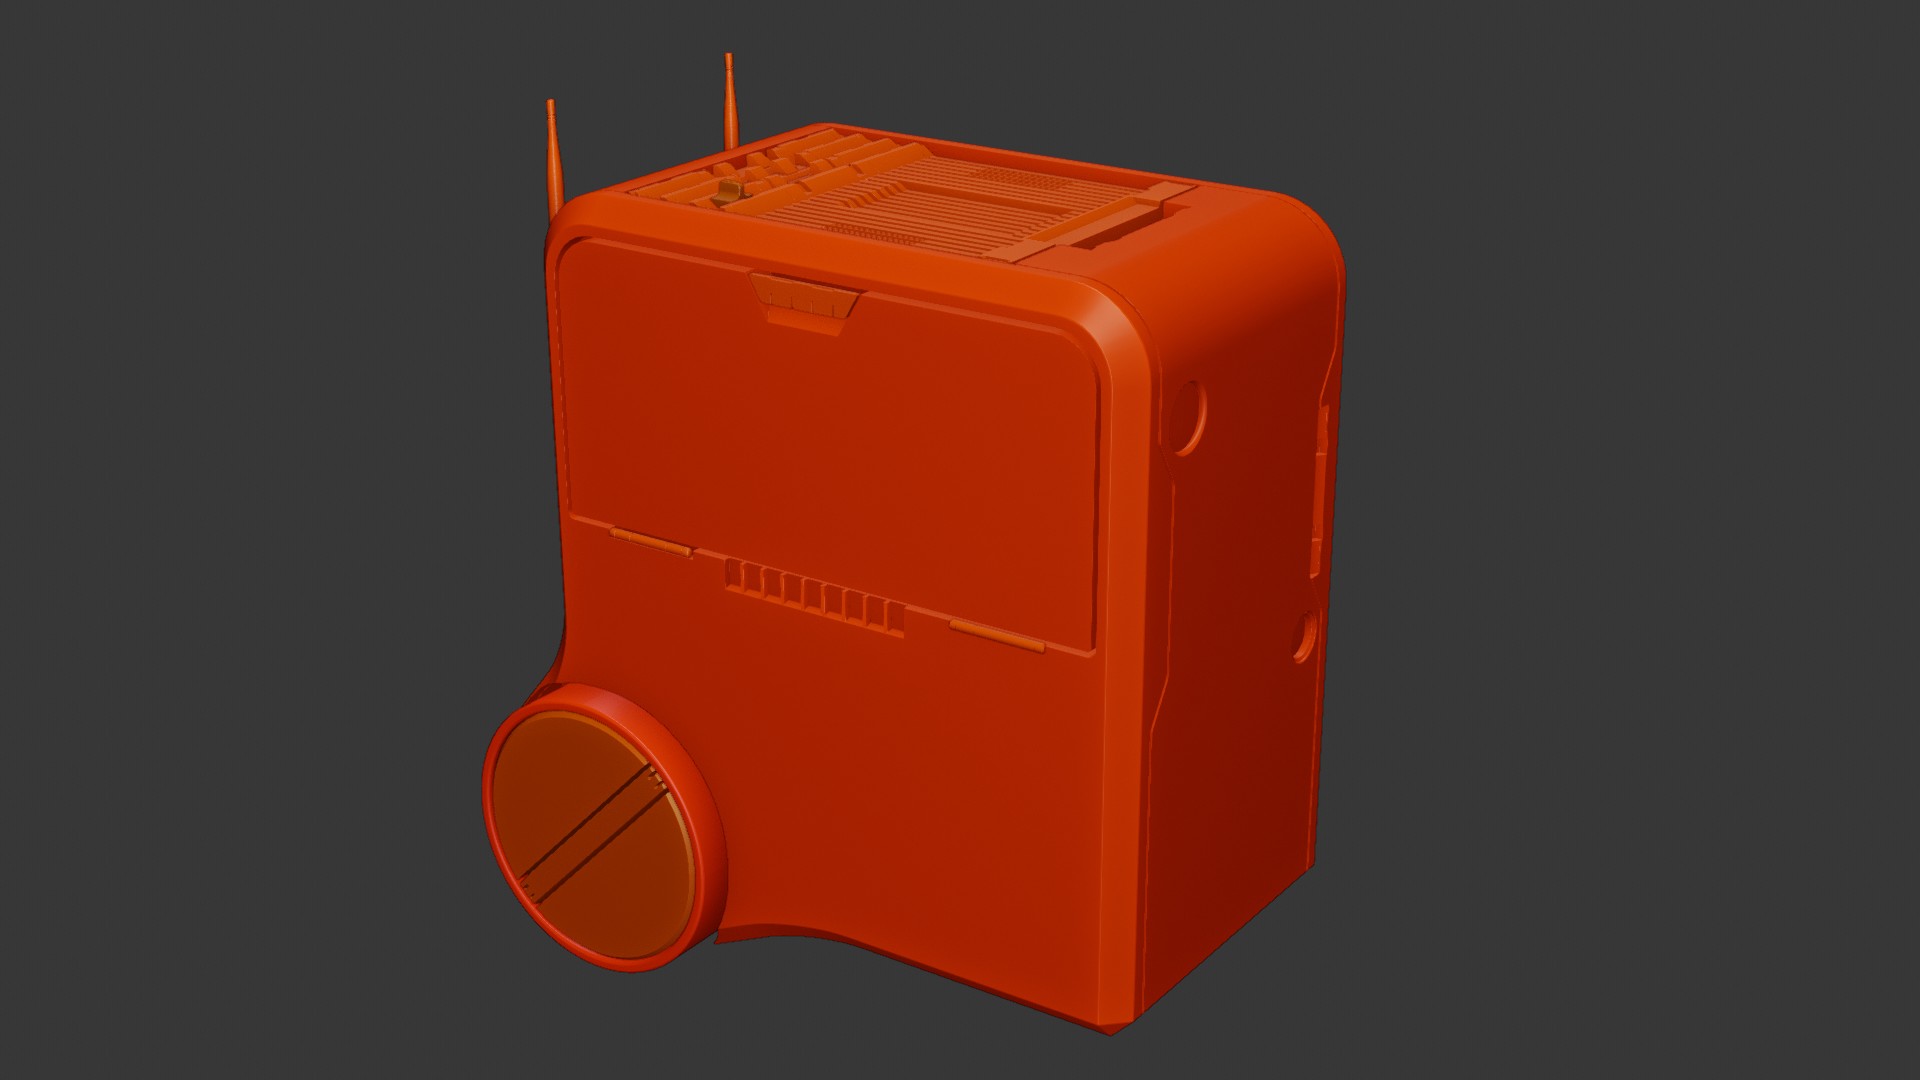
The base form of this Carrier robot, created as a concept for Digital Heroes, was created entirely using the Metabot procedure:
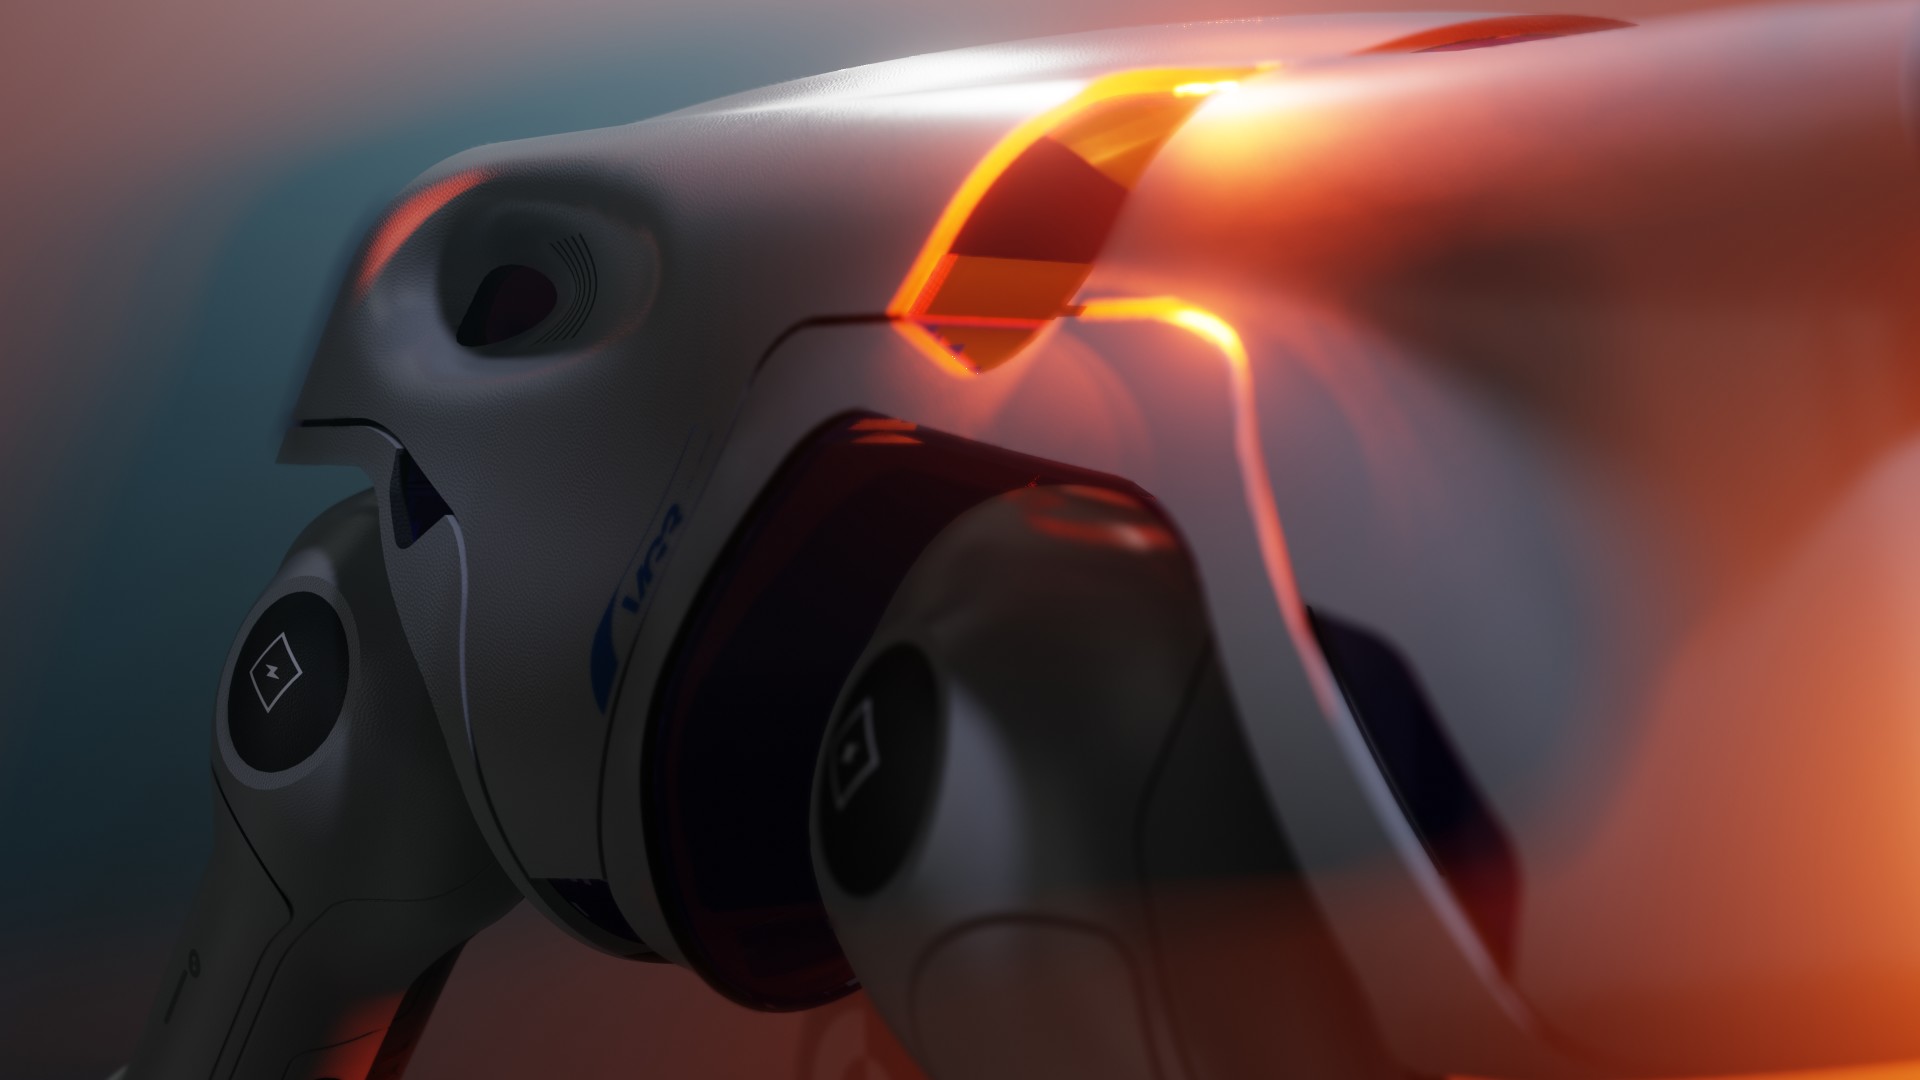
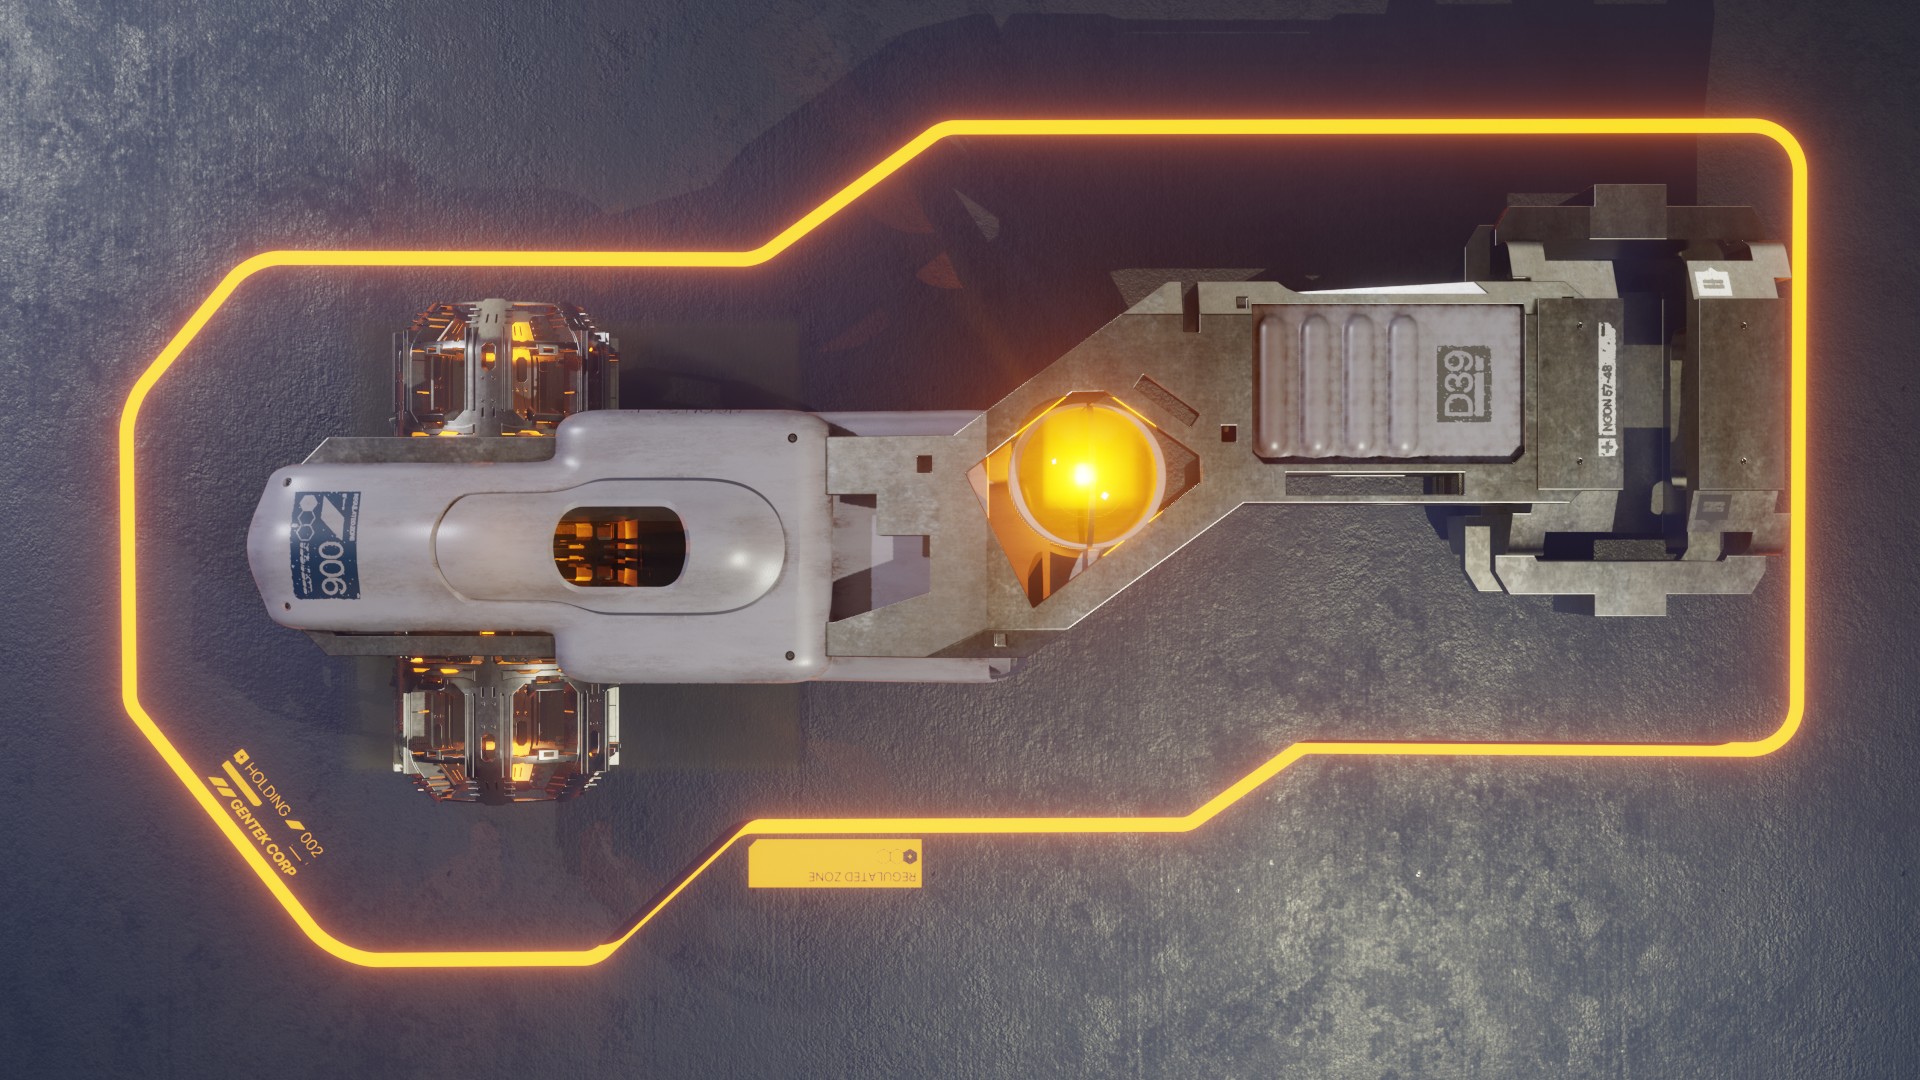
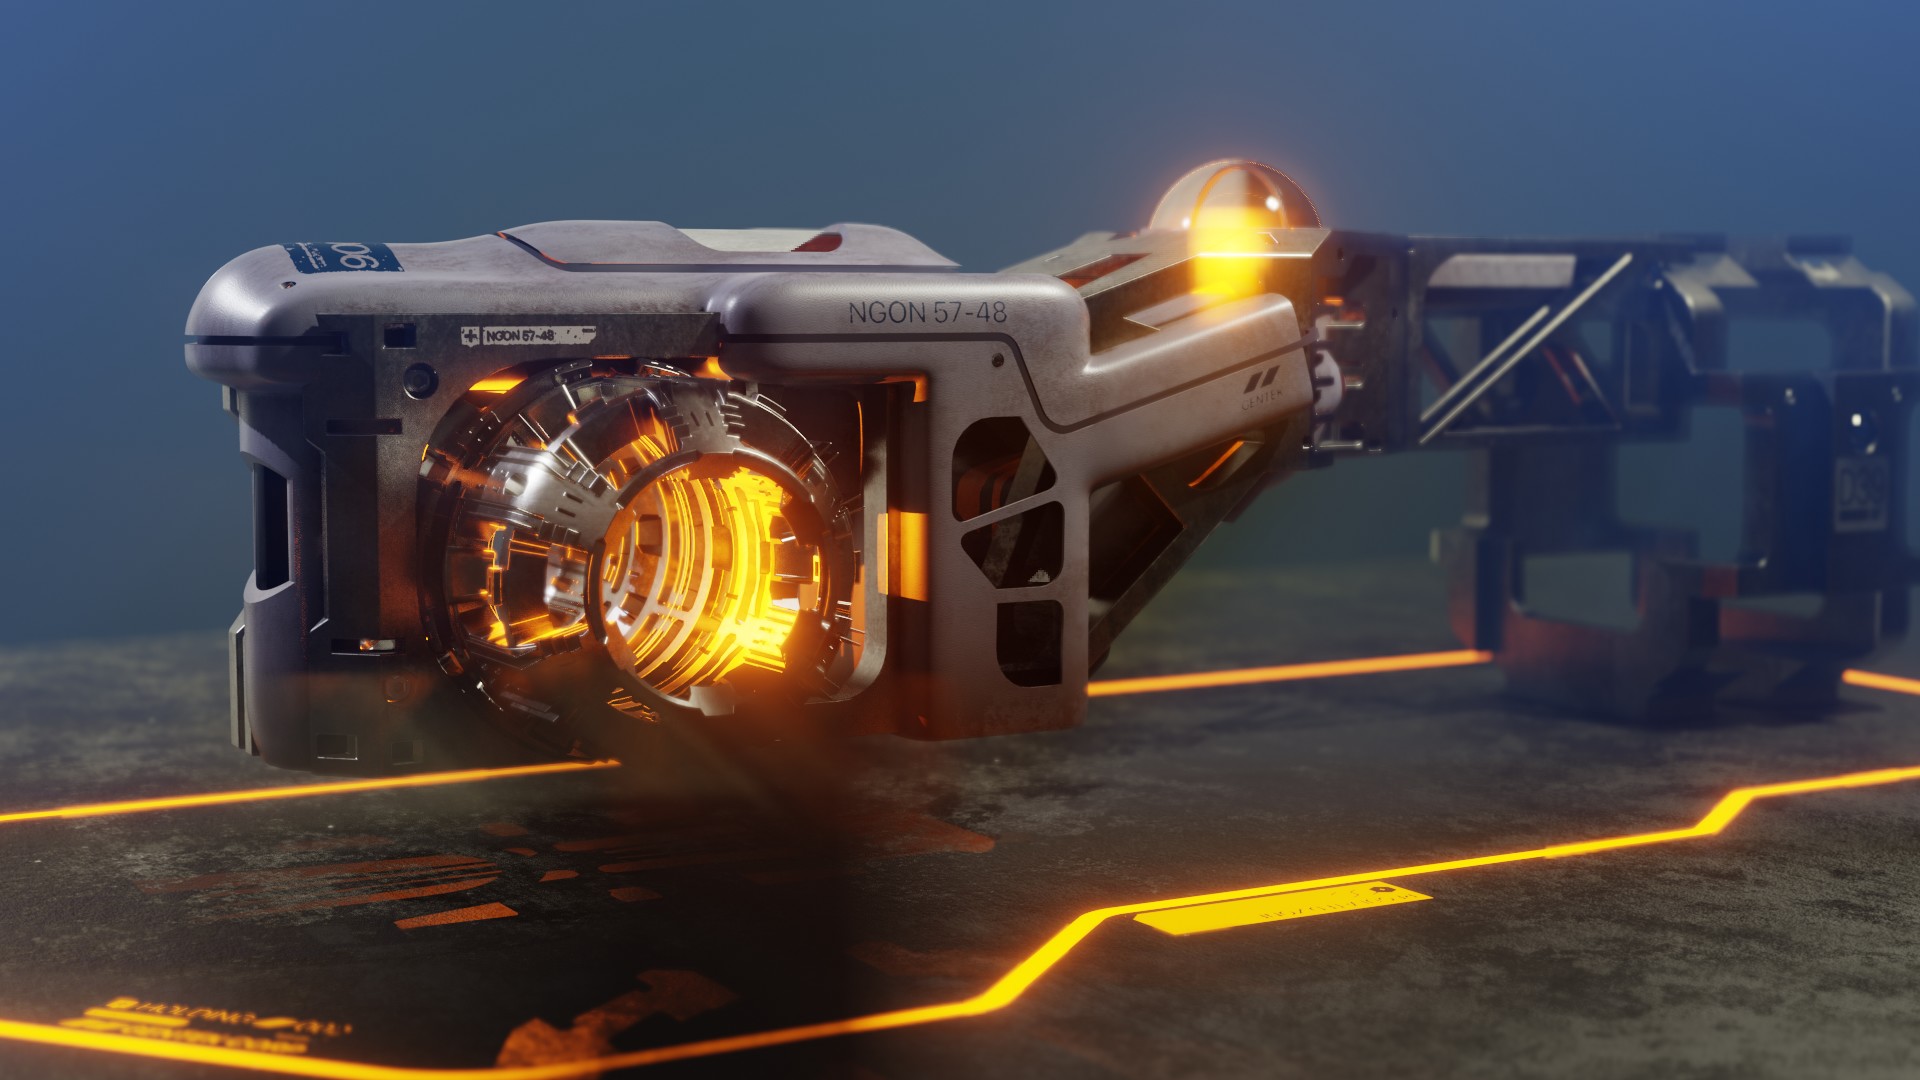
And I call this TriAxis, but Jerry calls it “The Dustbuster” is a test of two new NITROX3D modeling techniques: one called TriAxis and the other called Rotational Symmetry, both shown in the renders below. I’ve started creating new videos to explain the new NITROX3D modeling concepts. They will be fully explained AND include some easy to use KIT OPS templates that you can just insert into your scene and start to edit.
Hey Chipp, thank you for your courses, your nitrox3d approach was exactly what I needed to find a convenient workflow. Using Rhino mainly for my 3d printed parts, I normally start with 2d shapes and extrude/bool/chamfer these. Seems I can adapt / integrate a lot of your ways to create my models in Blender, first time in a non destructive environment