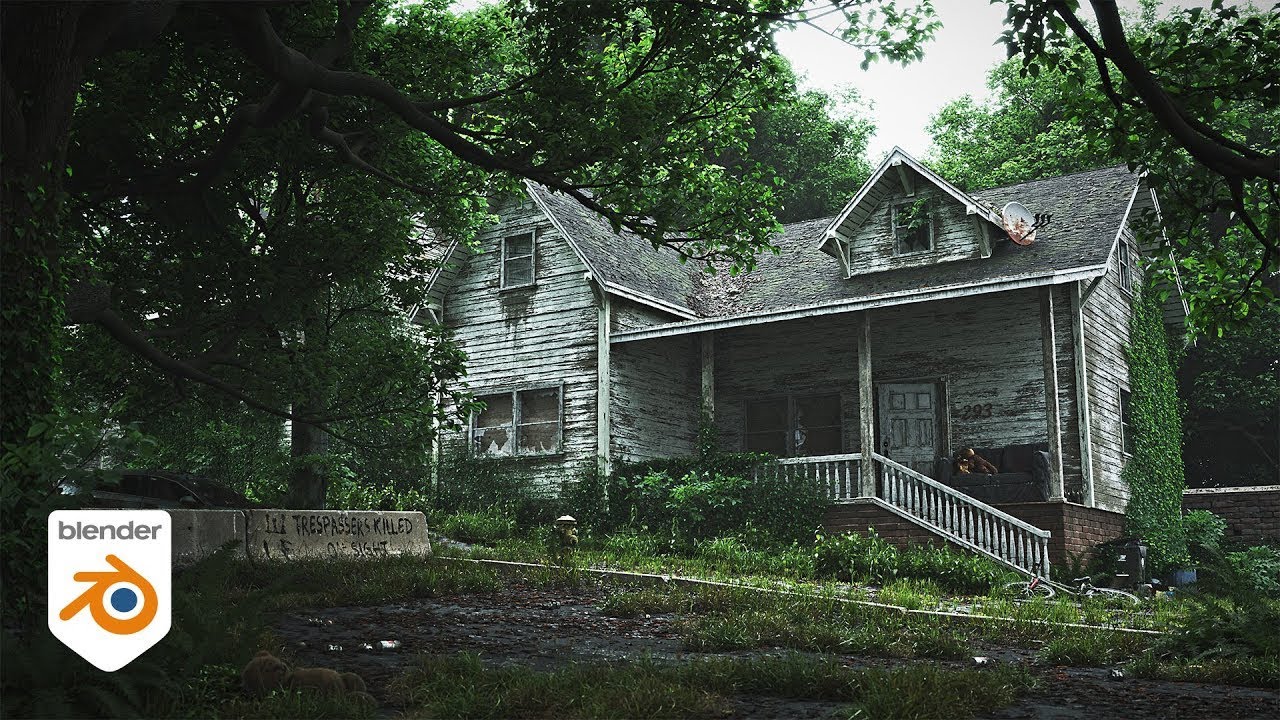
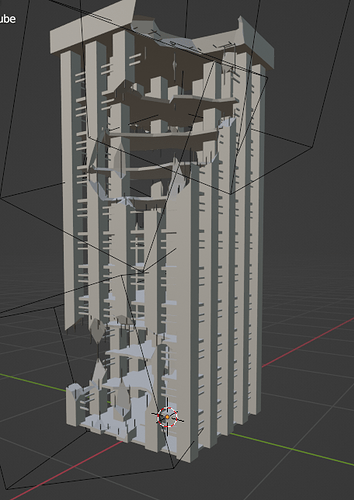
Really incredible work! Would love to know your approach to setting up the ivy. Are you using branching structures with the ivy or is it just overlapping curves?
This is freaking insanely awesome. Definitely the coolest project I’ve seen using Geo nodes and one of the coolest projects I’ve seen period. Massive congrats. Holy smokes.
Thanks !
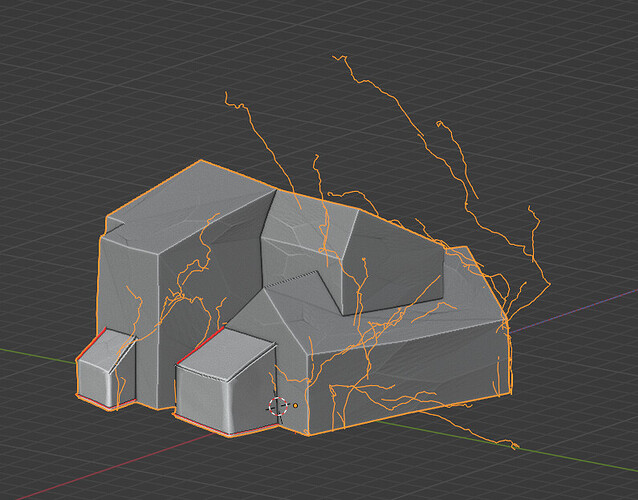
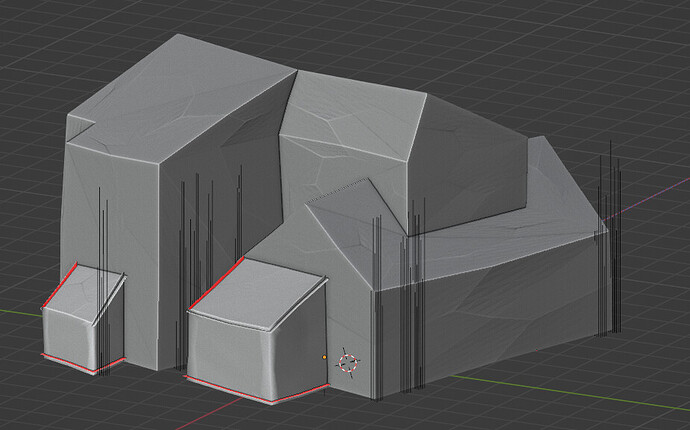
The Ivy is rather simple ! It’s some curves emitted from the bottom of the mesh.
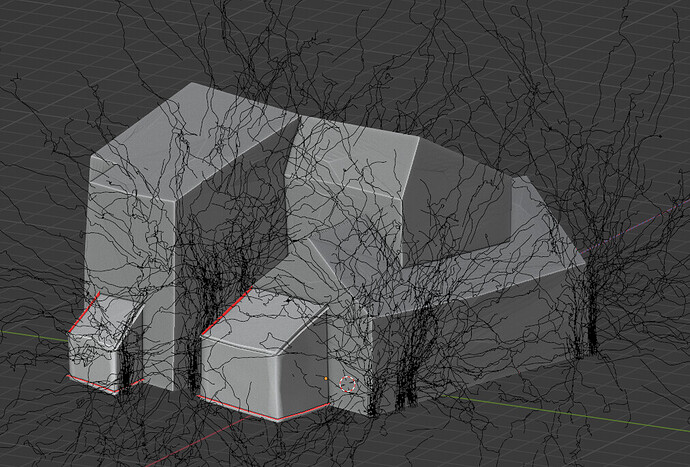
I then emit branches on the main curves, and add some distortion.
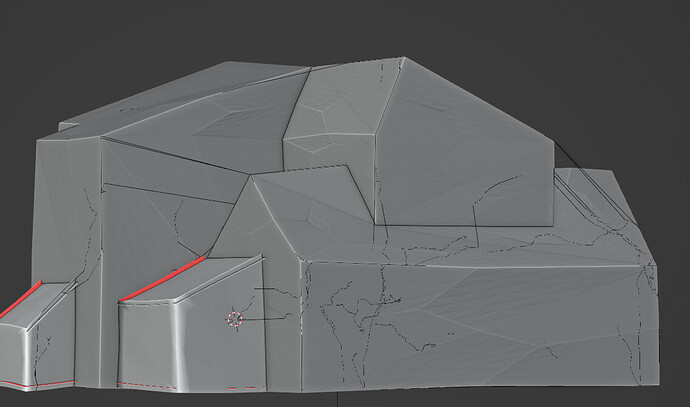
Then I project this on the mesh , giving the curves a high sample count.
And I get rid of the straight edges by converting the curves to mesh and deleting edges by length.
Because I set a high sample count before, the “bad edges” are the longest edges.
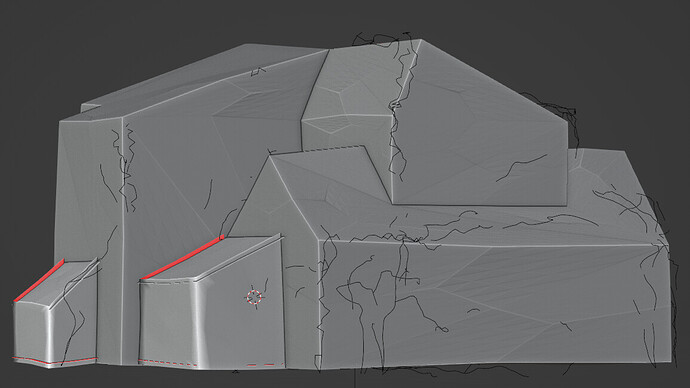
After that there are a few tweaks like resampling the curves to a lower sample count, separate them a bit from the wall by using the wall’s normal and an attribute transfer .
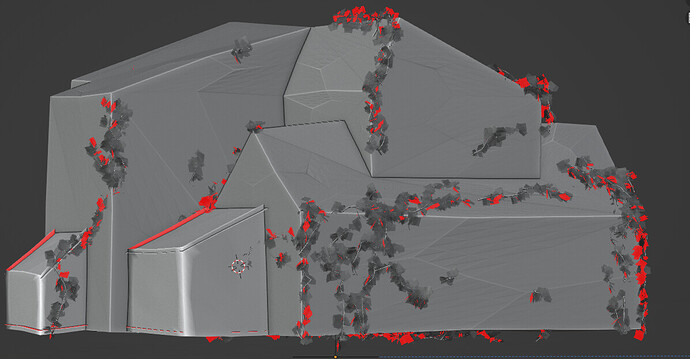
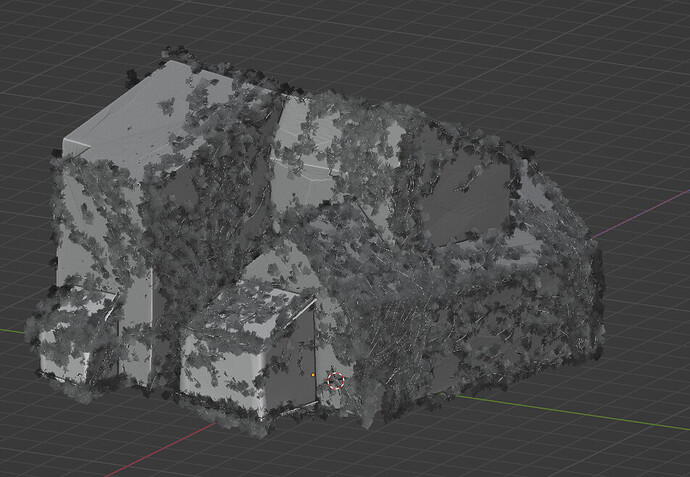
And finally emit some rather simple twigs on the curves and meshing the branches :
It’s not super accurate but it does the job if you don’t get too close.
On issue with getting rid of the long edges is that some parts are disconnected , but by tweaking the distortion and the initial length of the curves it’s possible to get better results.
If you really like Ivy , you can duplicate the initial branches and offset them a bit :
Oh wow, I really appreciate the effort you went into for the breakdown! Very useful info indeed. I will enjoy trying to replicate this 
Awesome ! Feel free to ask me if you get stuck and I’ll try to add the missing bits !
How can I download this to play from it and learn from it too!
Merci Sozap… thank you for explaining some of youir techniques! This is inspiring work. I hope to learn some of these method and your english is excellent as well ! Bravo. C’est magnifique!!
Thanks ! It’s really appreciated !
![]() wait until you’ll hear me speak
wait until you’ll hear me speak ![]()
If you want to see more I’m starting a new project and I try to make some breakdown as I go :
It’s not as straightforward as a tutorial but it can give ideas and a glimpse of the though process !
Yeah it can be tricky at first ! Probably the best way to learn is to start with very simple things , like learning one trick at a time even if it’s just technical and doesn’t really apply to something practical. One friend of mine as learned houdini like this. For some month he opened it and play with a ball or a cube with really in-interesting results, and at some point he started working in VFX and did some burning planes, collapsing bridge , exploding head and so forth ![]()
Welcome to blenderartists BTW !
this is fantastic… thanks! yes, eventually I want to build a house for my character… so much to learn. BTW, I love Paris and always stay in the Belleville area when I visit. 19th/20th.  That area feels like home to me.
Awesome ! I like very much these places !
If you plan to build only one or a few houses you can look at this tutorial :
It’s one of the references I had to see how to replicate it with geometry nodes, which is really not the easiest and fastest way to go ![]()
super… thanks Sozap!!
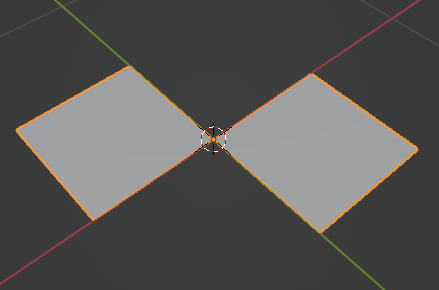
how do you deal with stuff like this then?
This is quite amazing! Do you mind sharing the blend file so I could mess around with it and really see how you did everything?
Hum, I’ve scaled the initial plane in X and Y so it look less regular, and because it’s duplicated with a different scale , location , rotated 90° and with another seed for deletion, chances are that it still would give something.
But of course, some of the results can be better than the other. By tweaking the random deletion, also it gives different result, maybe having 50% of deletion isn’t the best.
Hope that helps !
For now it’s not available, I’m still thinking about the best way to share it, being it payed, free, some simplified version, tutorials, it need a bunch of cleanup and a fresh eye anyway…
Okay, really enjoying everything you’ve showed us so far!
How long does yours take to generate one cause I’m just starting to attempt a version myself and it takes around 15-40 seconds to update the mesh, if I change the seed, all the time is just in boolean operations. Just wondering if there’s a way to optimize the boolean operations or if this is just normal.
hey ! That’s cool !!
I think you’ve stepped into the sad zone 


Yes the boolean node is quite slow when you start using on this kind of meshes…
I tried using them but it was really impractical … For the basemesh as it’s some cubes that was fine.
So what’s left ?
I modeled the house with curves, and curve to mesh nodes.
The destruction is made using geometry proximity to delete the curves before meshing them ( by turning them temporary into edges to be precise) .
For the inner walls (that are not based on curves), it’s a bit similar, I delete the points using proximity and join the outer edges (with merge by distance) to smooth the borders, all that before I do the extrusion.
For all the cuts in the walls I used proximity too and the result is quite fast , but with booleans I thinks blender didn’t survived 
If you really want to go with booleans , probably it’s worth testing using the modifier instead set to fast mode. You’ll end up with several geometry node trees and different objects, it’s limiting but it can probably save the party to some extent 
I’m quite curious about the performances comparison between the two, and if there are some slowdown on the node compared to the modifier set to accurate. But I doubt the modifier is faster when not in fast mode.
Hope that helps and I’m really looking forward what you’re doing !
Good luck !
Utterly amazing work! I am stunned at what you achieved!
Thanks a lot ! and welcome to blenderartists BTW !
