Hi!
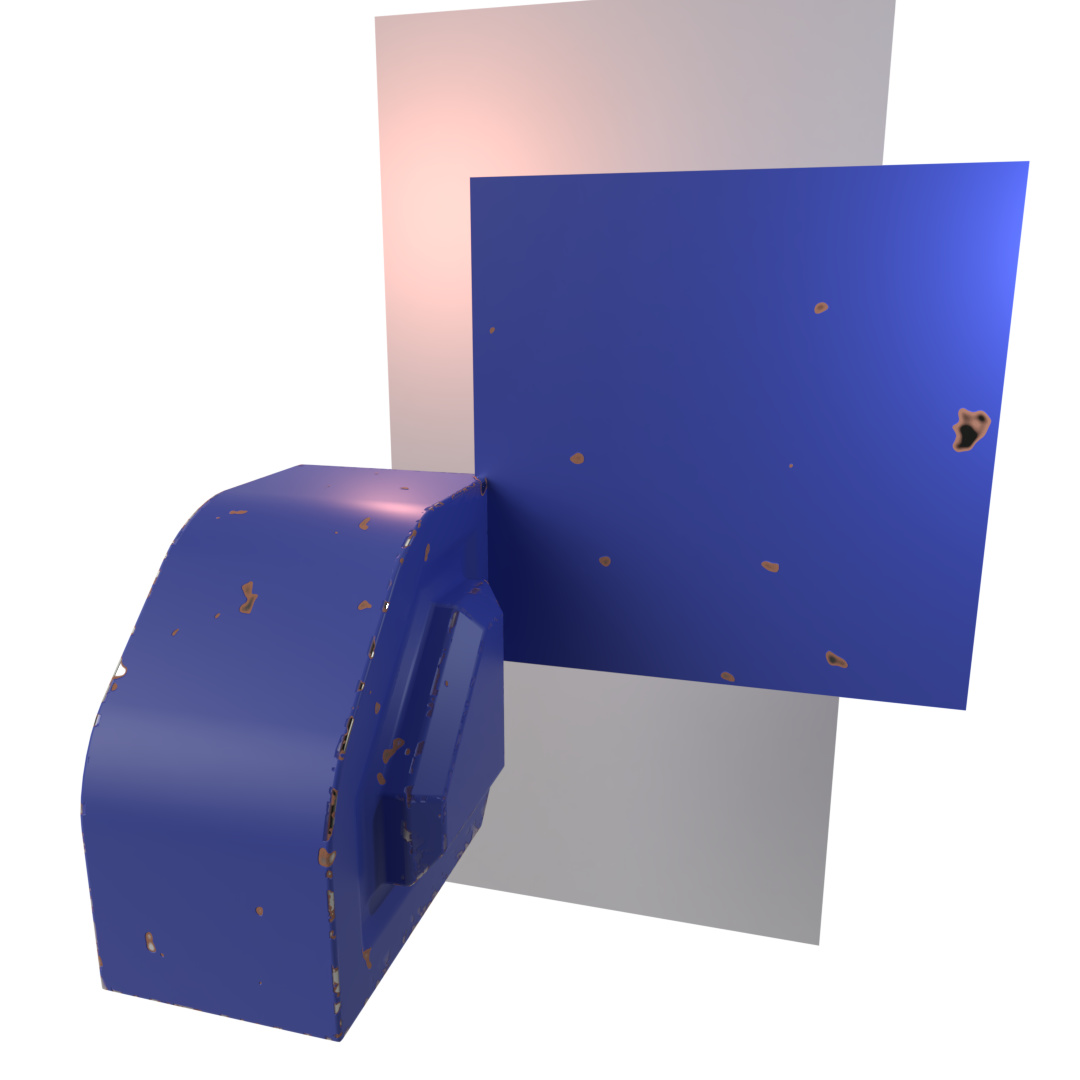
I’m trying to make a smart material for aged rusted paint. It is prety easy to have good edge wear results with pointiness (or AO in 2.8) and some rust spots with the noise texture.
the part that I cant figure out is how should I tackle is the streaks.
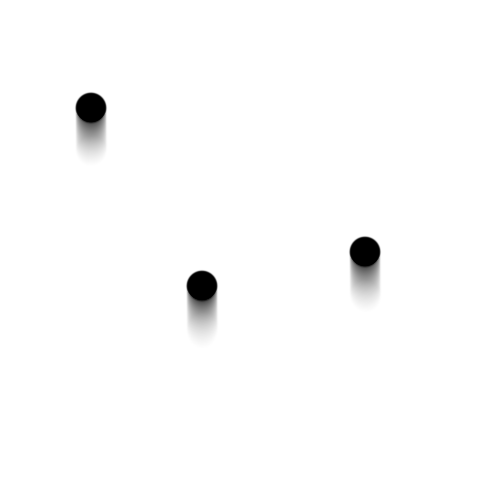
My idea is to fade the rust spots along -Z and have something like that
The first probleme is that I dont know how to set up my nodes to spread the dots.
The second is a bit more complicated and is how to make the streaks follow a curved surface
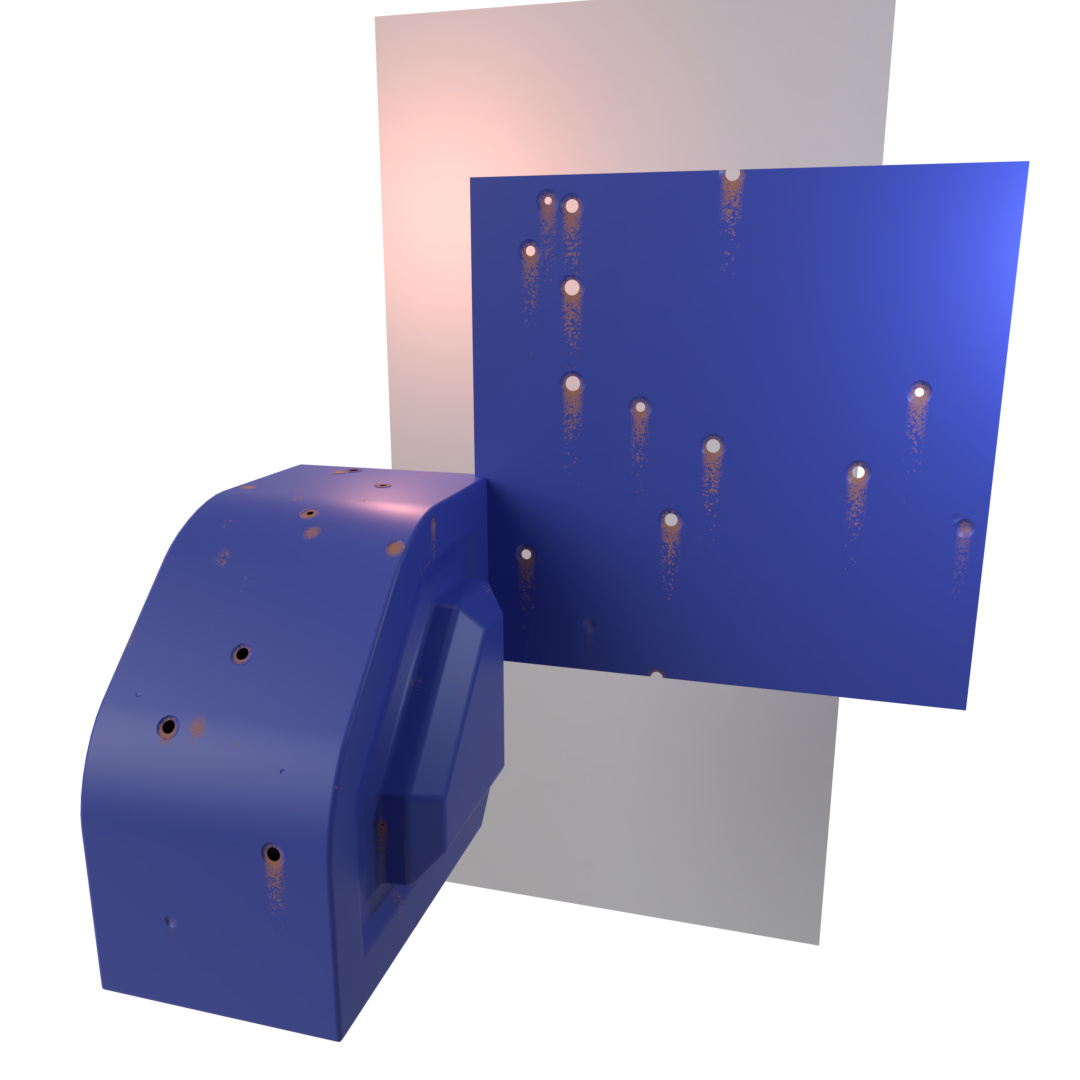
Voronoi intensity mode passed through a math node set to “greater than” may be a reasonably simple and quick way to generate the random circular spots to control a mix. However I haven’t figured out how to use that as a starting point to extend a gradient downwards on the Z-axis from each spot.
This is a rather difficult thing to do in the node editor alone, and specially with a 3d procedural texture as they don’t really follow surface specifications (just volumetrics). And that might cause strange things to happen, like a surface having a streak where there shouldn’t be any (for example in the top/bottom areas of your mesh).
Here, a 2d procedural and good uvmaps would be a better(ish) option, but still a bit difficult to accomplish using nodes (OSL perhaps)…
Painting is for now the best solution.
Being able to do this even with just volumetrics could be a good start. It could work well enough for relatively flat surfaces. It may be a bit situational, but I think it could be useful.
I agree with the 2D painting option, it’s what I currently use and it gives you the most control though the details are limited by your image resolution.
My aim is to have a lazy “make it look old” material to drop on a mesh and let it do all the work.
Man, you’re a wizard! I can’t get my head around the logic behind this setup…
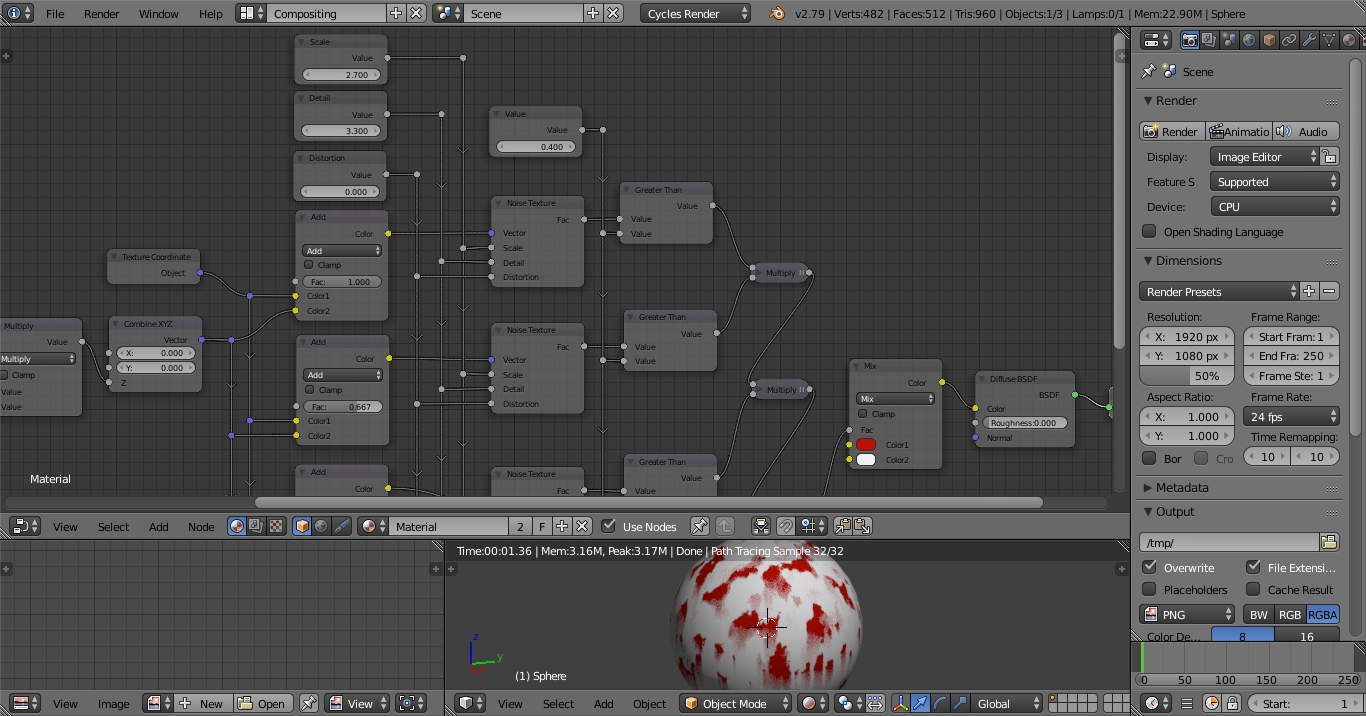
I tried your node setup and it looks pretty sweet. Mixed with a transparent node it makes great bullet holes. Perfect for old road signs.
Is this setup limited to voronoi texture? I tried to switch voronoi nodes with noise without success. Could we feed any texture into it and get streaks? For example this old paint material.
Because it’s a simple superposition of a bunch of textures… Not really fancy, in my perspective.
It scares me the hell out, to live in a land where people shoot road signs for fun…
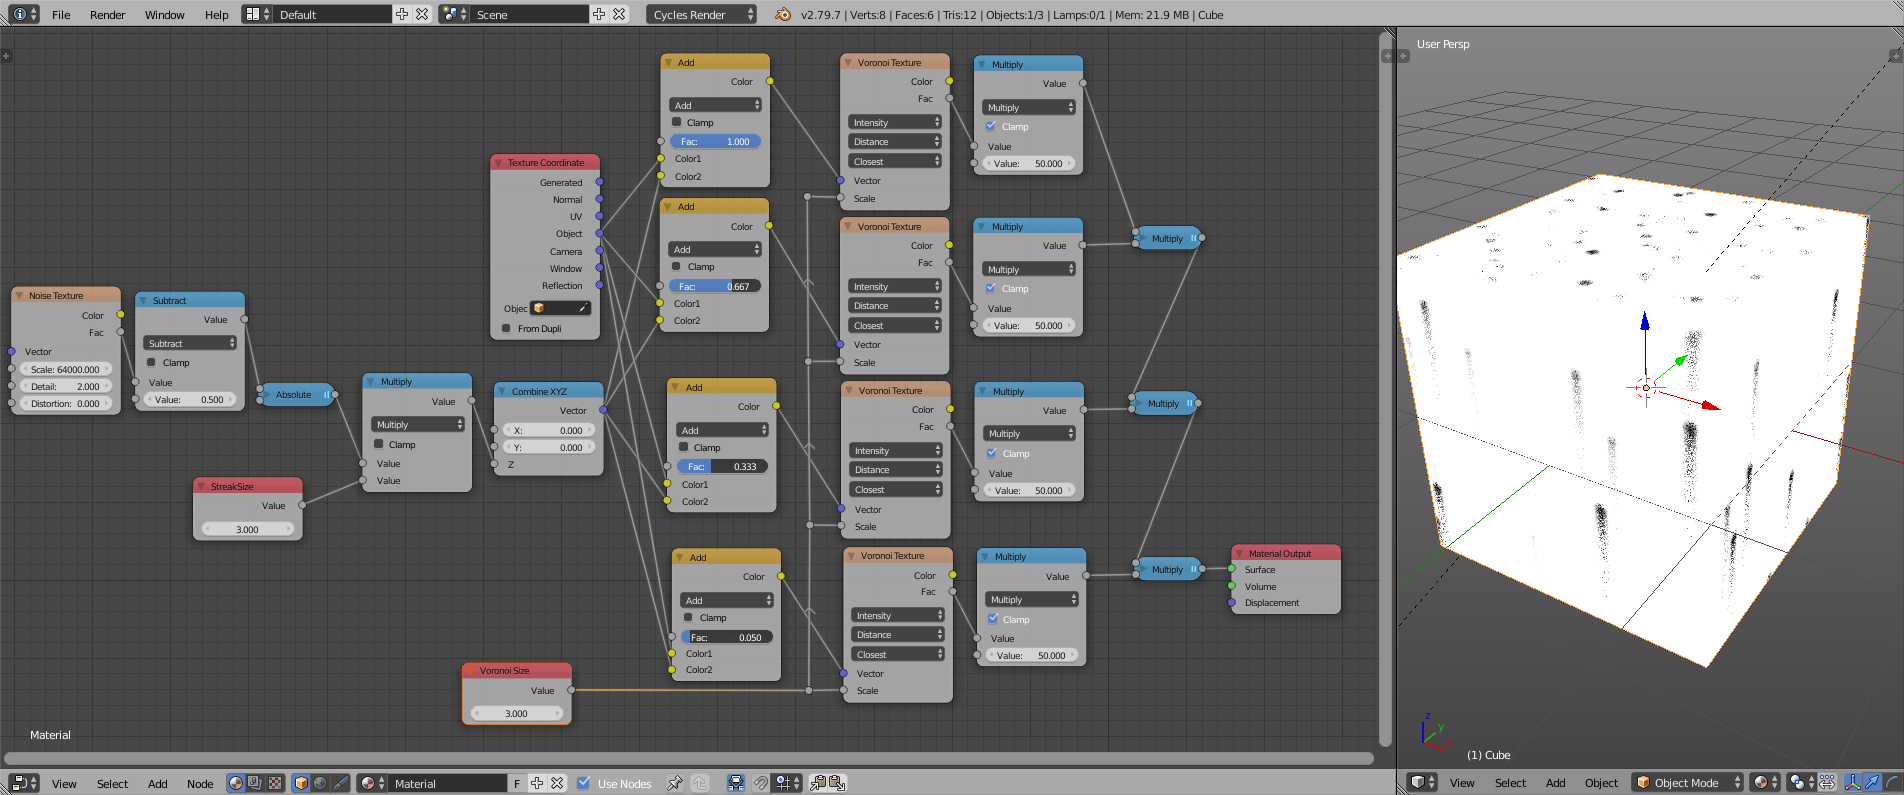
The original texture must have an high contrast between black and white… That Noise texture plugged into the Z coordinate system already fades most of the greys out, since the sum of all samples tends to a brighter value.
Notice I slipped some math “greater than” nodes in there instead of doing the multiply by 50 thing. Rest is pretty much the same mojo that Secrop deserves credit for.
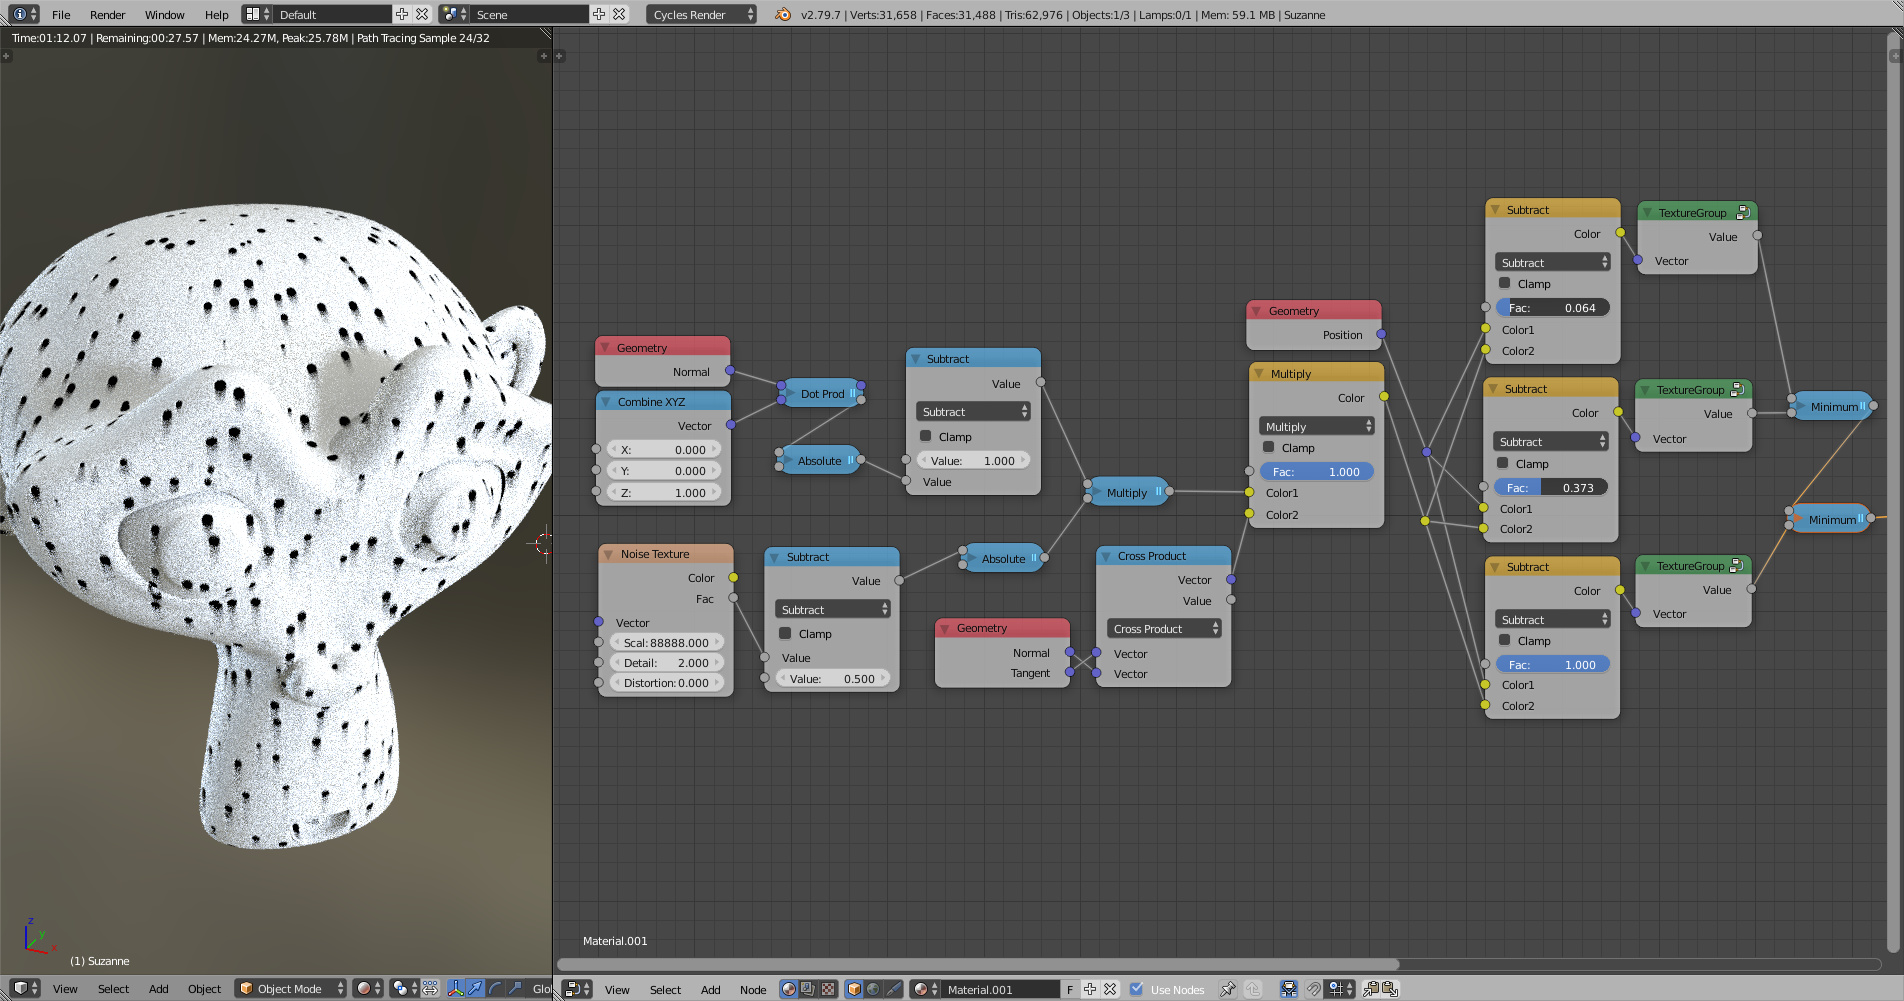
I also recall there’s some trick (although not exactly what) with texture coordinates and vectors to get an object face’s angle in relation to an axis. Should be somewhere on how to do “slope” or something like that? (Most common use in landscape type stuff.) Might be interesting to mix that in to affect the rust streak length control. Then you’d have this procedural rust thing down fairly well.
One can use the Z component of the Normal vector… Value of 1 means the surface points up, value of 0 is parallel to Z , and a value of -1 means the face is pointing down.
Slope can therefore be found by tan(asin(Nz)).
A bit more difficult to find is the Laplacian from the surface… It’s possible to do it in OSL, but it requires tracing rays to the nearby geometry, and calcultate the result from the Hit data.
It looks great with the noise texture! I managed to get some quite convincing renders out of it.
It is pretty situational too though because it affect the whole object.
My ultimate goal would be to combine the noise texture and the AO/pointiness first to have edge wear and stains and then make the streaks from that.
It’s not that difficult to put this as a mix control within a node group, and then it outputs black and white channel data. An easy way to then control where it’s applied is if the object it goes on is UV mapped, and you can then paint on another texture as a mask to control where various procedural textures are applied. You put one mix in as a thing to be controlled by another mix.
How did you get the bullet holes to be solid black in the mask?
I took the output from the bottom multiply and threw a color ramp on it, but it won’t go solid for the transparency to be sharp.