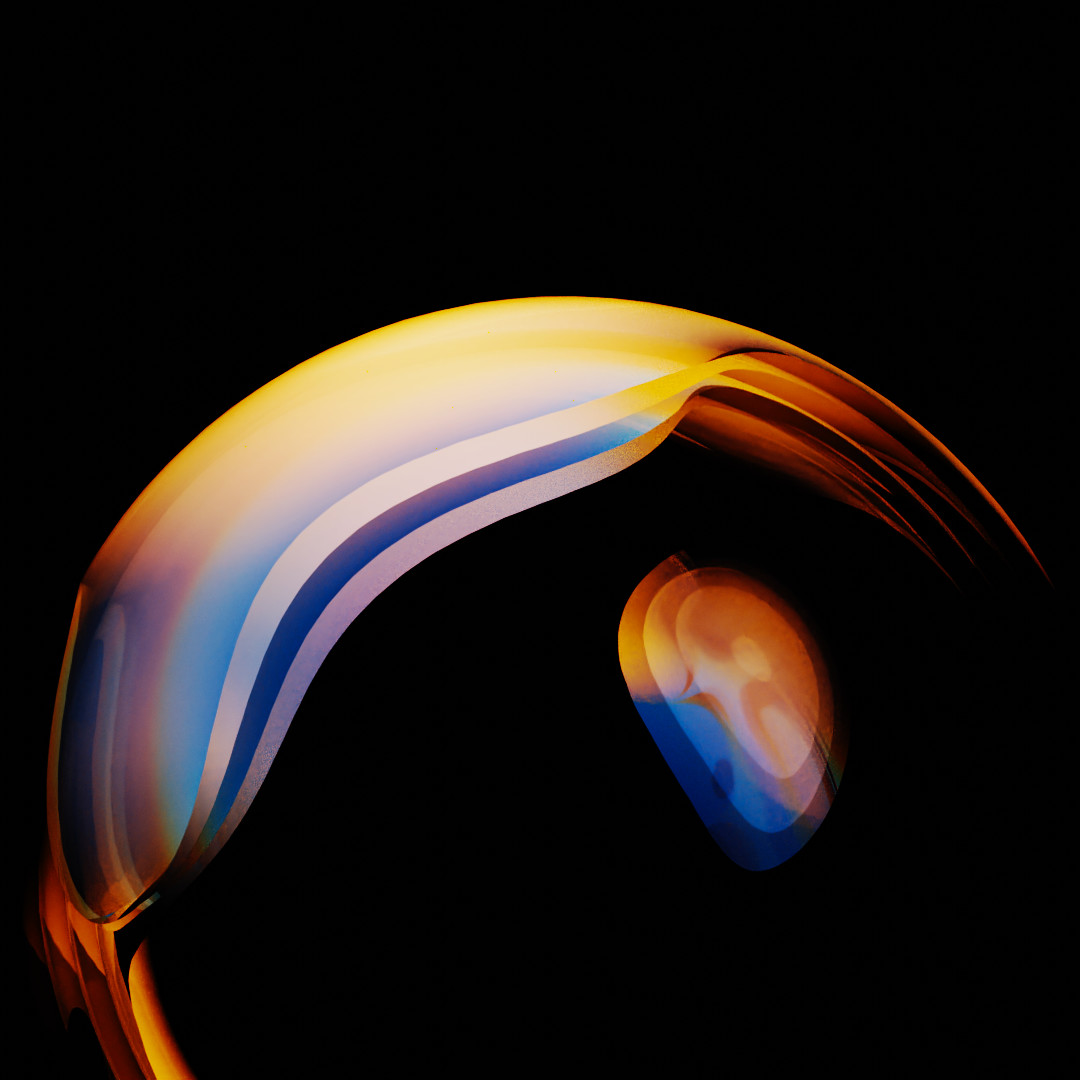
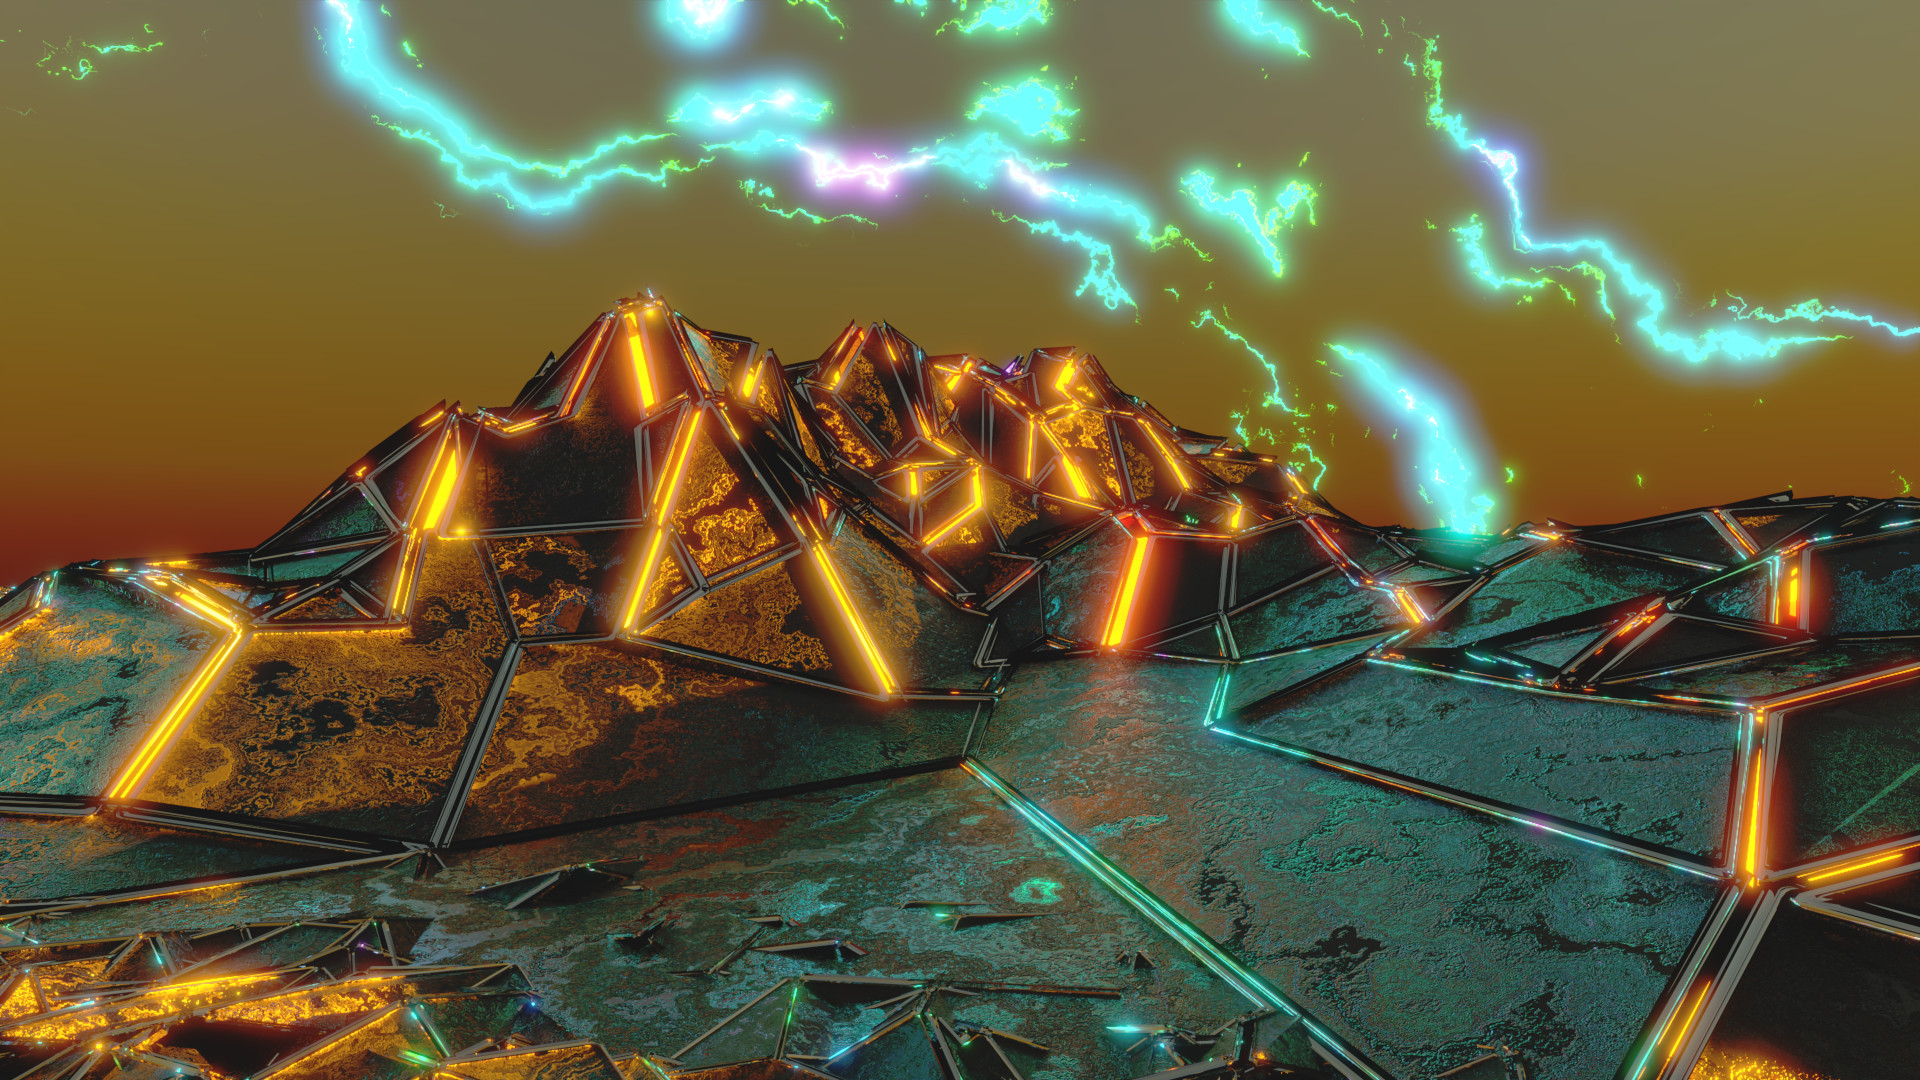
Last night I played with wimple noise textures. These were applied to a roundcube with two solidify modifiers and a subdivision modifier. Lighting was from the Sky Texture. I explored the model, tweaking the noise, sky, and camera position.
Since we now must use an image in the original post as the thumbnail, here’s the most recent:
True, but sometimes also frustrating, when you want to achieve a small change in the texture and suddenly you get a completely different look.
Nice procedurals. Looking forward to seeing further experiments.
That’s very true! And it is pretty easy to lose the setup you liked: If I just tweak it a little, then a little more, nah, let’s go back to the way it was… nope, it’s gone.
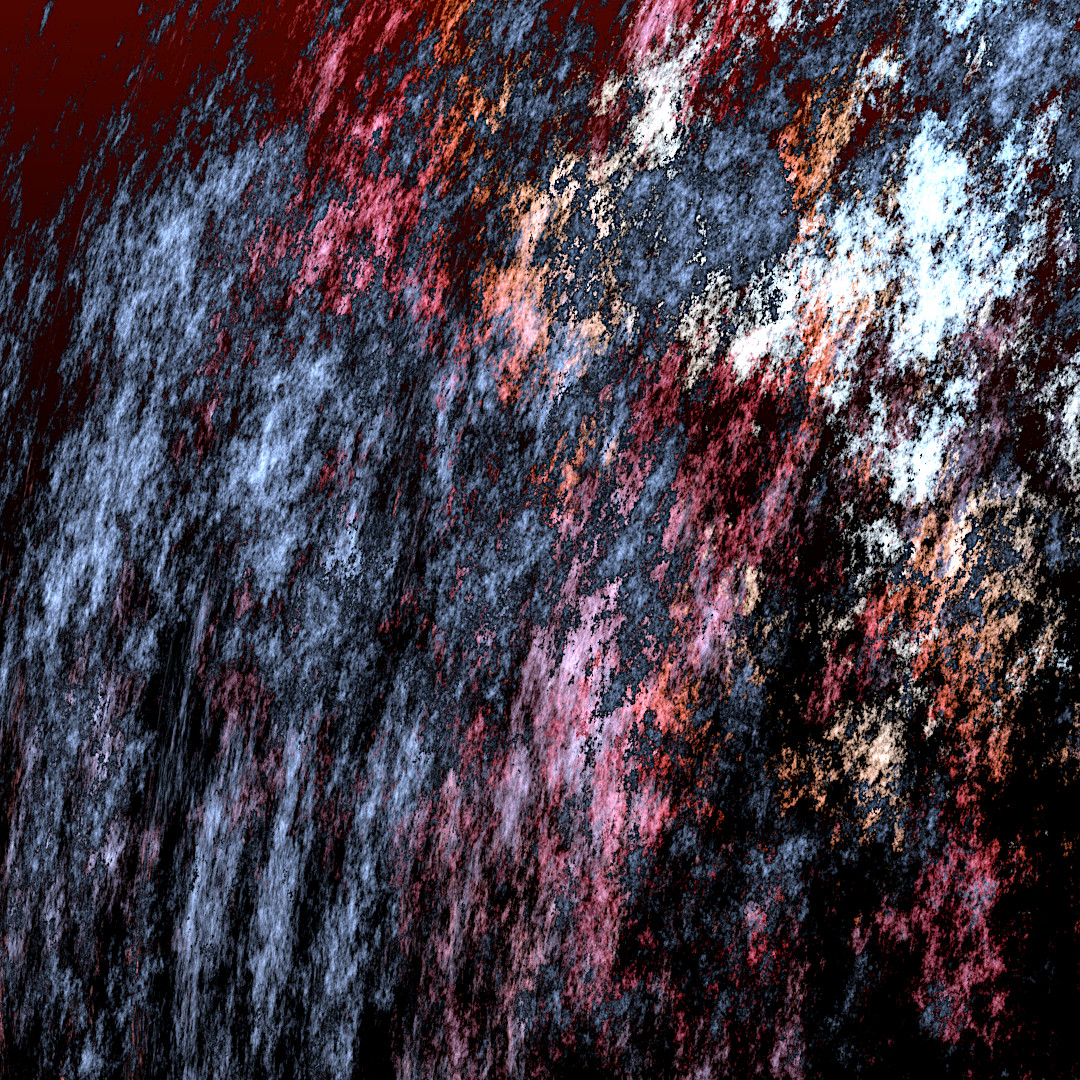
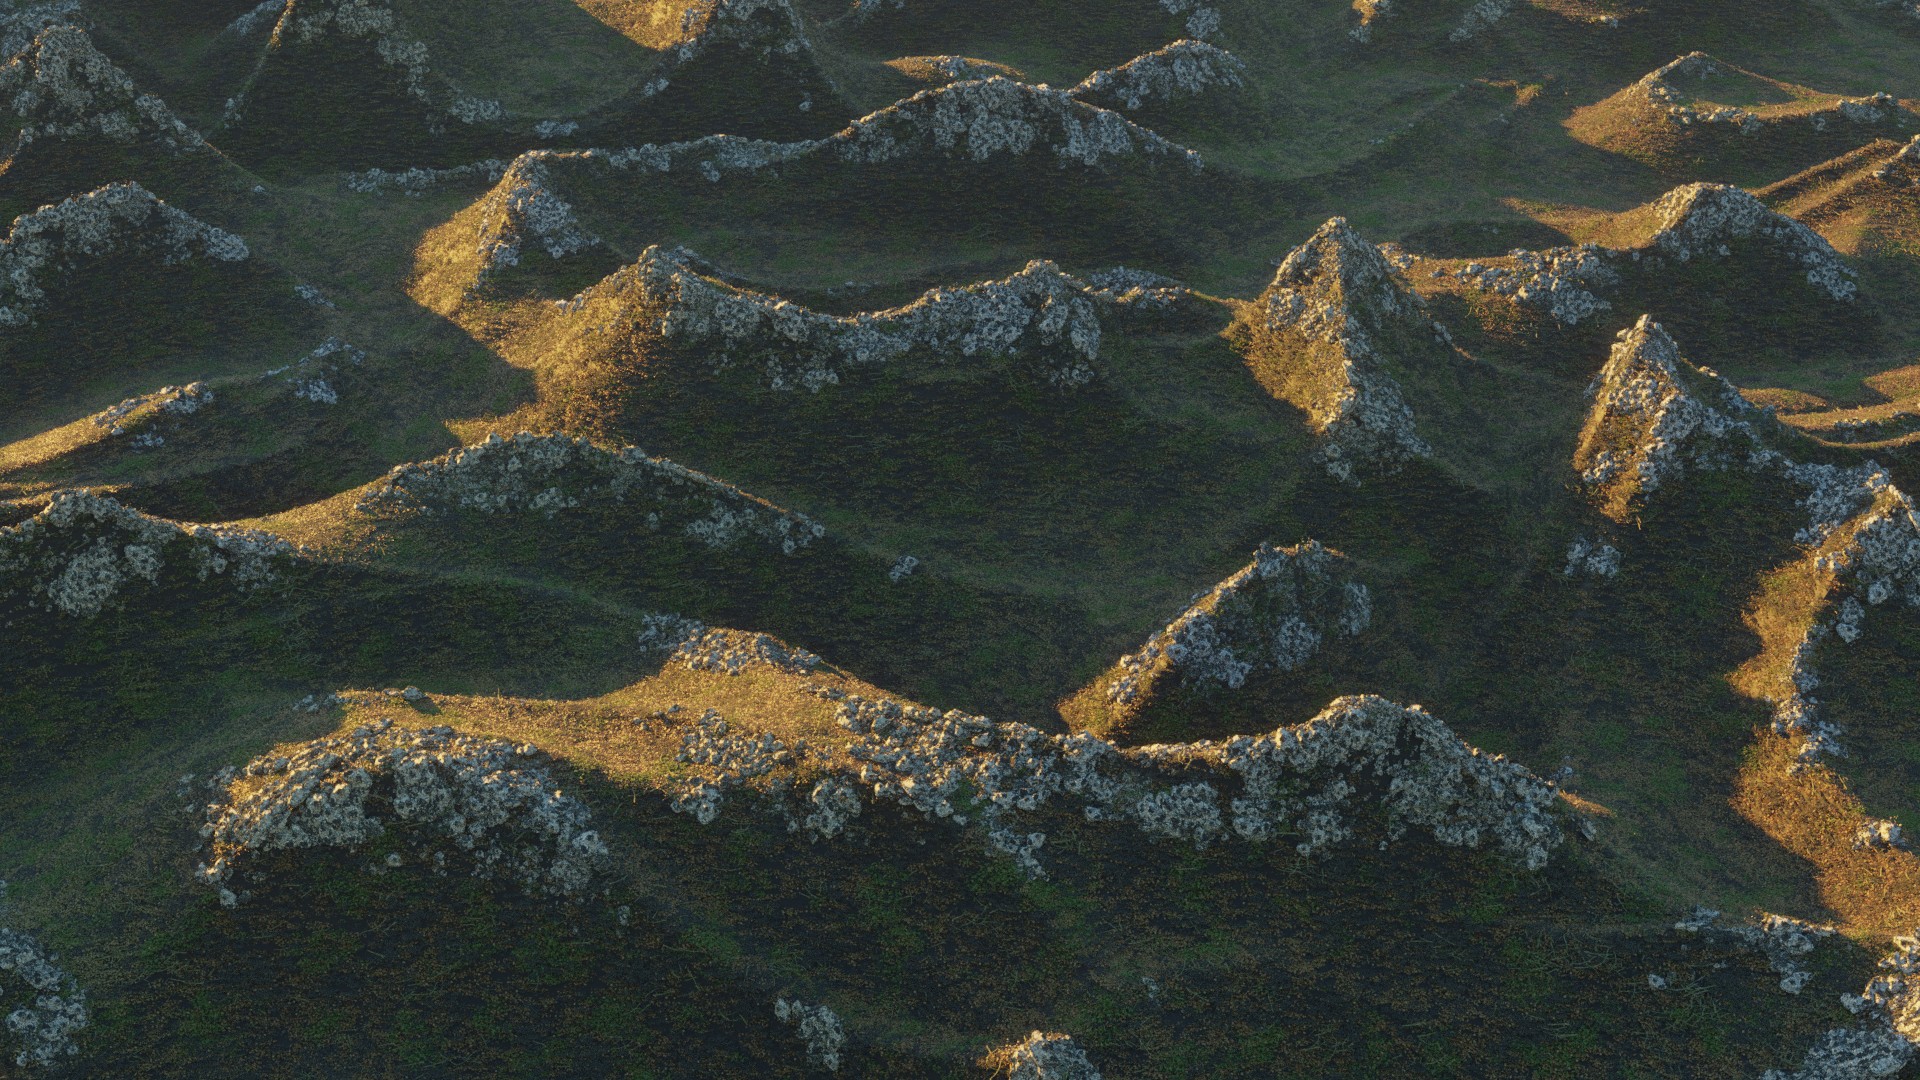
Updated with a different world texture (and thus lighting), and added some glare in the compositor. Lightened up the overall exposure so it isn’t so dark (such a difference when working on a piece during the day rather than at night).
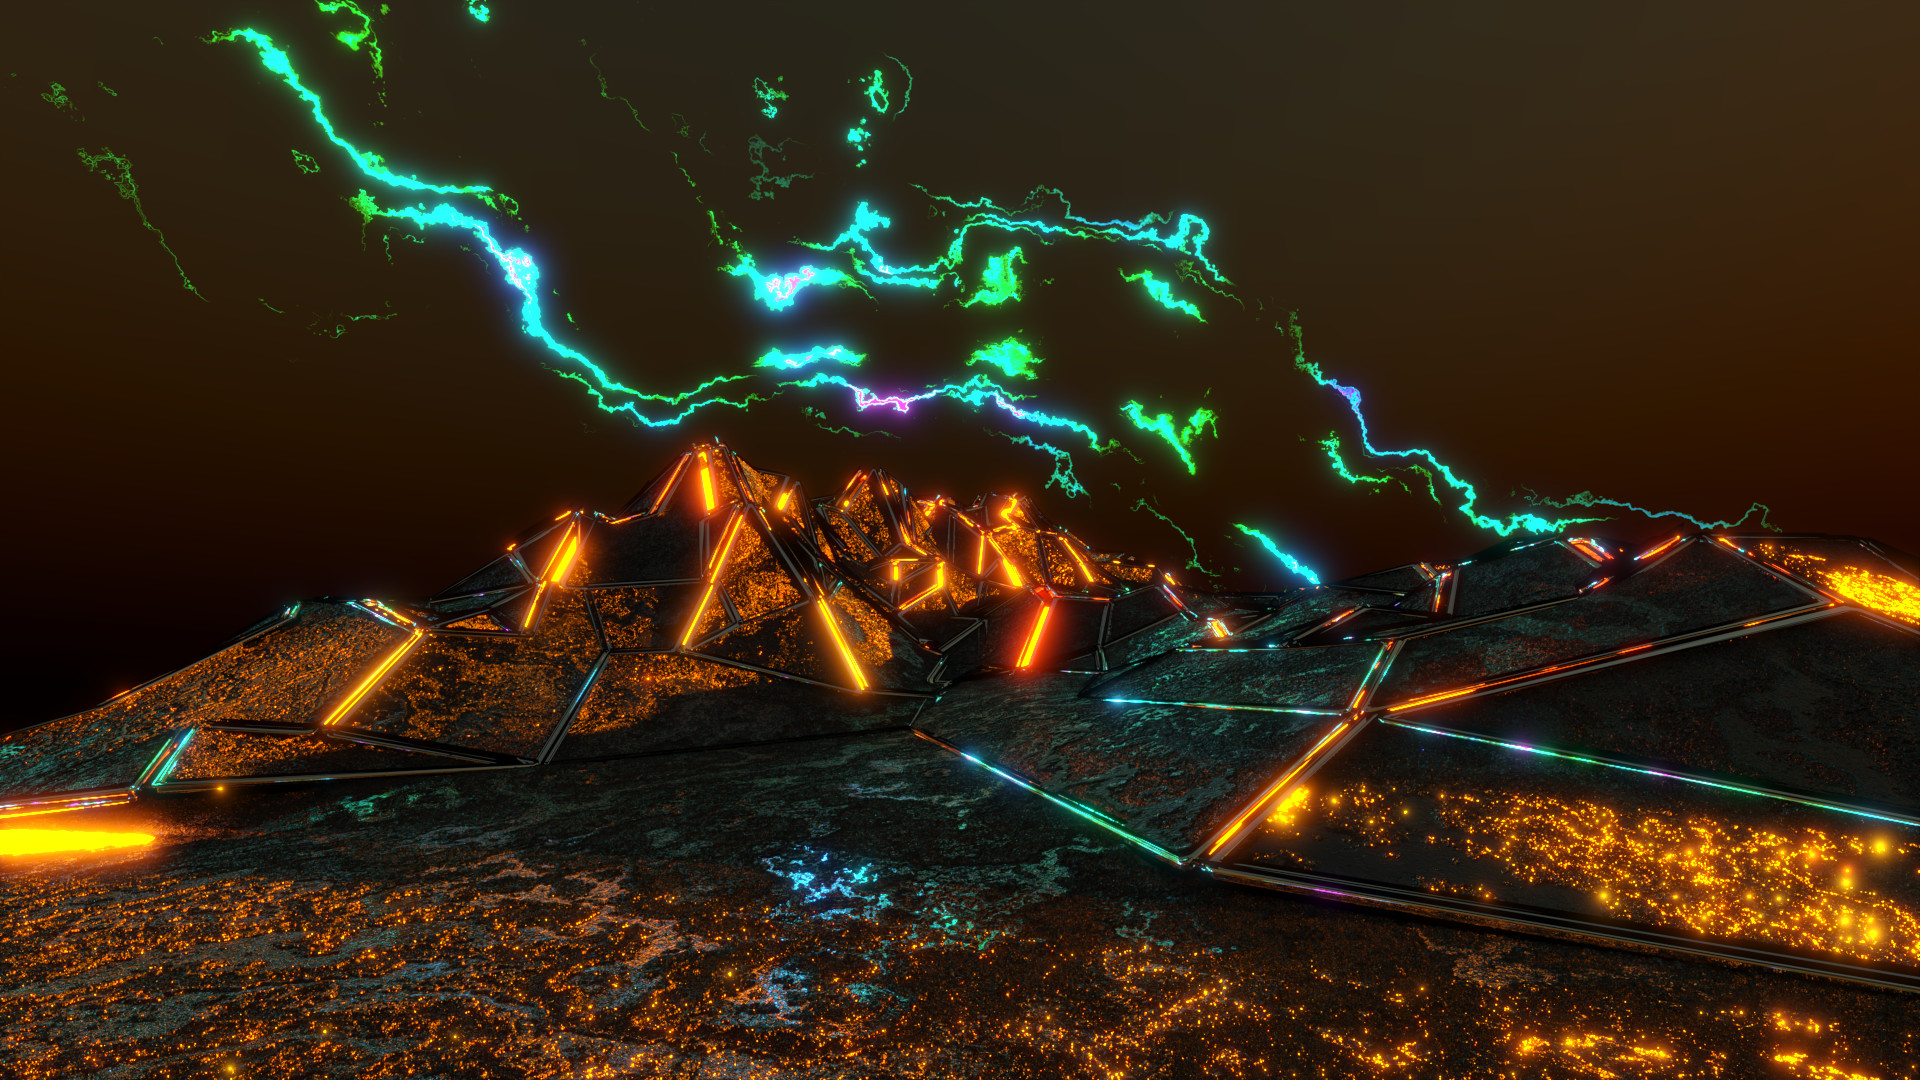
Decided to try it with displacement on the plates. This caused problems with the particle tiles which make up the surrounding landscape (of which we only saw a little in the foreground). So I hid them for this render.
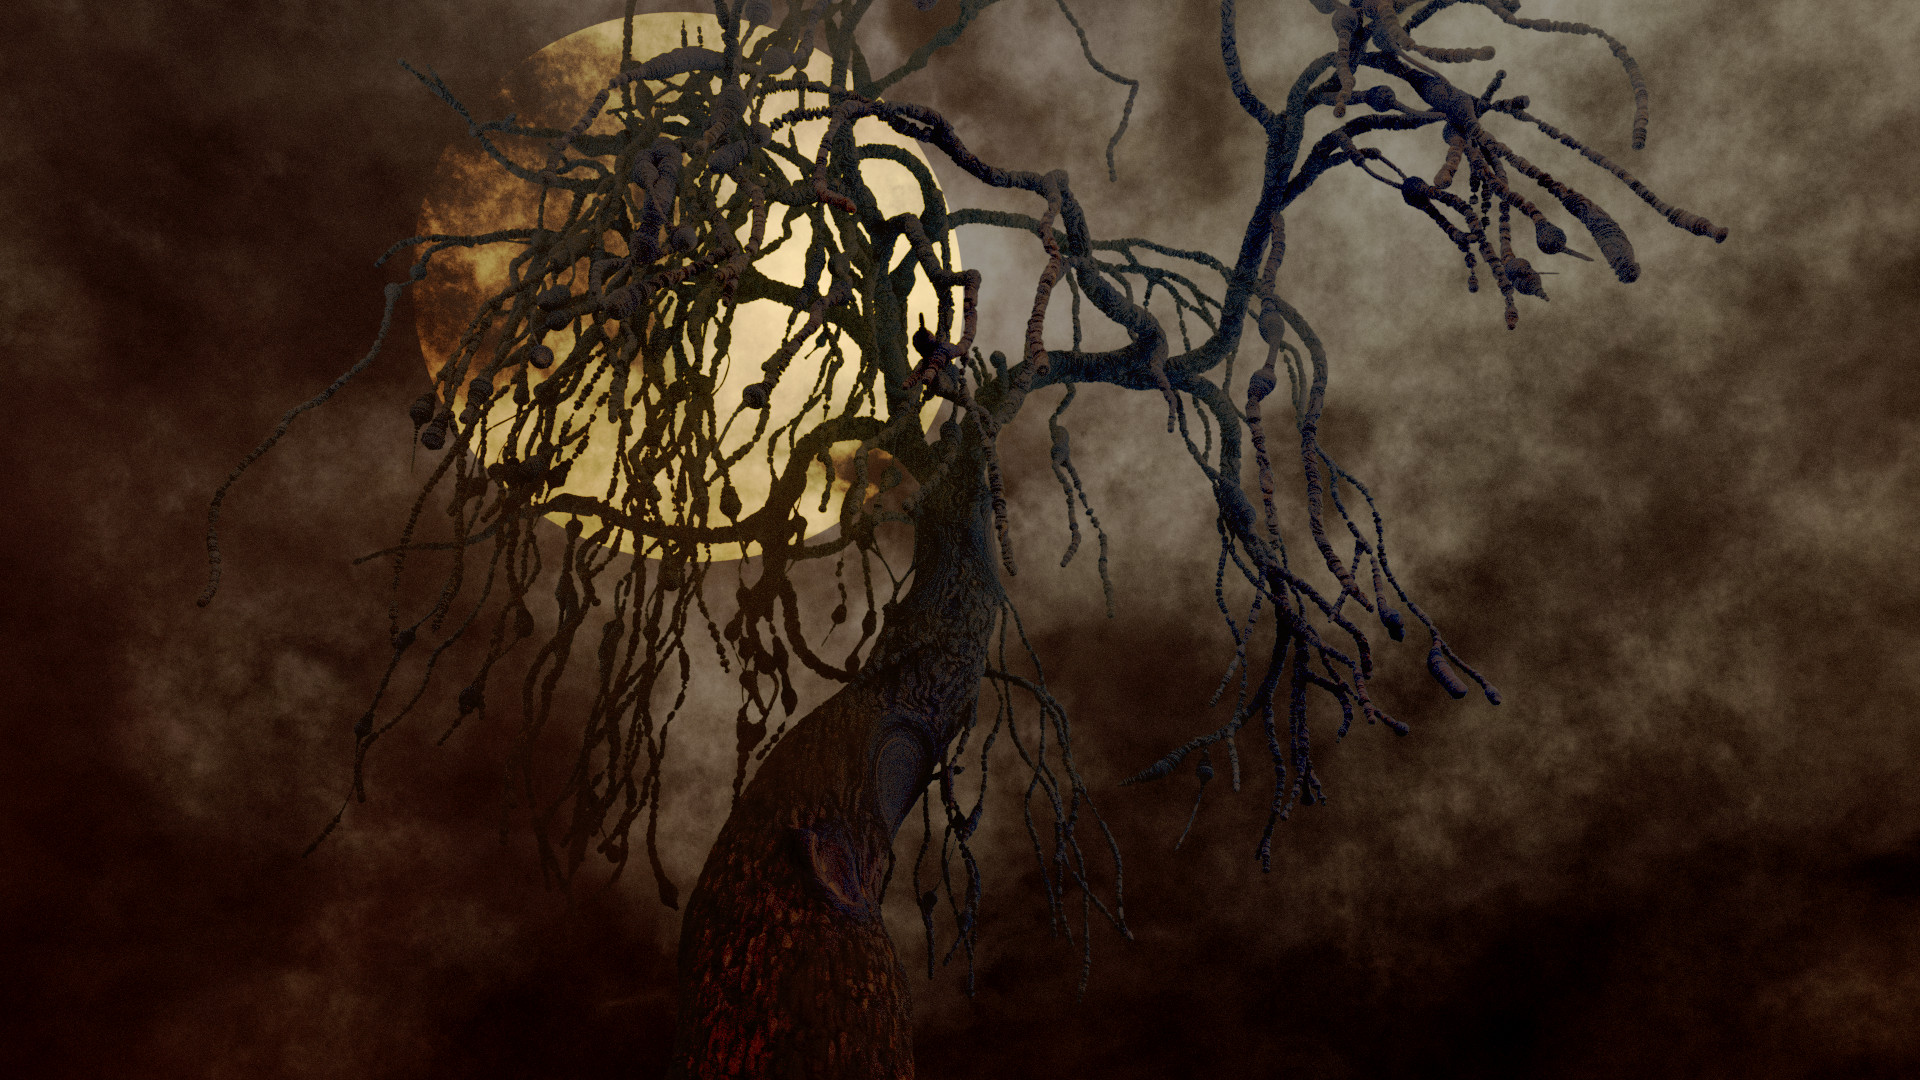
I installed mtree, and started playing with it. In the process, I made some interesting dead looking trees, and rendered one.
The bark material is from @ArScrap : Procedural bark material - #20 by ArScrap
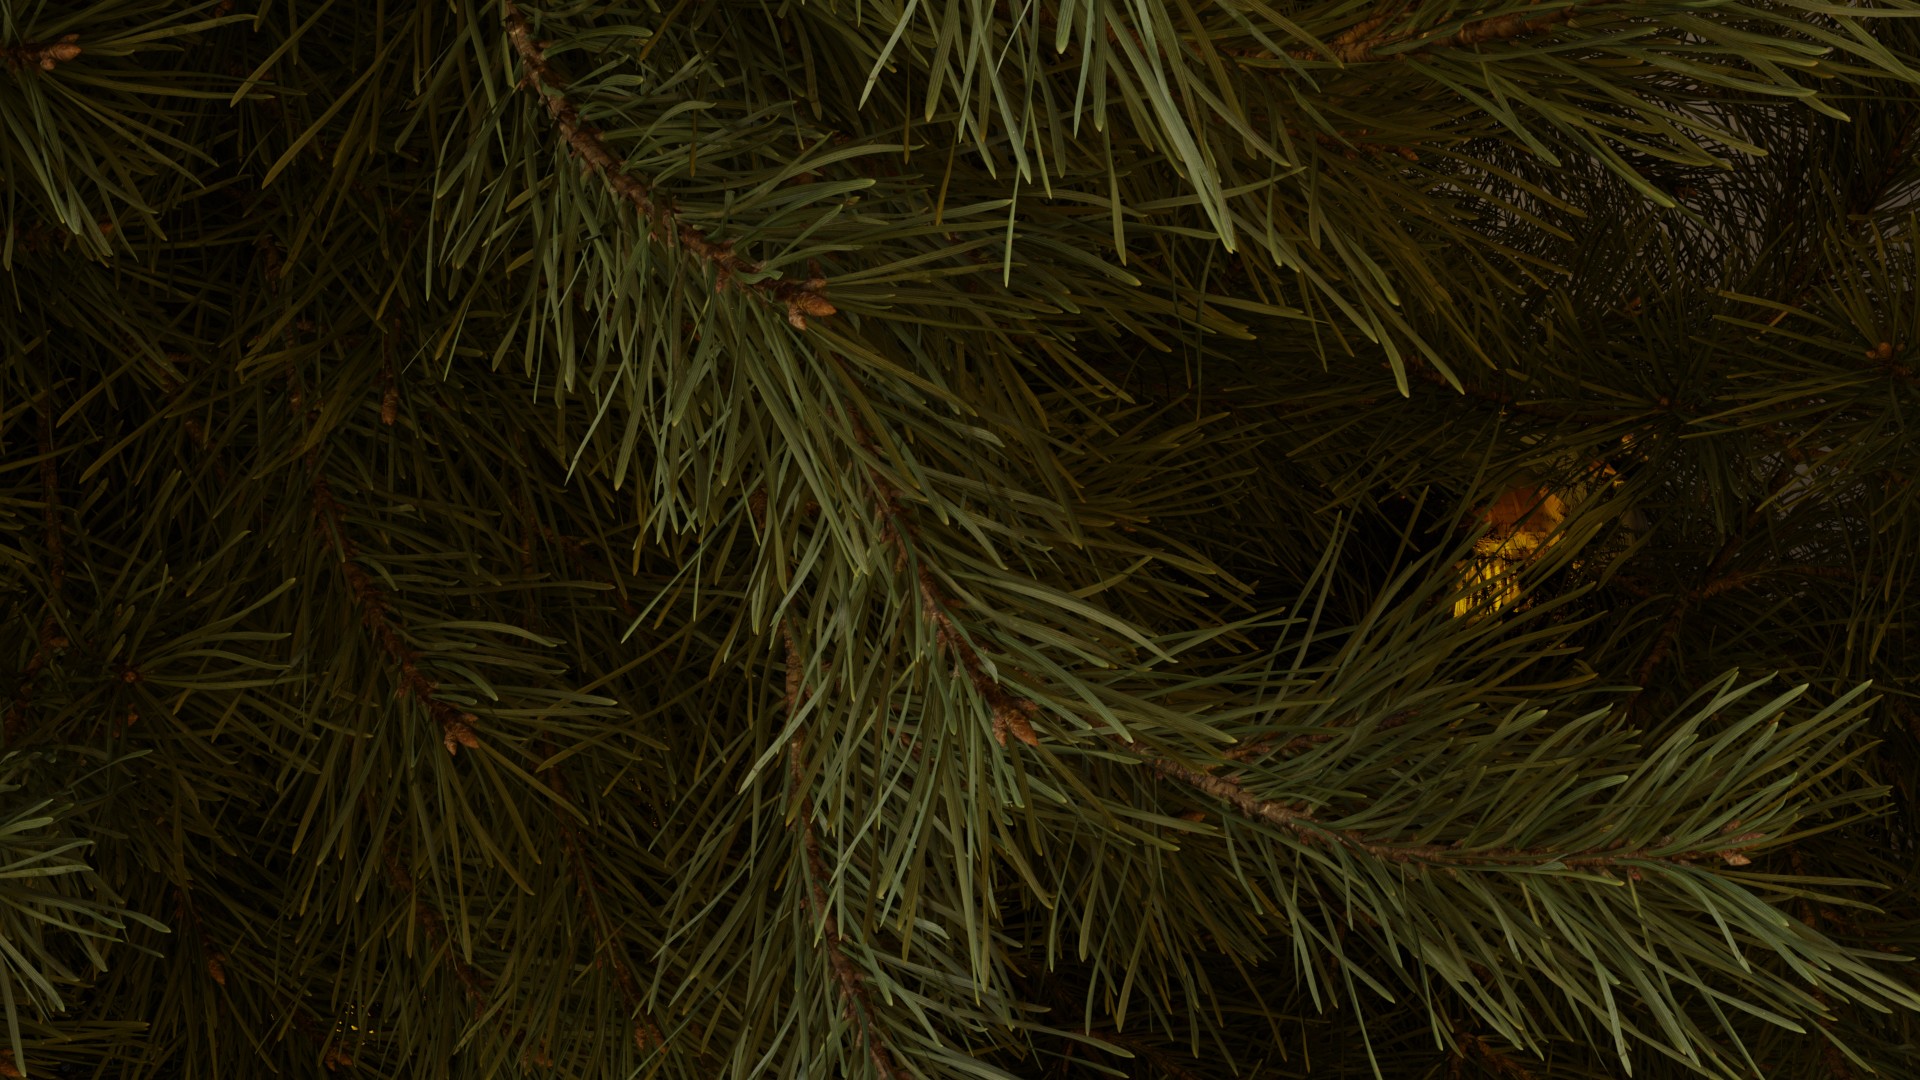
It’s tradition to put up a tree on Thanksgiving weekend, right? I spent the afternoon making a digital one instead :).
Tinsel got a little out of control! And I’m not sure that reusing the twig particles to hang ornaments is going to work out in the end. I’ll need to come up with something that doesn’t involve manually placing them all… or maybe I’ll do just that. In any case, this proof of concept was pretty fun to put together.
Tree was generated with The Grove. I’m sure sapling and MTree could do just as well for this simple tree.
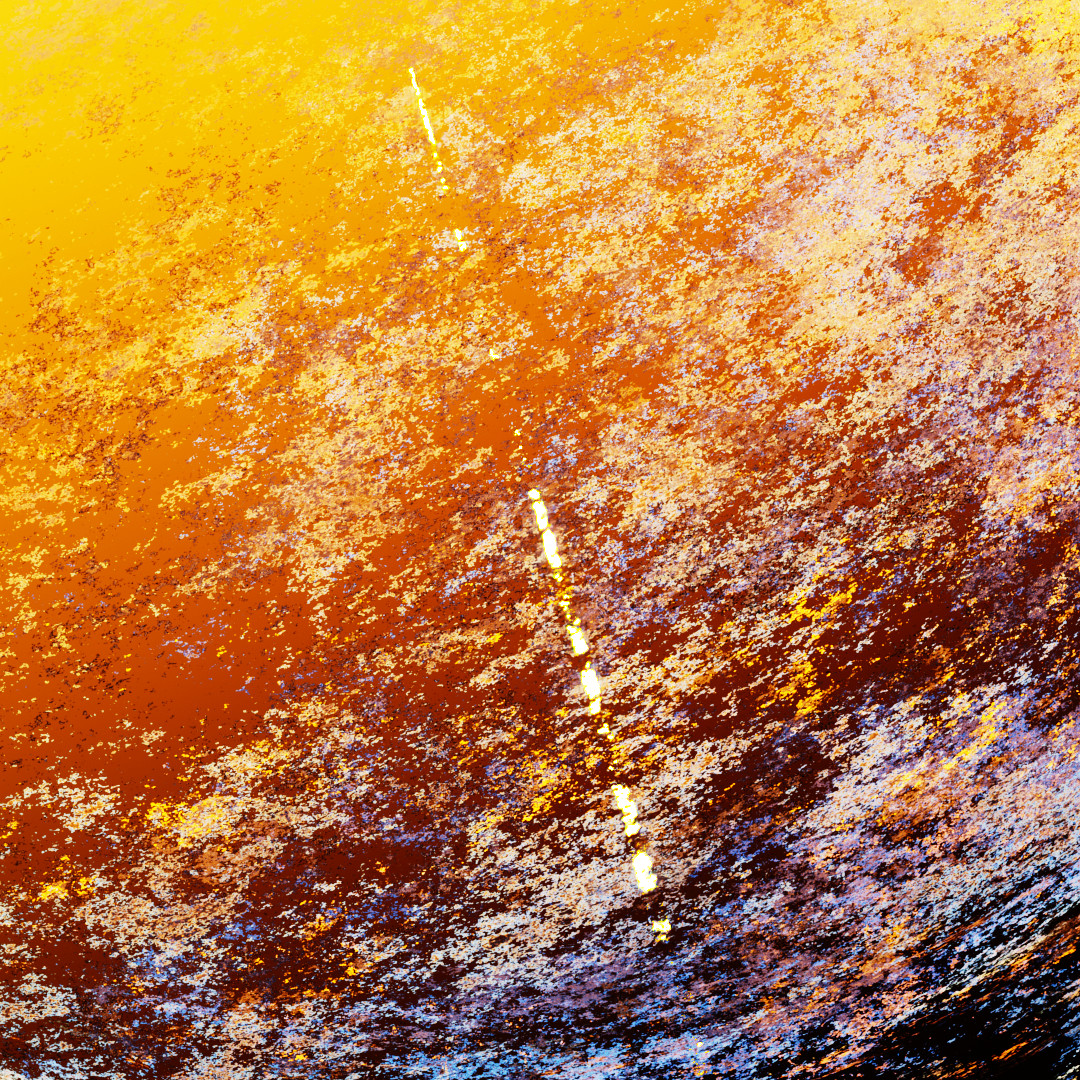
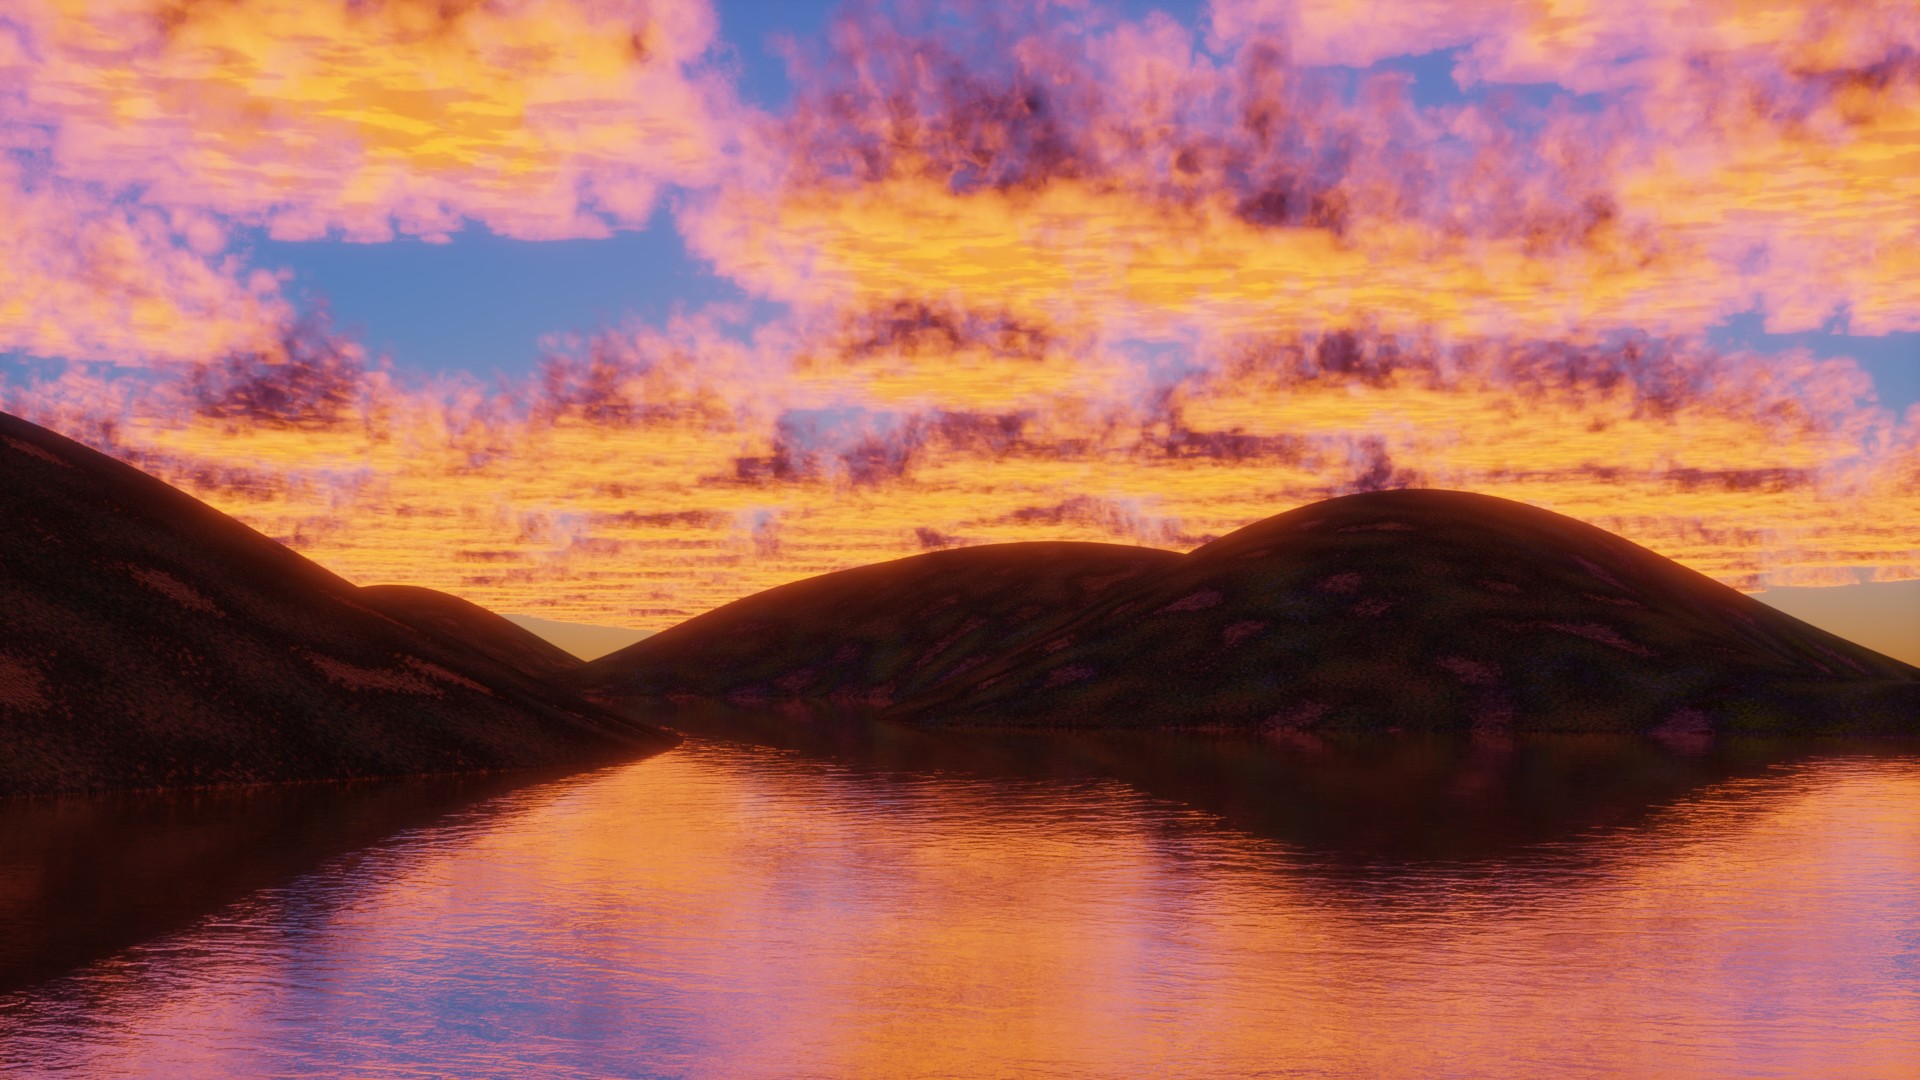
I’ve not been entirely happy with the lighting on the underside of clouds in my renders when the sun angle is low. At sunrise/sunset the sun should be directly illuminating the underside, and I wasn’t able to make this look using the sky texture alone.
So this is a quick proof of concept where I set the sun intensity in the sky texture node to 0, and added a sun lamp to the scene. I think there is still quite a bit to think about, things like falloff and color gradients. This result here is too uniform across the sky.
Clouds use @Pixelshatter’s cloud node from 2018.
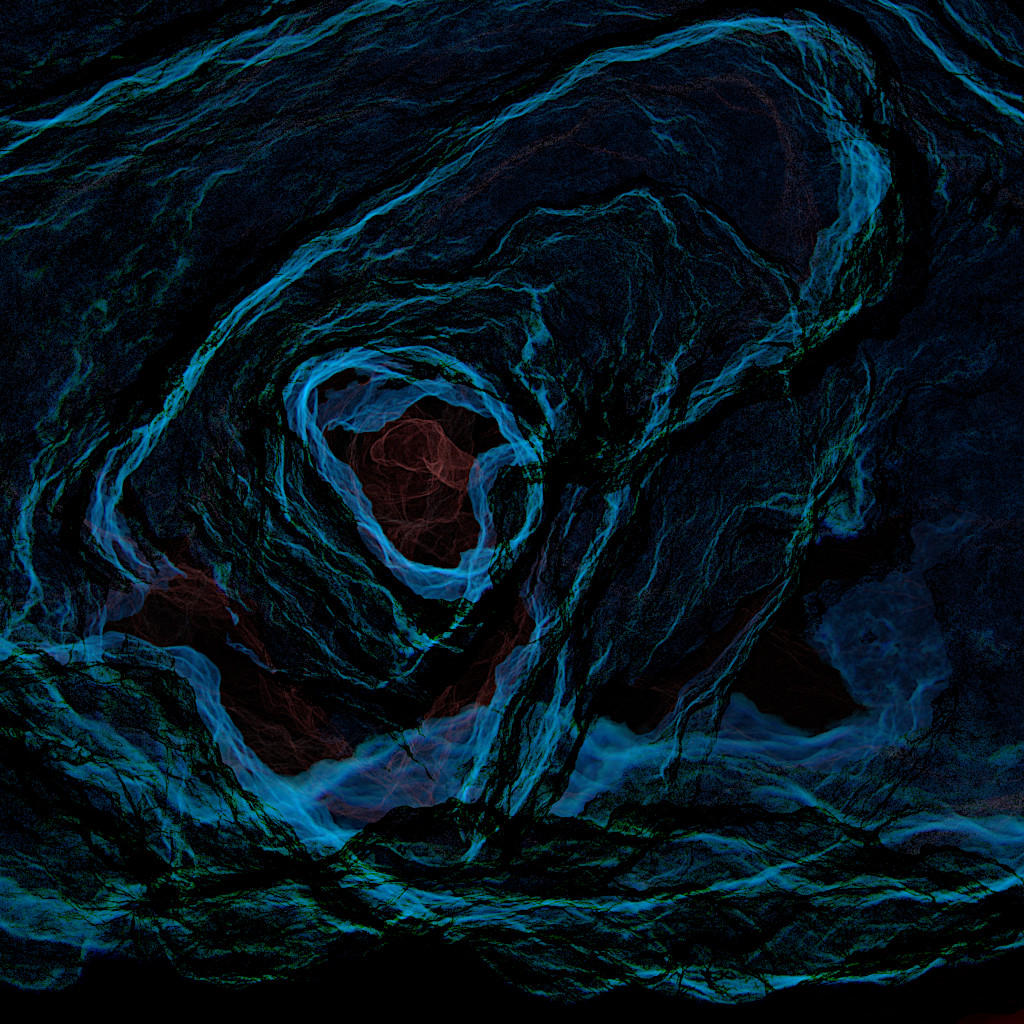
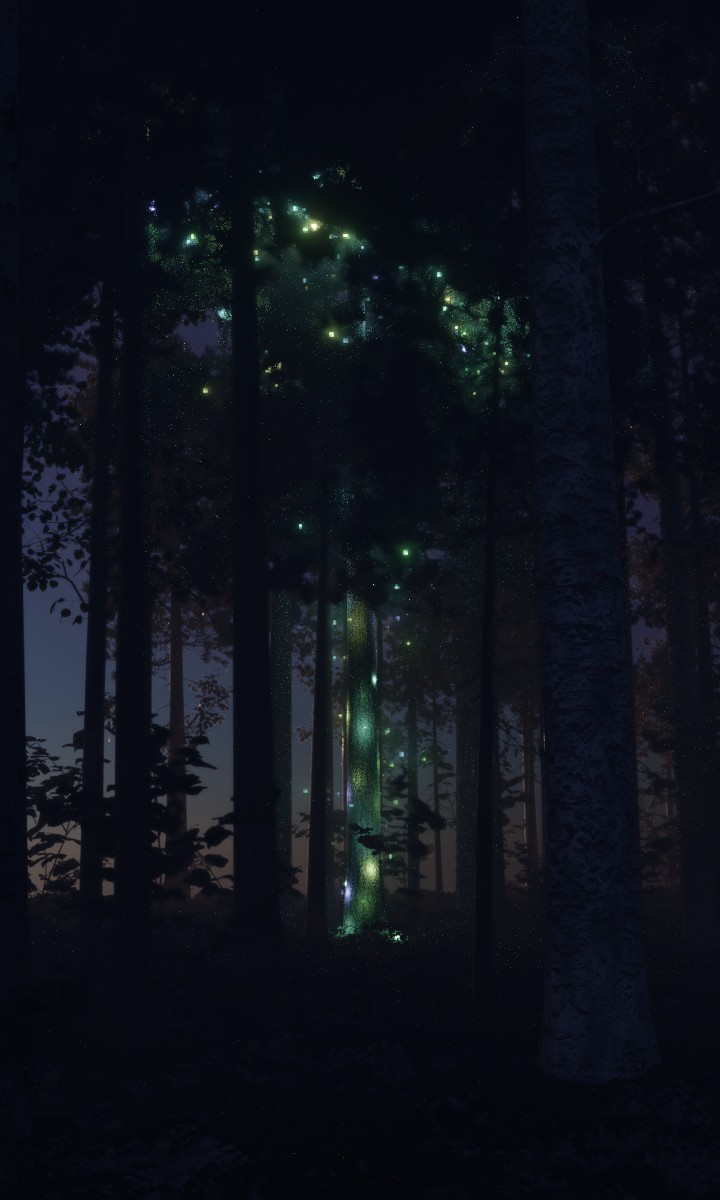
The second image on the right is missing most of the render layers. I liked the look of the volume direct pass, and combined it with just a few other layers for a pleasing effect. Fun times.
Not exactly what I’m going for, but I thought it looked pretty neat.
I’ve also been playing with the volume object, but this one is simply a shader on a cube.