Oh, I like this line of thinking… ![]()
6 Likes
For as much as I enjoy knowing the addon i made is being useful in unexpected ways, why not bake the displacement derived from the 2D coords of an unwrapped UV map?
1 Like
If there is a possibility to bake VDM that could be used as a brush, without constraint of respecting topology of a grid, you have to explain it to everybody.
To have a working brush, we need to have a square corresponding to brush texture as reference.
We can not just take any UV Island from any shape with poles ?
As far as I know, theres no such constraint, a vector displacement is just a direction and a magnitude from a reference point on a flat plane. If you use project from view on a part of the mesh, pin the UV edges and do a unwrap, you get the flat part of the equation, then just subtract it from the original coordinates and bake into a texture.
Blender’s unwrap algorithm is actually very good at handling bad topology.
5 Likes
Anyone who has any pointers about making cleaner bakes for displacement maps? Even models with very little displacement seem to lose details with the baking settings recommended from the developer behind the feature.

1 Like
He is recommending a 512x512 texture.
That limited amount of pixels corresponds to a limited amount of details baked.
If you make a more detailed sculpted to bake, you need a bigger texture.
But the bigger the texture is, the slower the brush will be.
3 Likes
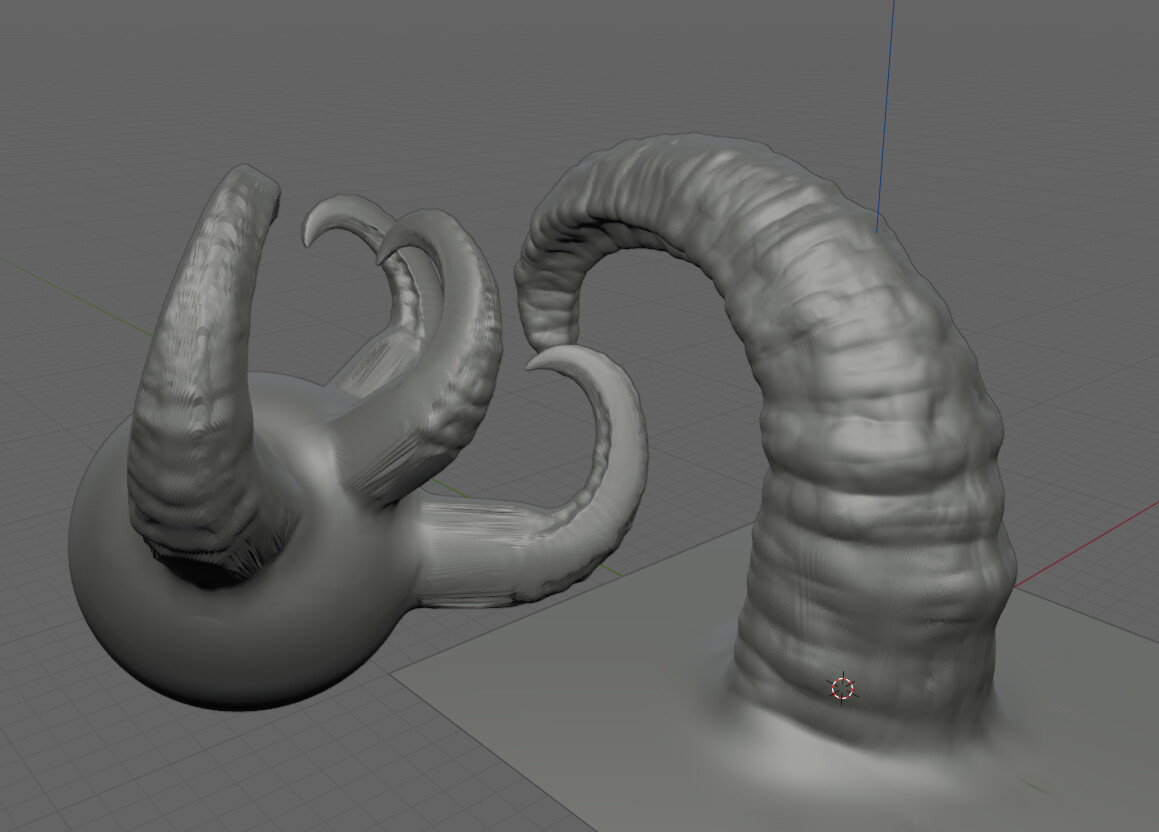
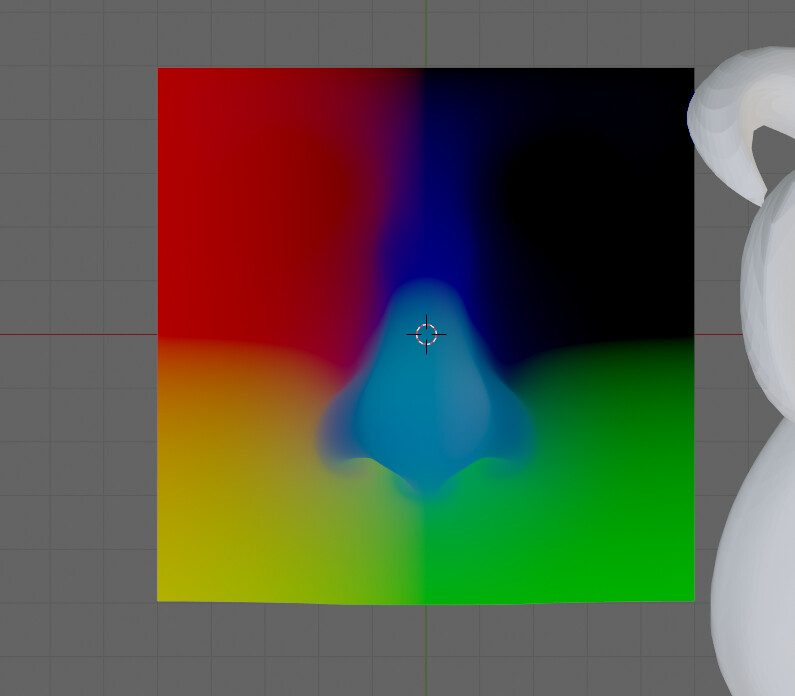
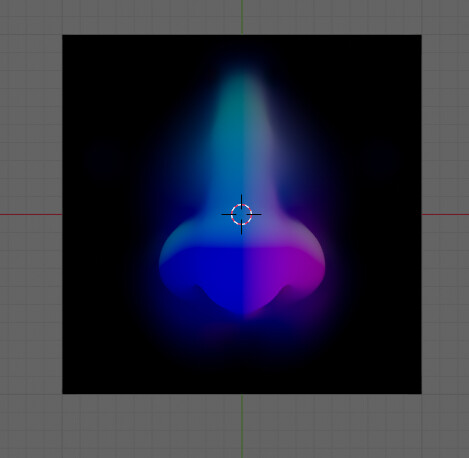
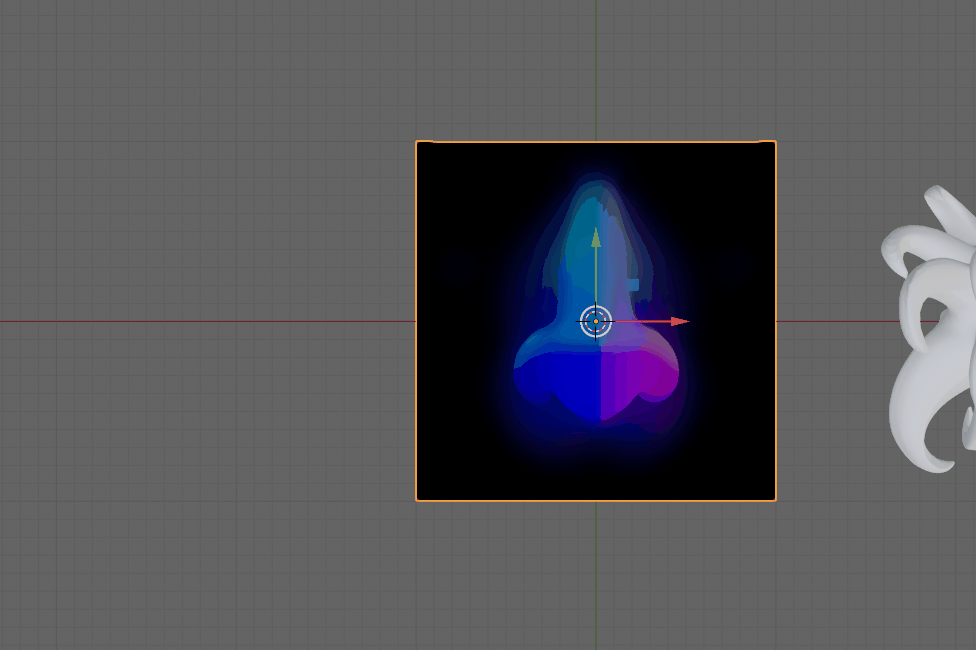
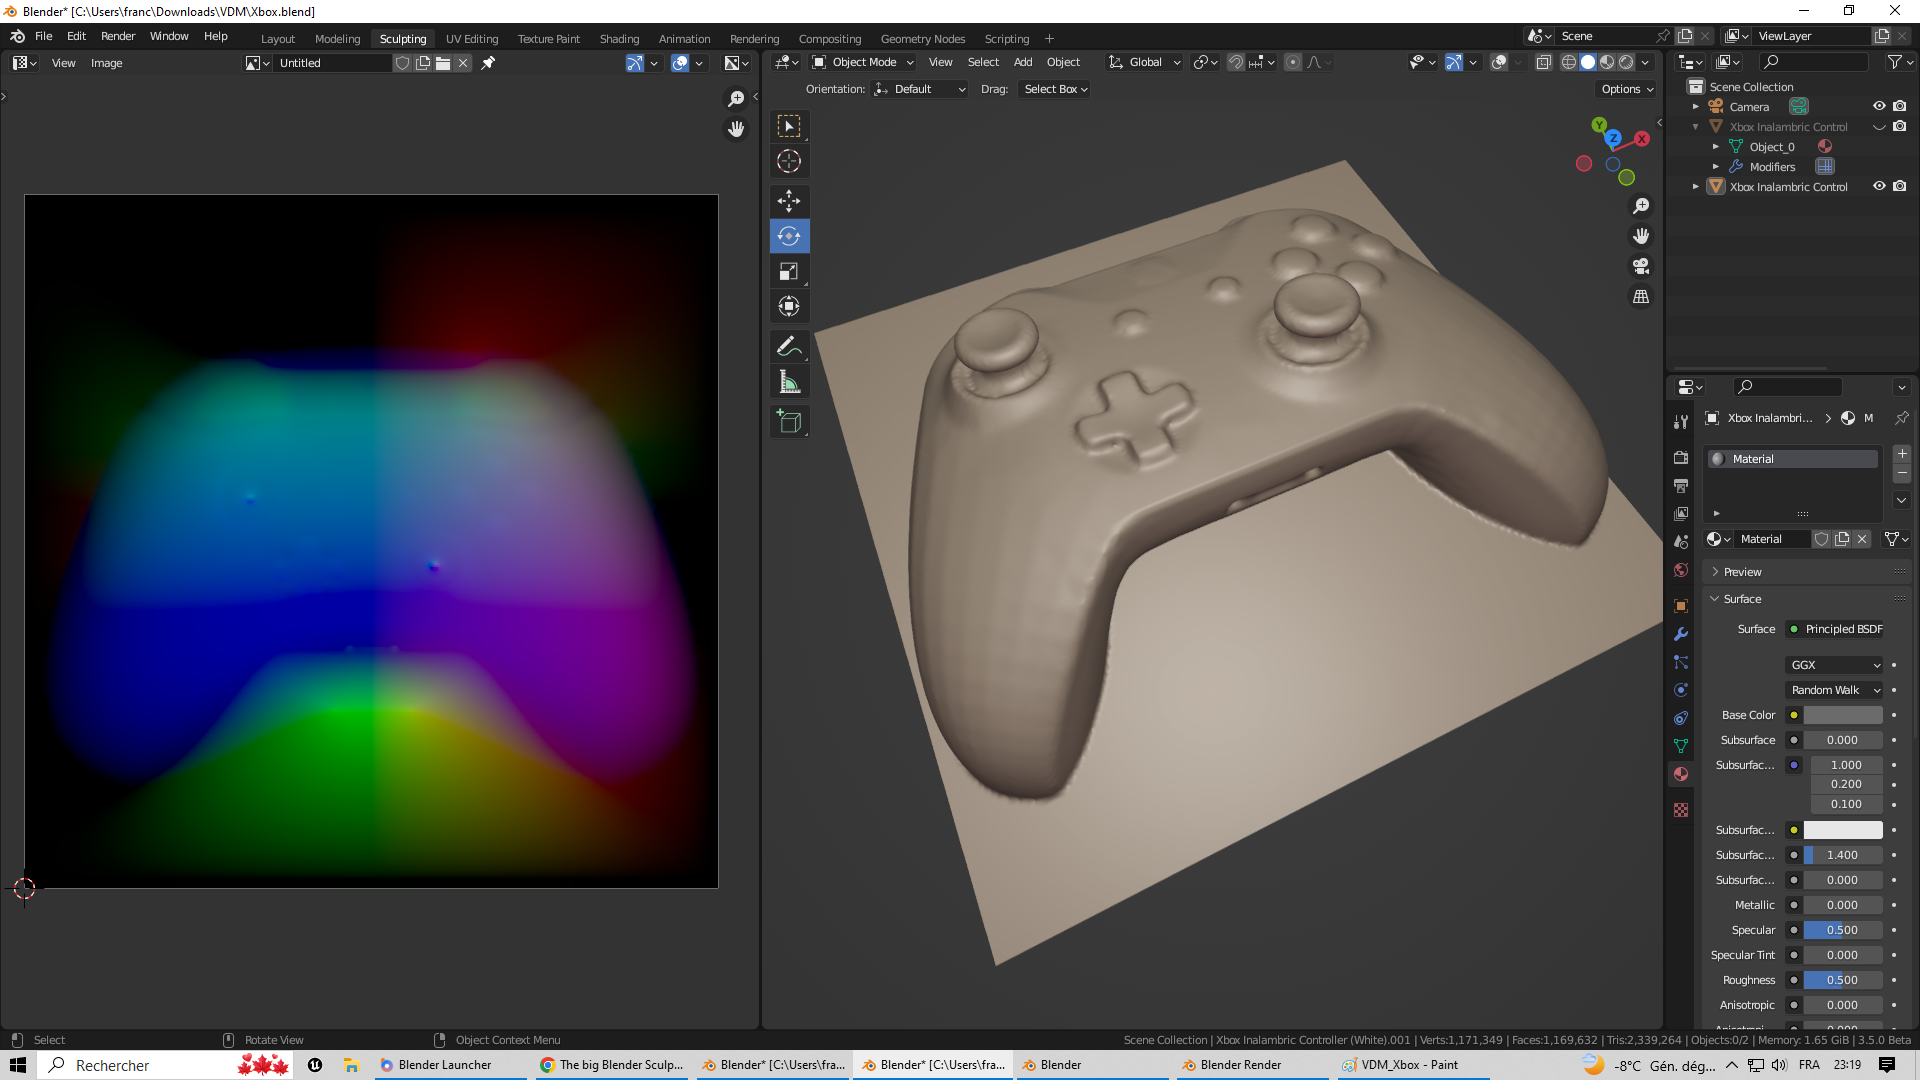
Performance isn’t the issue. I am talking about the loss of detail so the VDM does not match the original model. For instance, when I tried making a nose the left side of the nose disappeared while the right side looked as it should. Similar issues with the horn.
I also noticed that smaller models did not work well with the material. If you change the scaling of the model and apply it the VDM material starts to look weird.
1 Like
Interesting how the baking material is being affected by location.
2 Likes
In your screencapture, it looks like you set a particular object as reference in texture coordinates node.
That may be one of your issue, you use same material on another mesh.
1 Like
It looks like the setup is actually dependent on global coordinates instead of the one local to the baking surface? Fixing that should be doable if this is the setup using the special material.
1 Like
Oh man you are right! I have a couple of ideas on how to make the process easier. Let’s see if I can try them tomorrow ![]()
4 Likes
Yes. Agreed. The importance of Multires cannot be stressed enough. We need it. All I have been seeing of late is Dynotopo.
Is there any new news about vertex color and face sets support for Multires? ![]()
4 Likes
Here’s what I came up with for creating VDM textures from existing sculpts!
I tried some different methods. Thanks for the tip @Jeacom
UV editing and unwrapping didn’t work so well. Getting the right results is hard with the UV editing performance.
Here’s a run through of what I did. I could do this way cleaner but I was focusing on making this video as brief to make as possible ![]()
With this method it’s also easier to define which surfaces are being pulled by the displacement, which will lead to less distortion on surrounding sculpted surfaces.

What do you think? Is there a better way to do this with just UV mapping right now?
14 Likes
Could be that the issues you have there is because “Clamp” is enabled in the colors panel of the texture data block?
This was just yesterday changed and will be disabled by default.
3 Likes
the smooth function in the slide relax brush could be useful there maybe, it could be a nice addition to the mesh filters if it works.
2 Likes
Can you show how you have set this up and done this? It looks simply amazing.
1 Like
You’re right, but the mesh needs some tweaks ![]()
“Minimize Stretch” for UVs works quite well here. It might take a while to process high-resolution meshes though.
7 Likes
Here is a workflow to bake any VDM with UVs
@Julien_Kaspar Thx ! need to try your workfllow with shape key !!
@robin.hohni Thx for the relax trick ! Made me realise what I was doing wrong.
*Seem like a lot, but is quite easy…
- Remesh a cube
- Sculpt something
- Delete everything, but the top
- Delete the 4 sides a bit
- Make sure plane position and pivot are on the ground
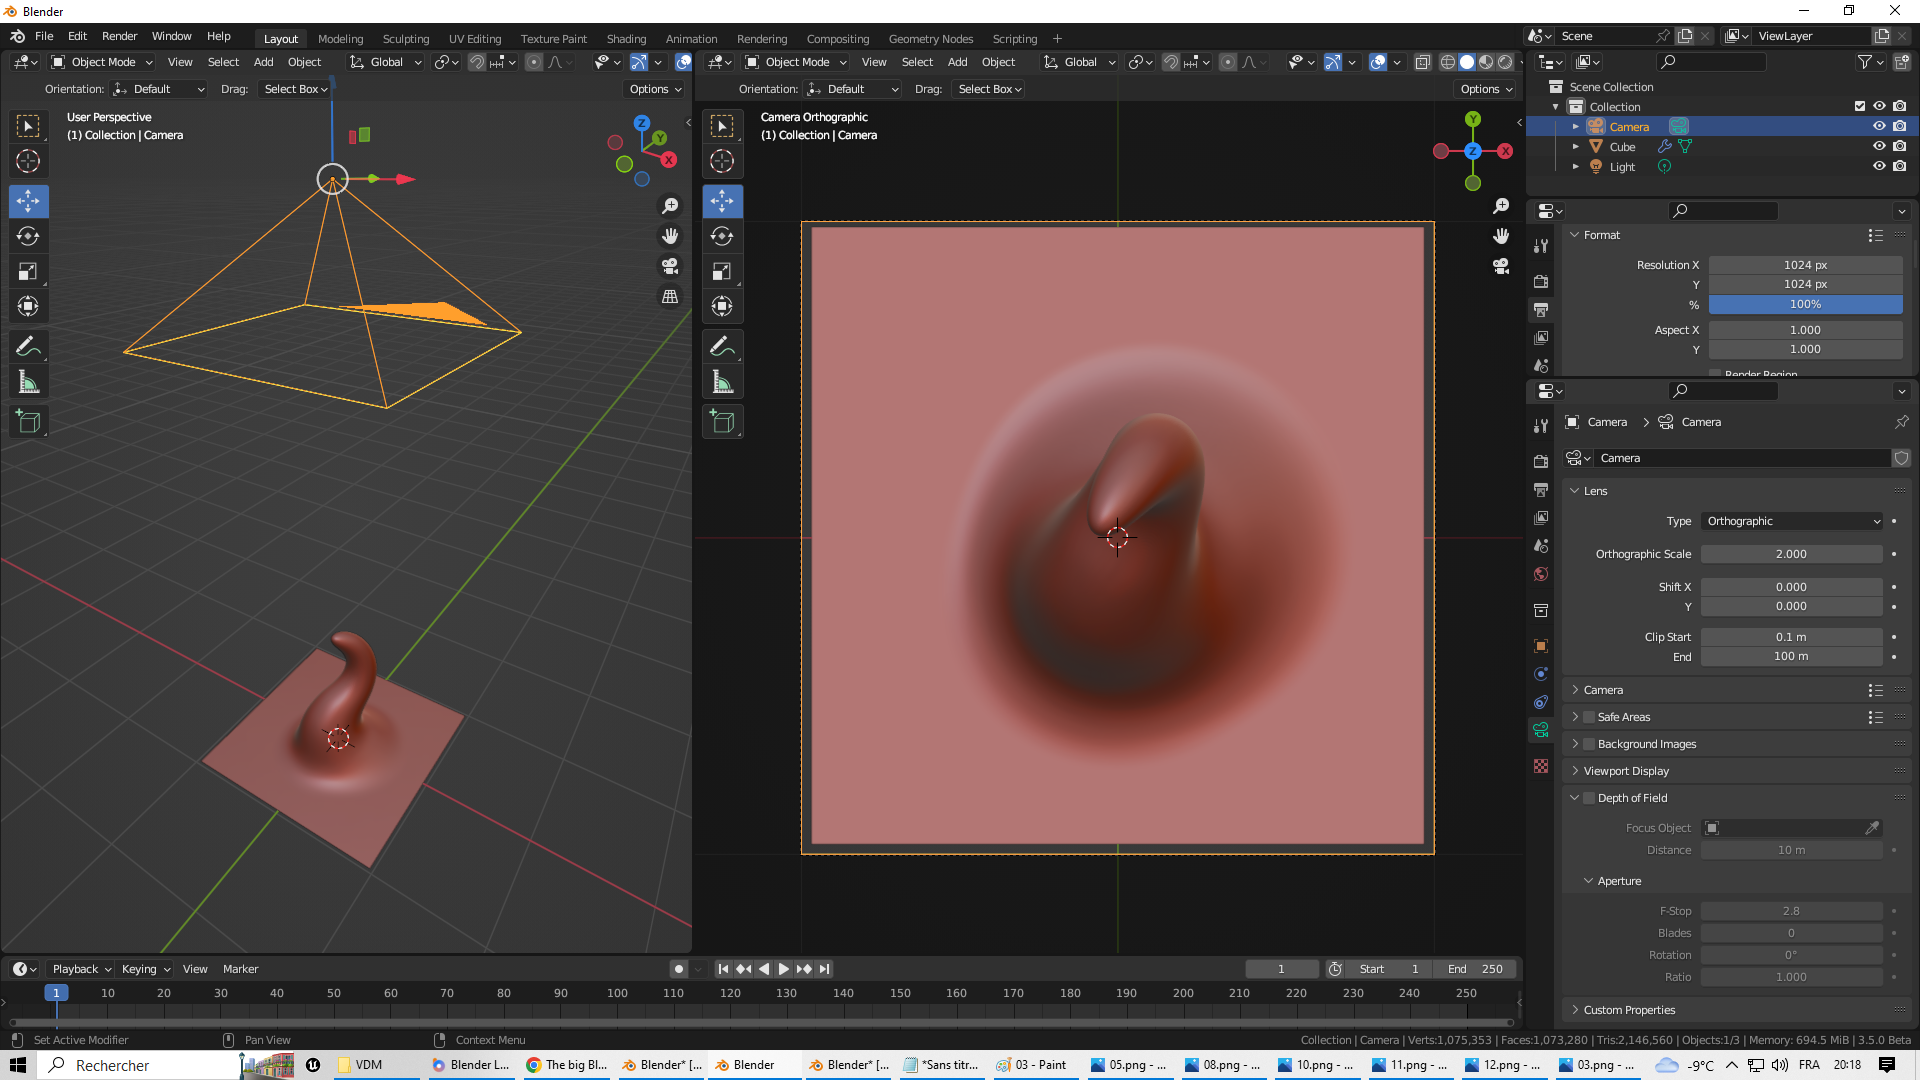
- Create a camera → orthographic / quare ratio / scale 2
- Project UVs from camera
- Pin contour
- Unwrap
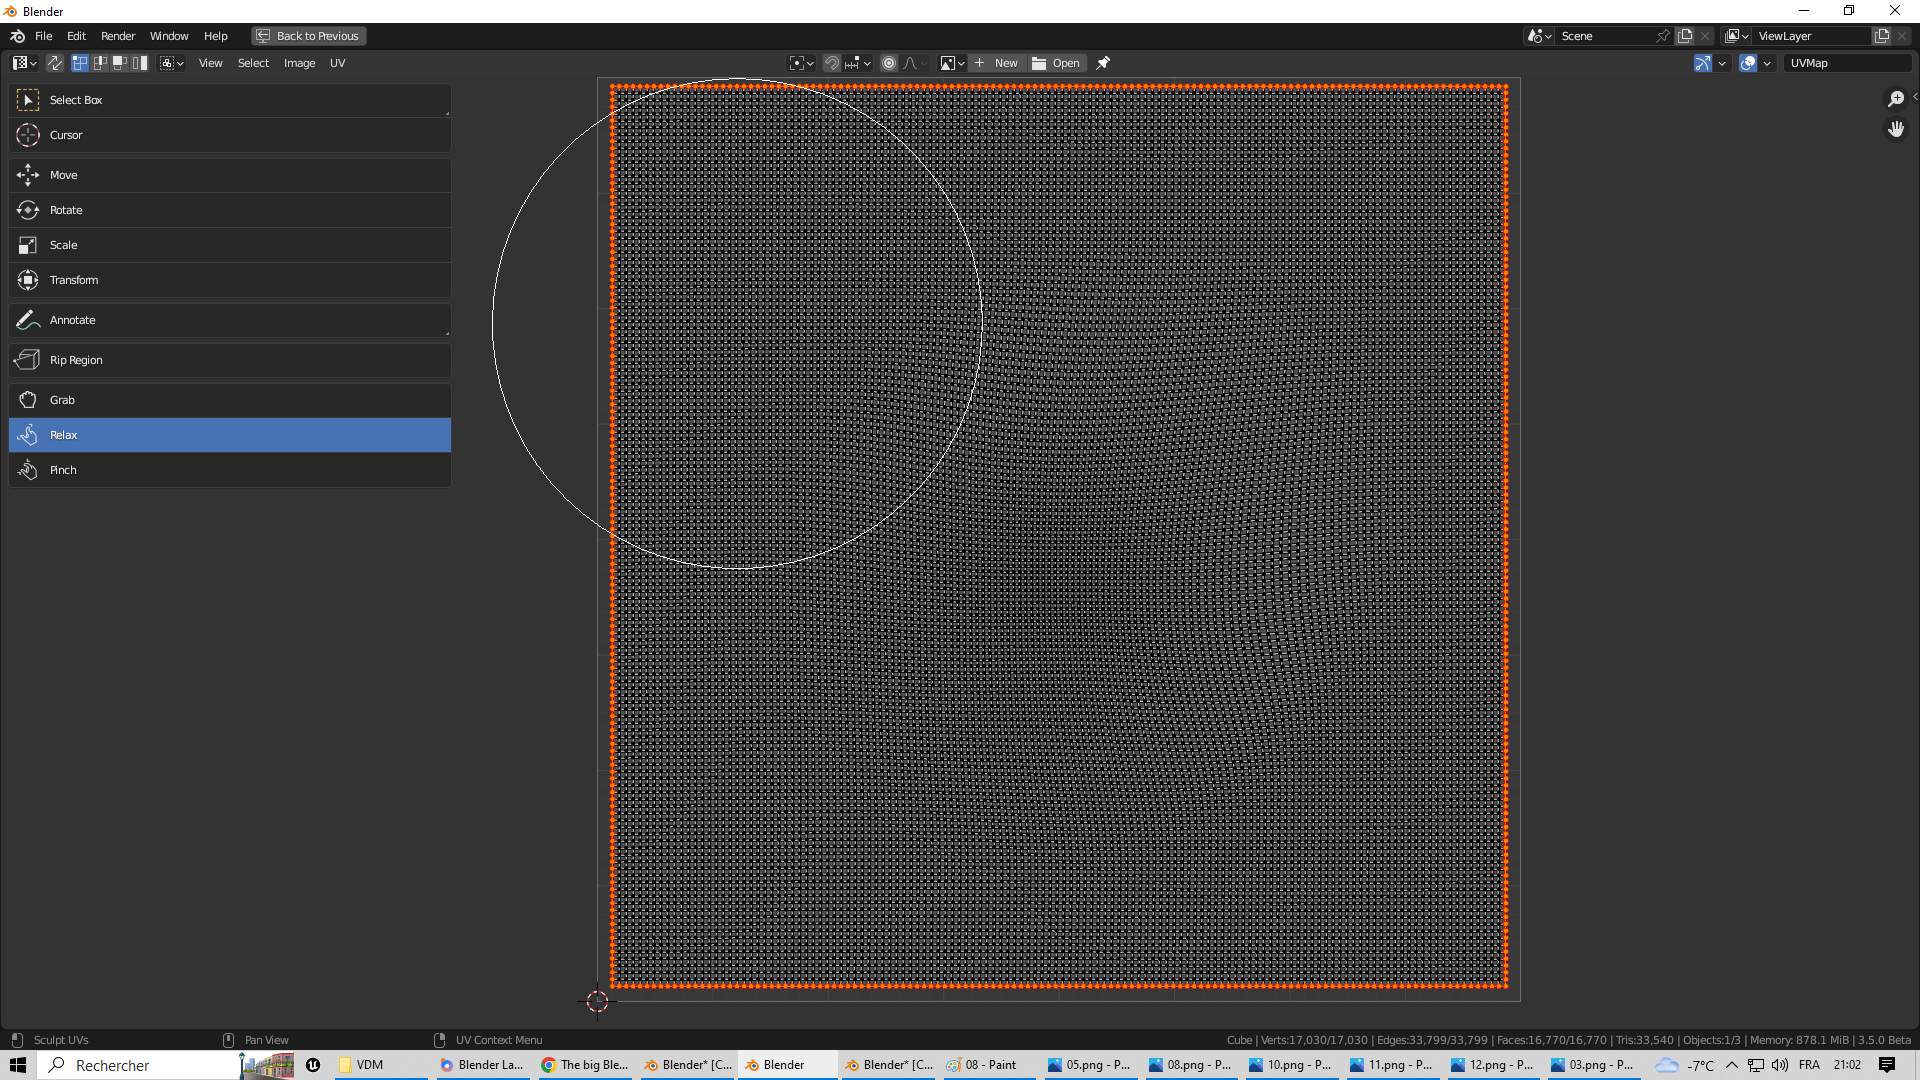
- UVs that are to close will take a tiny bit of space on the texture. Hence it will give you almost no resolution and those area will look ‘‘low rez’’ (see picture)
- To prevent this, you need to relax those UVs area. Use the Grab and Relax brush in the UVs editor
- Before baking, use a multirez modifier to smooth everything
- Bake with proper setting and material
- Save VDM as EXR 32 bits
- Use it !!


12 Likes
You can also use Quadriflow to remesh and transfer the details from the original.

This gives an easier shape to deal with for the UVs.

Obviously it would take couple tries to find the number of faces for the remeshing but it offers extra control for the amount of details that can be extracted later on.
5 Likes