The polygon number was from within Blender and the 165M vertices was assuming each polygon is a triangle.
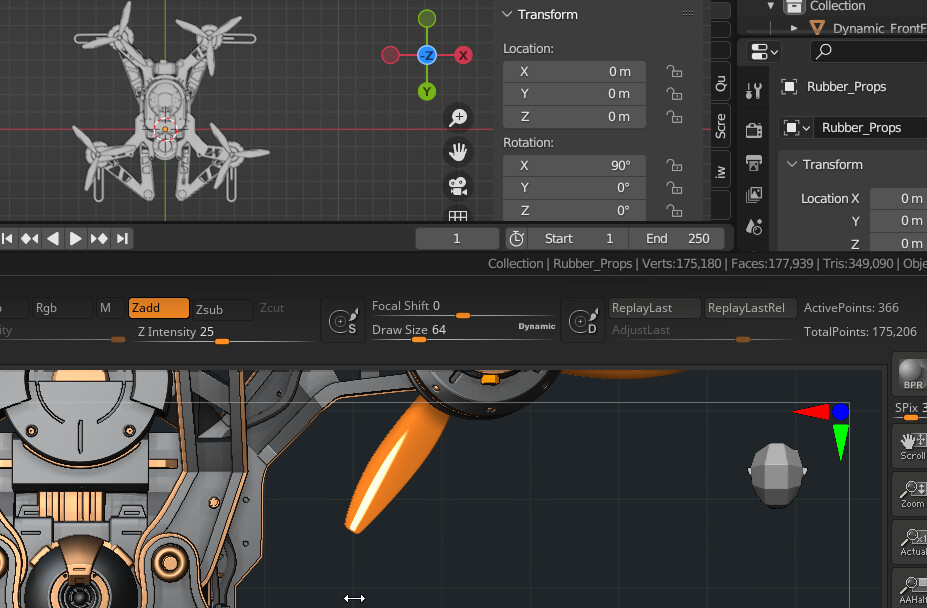
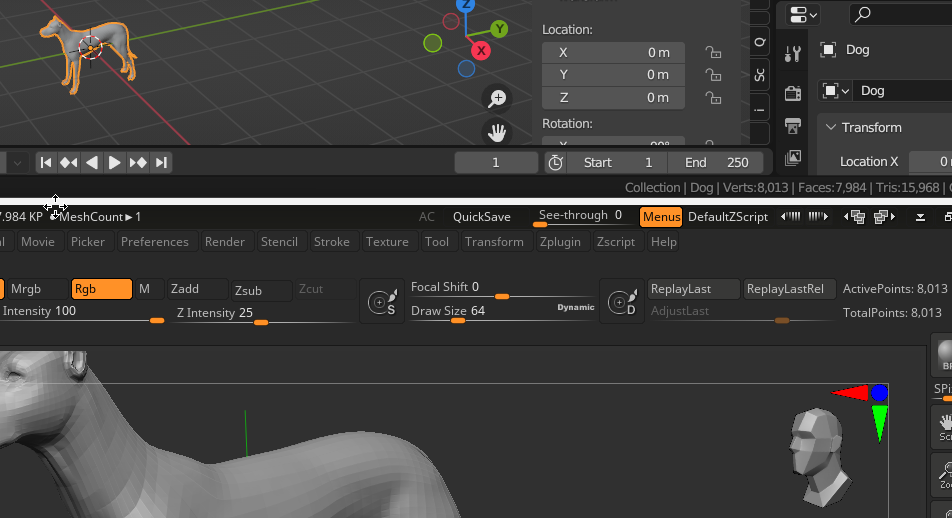
The double the Points//vertices from Zbrush to get triangles might not be 100% accurate (dog and drone examples as shown below show a small discrepancy)
Would need a new checkbox aside “remesh” panel : “Apply all transform”
Lot of people blockout character or model shapes using primitives then scaling, rotating them, each time we need to apply all transforms when the work is sculpting.
Transforms should be automatic when remeshing because remeshin is sculpting.
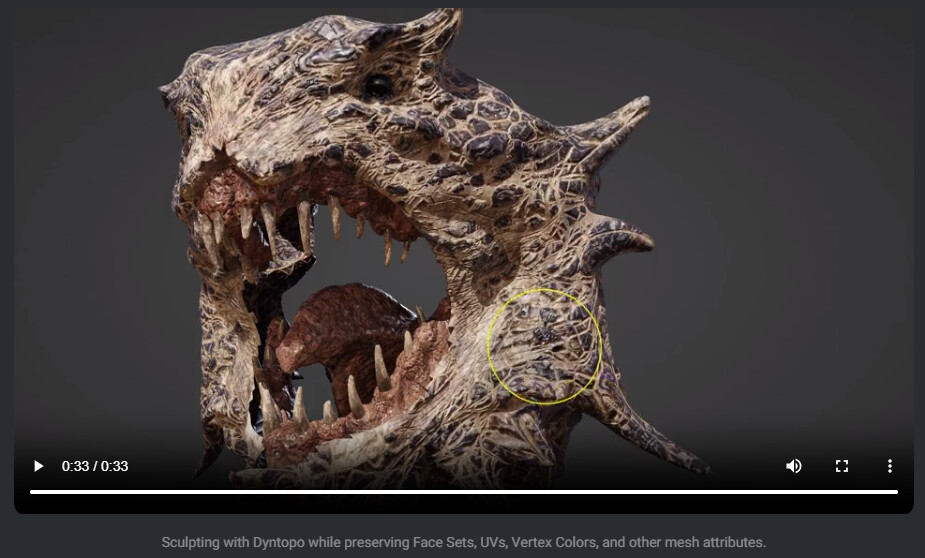
Among experimental branches, you can find temp-sculpt-dyntopo branch.
Many improvements are from older sculpt-dev branch.
Preservation of UVs, Face Sets, hard edges, creases, painting in Dyntopo mode
The goal of last branch is better UI and polishing before a merge.
Basically, in Dyntopo panel, new settings are quality vs speed settings.
Principles of detail size/percentage, resolution or detail modes are the same as in master.
What is very different from master (except preservation of many data) is that you can set Dyntopo settings per brush.
When you set up brush dyntopo settings for your brushset, you don’t have to readjust them, at each brush switch.
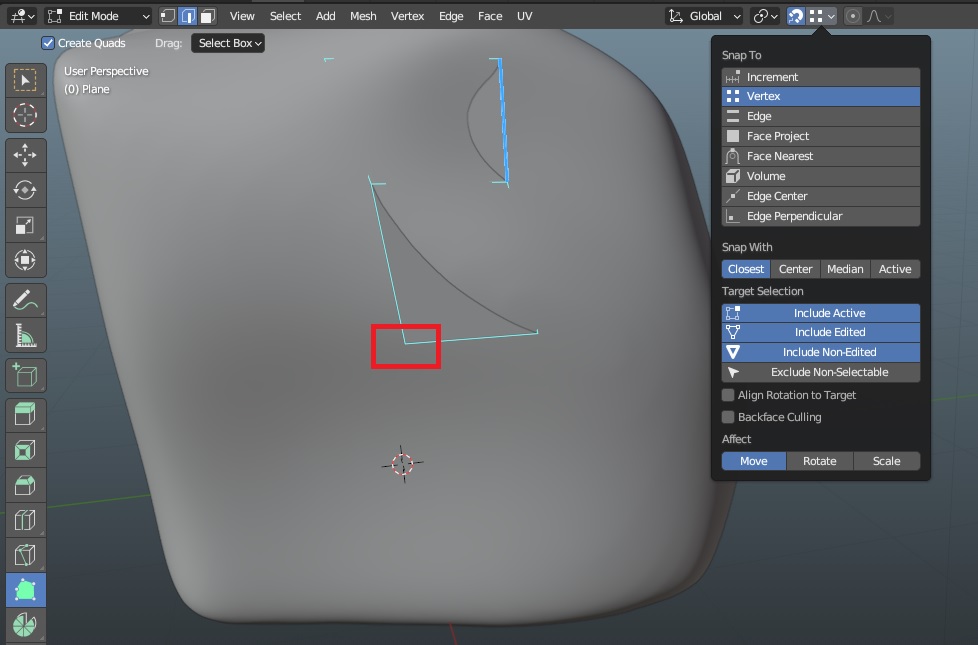
It only snap one vertex, even if you move an edge or a face.
Extrude edge loops the snap does not snap all vertex to the surface or vertex also.
While we need all vertex to snap when doing some retopo before subdivision surface and remesh that retopo.
Some option to snap all modified vertex, edge or face instead of one vertex only ?
All selected vertices are snapped to surface, when I use Face Nearest as Snap To element.
When I use Face Project with Project Individual Elements option ON ; projection on surface depends on Viewpoint.
And if it does not satisfy your needs, you still have ability to use Shrinkwrap modifier.
For other snapping types, there is only one point used as snap base. Only that point is supposed to snap to target. But the whole selection is moved and translated accordingly.
Snap base can be closest element to target, center of selection, median point of selection or active element.
And last change is about bringing ability to determine a custom snap base different to that.
So, that seems logical. That custom snap base is useless for Face Nearest snapping.
Using Face nearest works but not fully, rotating the extruded edge and the vertex does not try to snap, same when scaling the extruded edge it looses the snapping.
When any snap option is on, whatever we do we expect all active vertex to snap all time.
And that’s really not how it is working.
By default, snapping is disabled for Rotate and Scale operators.
When you enable them, in Affect line, at bottom of popover, it is supposed to work.
For rotation, an axis of rotation parallel to cylindrical surface can be problematic. Snapping of all vertices may be unsatisfying, But there is a snapping of all vertices.
Rotation can be done, first, without snapping. And then, snapping can be done by initiating a translation.
In many cases, snapping while rotating or scaling may be unsatisfying.
That is why it is disabled, by default.
That are just unsatisfying defaults. Not a broken feature.
This is the issue, rotation , scale ,extrude, then you need to move vertices to snap, while vertex should always snap when snapping is on.
Whatever, that’s why we do retopology in 3D Coat instead.
It was just a sentence to explain why it was not default.
But if you want to always snap for rotate and scale, you just need to save a startup.blend file with this behavior as default.
You logically need first to move/scale/rotate the vertices/face/edge(s) when snapping is on to be able to snap them to the target, and if you don’t want it on all the time just disable it and when doing move/scale/rotate just hold Ctrl key to activate snapping again and press enter or left click…
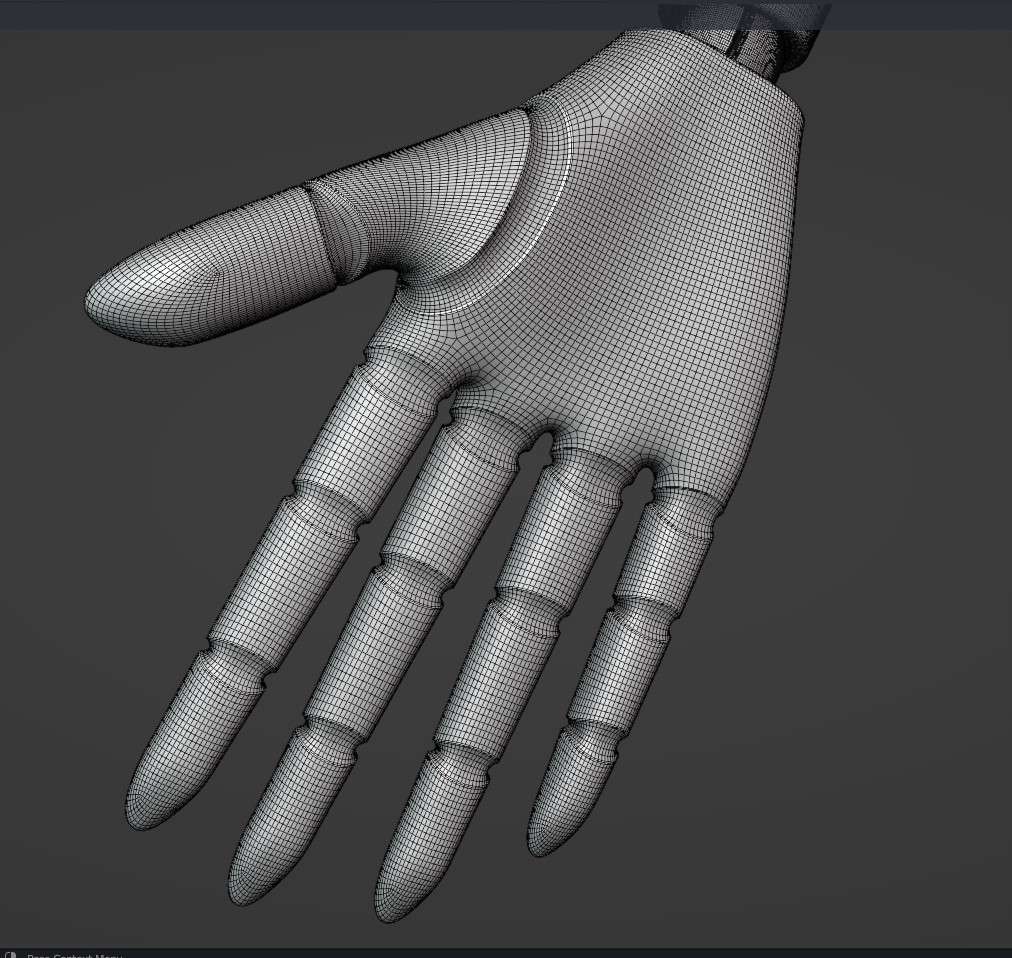
And for surface snapping this new face nearest is just the perfect replacement for the shrinkwrap modifier, of course the direct and destructive kind of shrinkwrapping, of course it may give you strange results if your mesh is inside or not close enough to the target, this edit mode shrinkwrap mode is not a magic button, same as the actual shrinkwrap modifier as well both work as they have to, you just have to make sure your source object is actually gonna be able to snap as you desire…
I have been using this technique purely to shrinkwrap directly a retopology from a cad model i made in Plasticity.