Twisted Curve Profile

Hello everyone,

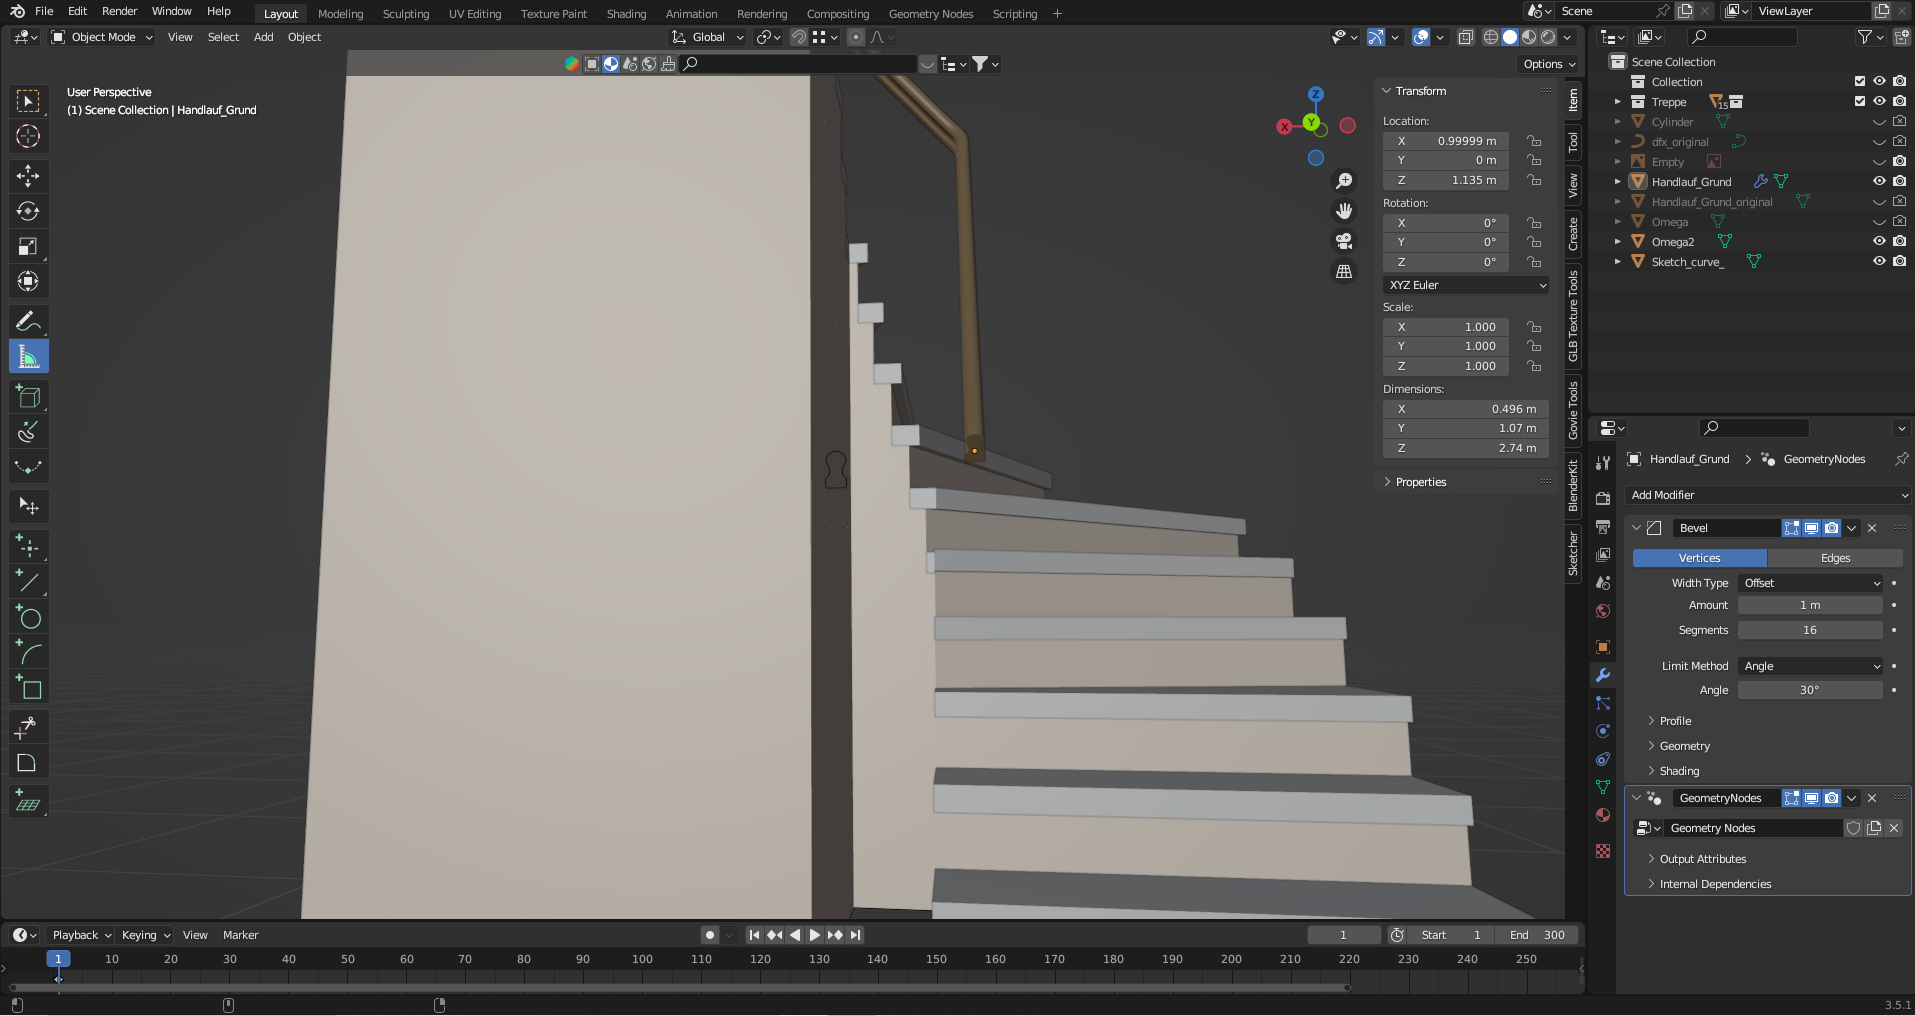
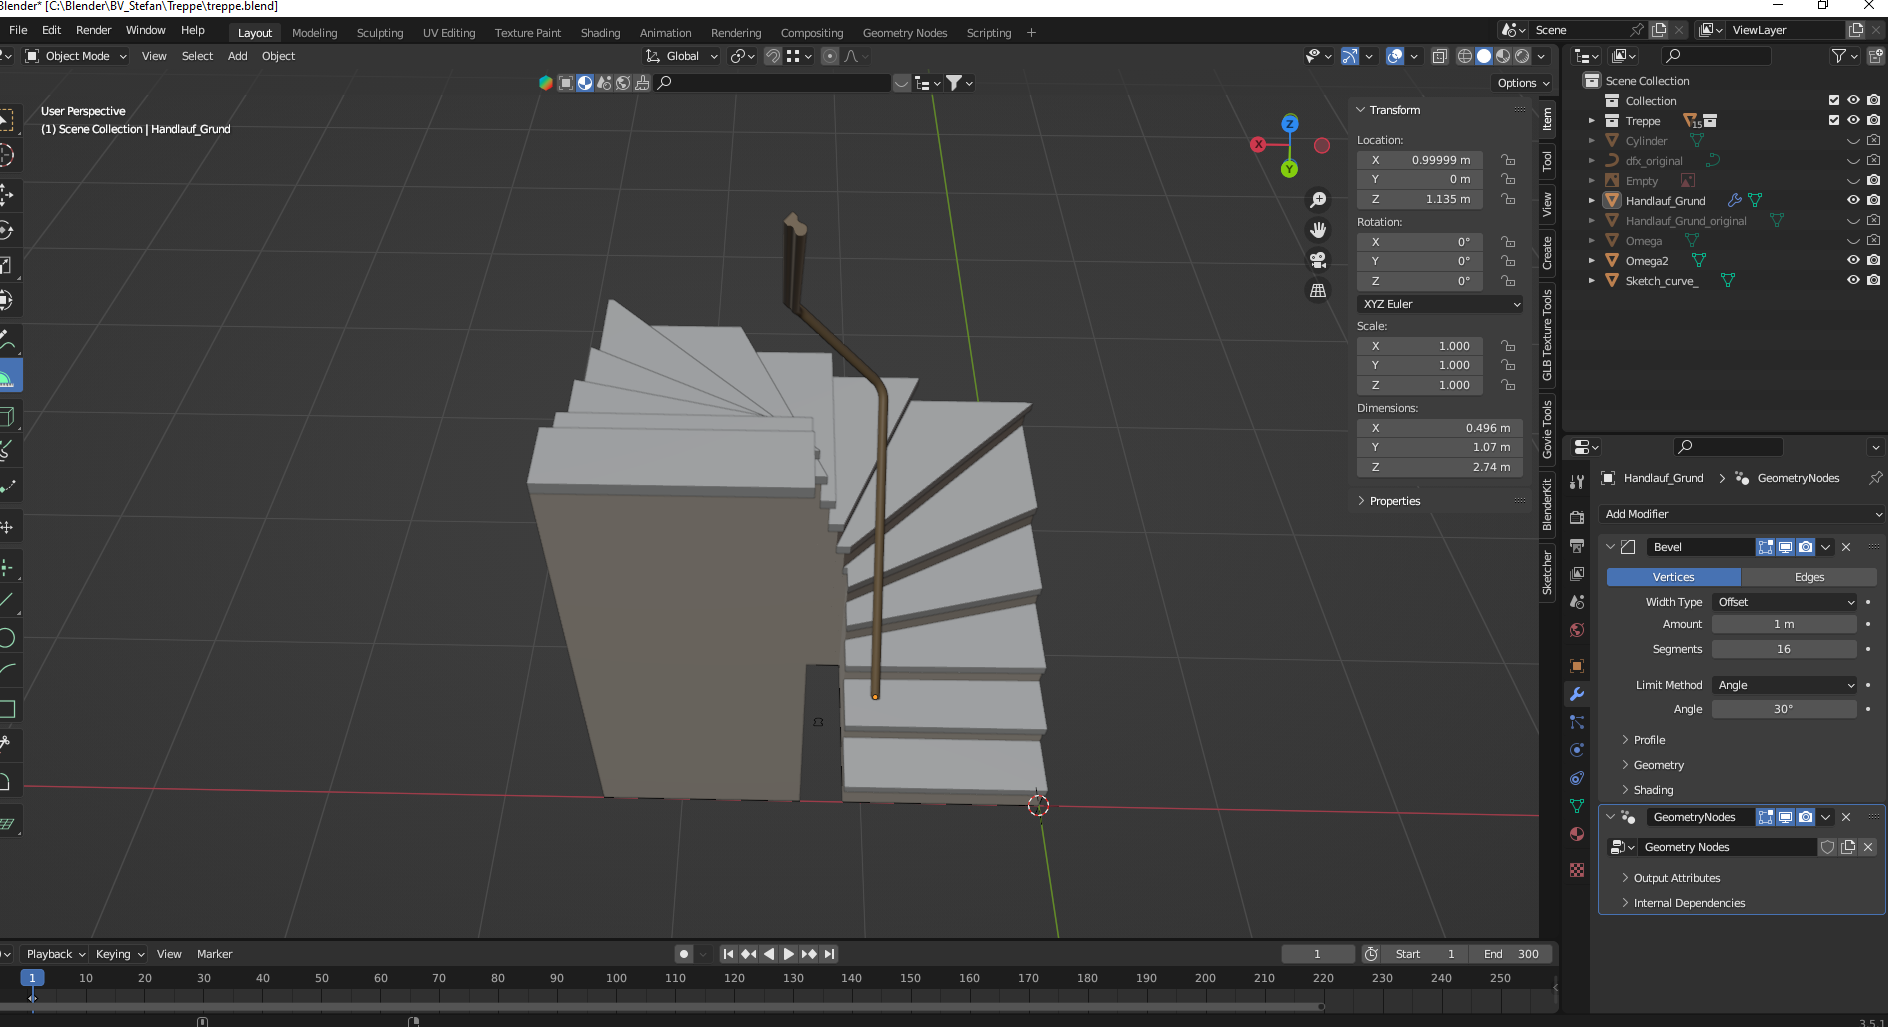
so I’m trying to make this handrail with an omega profile. I got a curve in geometry node and the omega as a profile both converted from mesh to curve. I created a constant slope of the handrail with geometry nodes. But now the whole profile is twisting as it goes up as it can be seen in the pictures.
Any ideas how to change this?

treppe.blend (1.3 MB)

Thanks all

Use the Set Curve Normal node in Z Up mode before the Curve to Mesh node.

If you’re using Blender prior to 3.4, then you can use my z-up-curve-tilt-nodegroup.

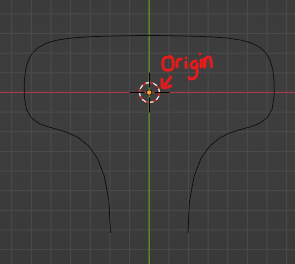
Also, ensure your Omega2 shape is on the XY plane. You can tweak its rotation by rotating it on the Z-axis in edit mode, using a Transform Node or by setting the curve tilt.

Good luck.

1 Like

Thank you zeroskilz,

I managed to implement your improvements. Hope I did it as intended.

One thing still bothers me.

If you look straight on top along the z-axis it looks like the handrail is little bit bulged at the corners.


And more detailed

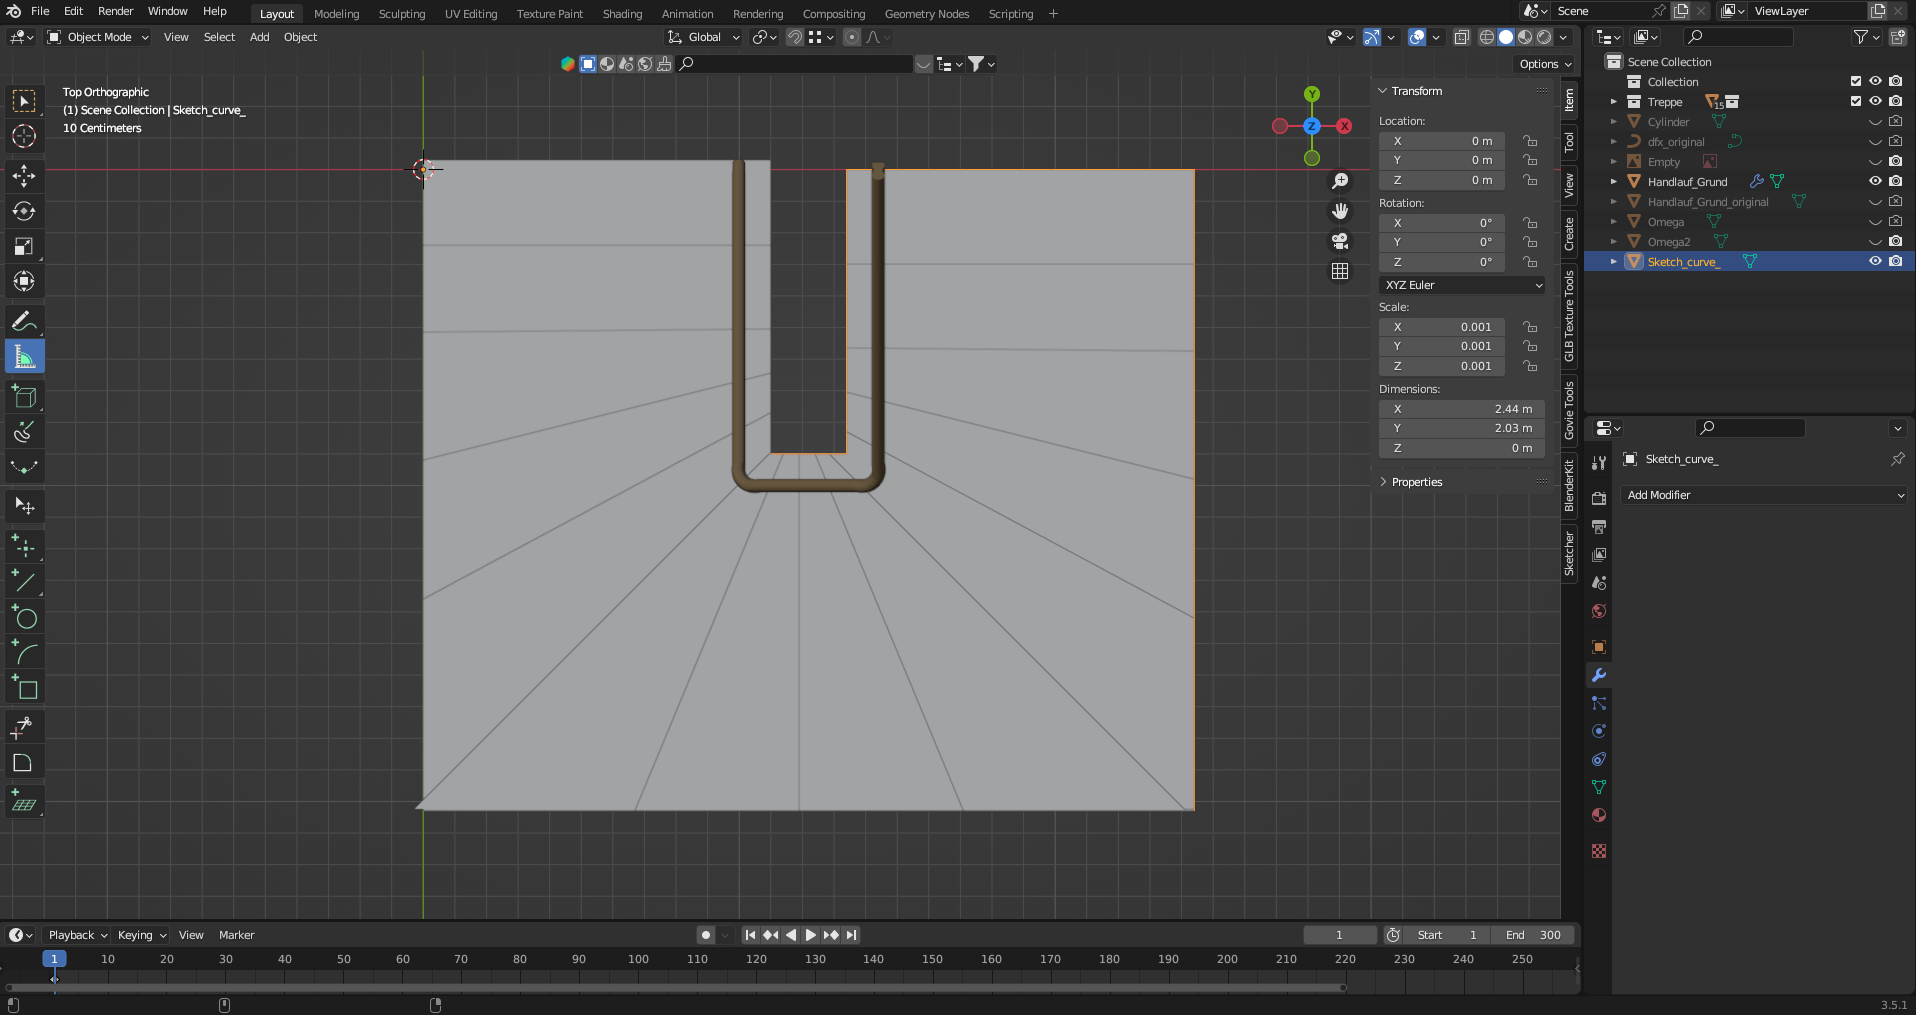
Normally you shouldn’t see the profile from the top view. I tried a higher curve resolution and different bevel settings. But the general problem remains. Anybody know what the reason behind this is?

treppe.blend (1.4 MB)

Looks like your profile is not centered… Try going into edit mode and moving it “down” on the Y-axis so the Origin is closer to the Center of Mass.

image

This node-group also fits arch-vis modelling better:

Thanks for the tip it does not really solve the issue but anyway.
The node group Z-up-Curve-To-Mesh only wokrs with blender 3.0 or also with higher versions?

Should work with all 3.x versions - you just need to explicitly set the curve radius from version 3.4+, for some reason :man_shrugging:, then it works.