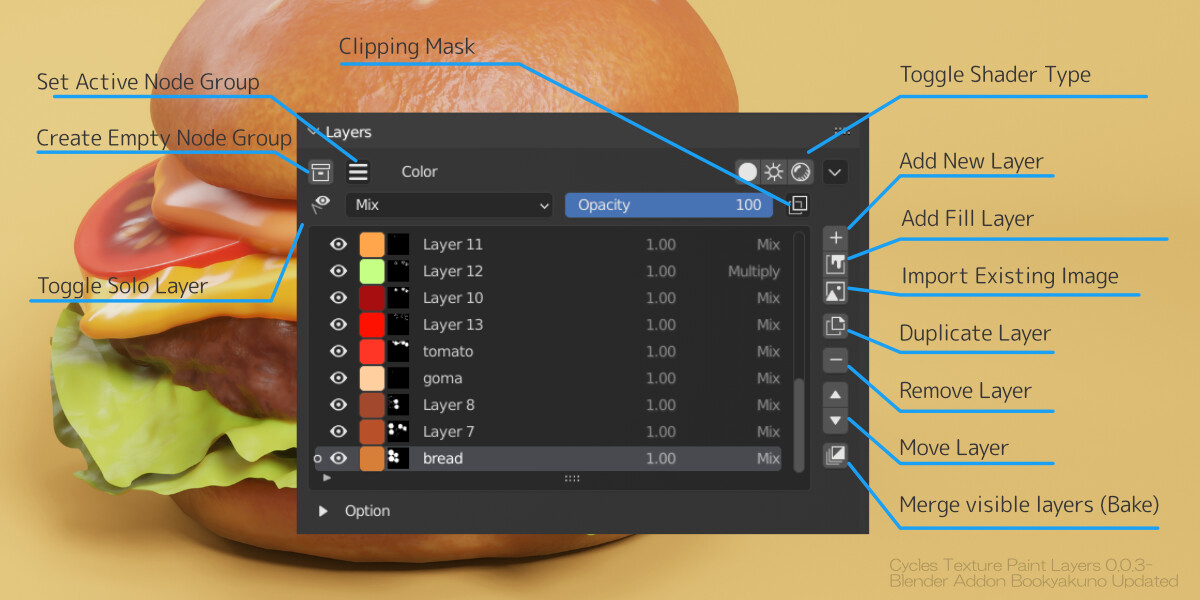
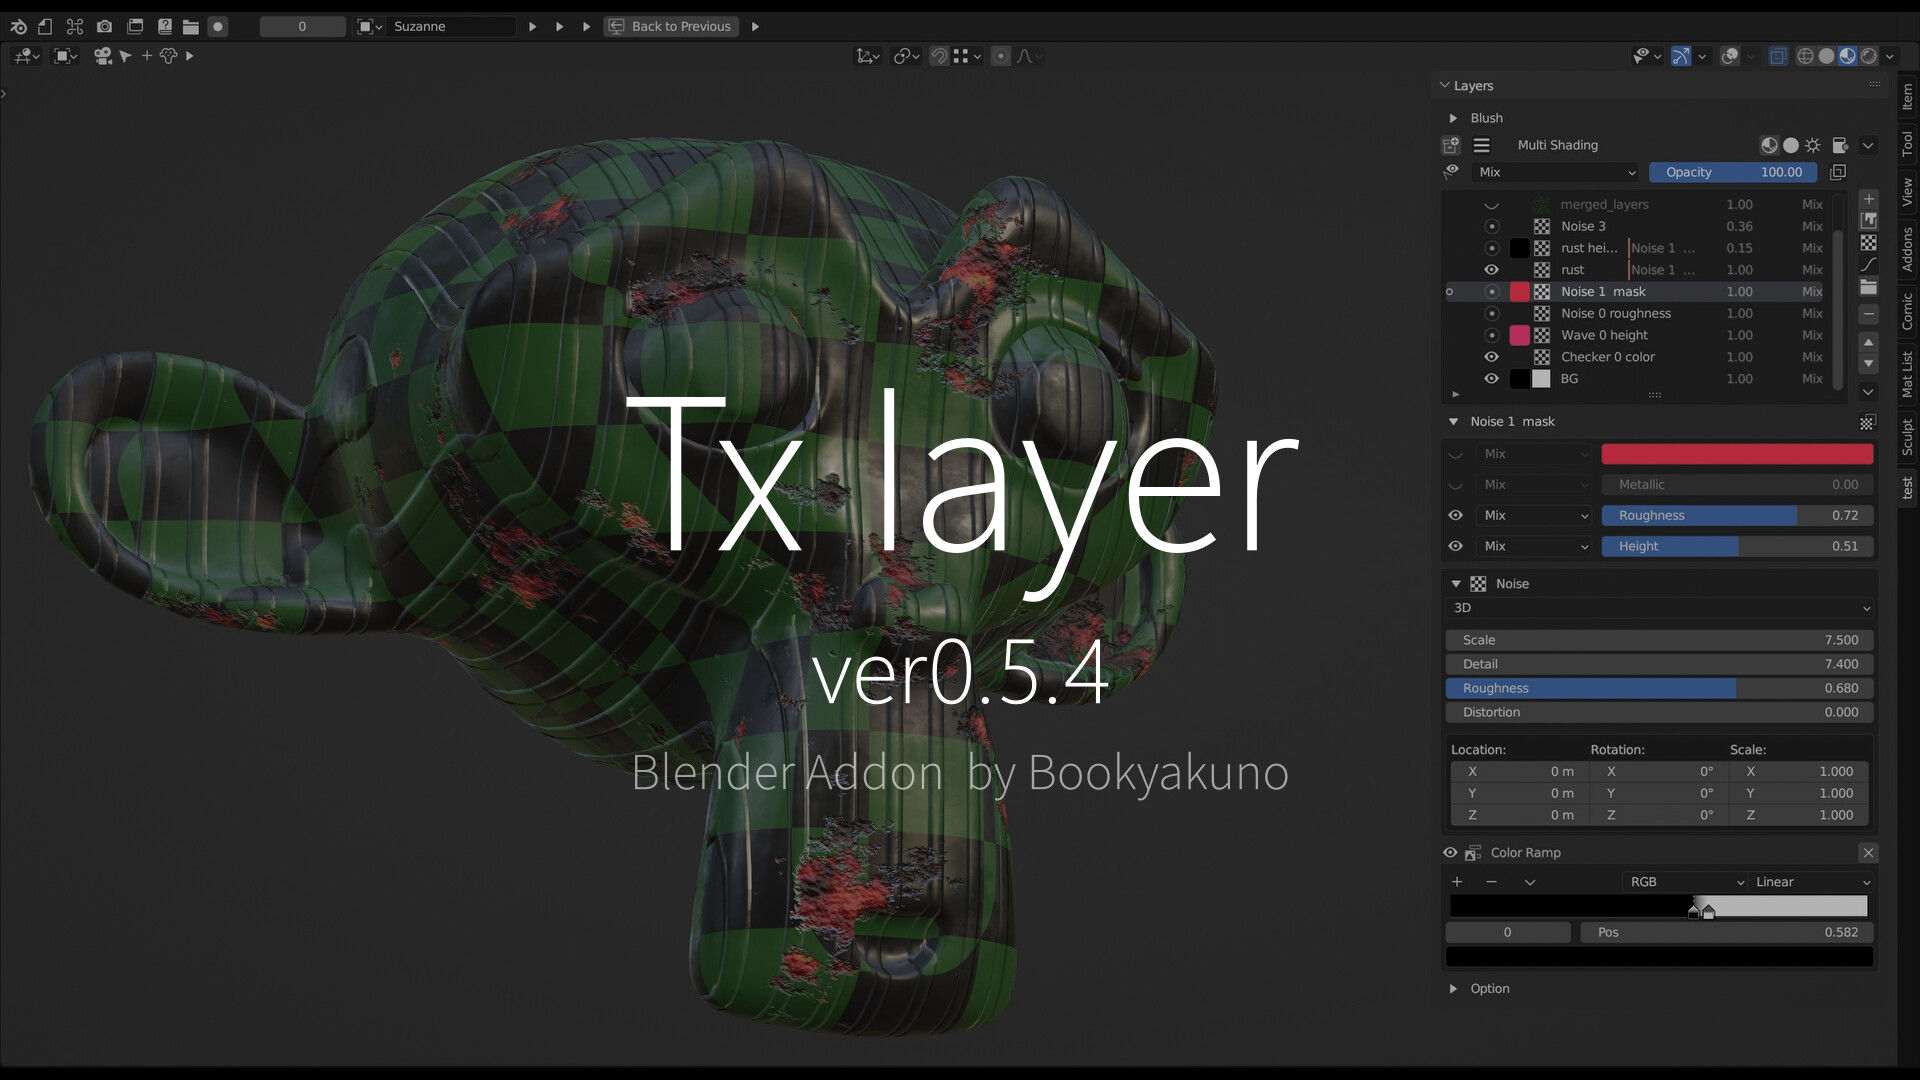
Tx Layer ver0.0.5 Updated
Added procedural layer and color correction layer, and improved node group.
Renamed to Tx Layer
Renamed the add-on from “Cycles Texture Paint Layers” to " Tx layer ".
Because many features have been implemented and are far from the features of the original add-on.
The other reason is that the name is long and the name “Cycles” is now less relevant with the advent of Blender 2.8’s Eevee.
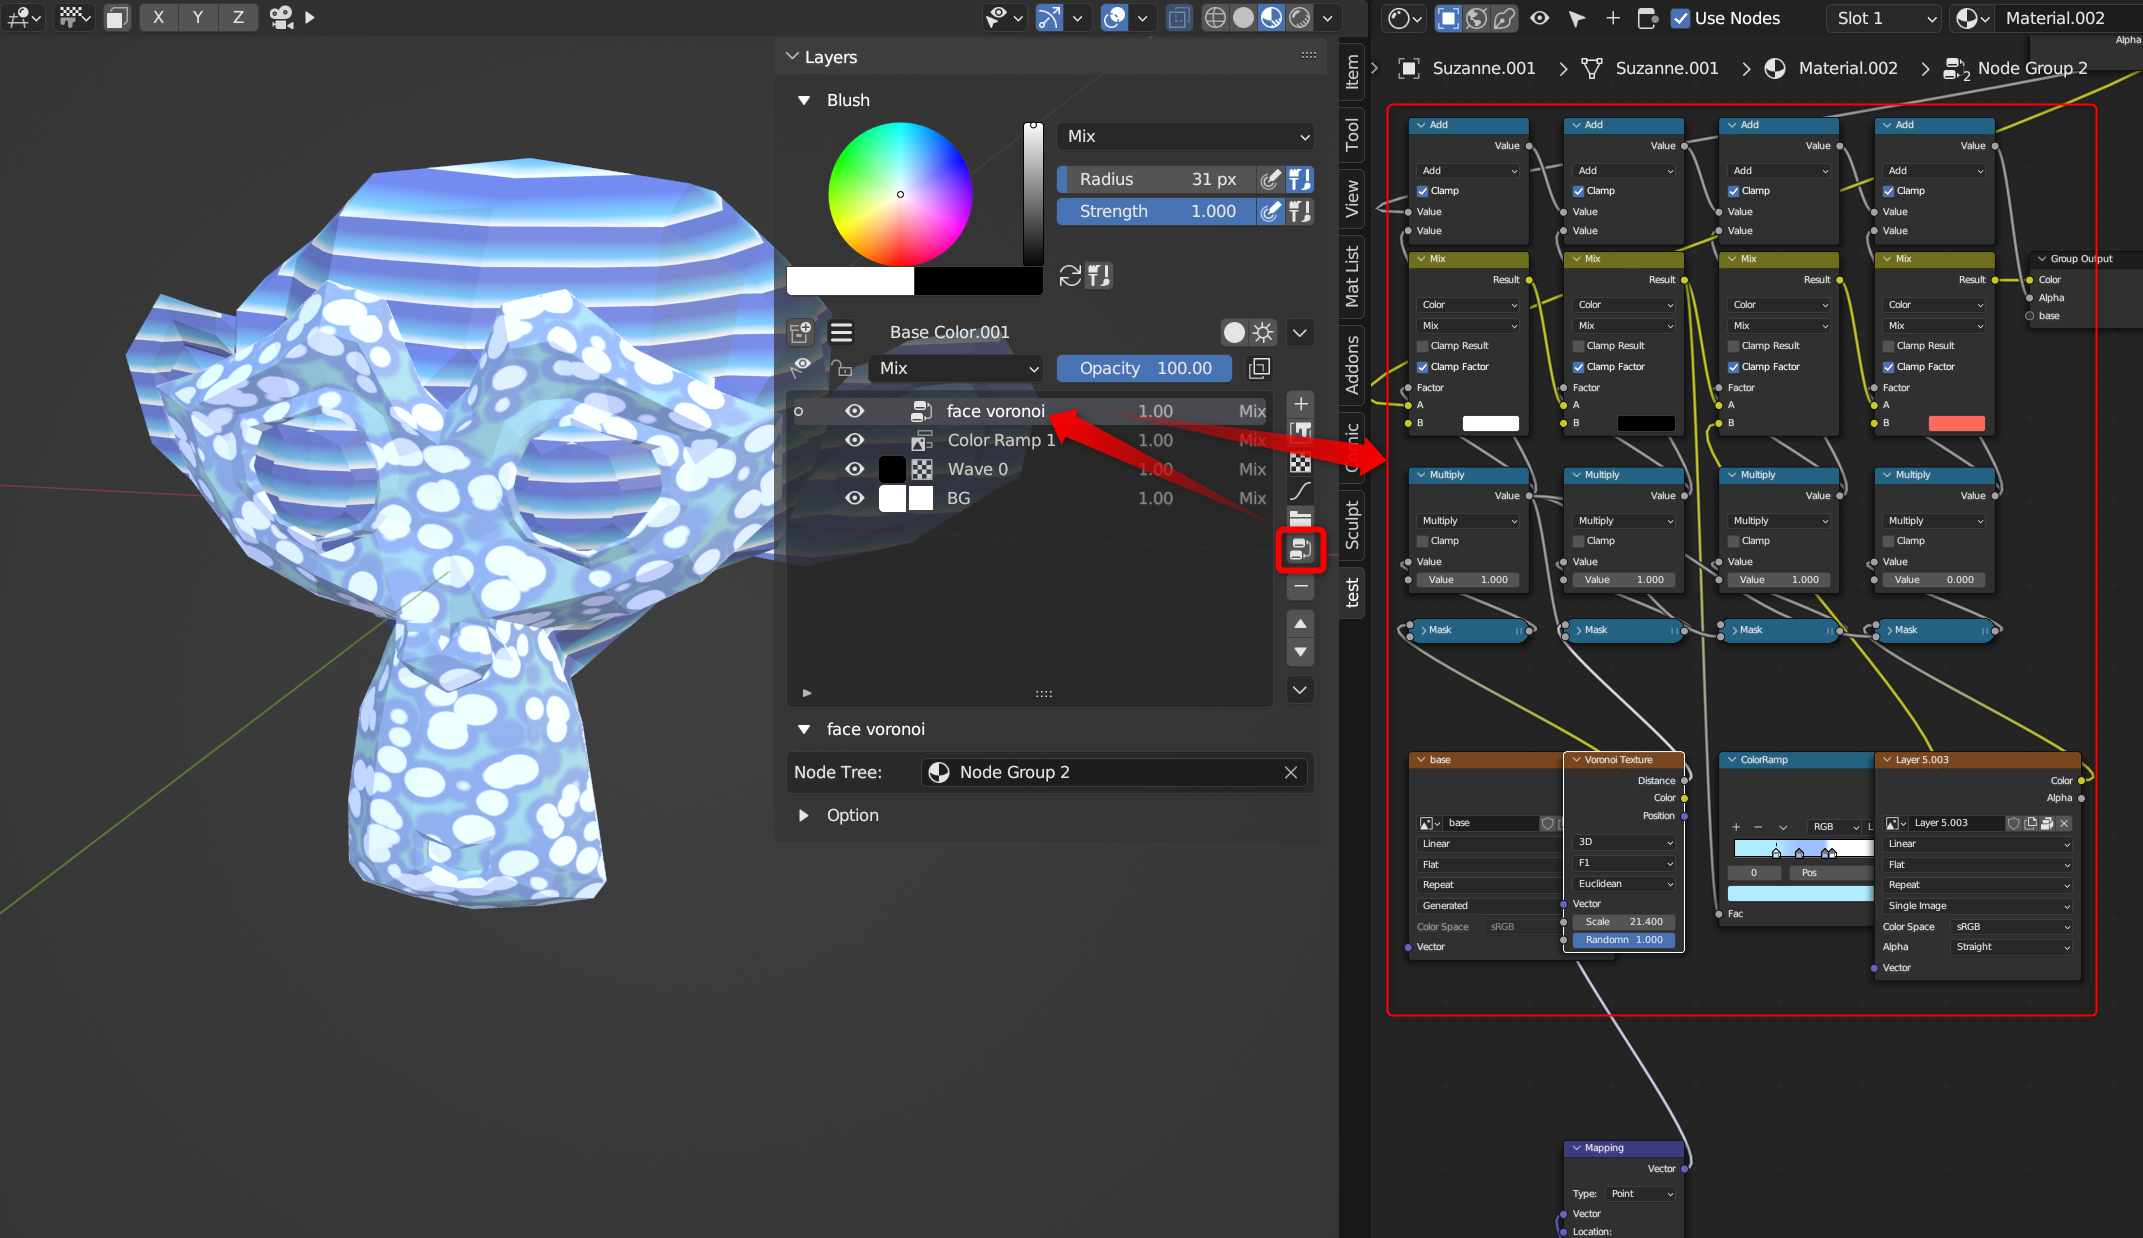
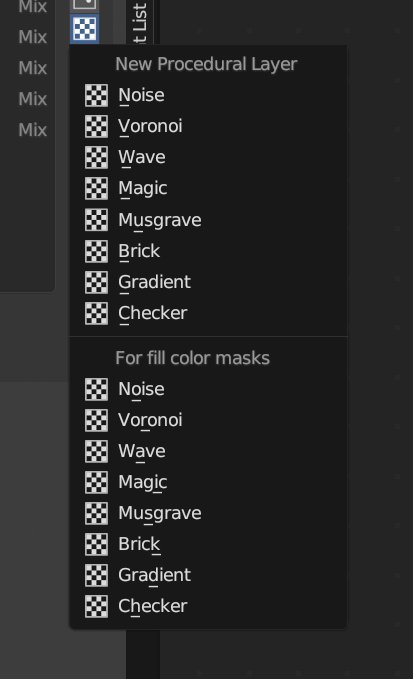
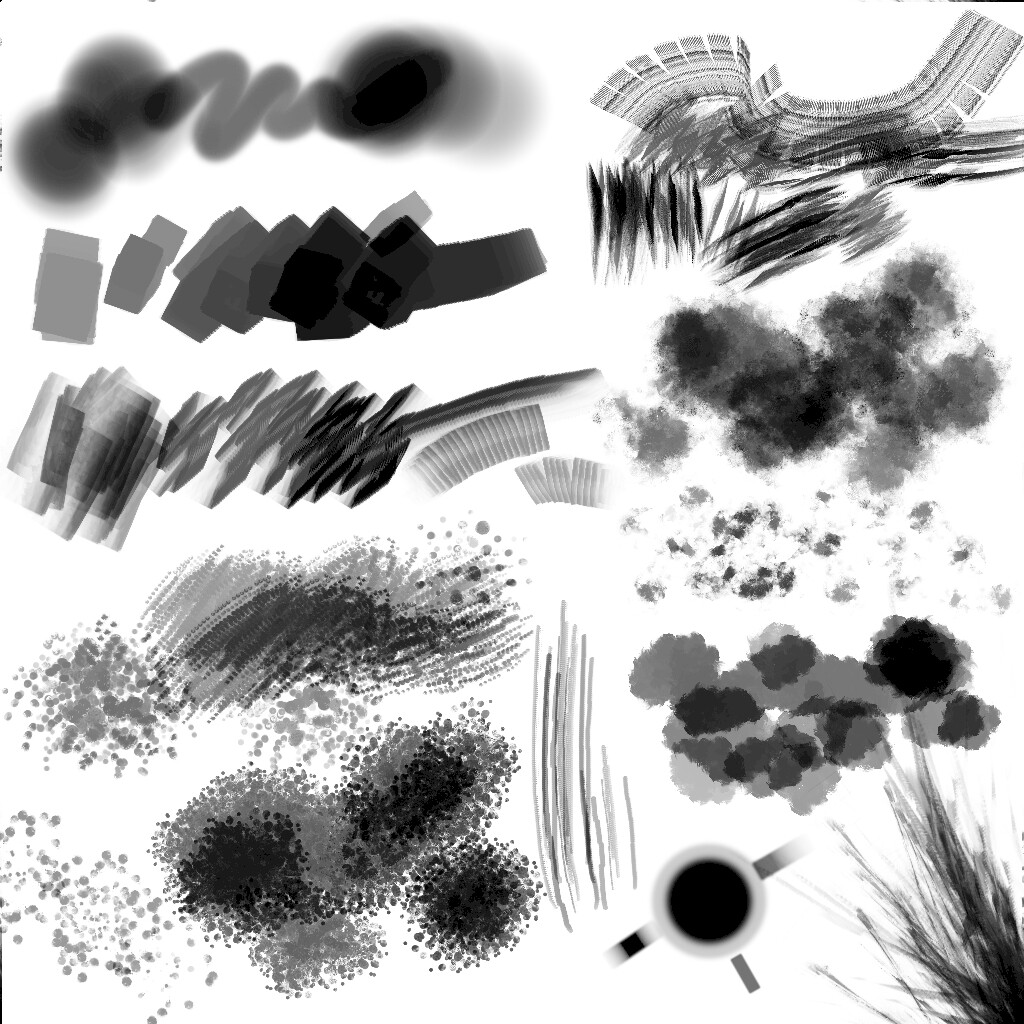
Procedural texture layer
Added a procedural texture layer.
It is convenient to use with clipping mask and color Adjustment.
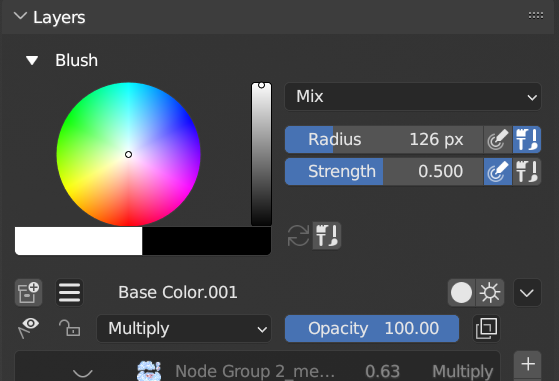
As with the fill layer, you can adjust the color from the list item left color icon.
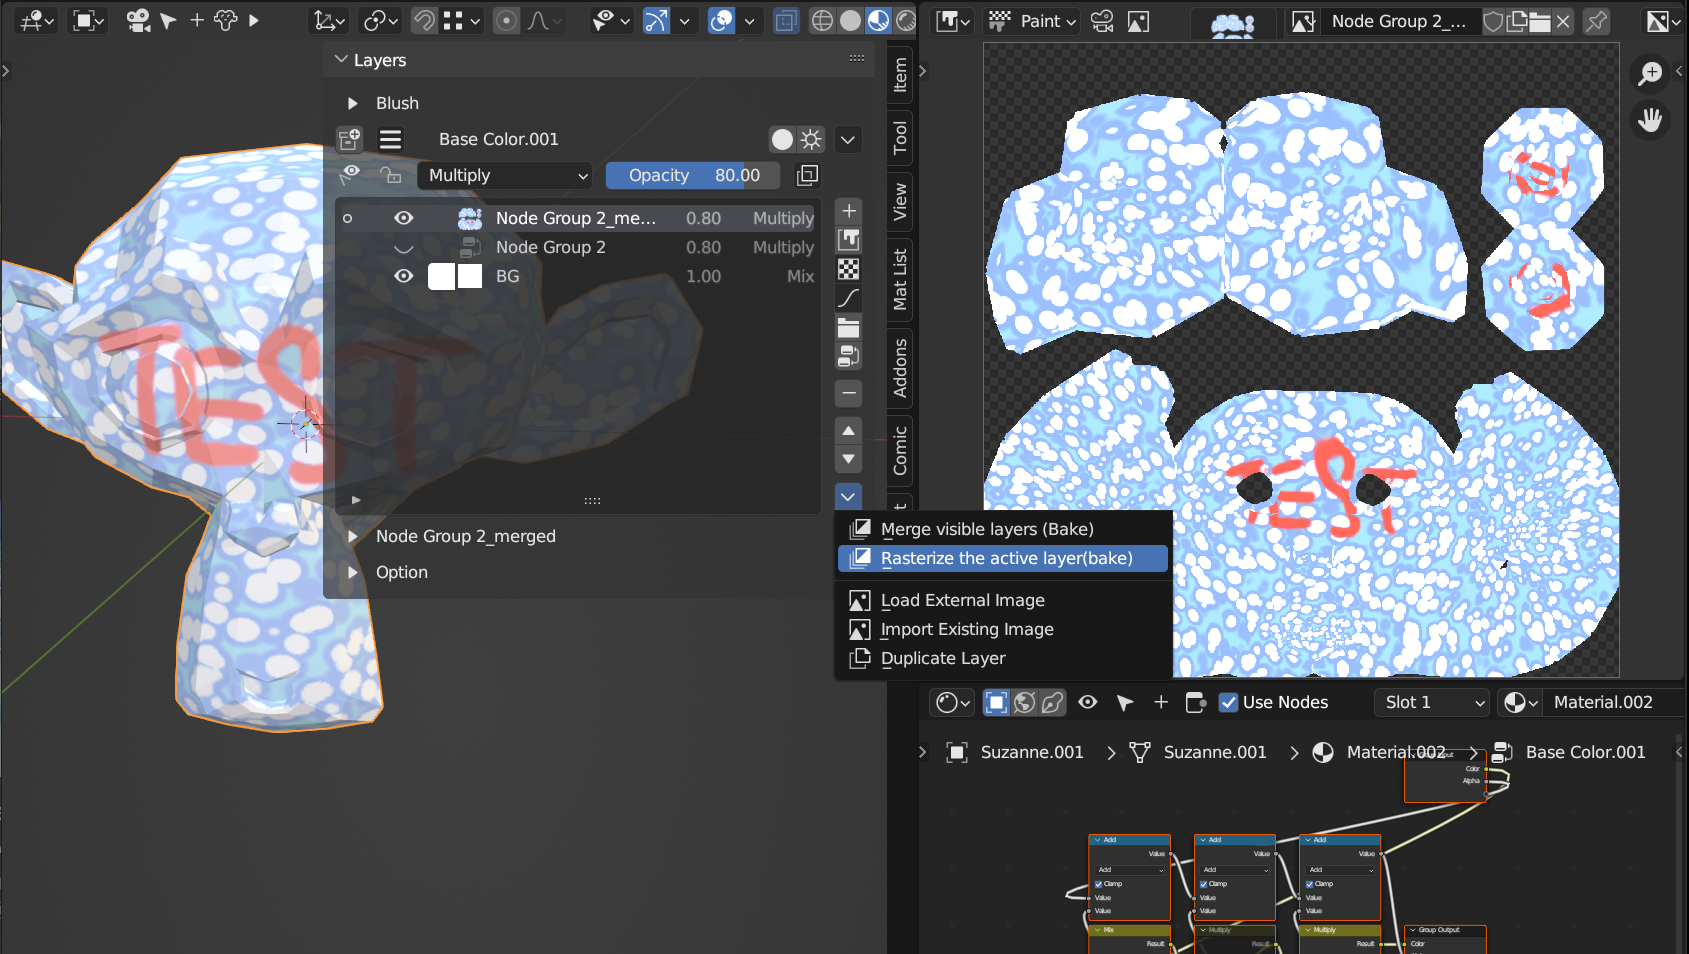
(Because it is a texture node, it needs to be imaged with [Combine (bake) display layers] so that it can be edited directly.)
Available texture nodes
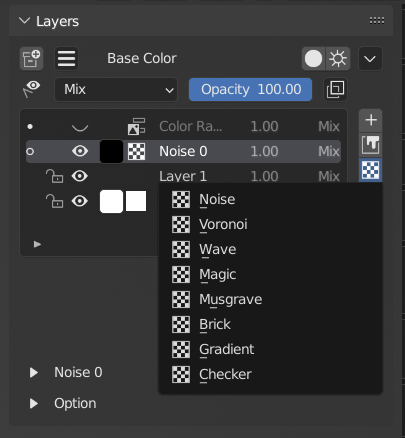
- noise
- Voronoi
- Wave
- magic
- Musgrave
- Brick
- Gradation
- checker
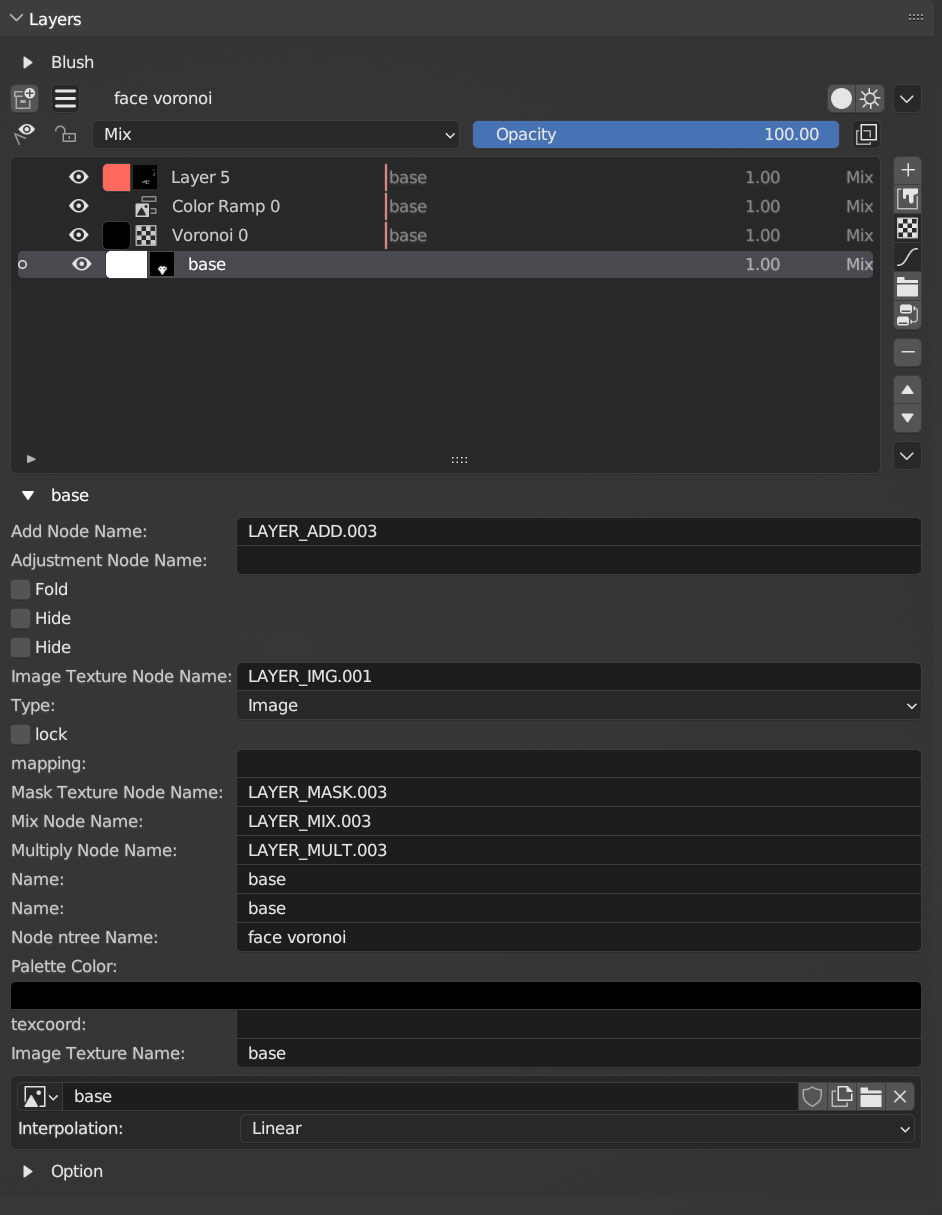
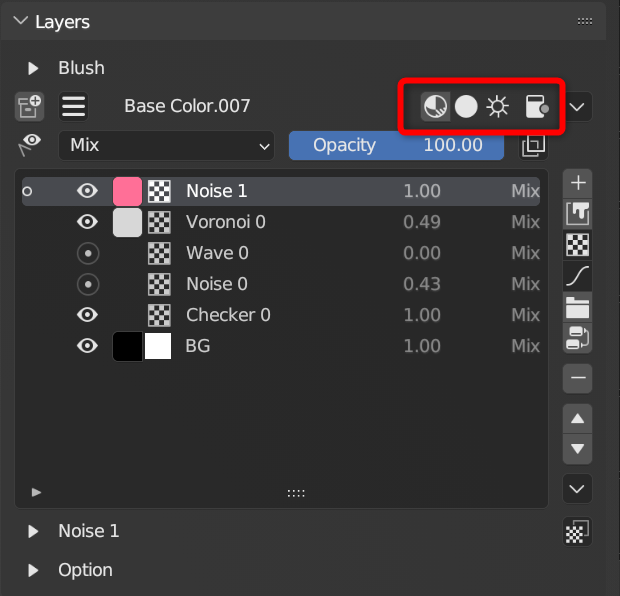
Adjustment menu
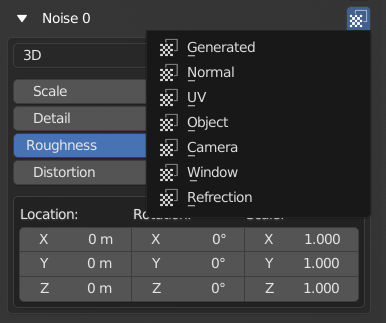
Below the list is a menu for adjusting node parameters.
- You can change the texture coordinates from the icon to the right of the layer name.
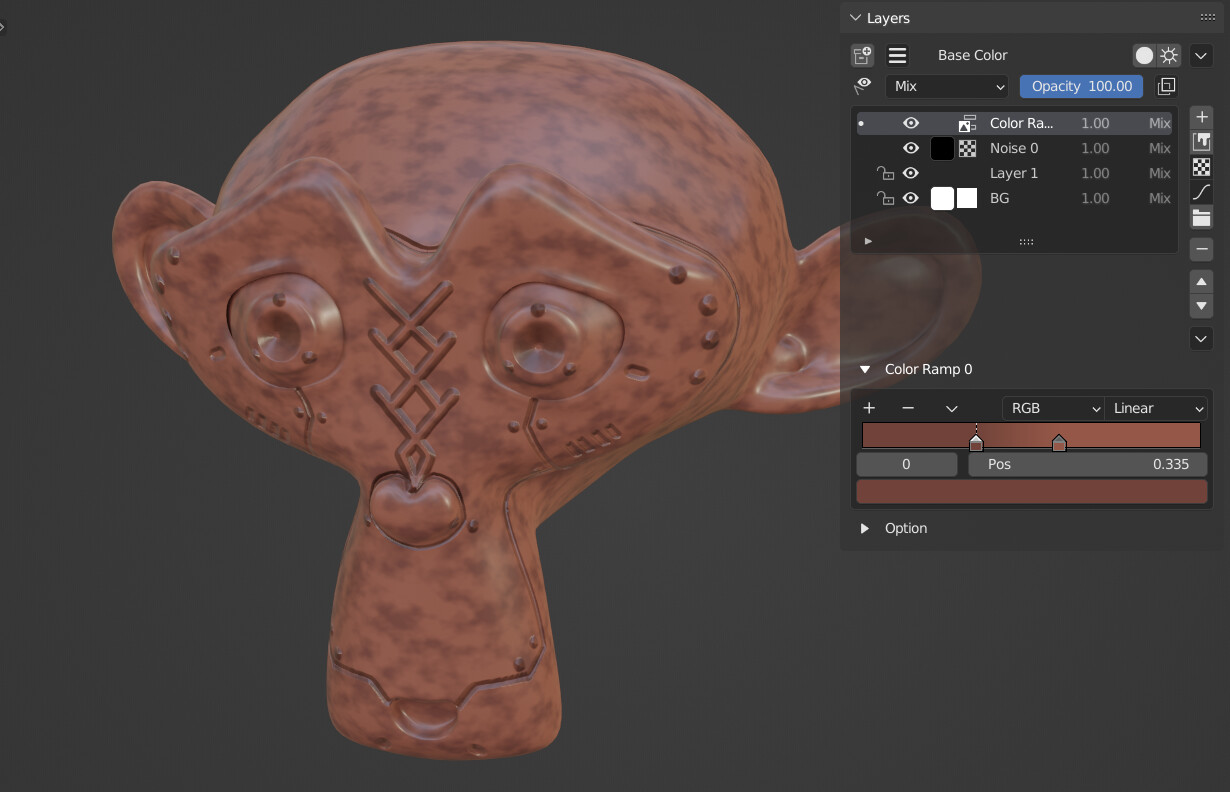
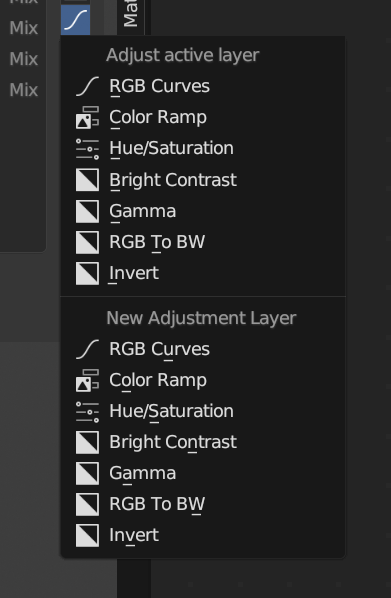
Adjustment layer
Added a Adjustment layer.
Connect the composite result of the layer below the color Adjustment layer to the tone Adjustment node.
Below the list is a menu for adjusting node parameters.
Available Adjustment nodes
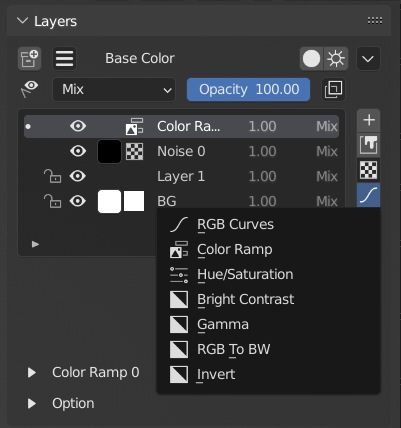
- RGB curve
- Color lamp
- Hue / saturation
- Brightness / contrast
- From RGB to BW
- Inversion
Change default shader to Principle BSDF
Changed the default shader to Principle BSDF.
This is because the Principle BSDF can create more textures.
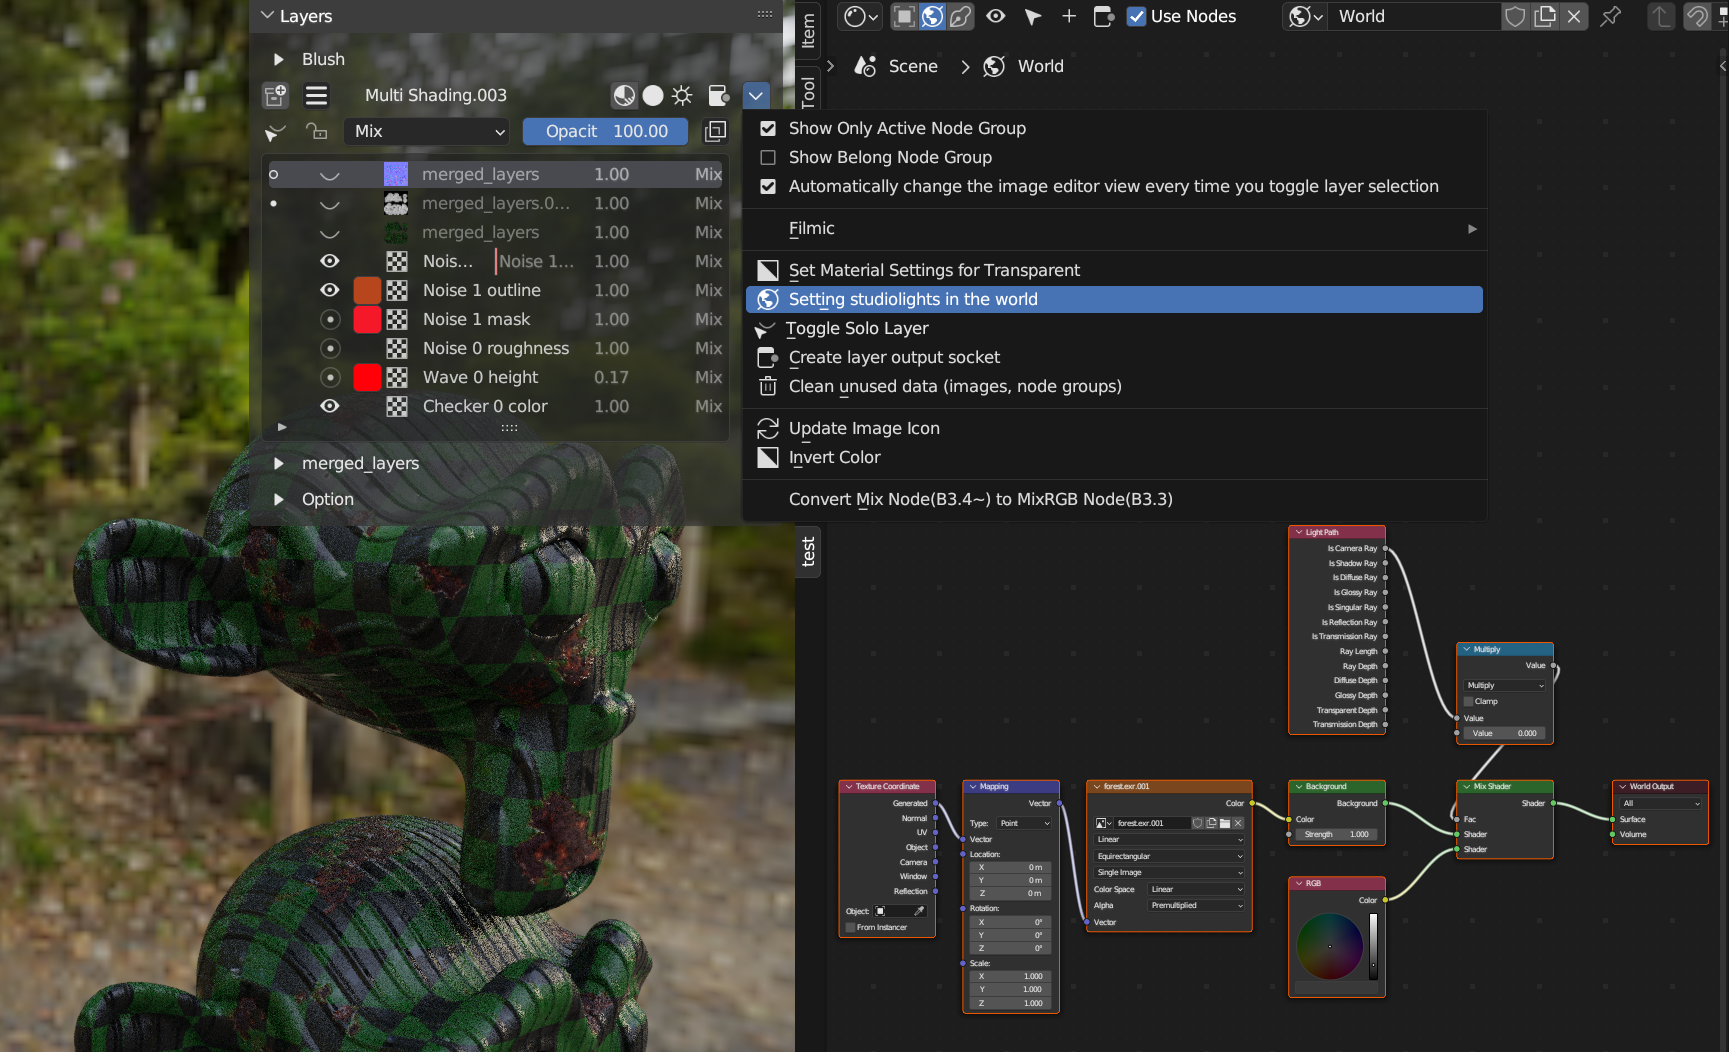
Diffuse / Radiation shader switching function
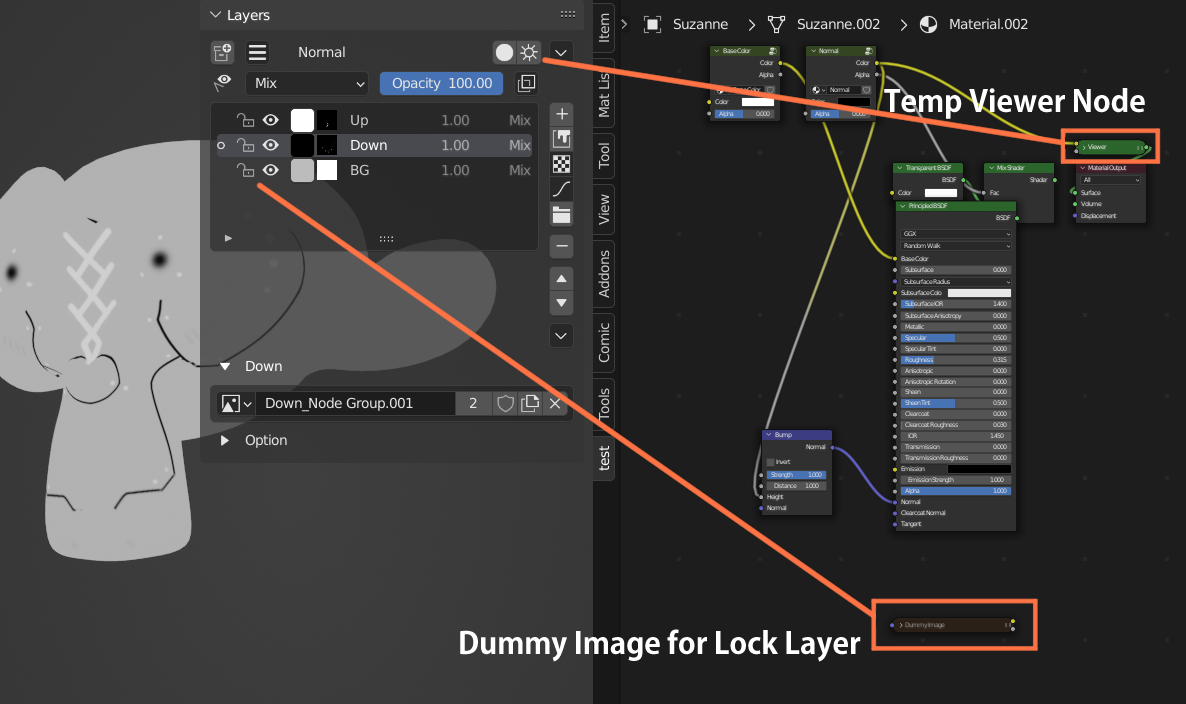
The diffuse / radiant shader switching function has been redesigned to temporarily create a viewer node without changing the main shader node.
Enabled to check the active node group individually.
To restore the viewer node, click the same button again.
Use this to make the diffuse BSDF as before.
Added layer lock option
Added an option to protect layers from texture paint.
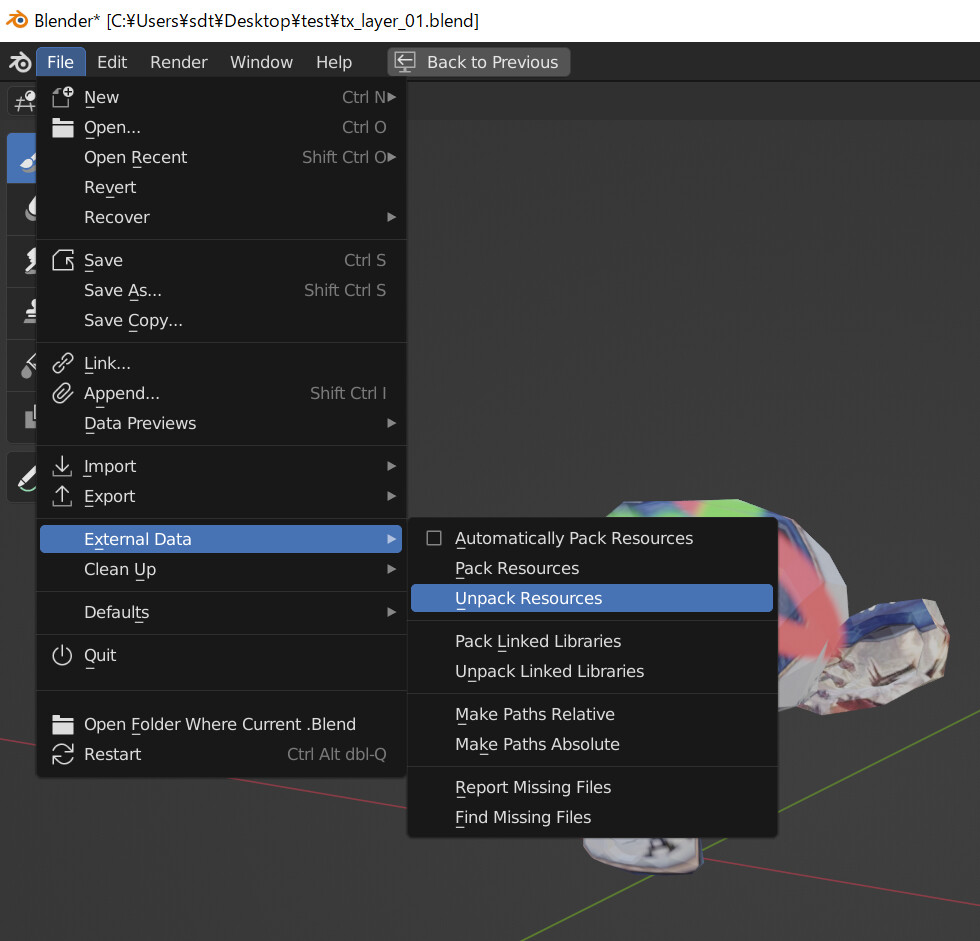
specification
Editing is not locked in Blender’s Texture Paint, so I’m using a pseudo method.
Make a dummy image (small 4x4) at the time of selection and select it for the active paint slot each time to avoid selecting the original image.
If you actively select a procedural texture, it will be processed in the same way.
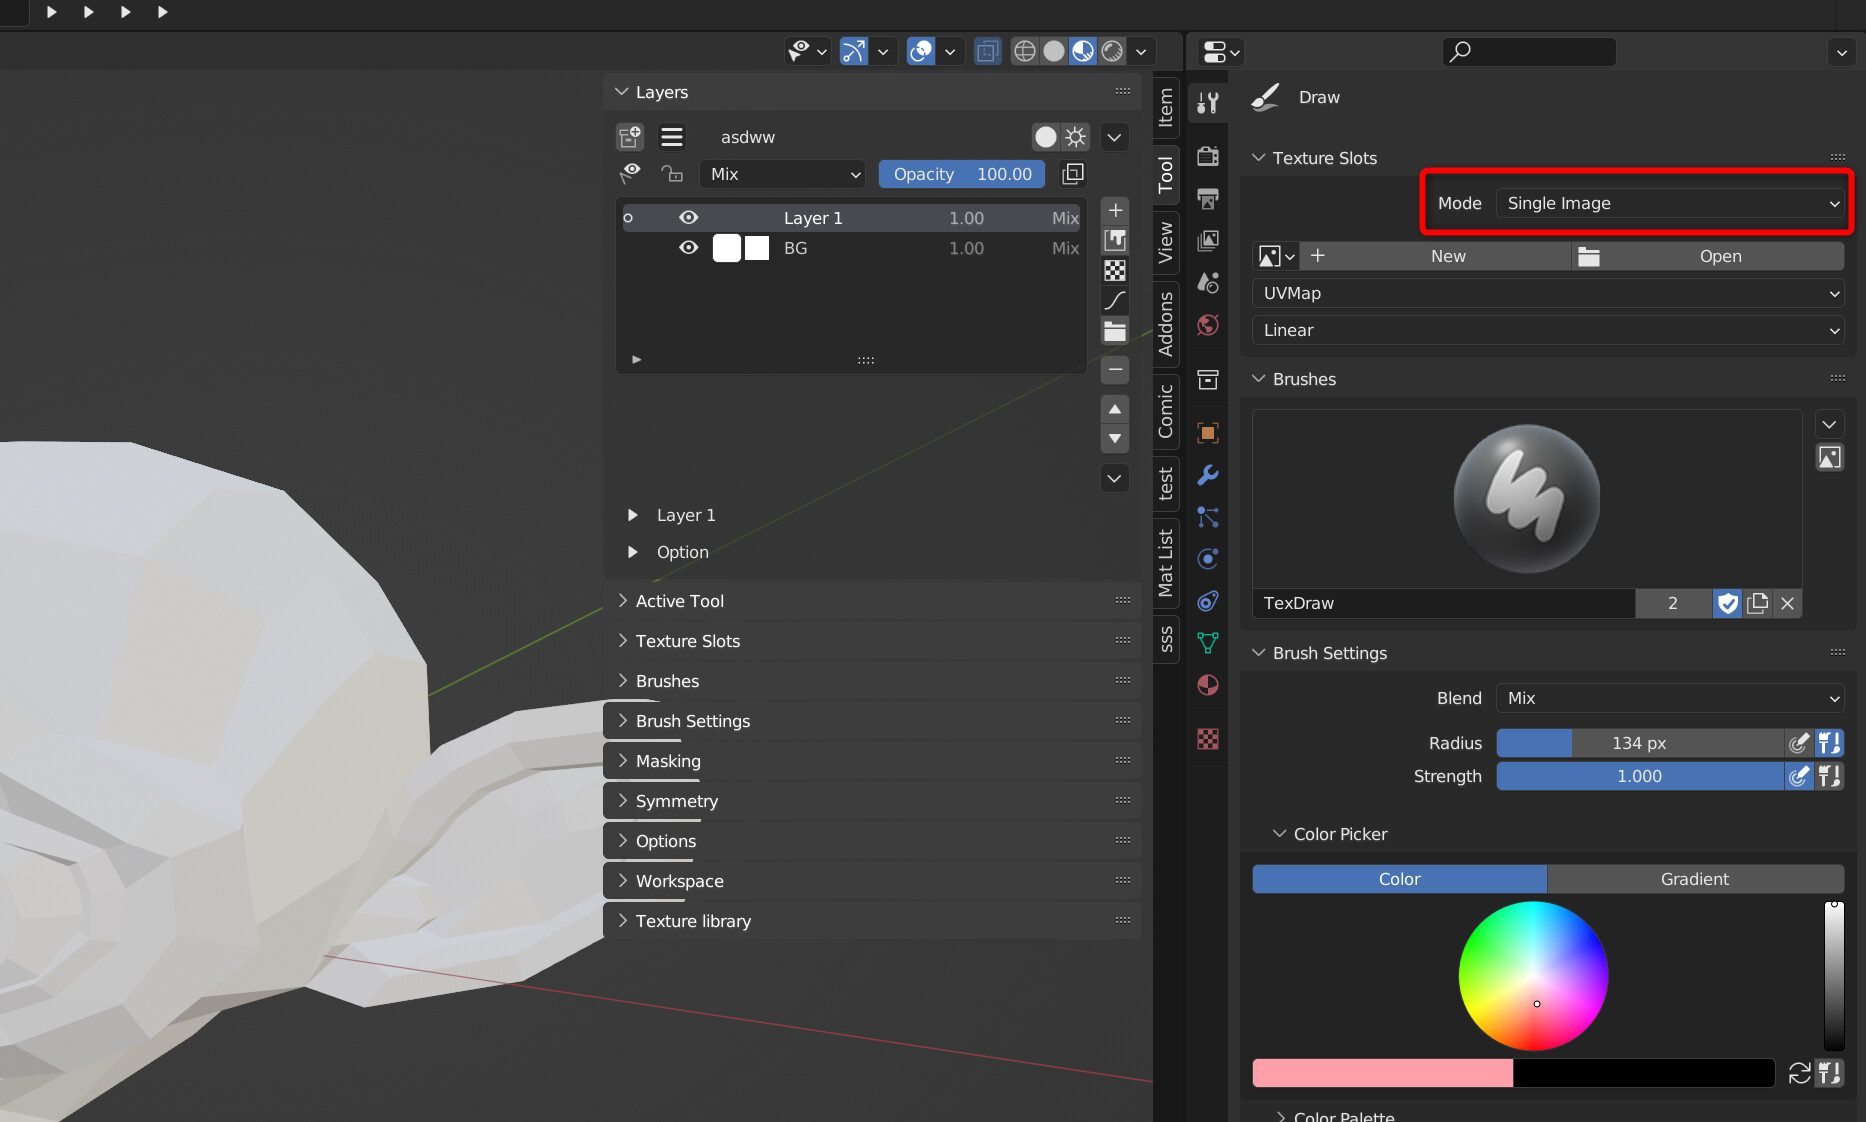
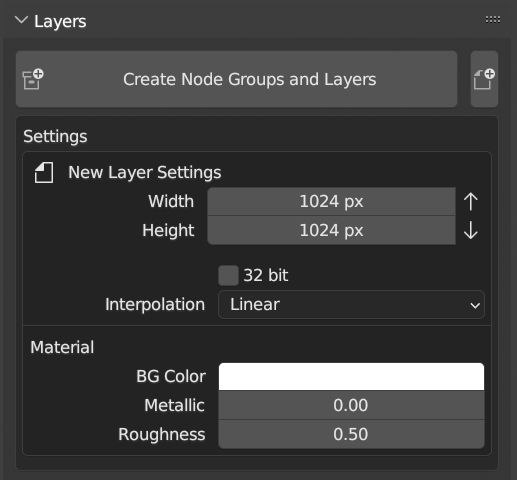
Node group
When creating a node group, a background layer and a normal layer are created in the node group.
Improved to be able to select the connection destination socket
When creating a new node group, you can now select the socket to connect to the Principle BSDF.
You can select base color, metallic, roughness, normal, alpha, etc.
Enabled to select the connection destination of Principle BSDF when creating a node group.
If you do not set the node group name manually, the socket name will automatically become the node group name.
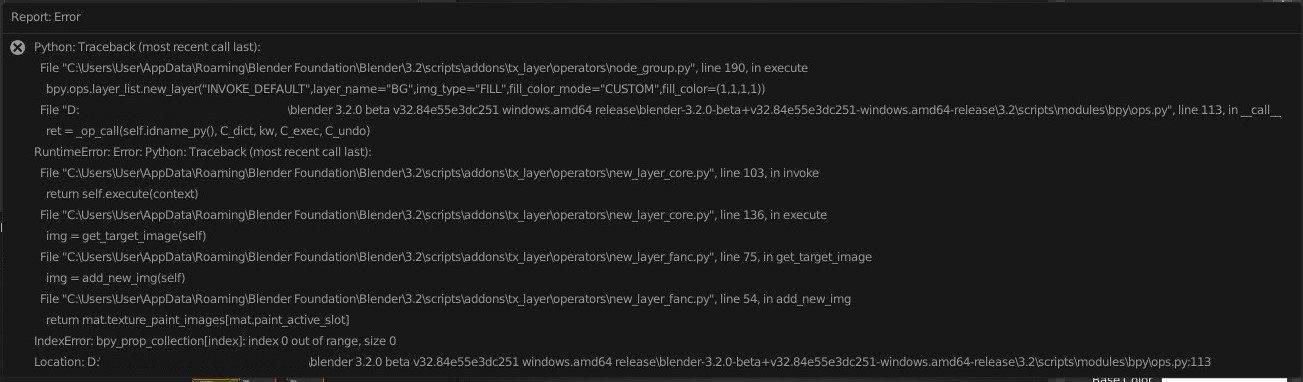
Bug fix
Fixed an issue where when selecting a layer in a node group, undoing would cause the texture slot selection to revert to another texture.
(Every time you select a layer, make the node group in the material’s node tree the active selection)
alpha
If the destination socket is Alpha, set the material setting to alpha blend to disable the backside display.
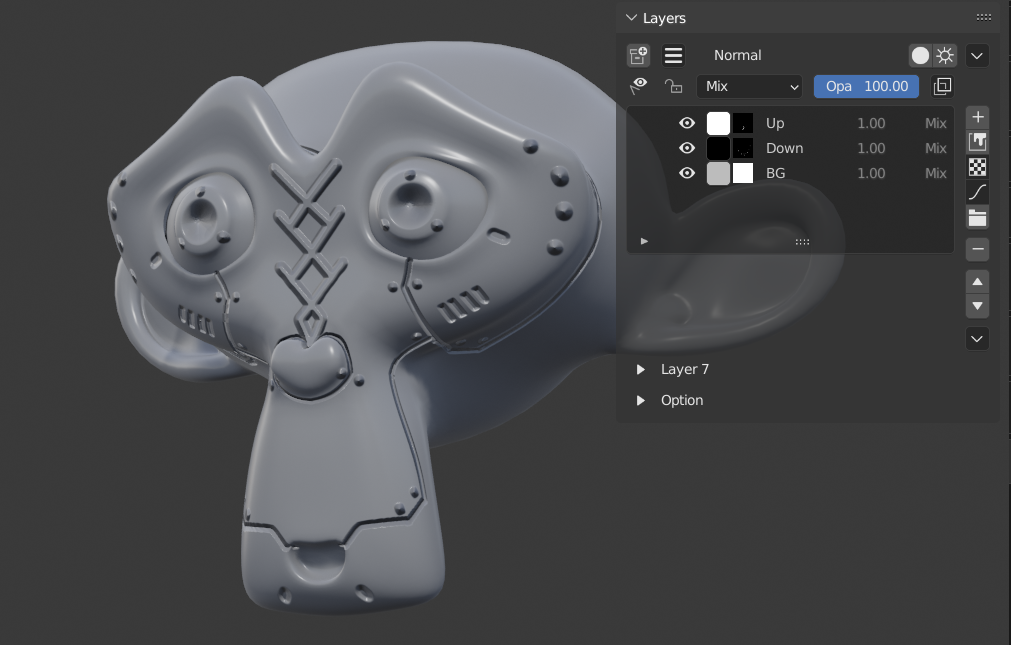
Bump map
If the connection destination socket is [Normal], a bump map will be created and connected, and three layers will be automatically created so that you can write immediately.
Writing to Up makes it exciting, and writing to Down makes it a groove.
- Up Convex white [Fill layer]
- Down Black for concave [Fill layer]
- BG Gray neutral color [Fill layer]
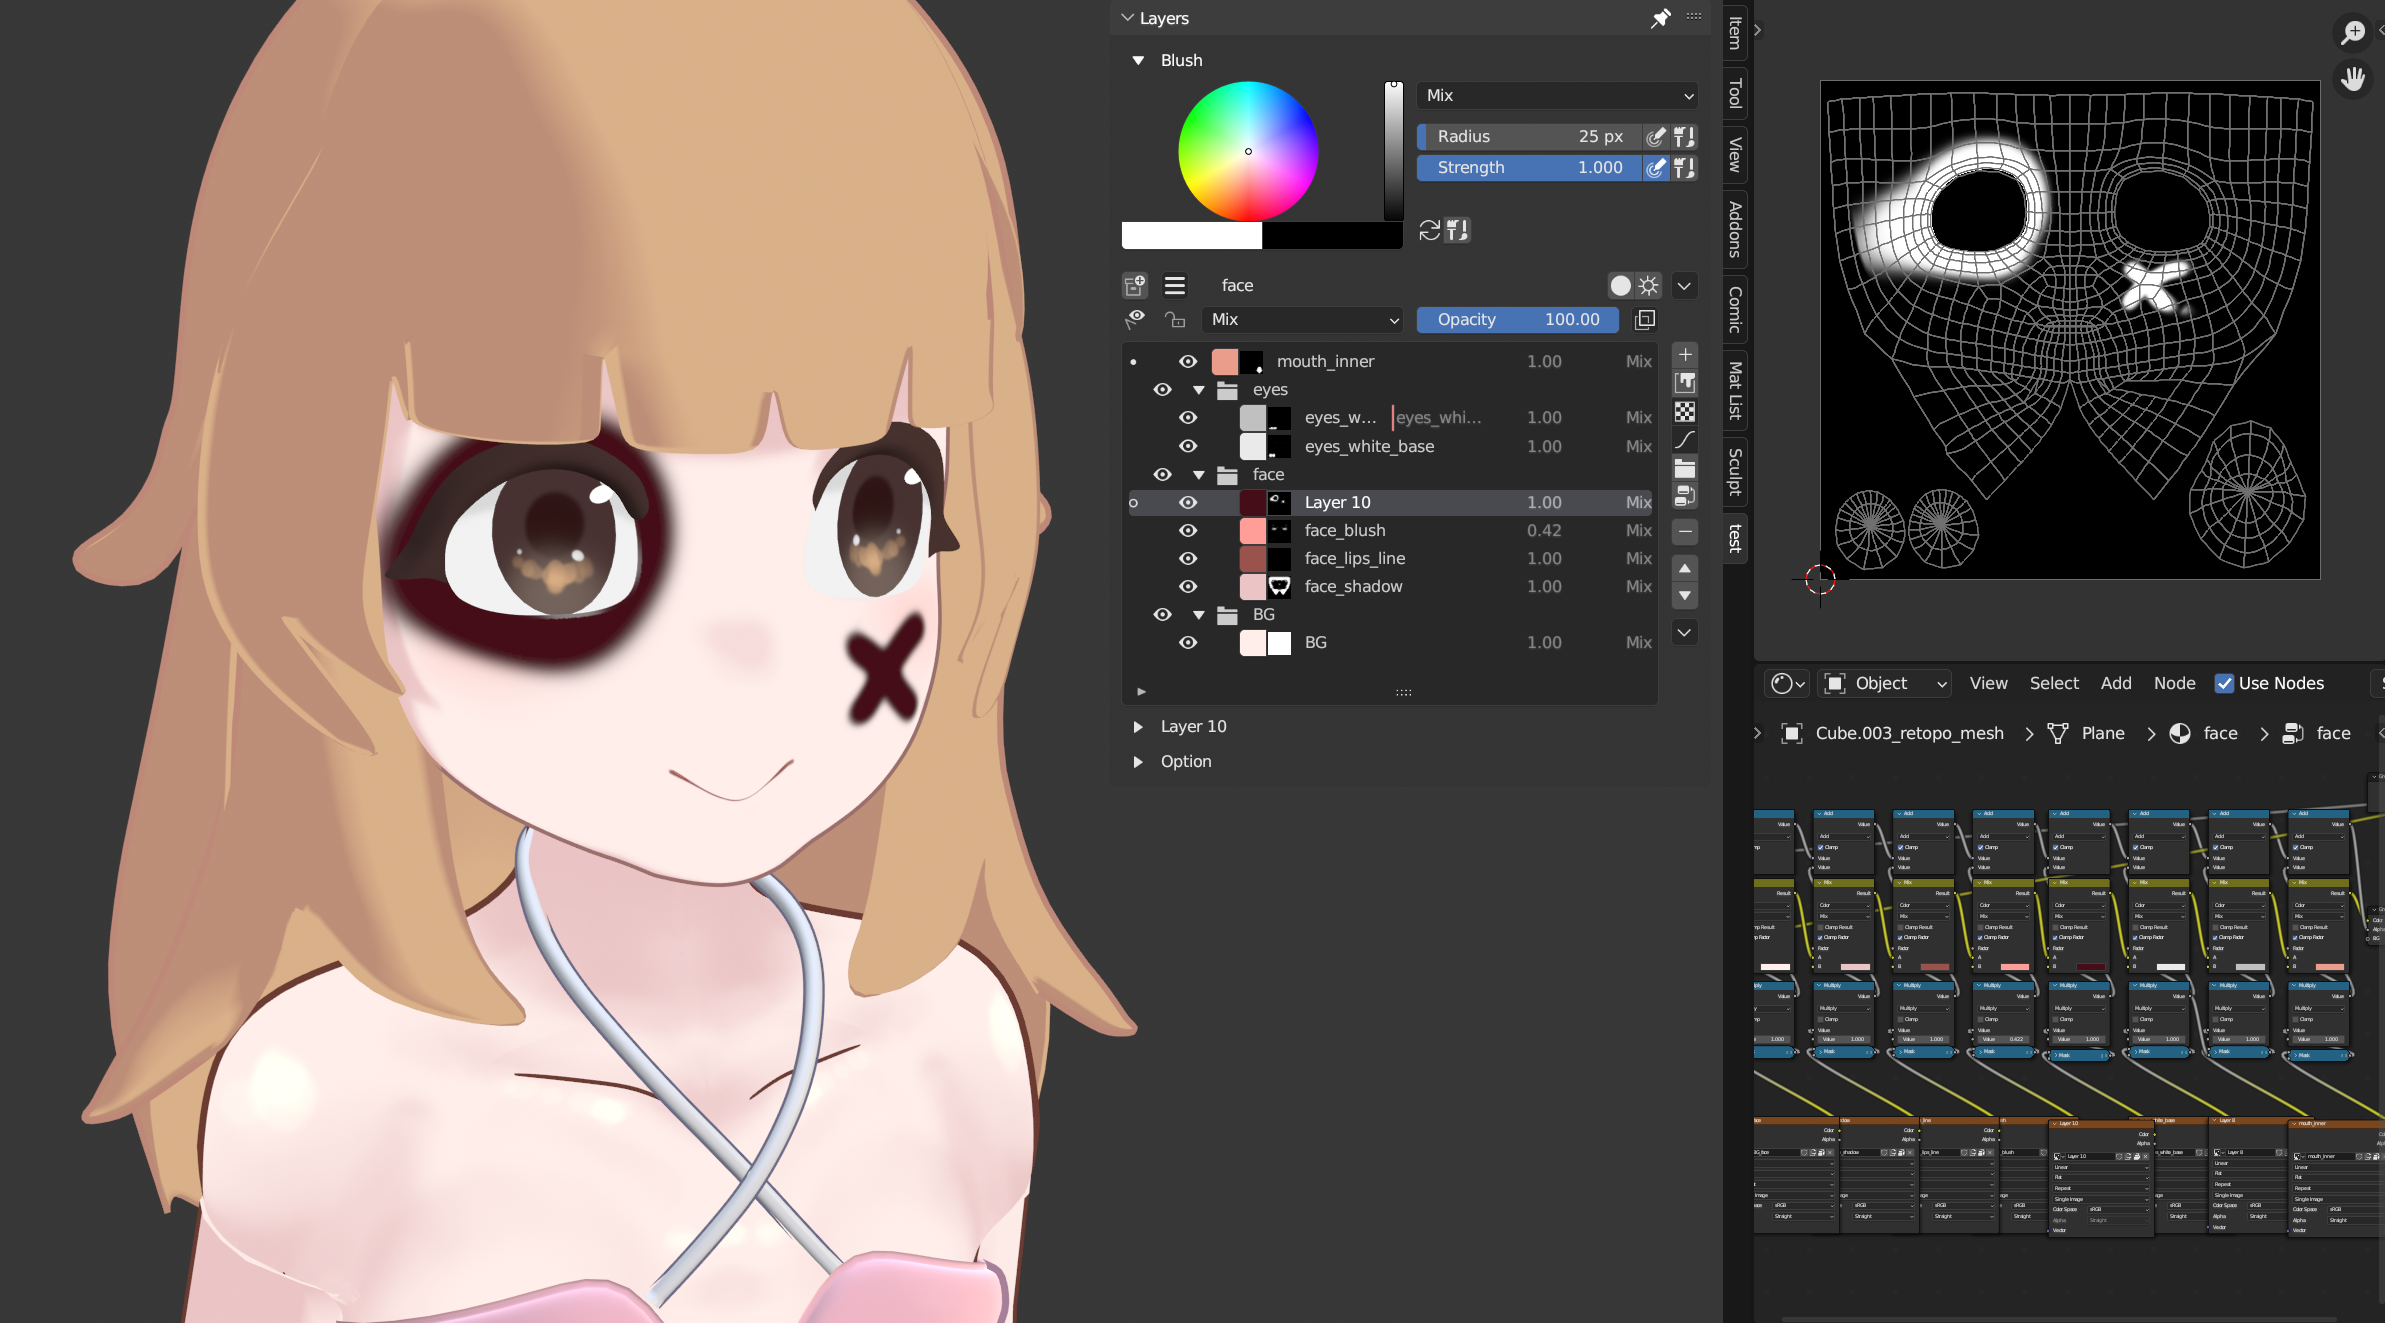
Folder function in the list
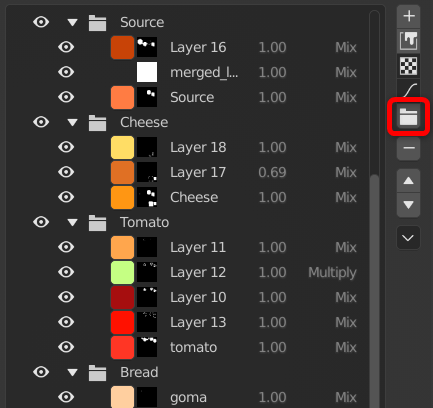
Added the ability to sort by folders and organize layers.
By switching the eye icon, the display of items under the folder can be switched at once.
You cannot move layers in a folder at once, blend mode, or adjust opacity.
specification
- This folder is an item only on the list menu. Does not involve the node.
- Therefore, it does not mean that “there is a layer in the folder”, but that it is a specification that “operates all the things under the separator called folder”.
- It is similar to the group function in texture paint software, but it is named “folder” to distinguish it from node group.
Improved Bake function for display layers
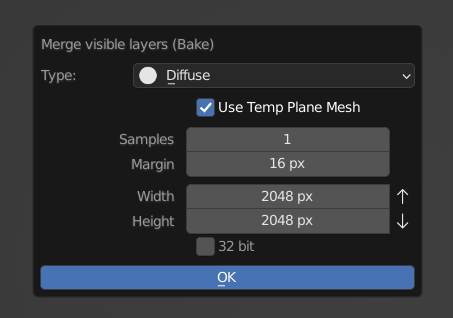
Added the Use Temporary Plane Mesh option.
Bake all areas of the material by baking with a temporary flat mesh.
Bake with a simple mesh, so the bake time will be a little faster.
You can avoid the problem that normal baking only bakes the area of the selected object.
- If you are using texture coordinates [Generate] etc., turn it off (especially if you are using procedural textures etc.).
- This option is not used for bake types such as joins, AOs, and shadows.
- (Because we need information on the unevenness of the mesh)
- Not required if all required objects have been selected or if the mesh is originally simple.
others
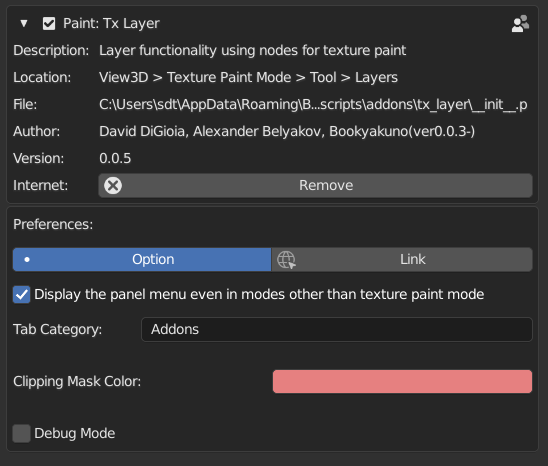
- Added an option to display the panel menu in modes other than texture paint.
- If you want to make a big change in the layer structure, you should adjust it in this panel because you can redo it normally in modes other than texture painting.
- It is off by default. You can change it from the add-on settings.
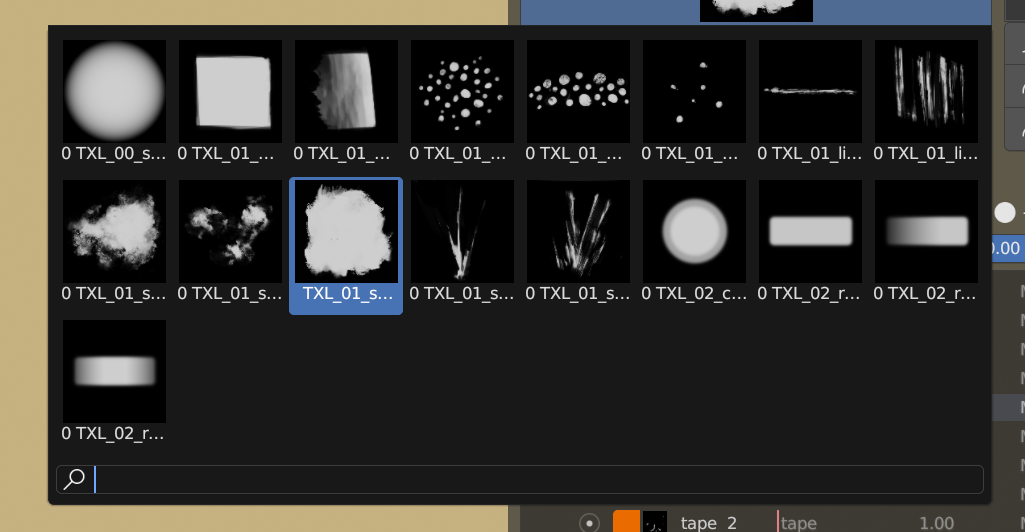
- Added an eraser brush.
- It is off by default.
- You can use it by registering the following in the key map.
- layer_list.brush_set_eraser
- If the operator-configured circular option is enabled, it will switch to the DrawTex brush each time you press a key.
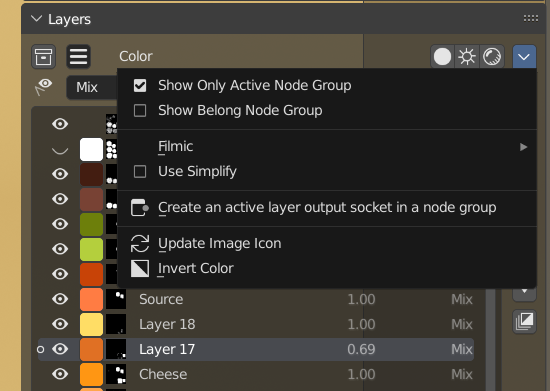
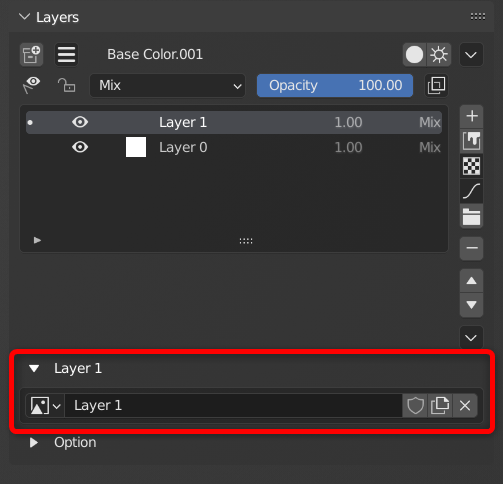
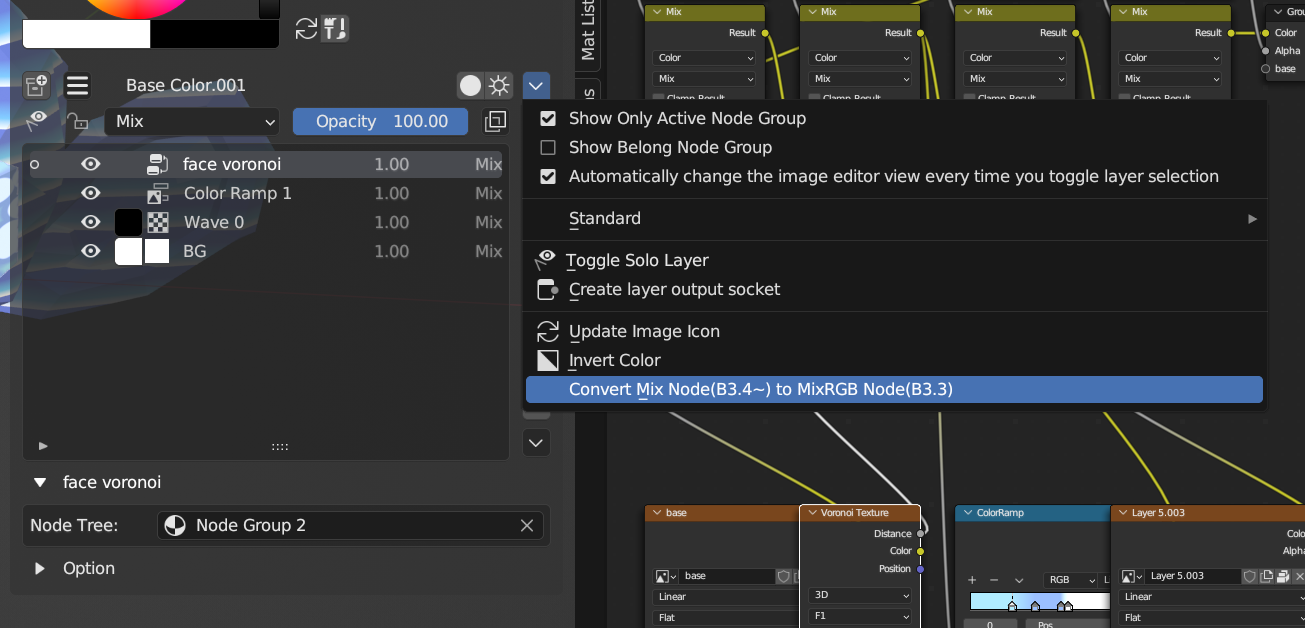
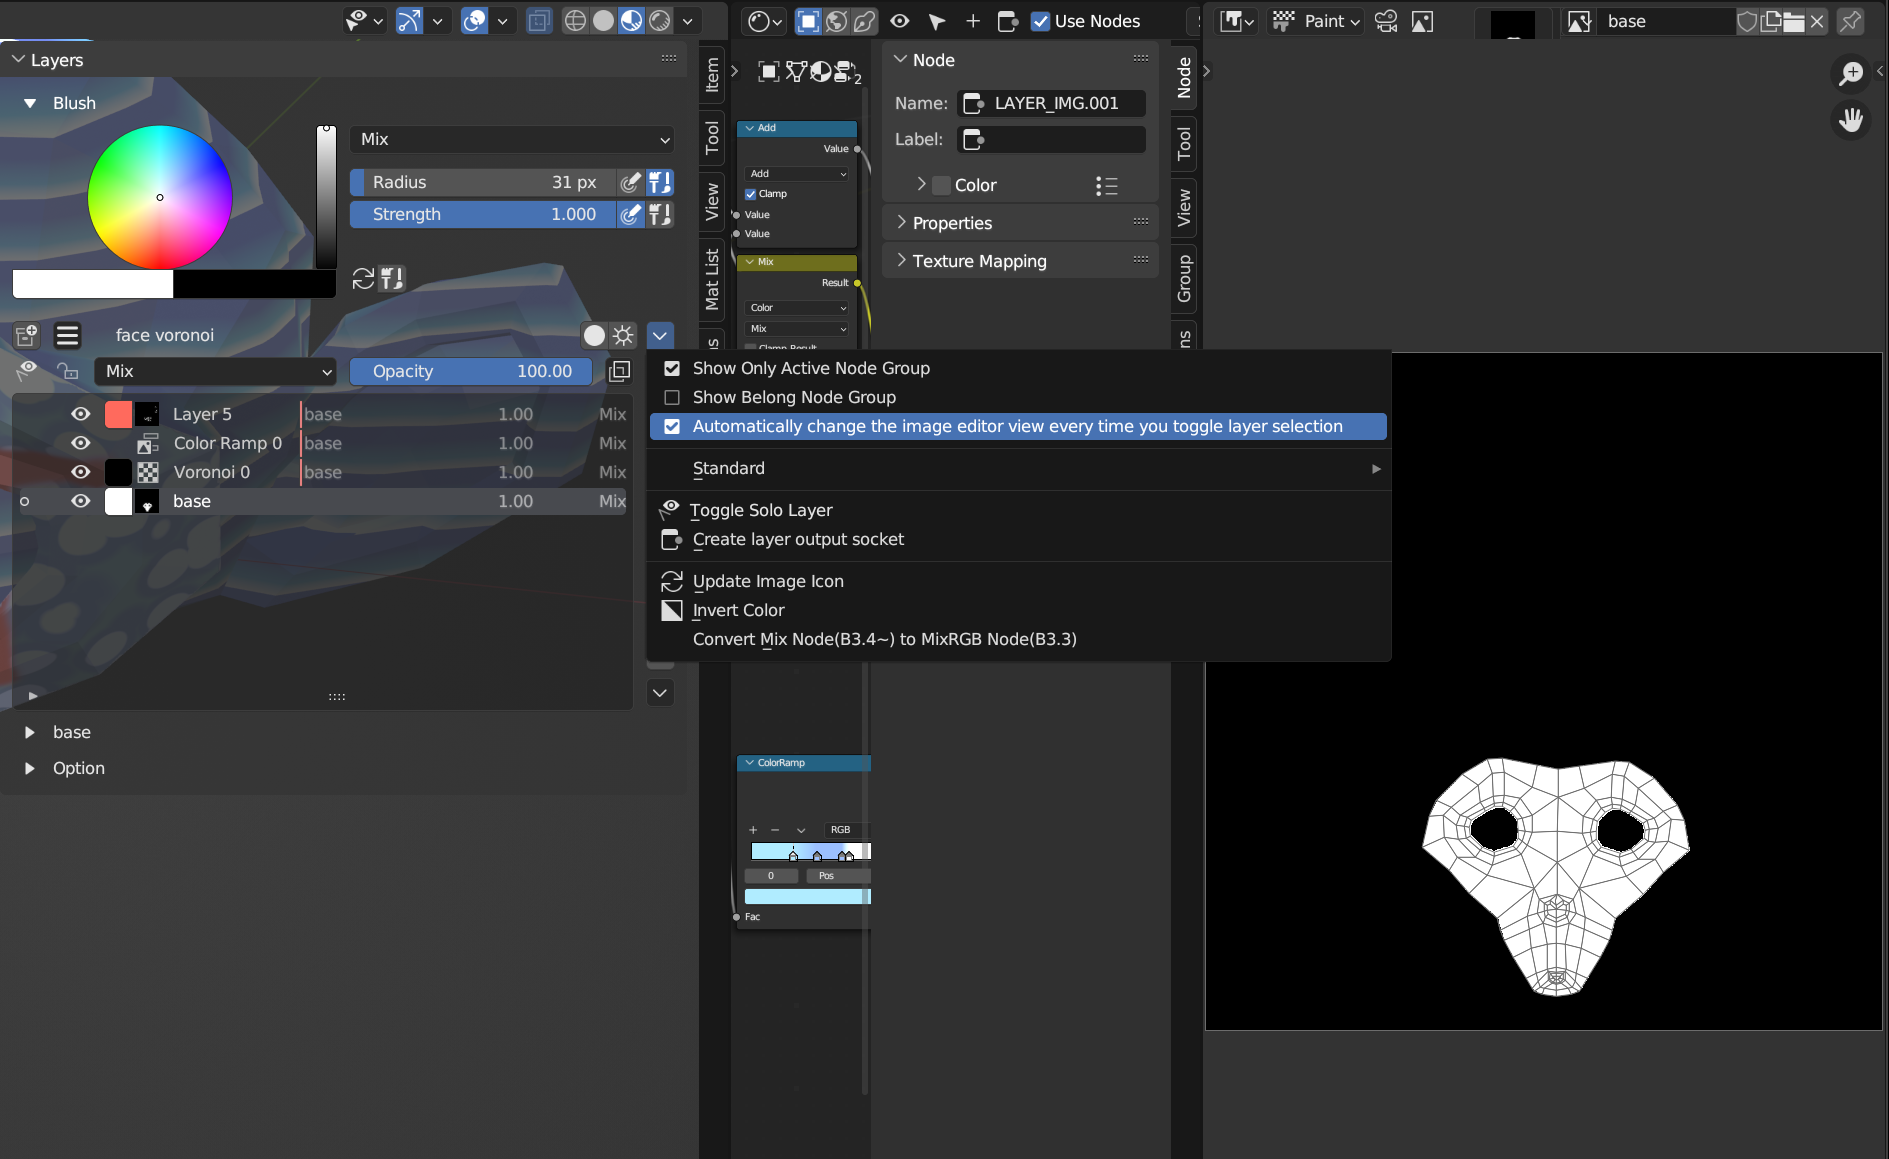
- Added a layer option menu.
- You can change the image of the active layer from this menu.
- Fixed an issue where the opacity value would change slightly each time you switch layers.
- Made the opacity slider a floating point type instead of an integer type.
- Increased the positional spacing between the shader node and the layer node.
- To fit the size of the Principle BSDF.