*Note: This is going to be a very long post, sorry, but hey, no one can say I don’t provide background info… or a story to help people sleep!
With wanting to create my own animated ‘film’ for years (decades even), I’m trying to slowly put together and learn not just the tools but a process that should lead to some sort of organization and constant progress that keeps motivation up.
Clearly a single image is much easier to manage then a whole animation and as such the issue of ‘pipeline’ comes to mind. While there’s odd bits of information all over the place, so much of it seems to be either a closely guarded secret or its completely in-house written tools for large studios. As such, trying to determined what would work or is even needed for a solo production has required a lot of conceptual thinking (made harder by not even knowing what I so far don’t know).
So far I’ve already started to work on an overall folder/file/component structure and naming but was also wondering about overall production tracking that wouldn’t be too far over the top but flexible enough to help keep things… well on track.
I knew about the Blender Studio created Attract, which while ‘free and open source’, there seemed to be almost no documentation or easy means on how to setup your own install of it.
While Attract and others all have web sites for production tracking I didn’t want some month to month cost for something that I may not use much from one month to the next. And since it was just me, I really didn’t need anything ‘web based’ that others could access, all I needed was just some local, stand alone program.
Of course everything is web based now (which in most cases makes sense) and till recently I hadn’t looked much more into a production tracking solution. But then came the Blender Studio blob post: https://cloud.blender.org/blog/the-blender-studio-pipeline/
At that point I started to have a closer look at Kitsu (https://www.cg-wire.com/en/kitsu.html) and thinking that unlike Attract, even if the Blender Studio ultimately drop it, CG Wire are going to keep going and keep some level of development. Plus with it being open source, given enough install/setup documentation, I figured I could just do a local install myself. A little easier said then done, but more on that later.
I thought of a few possible ways to deploy it, not wanting to ‘clog up’ my main PC, which is Windows anyway and the whole setup only works under Linux. I do have a few older computers around, but between being either very old, maybe somewhat under-powered or just not wanting the electricity cost, etc or running an extra full desktop PC in order to have production tracking available in the background seemed a bit over the top for a single person.
I did think that a little Intel NUC (or other manufacture equivalent) could work pretty well. Get something like a 6 core CPU, install proxmox as the base hypervisor and then I could run 2-3 Linux VM’s for Kitsu and maybe some other future ‘services’. Problem is those things really aren’t cheap, not as a base unit in most cases and even less so when you add all the extras (like RAM and storage) that you actually need to make it all work.
Another option was a Raspberry PI, which funny enough will run it (more on that later as well), but even then, its still a couple hundred dollars all up, money which would be far better spent on future GPU update or more storage space. So in the end, I decided to go with what I had, without messing up any setup or install and if it didn’t work, I could just delete it all and the only thing I wasted was time. In other words, I used my main PC with Windows 10…
INSTALLING A LOCAL COPY OF KITSU
My solution was to use Hyper-V, which because I’ve always only ever installed the Pro versions of Windows, my Windows 10 Pro setup on my main PC was basically all I needed. Aside from some disk space, my thinking was that I could get a Linux VM install that could run more or less in the background using a minimal amount of RAM and a couple of virtual CPU cores. Outside of production work or just not needing Kitsu, I just wouldn’t start it up at all and if I was doing production work and found that I suddenly needed as much RAM and processing as possible (my system is a 5900X with 32GB of RAM), then I could just shutdown the VM.
So the first thing to do, was to actually have a working Linux VM, I went looking for system requirements for Kitsu and really couldn’t find anything and then tried to see what distro the Blender Studio used, thinking that they maybe have a local install of it (I don’t actually know if they do, possible they use the CG Wire one). From all I could tell, they use either Pop! OS or Debian, which seemed like valid options, but in the end I went with Ubuntu Server 20.04 LTS, turns out that was the right choice, since I’ve later found a reference on the CG Wire website that states it needs Ubuntu.
So I downloaded the ISO, created a Hyper-V VM and basically installed Ubuntu Server. For the most part it went fairly smooth, with looking up a couple of things on the web just to make sure settings were basically correct.
Once done I had a very minimal install of a command line only Linux OS for which I only planned to do one thing with. I then made sure it was patch updated, network was working and I had enough disk space for some more software. Being that I’ve not really used Linux for over 20 years or so now, much of what I wanted to do required looking up commands on the web.
I then did what ever server admin is likely going to say one should never do and that was install a GUI. Yes, I know, its a server, running a GUI is a waste of resources and just shouldn’t be needed. And they are right, and in the end it’s not actually really wasting resources, but I figured it would just be so much easier to do the initial Kitsu install and troubleshoot any possible issues if I had at least a basic visual file manager, settings and multiple terminal windows all running at once. As it turns out, it was easier.
The only question was which GUI to use, I didn’t want something that was totally ‘yuck’ but I didn’t need anything bloated with Office apps, etc as well, just a basic, lightweight GUI with the bare essentials. In the end I went with Xfce using the Lightdm window manager. Even then, it still used up another 1.5GB of disk space and while running pushes RAM usage to around 4GB, compared to 1GB without it.
However, I had a solution to that, once I looked it up on the web to find out how to do it, that being to stop the GUI loading up automatically when the OS boots up. This way, by default its still a low resource usage server OS and it only needs more RAM and processing power if I manually start up the GUI from the command line. Once I have things all running and humming along, I suspect that I’d barely use the GUI, in fact I won’t even connect to or login to the VM, all I’ll do is start (Power On) the VM in Hyper-V and then use Kitsu via the web browser in Windows.
Once that was all done and working, I then decided to do one more thing, which is really just a choice I made in order to give me a bit more control over where data, etc goes. On looking through the Kitsu install steps, I could see that the main Kitsu setup and its data (like the video previews, etc) are all installed in one location, that being under /opt on the linux drive. While software like the database and web server, etc are all installed on that same linux system drive and none of it works without the other, I actually wanted the main data for Kitsu to be on another drive (or in this case, another virtual Hyper-V drive, which is really just a big file on your host PC).
So, again using the web, I made another virtual drive in Hyper-V, added it to the Linux VM and then using a few Linux commands, partitioned, formatted and mounted it as /opt/data and then just used that path in place of /opt for all of the web instructions to install Kitsu. This way I split the data and avoid just having one big massive virtual hard drive file and more important, should the Kitsu data grow to a fair size, I can leave the main server drive file on say very fast NVMe storage, while putting all of the Kitsu (image/video, etc) data on to say a larger/cheaper SSD or even HDD.
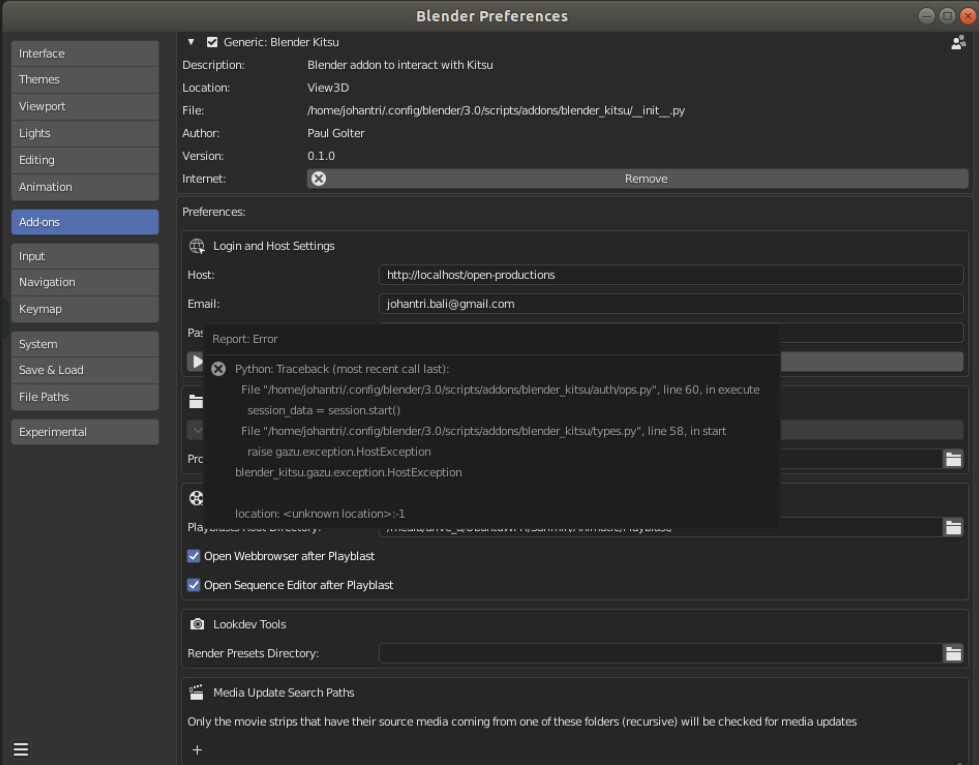
So, now I was ready to install Kitsu. To do that, I followed two web guides, the main one at CG Wire (https://zou.cg-wire.com/) and another which runs through a full Raspberry Pi setup (http://vfxgeek.video/2020/09/10/raspberry-pi-vfx-task-management-server/).
Ignoring the Raspberry Pi specific stuff, the two are basically the same, no doubt the second mostly taken from the CW Wire site, but the reason I used both is that along the way each one may add additional comments or a more specific command to type in order to get the job done. It also provided a bit of a check and balance between both sites and the commands/text I was typing in the hope of getting it all correct.
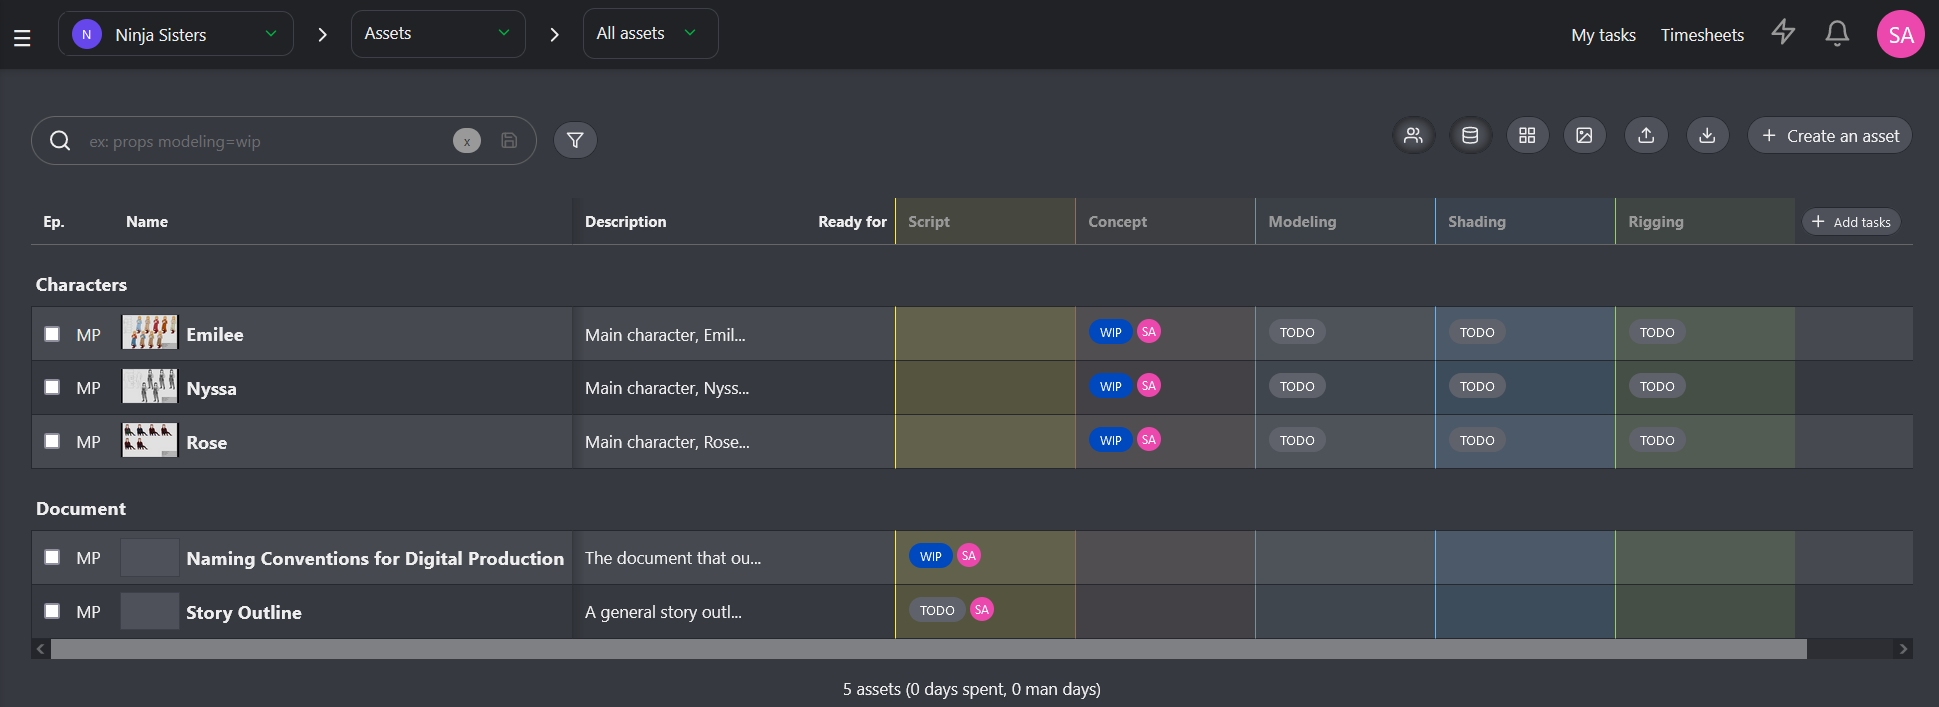
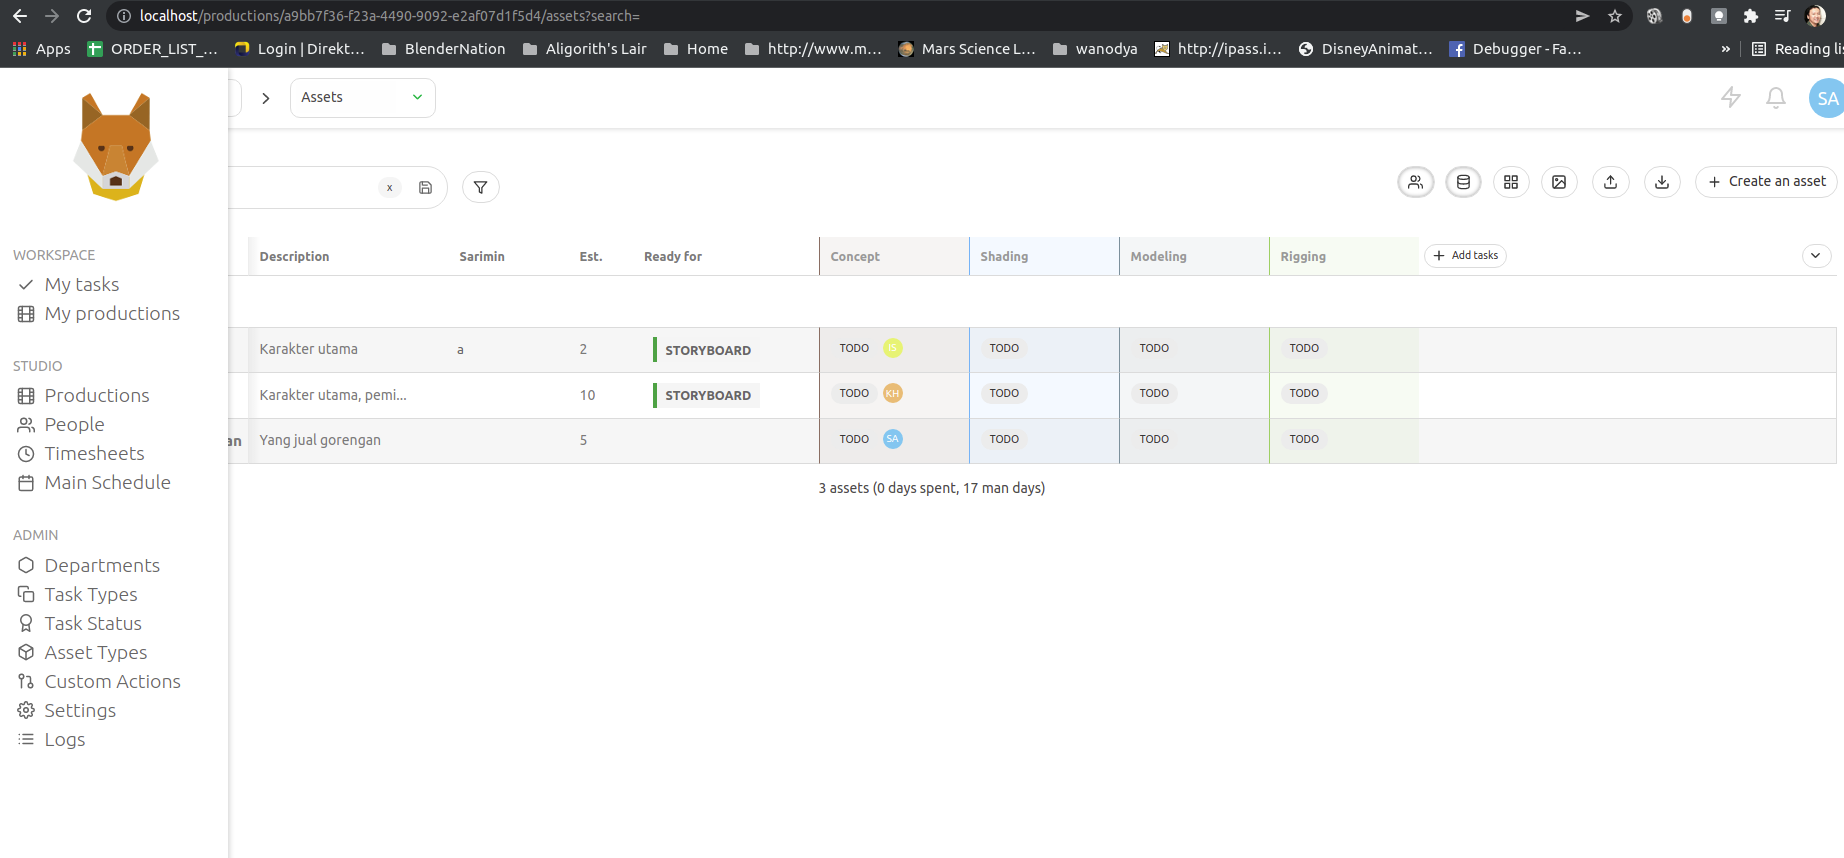
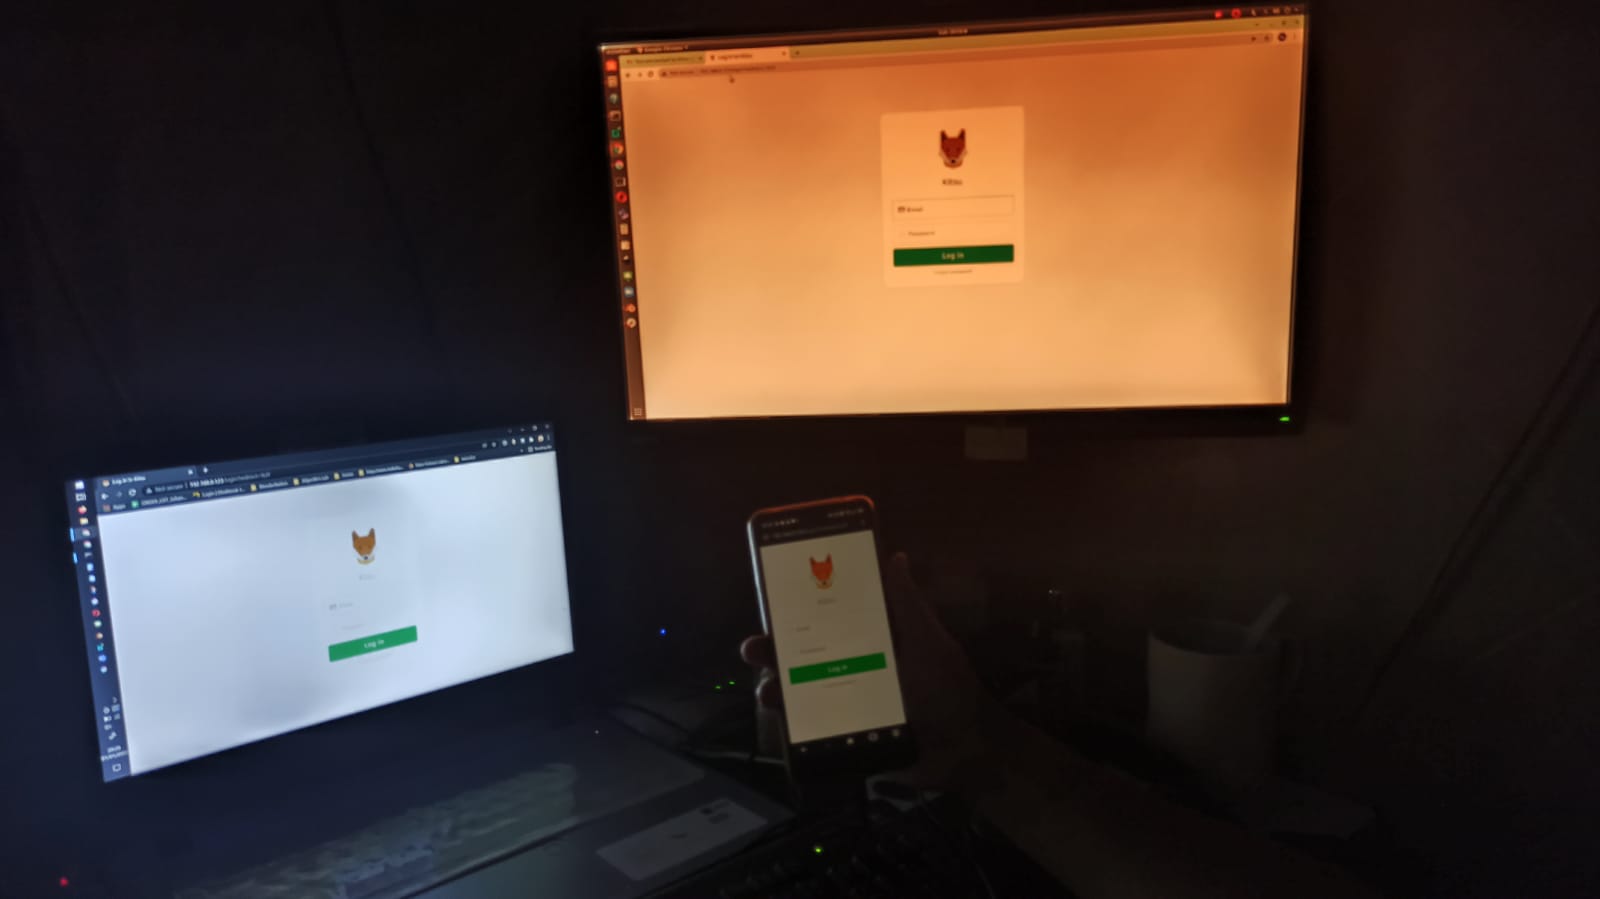
And guess what, IT WORKED. Once done I could just boot up the Hyper-V Linux VM (which uses around 1.5GB of RAM with Kitsu, etc all running and usually stuff all CPU processing), and then connect to it via a web browser in Windows, which is of course super fast, since technically its all on the same local networking host.
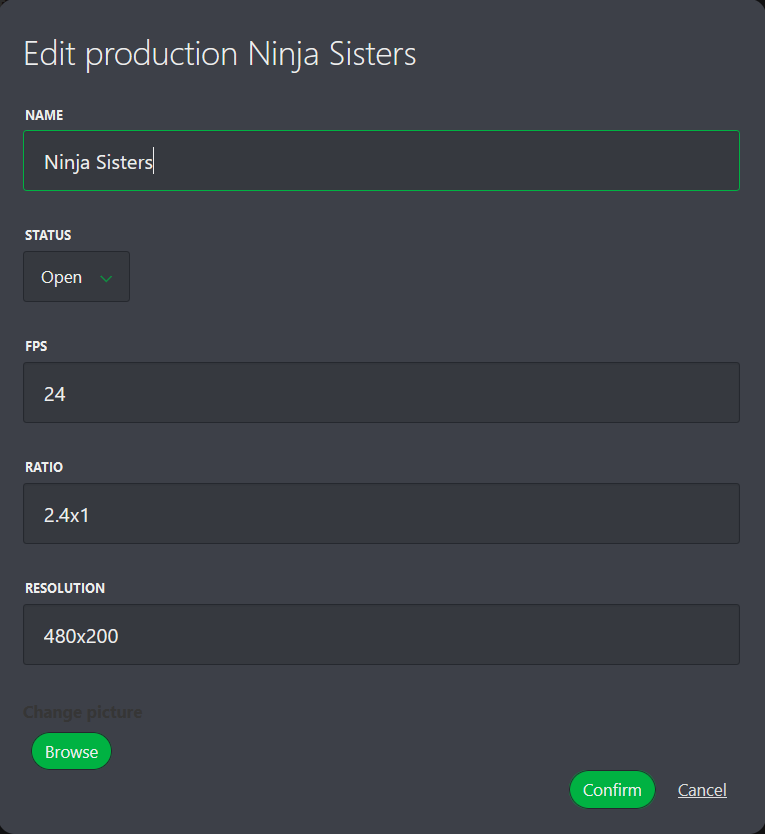
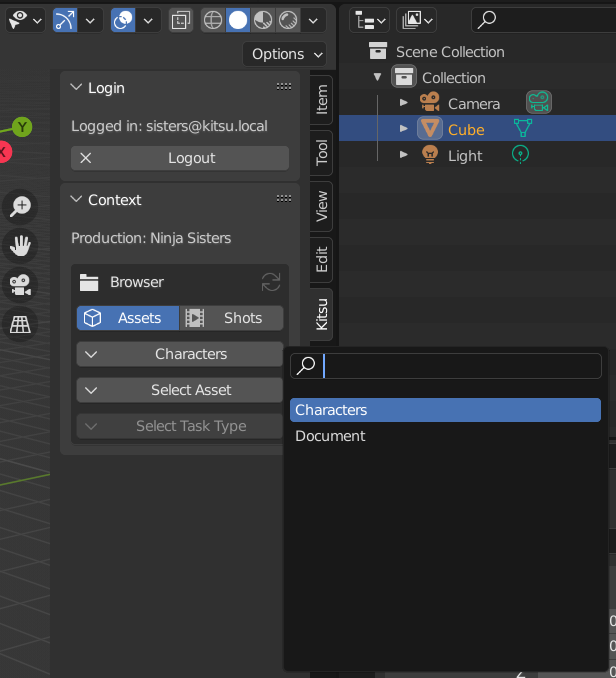
Next step will be to start playing around with it a bit and decide how best to setup the production for a single person. So stay tuned or not, as this all maybe of little interest to 99.999% of Blender users, haha.