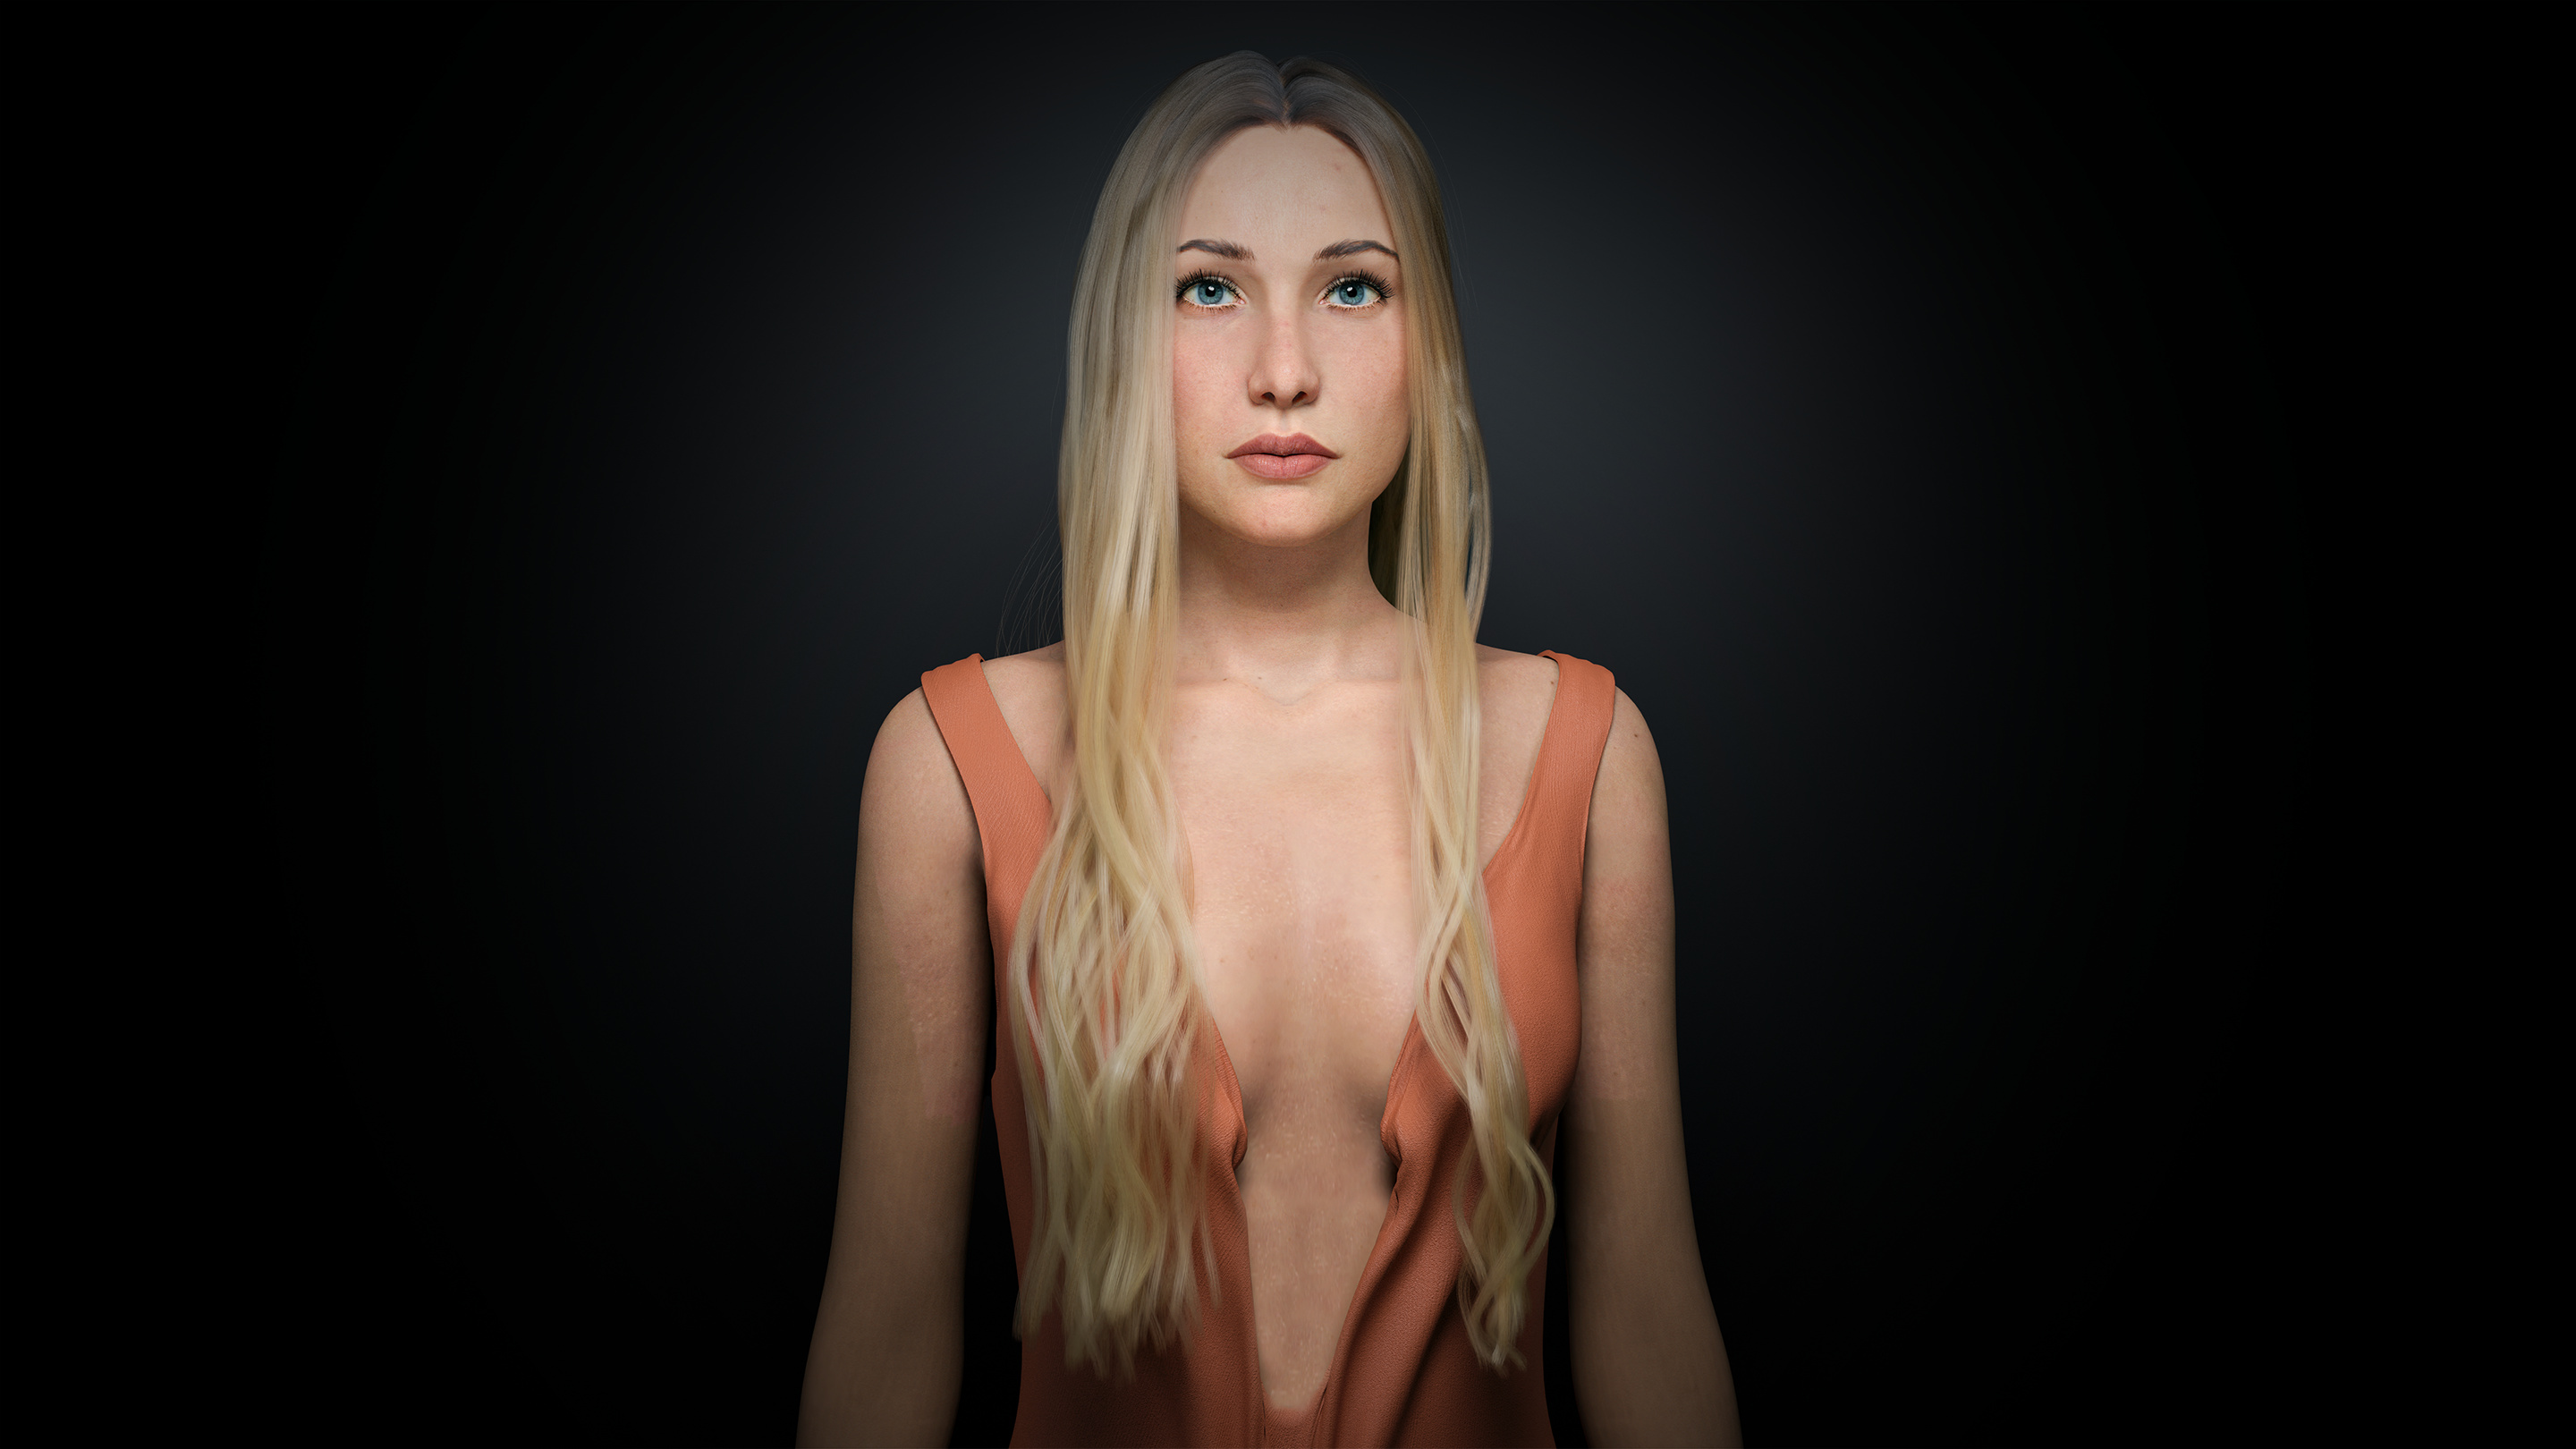
okay so have been able to get some renders out… here is one where ive posted her… changed the hair a bit, just testing things out, saveing every iteration so i dont ruin anything …
okay so im pretty happy with the eyes… and ive locked the face now ( i think ) . still have alot of skin texture to go throw… and still not happy with the eyebrowns…
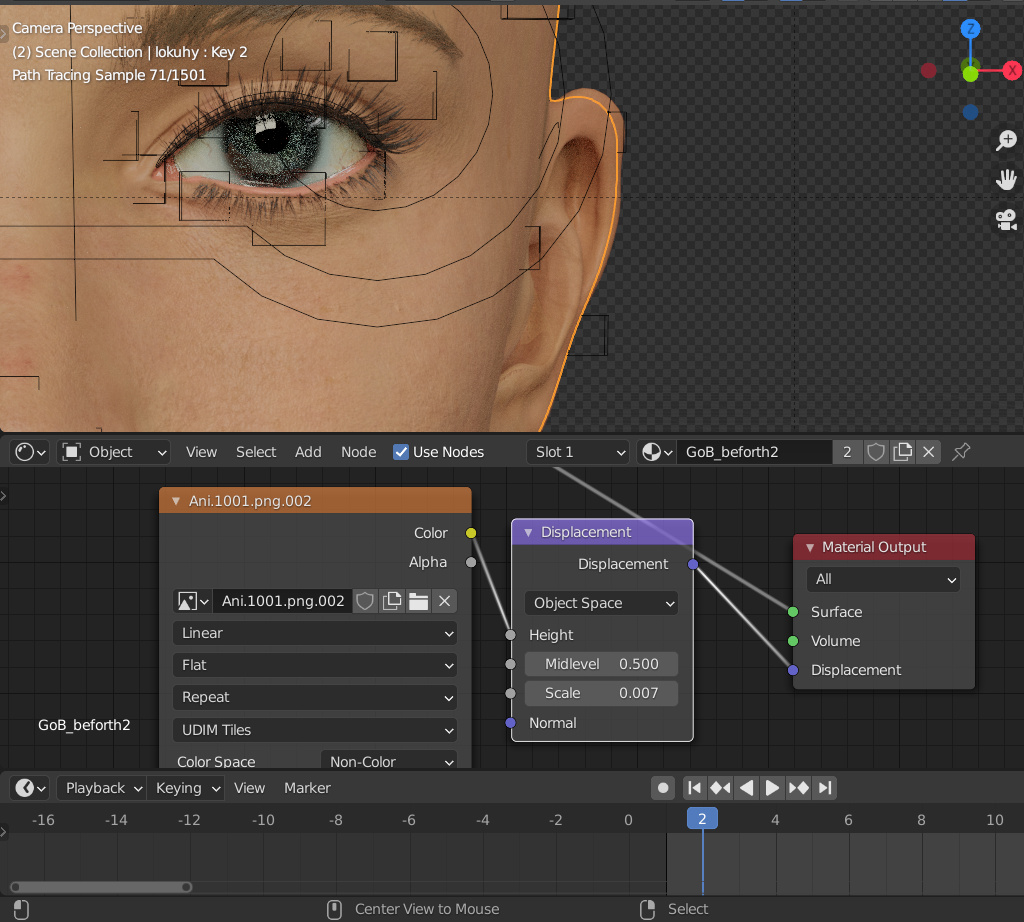
Btw i use displacement maps connected to the discplacment nod in the shader , ergo im not using the modifier…
But i have a question if anybody knows … when i plugg in the discplacement map, i get all the bumps and creases which is great… ( cant for the life of me get the normal maps to work… )
but the thing is the entire mesh gets like 1 cm bigger, so it gets more volume, so when i make the eyebrowns if they are perfect stuff to the head when i render i cant see them bcs of the map…
is there a way to get the bumps etc without having the map couse the model to swell ? cheers…
Great work! The swelling of the model could come from 2 possible sources. It could be a wrong mid-level setting in the displacement node. The value there should be set to the gray value of your displacement map, that shouldn’t displace at all (usually 0.5). The other could be, that your displacement map is not configured as non-color-data. If blender interprets a texture as color data, it’s doing a linearization, that means it’s compensating a gamma correction. This would change a displacement value of 0.5 to 0.214… and thus have a displacement on the region, that should not be displaced.
Then my guess would be, that the average brightness of the displacement map is higher at that part of the ear. The other parts e.g. the side of the head or the bottom part of the ear don’t show the swelling behavior.
… i have had this problem for a long time and well so stupid ofc that worked, just darkened the highlights and baam … working like i want it to… haha cheers mate
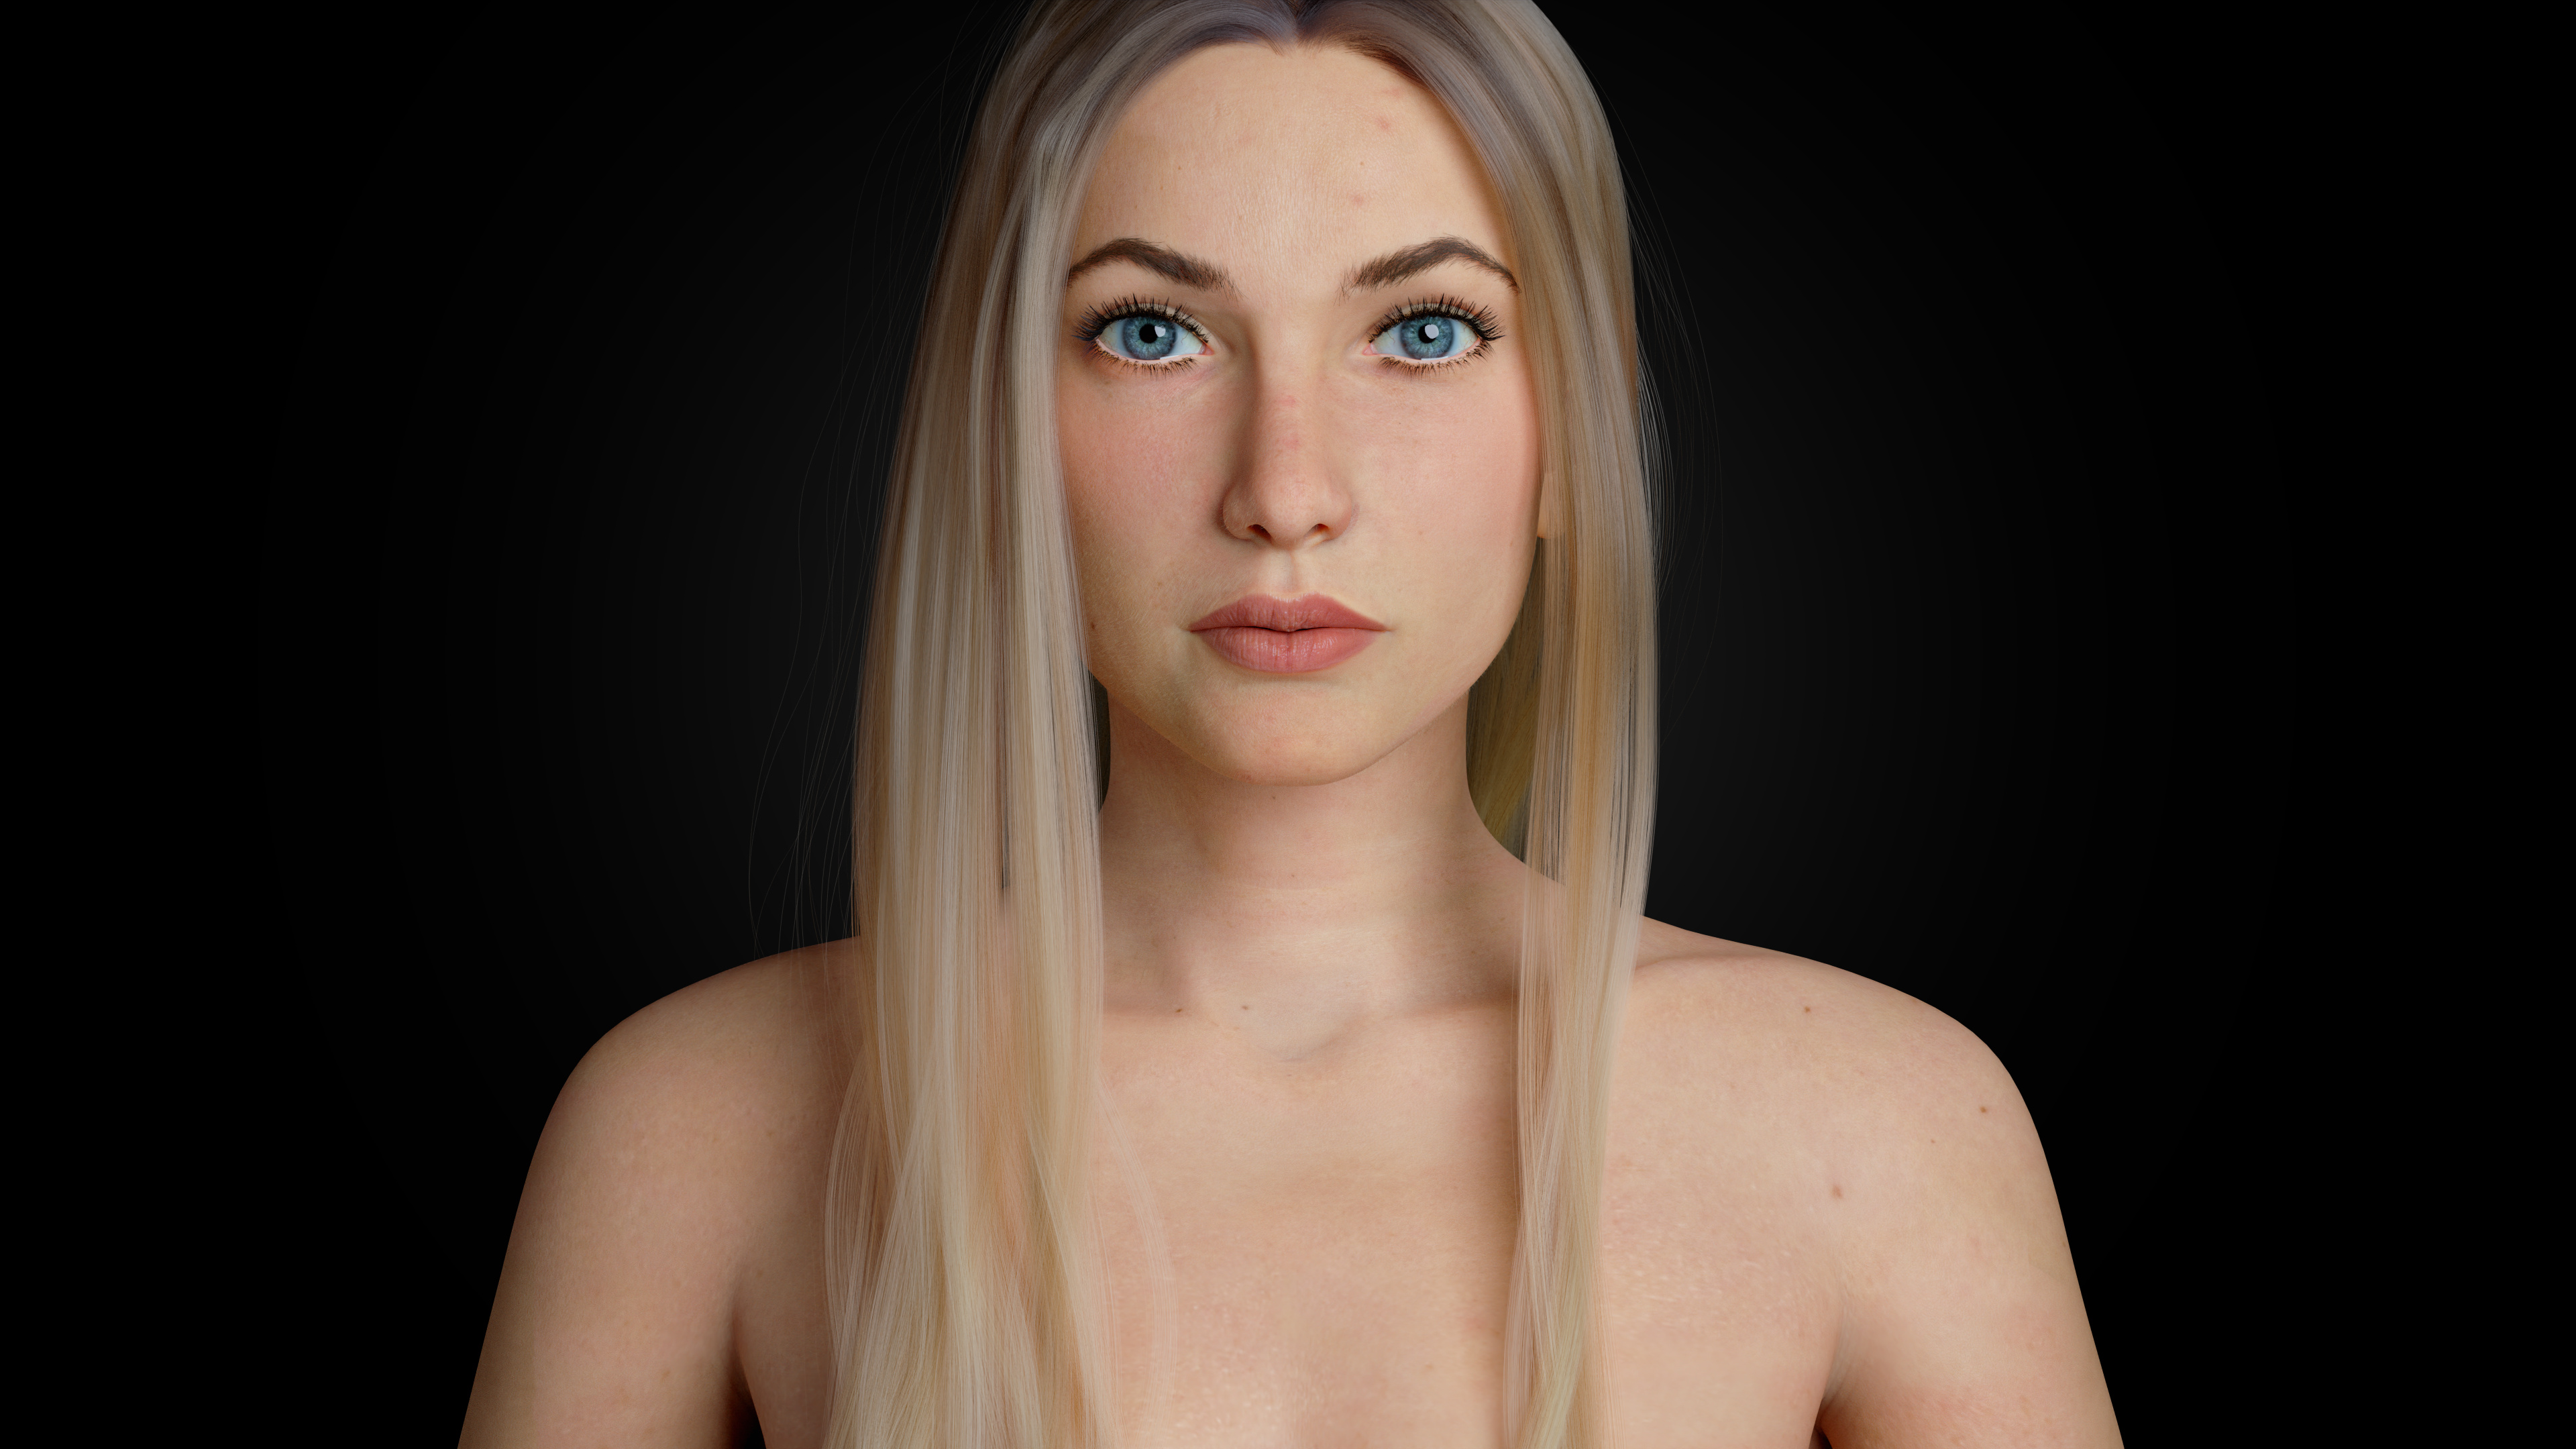
hello agien so changed a bit ! … like I always do… im getting there tho i think … im gonna focus on the hair a bit more now… specially where it connects to the head it will be better… next is so start to break it up a bit so its not perfectly mirred.
I think I want to stop the tweaking on the modeling part here, unless anybody has anything to add. cheers
Everything is looking great! - the only thing I’d say is that I think you’ve made the eyes a little too big, and far apart. She kinda has Atila eyes now.
I made this very dirty edit so you can see what I mean. If it’s a style choice, then that’s fine. Just wanted to point it out
Hello. Oh yes totalt agree, missed that havent really touched the eyes since ive Been happy with them but ive made changes to the skull so ye Will get in that and the hair then ill call it finished i think Thanks man
Hello agien, still alot More to be Done, gonna clean up The texture on the cheek, fix the hair refix the etebrowns, fix little bit of the texture on the body, rework the glossy etc.
Cheers, ( posting from my phone so dont know if that effects the quality )
Hmm i have made they eyes smaller but might have gotten my self in the same trapp of making the head smaller aswell. The More i stare at it i might wanna push they eyes some More… haha oh well long night … cheers to all in here
In my personal opinion the eyes are a bit too far apart. There is generally a distance of one eye between the two eyes. Also the two pupils and the tip of the nose should form an equilateral triangle. But I think that could vary due to individual variation
Well done. But I think Blender is good enough for sculpting faces, because faces don’t require a lot of detail and a billion polygons. The correct proportions will be enough, and the rest can be done with textures.
hello mate, well sure it cant , you could do anything in blender, not really why I sculpt in Zbrush tho… its bcs i like that workflow better, I use the GOB bridge between zbrush and blender all the time… so I do some minor sculpting in blender aswell.

 cheers
 ofc that worked, just darkened the highlights and baam … working like i want it to… haha cheers mate

 . Also, he’s making a bust (or full body, I dunno)