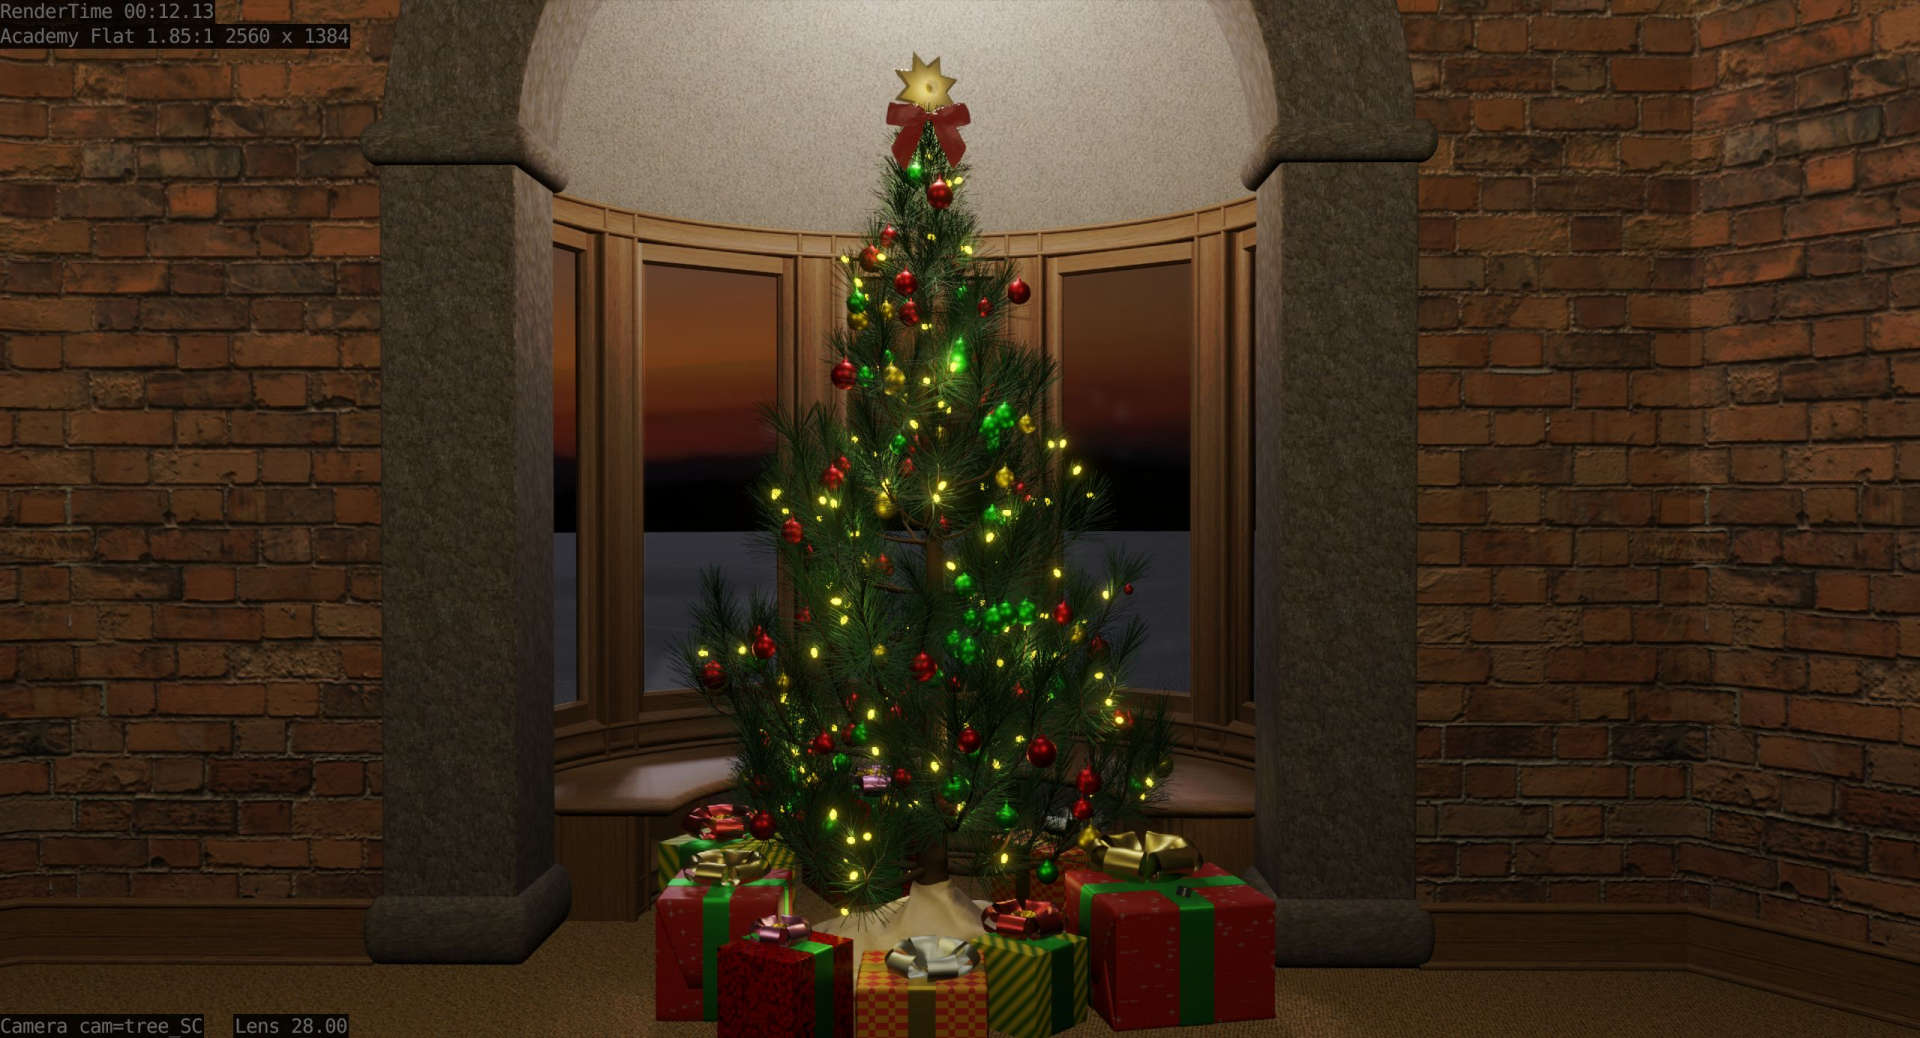
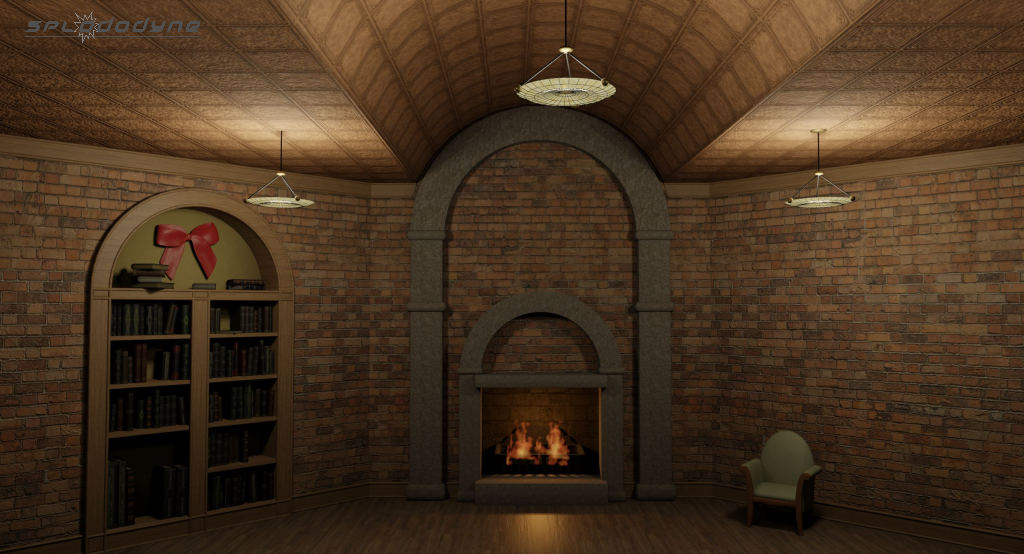
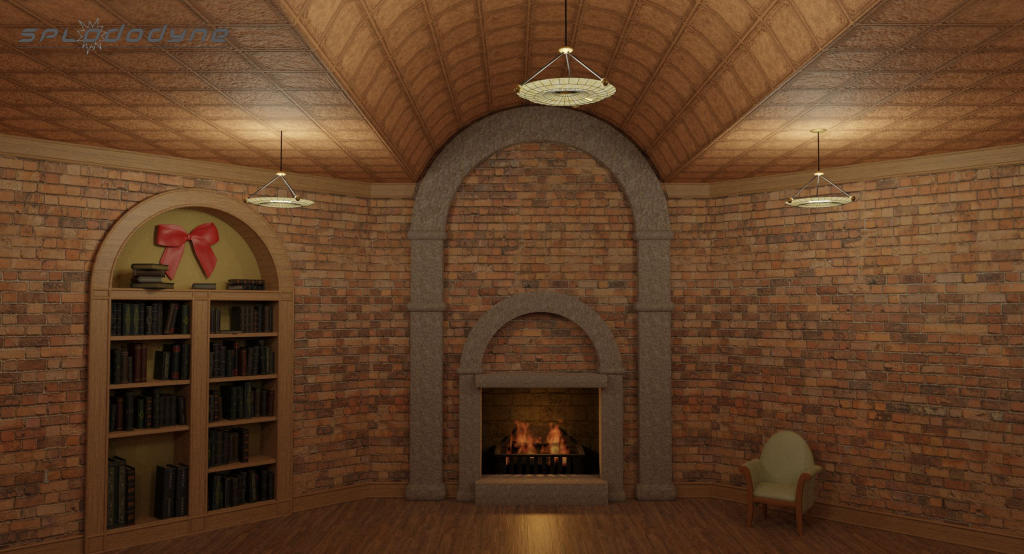
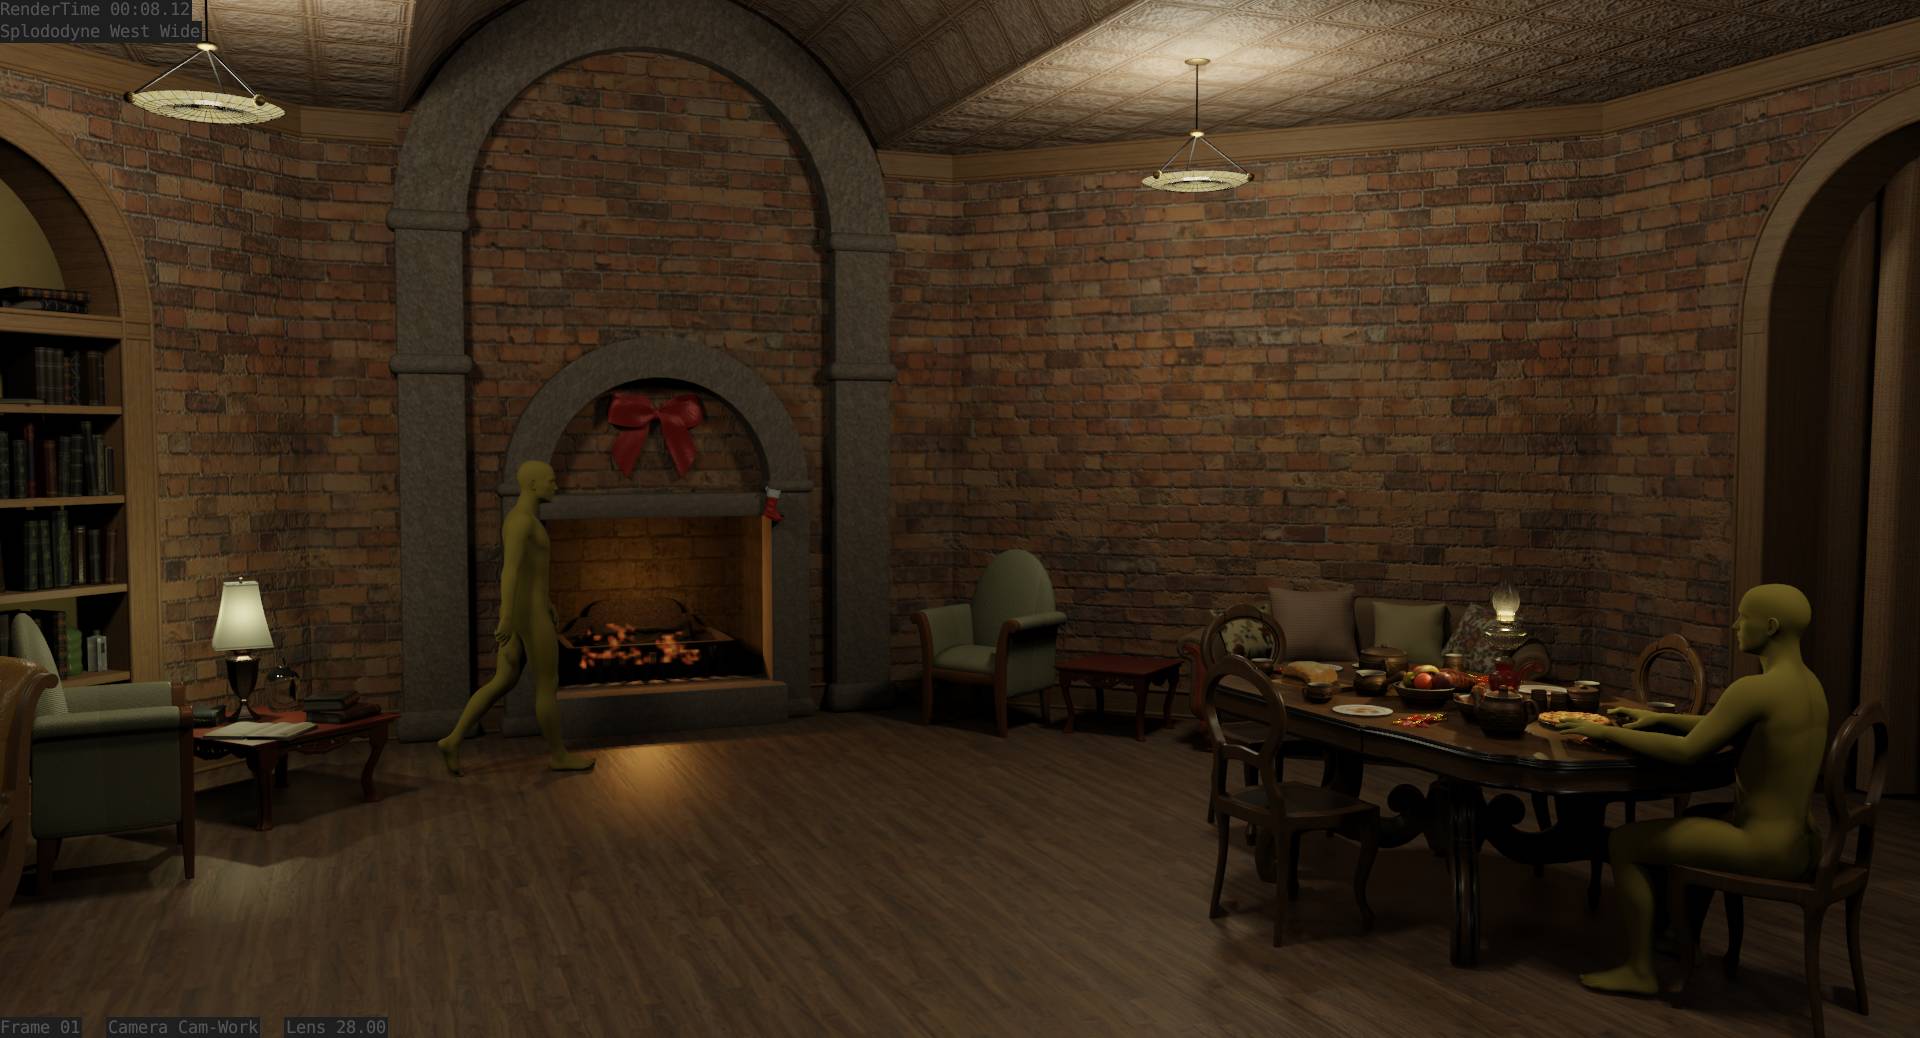
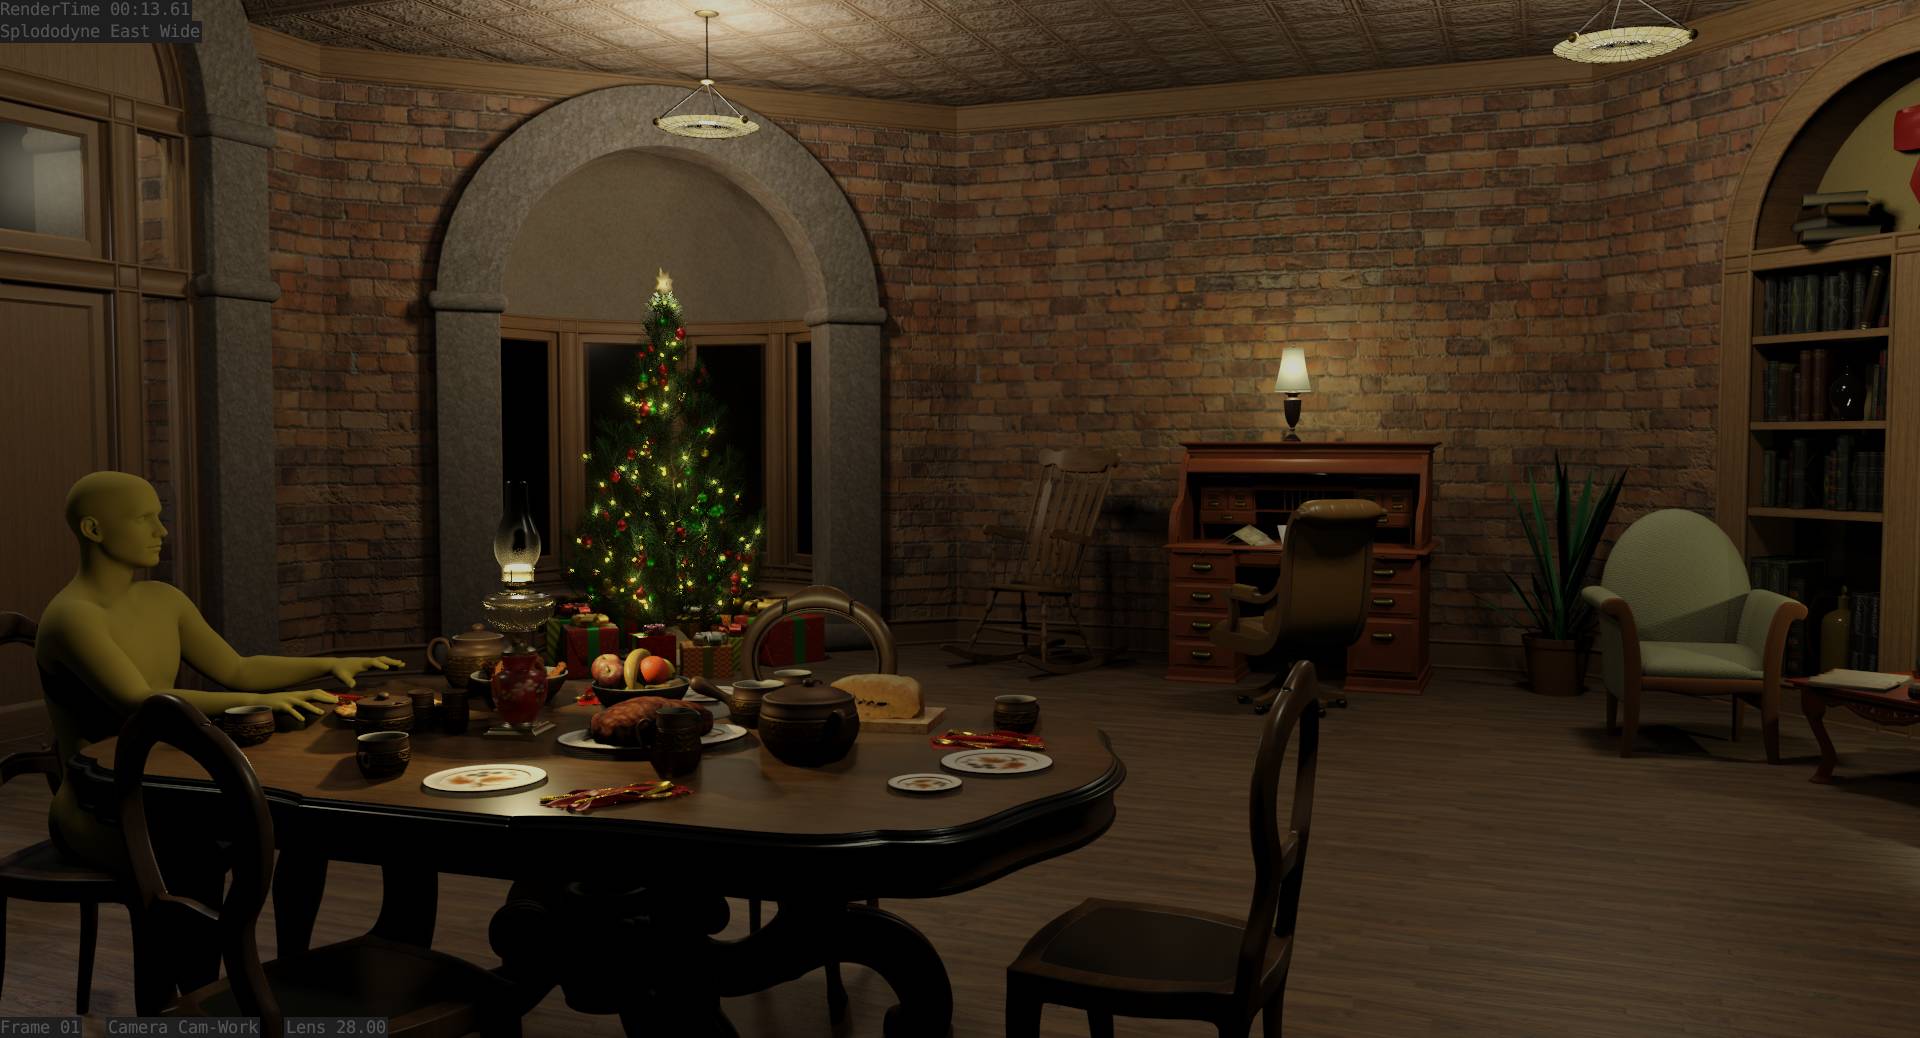
I’m making a Christmas short film. Customized versions of it will be gifts for family and friends. Each will have Christmas cards, photos, objects, gifts customized for the recipient. This one has camera movement showing those. This setting is the base for another Christmas film with characters I’ve been working on for years.
I’ll post update, questions, and a generic or BA version when it is complete.
This is super kitbash with free things from the web. Mostly BlendSwap. Will give proper credit of course. The goal is to make a film not to model everything. I found though that many free models need a lot of work. It could take less time to model them myself.
QUESTION
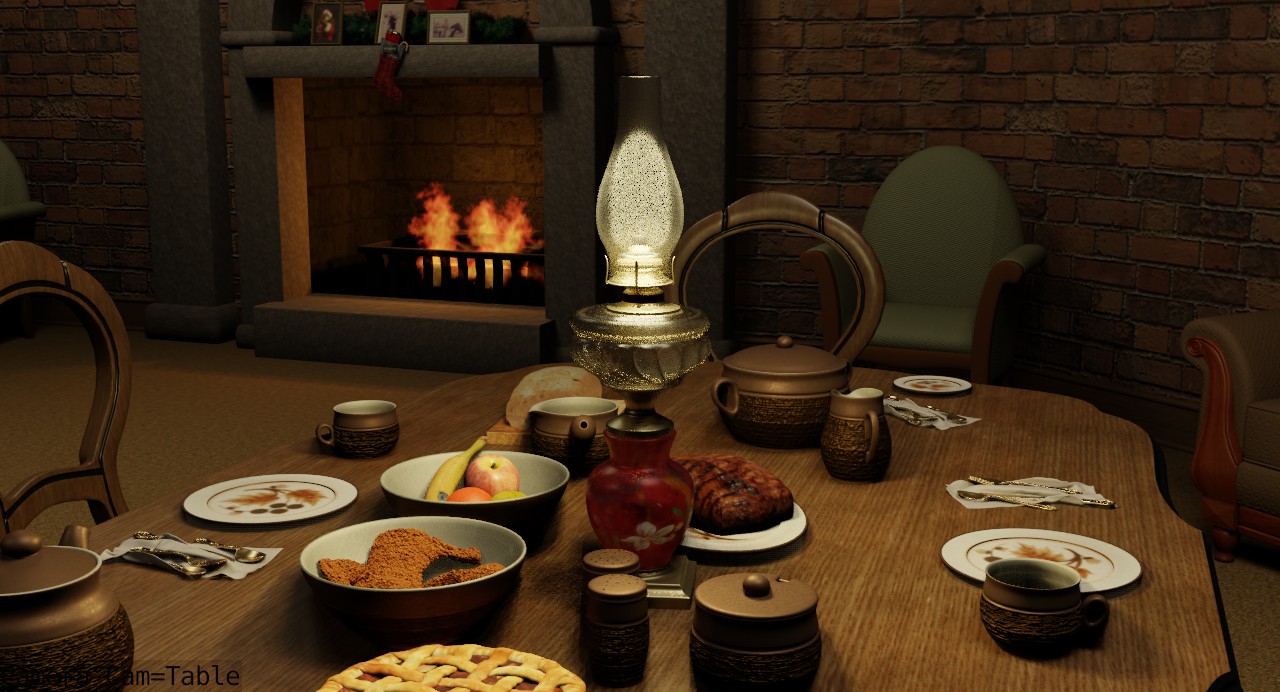
How can I reduce the speckles in the shade and bowl with minimum render time impact? It is eevee 16 samples. About 8 seconds per frame.
I modeled and textured this oil lamp based on a real one I have. It is a family heirloom. I made the base texture from photographs of the real lamp.
A technical goal is to keep system RAM use low enough that I can use both GPU cards (used, ebay, I’m not rich) to render two animation sequences at once. (By starting two instances of Blender each on its own card.) I have 16GB of ram.
The setting currently has 1.4 million pollygons and 2000 objects. I’m redoing things to reduce that.
Can’t help with your question, but just wanted to say this is a cool idea as a personalized gift for your loved ones. Nice render!
And yeah, the couple times I tried kitbashing of sorts I noticed the quality of free models varies hugely. If I ever did that more seriously, I’d probably develop some sort of litmus test that a model must pass before I consider using it.
First, I think this looks great! I like the overall feel of the piece.
Did you scale the plates? Something about them feels off to me. The one that feels like it should be closest to the camera seems to me like it’s smaller than the one nearest it across the table and the one at the far end of the table feels much smaller in comparison to the differences in the chairs and silverware nearby it, almost making it feel like a side plate than a dinner plate. The plate itself also feels a bit too flat to me, though I do like the design on it.
As for the noise, have you tried increasing the sample size? While it will make the render slower, it usually helps to clear up noise like that.
Gradyp I watched some tutorials with simple eevee glass and it is much better now. There are large and small plates. This perspective to show the lamp does make them look strange. It looks good from a higher view that the cam sweep will use. Yeah, too flat, I’ll give the plates more depth.
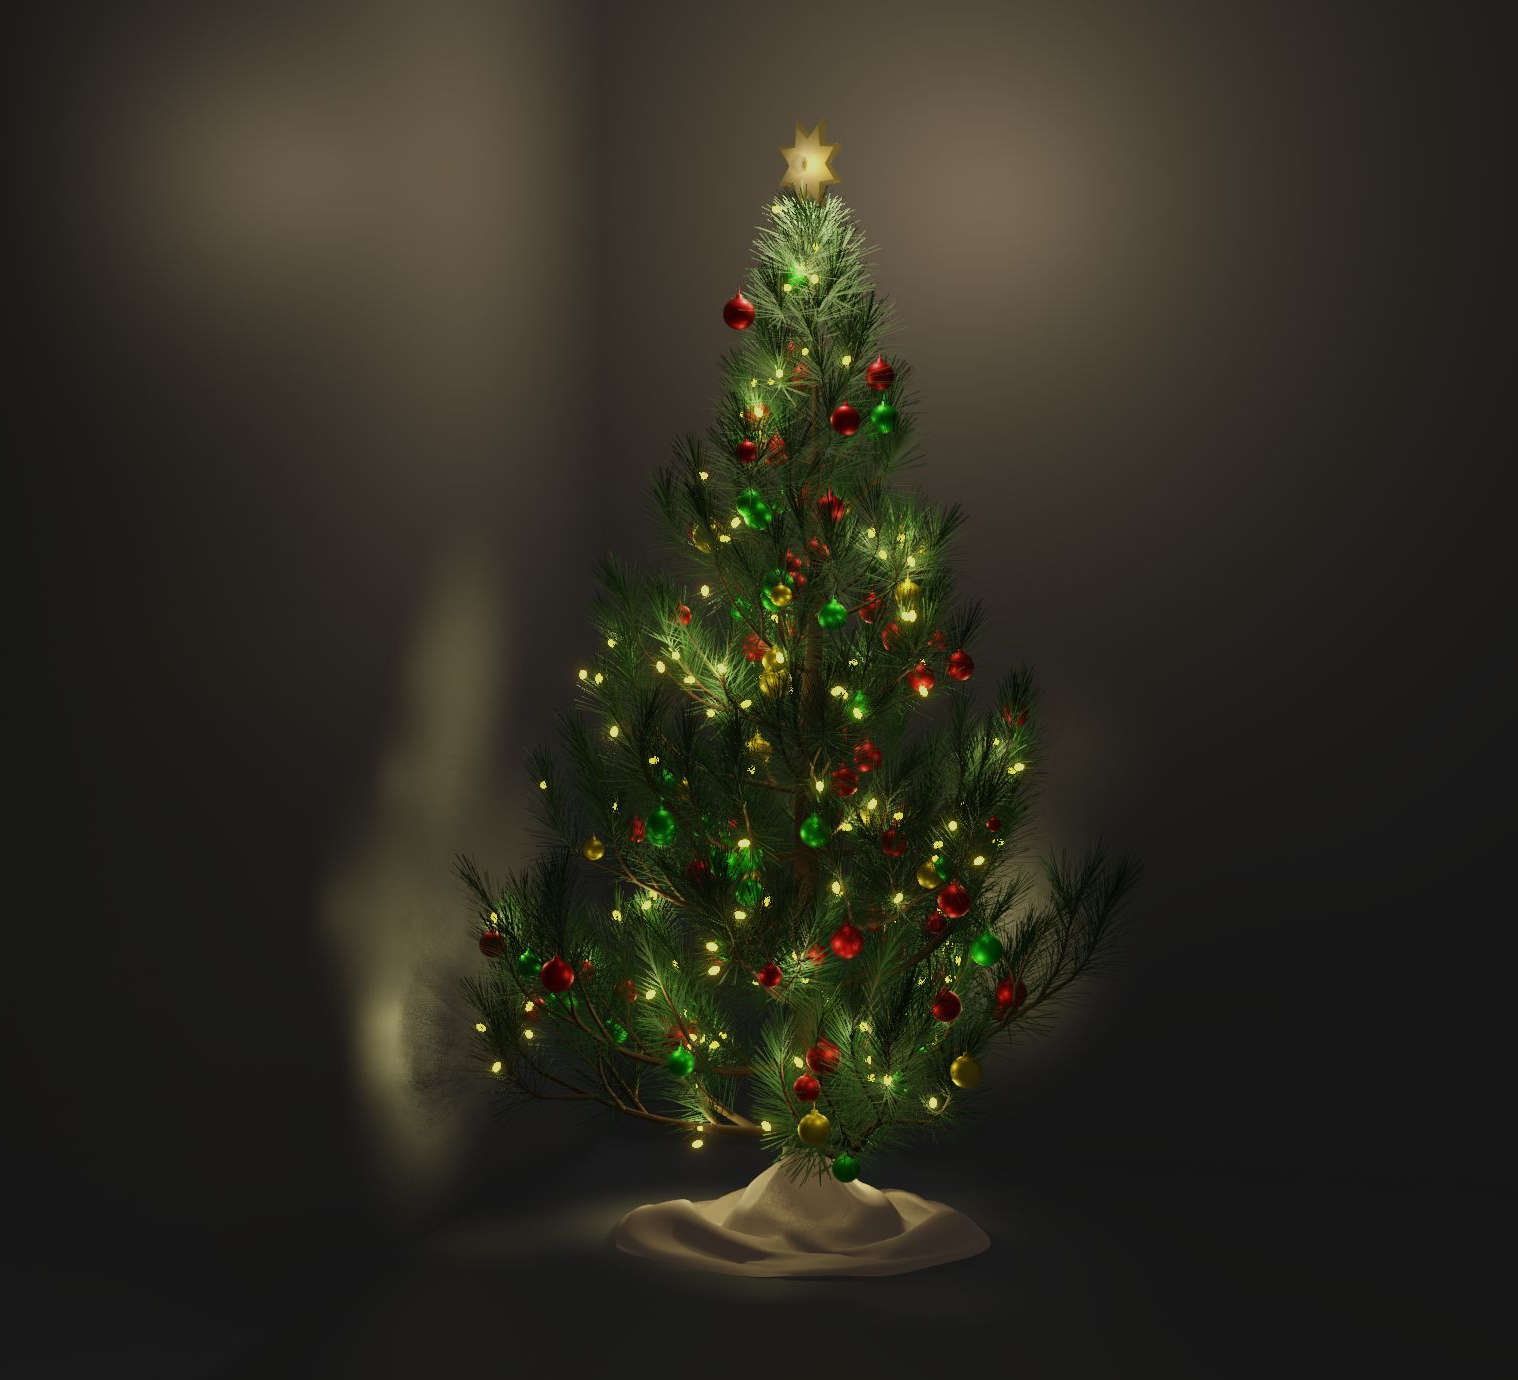
Thanks to help from members the Christmas tree light particles are working. I learned useful things from that help even when it didn’t directly solve the problem too.
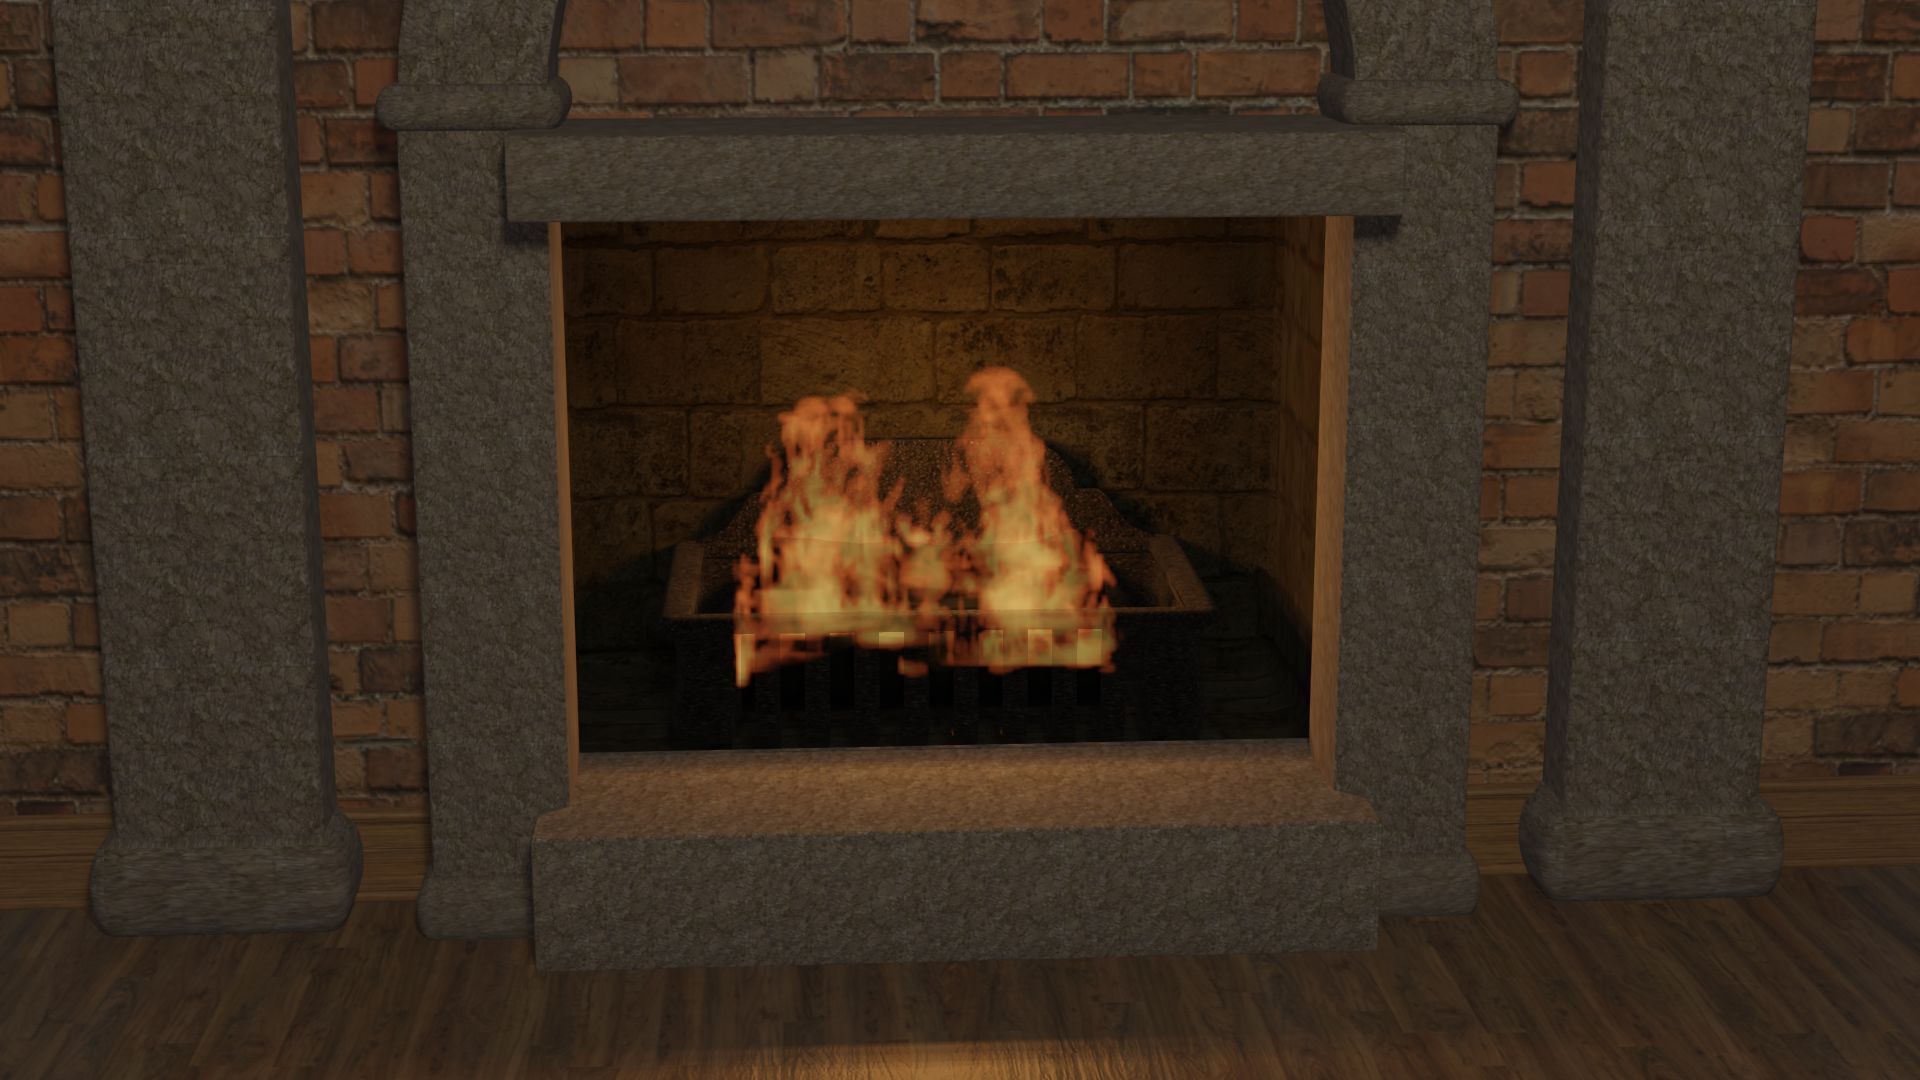
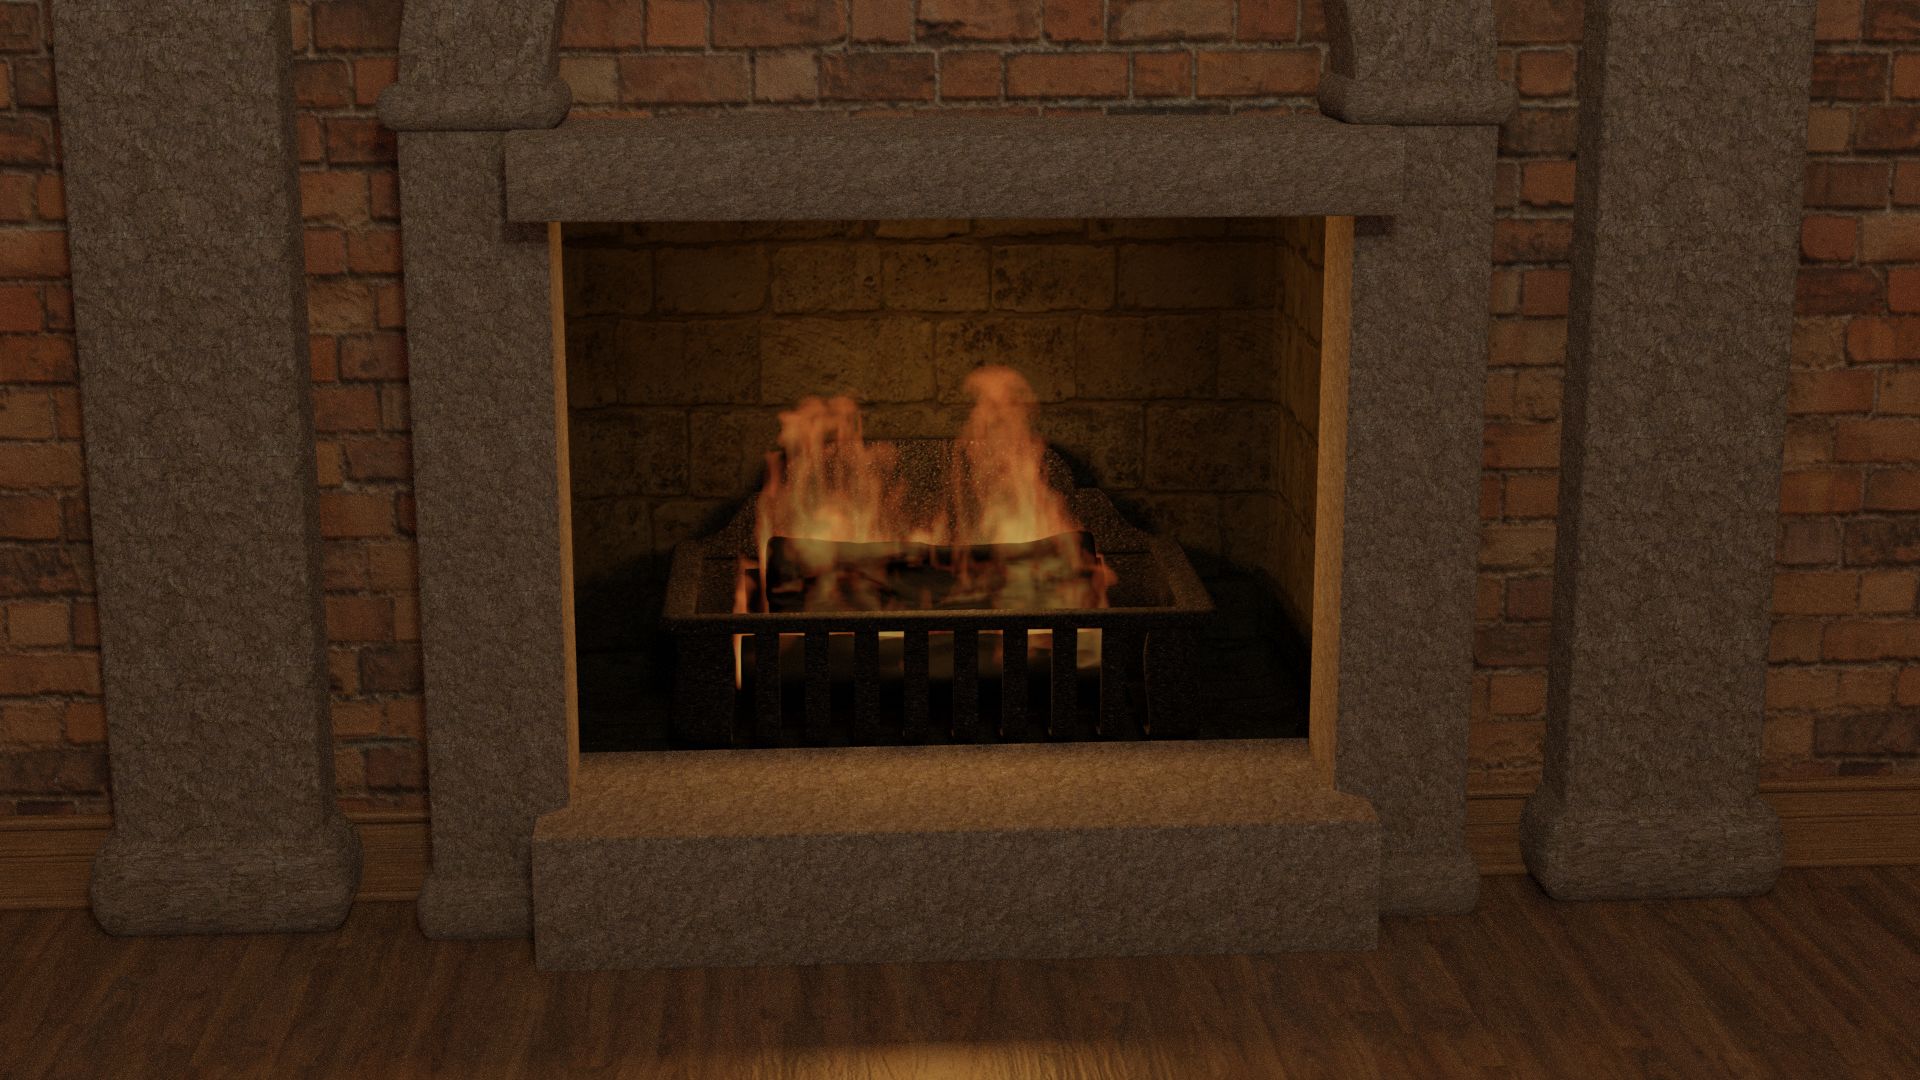
Too much time spent fighting trouble instead of making a film. Now it’s fire trouble. Work arounds for that one but …
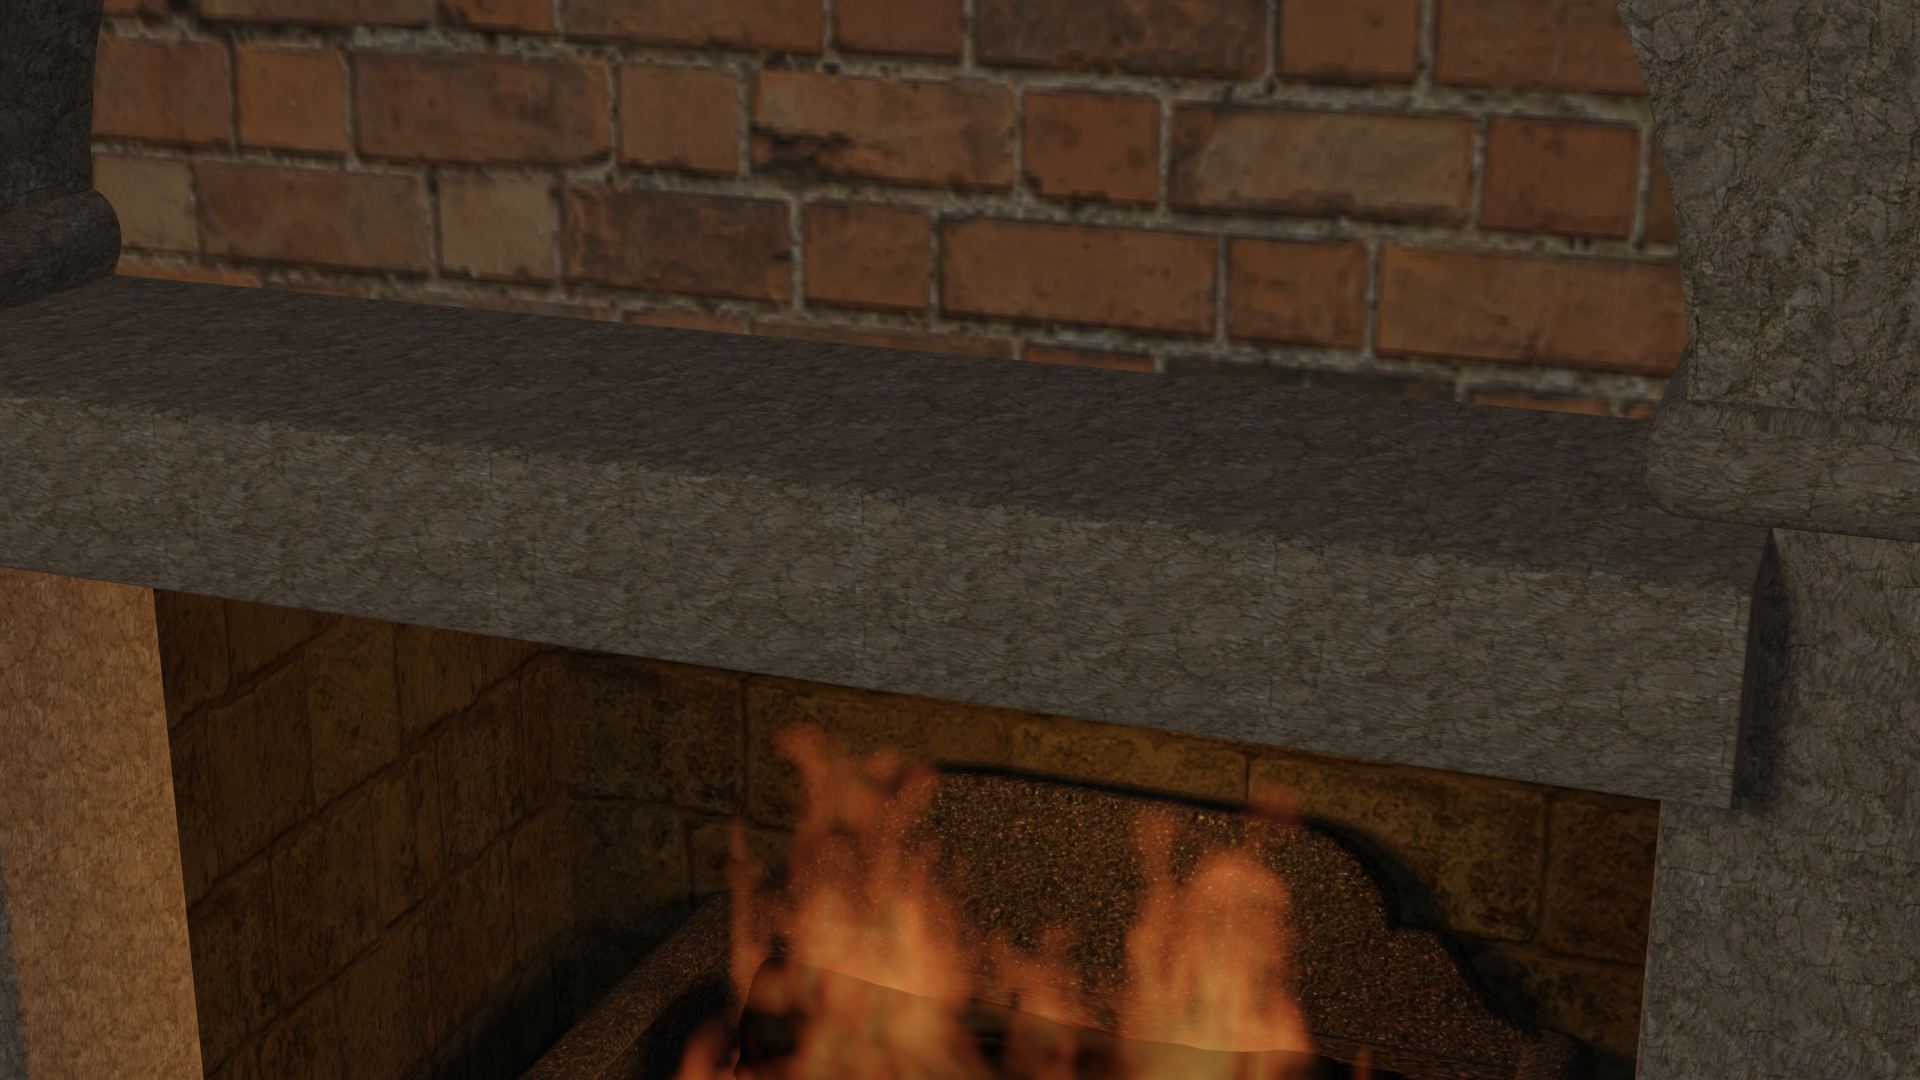
Eevee rendered fire appears in front of other objects. In this case the thing that holds the logs. When I started this project I fixed that by playing with these settings on the Render panel (Blender 2.8 back then?). Advice on the web says to change these settings. Not working for me. The fire is either in front or disappears with a tiny change to the settings.
Work Around 3
Cycles render just the fire and maybe logs using identical camera movement. Combine Cycles and Eevee footage in compositing.
Sim types All and Modular have an Offset feature. That starts the playback at the specified frame. That means I could sim far fewer frames and reuse the same bake to be seen in different shots.
I investigated several workarounds. Blending the eevee scene with cycles fire is too complicated (here is one method). TL;DR to cover the flaws with each one.
The Plan
Eevee render. No cycles combination.
Import the sim as a VDB volume (good tutorial here).
– The Offset feature behaves better with imported VDB.
– The import is more versatile with less trouble. It can be moved, scaled, and rotated.
– The import needs the Volumetric settings in previous post for eevee render but it is possible to find effective settings.
Do fire simulation only for enough frames to cover the longest shot where fire is visible.
– Use the Offset feature to change the start frame of the replay.
– Move the replay to the frames needed to reuse it for different shots.
The way the eevee Volumetric settings work makes camera movements that change the distance difficult. Those settings would need to change as the camera moved. So avoid or limit such moves.
This kind of view doesn’t show the trouble areas so no problem there. This will be a camera truck/track across the mantle showing customized photos and stockings.
I’ve gotten the message to add tags to my posts, but when I try to do that, I type in a word to add as a tag, and it tells me “tag not found”, and none of the standard tags are relevant. It’s not possible to add new tags?
This light fixture has an emission shader on the glass ‘dish’ and a point light floating above it. Adjusting the emission to look right for the point light brightness is easy but I have an idea. Can a driver adjust the glass emission strength based on the point light brightness? I know nothing of drivers.
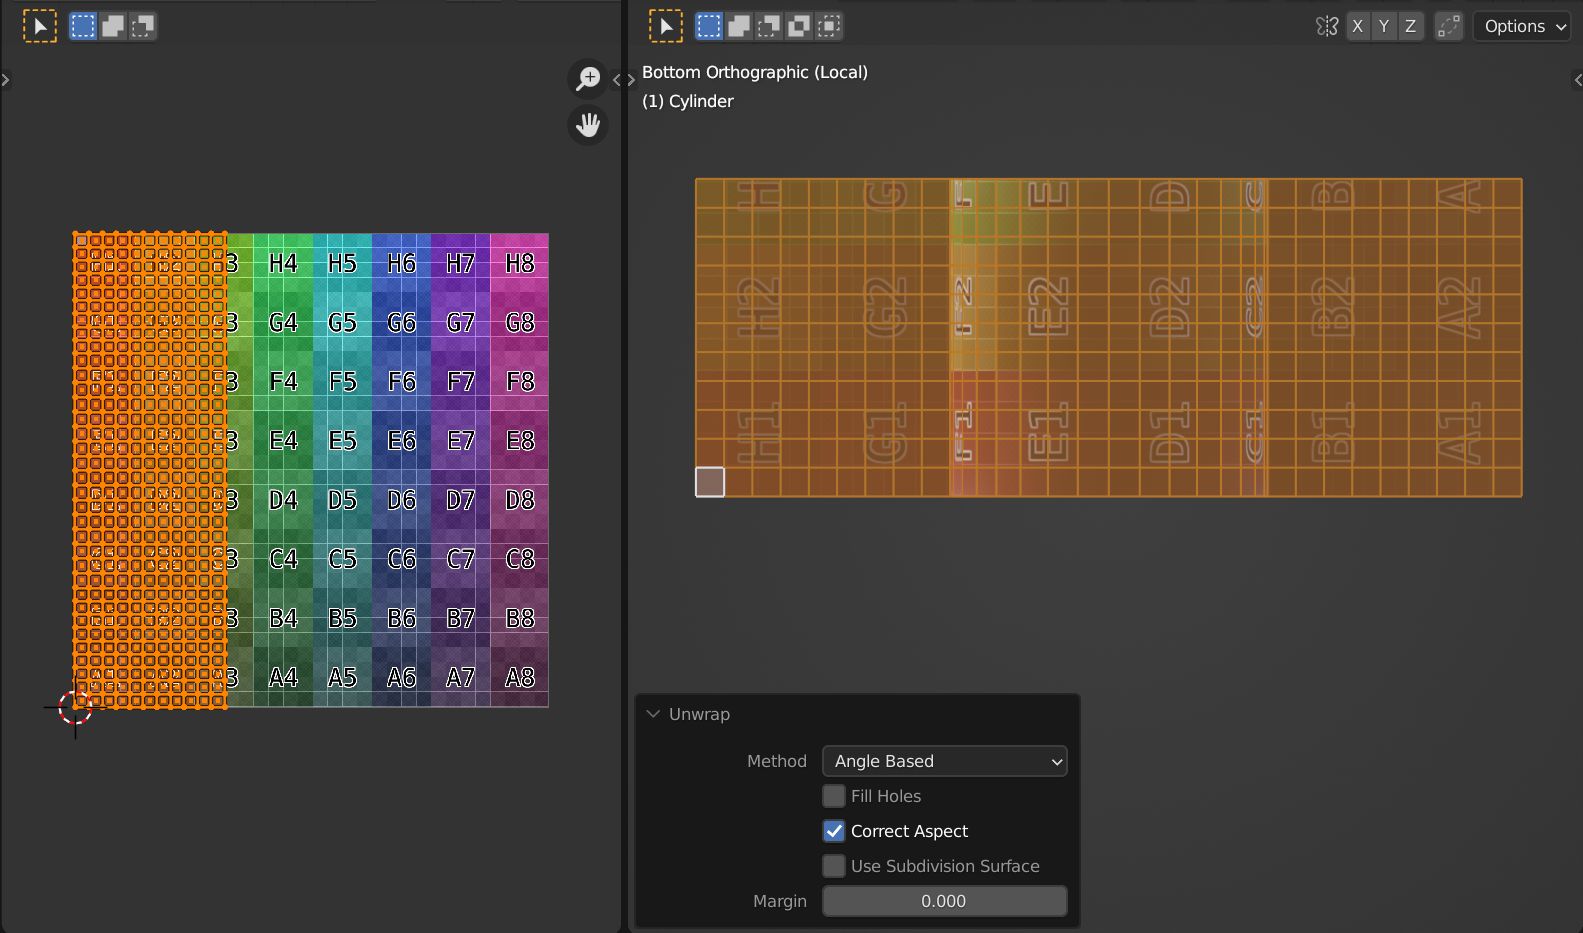
Ceiling UV. There is stretching of the texture. I have tried various UV mappings. This is the best result I got. It is planer (project view) in the flat part and cylindrical in the arch. I think cylindrical projection should wrap the texture nicely to the arch but I have found no settings that do that. How can I UV map the arch? Is there a way to visualize the cylinder doing the mapping?
As regards 2 – oh, I remember fighting with exactly that thing forever and not getting it to work with cylinder projection or any of the other things I tried. In the end I simply did a plain unwrap of the entire ceiling at once, and that worked perfectly – of course I hadn’t tried that first :sigh:. In this example I didn’t bother lining the three islands up on panel borders to make it look more realistic because I was in a hurry, but that’s easily enough done.
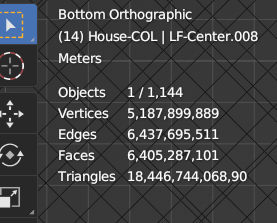
Behold the glory of computer! 6.4 billion polygons rendered in 8 seconds. Really though how did the statistics get like this and how can I fix it? I UV’ed the ceiling and moved a few things then the stats went wild.
Update: Blender crashed soon after. Opened the file again and all is well.
The time lost to various technical troubles is significant. Making bad decisions doesn’t help either. I failed to compromise to meet the Christmas deadline, redesigned the room (for an extended project later), optimized beyond necessity, unrealistic goals, obsessive set dressing, and so on. Those things cost time and now I’m wondering about producing 7 or 8 of these before Christmas.
The unrealistic goal of 1440p 60 fps is gone. 1080p 30 fps will happen. I wanted 60 fps because the video is a series of camera movements through the scene. 60 is smooth. 30 can be choppy.
With the Christmas tree in view and the cryptomat and compositing for it’s lights active a frame renders in 13.7 seconds. With the tree not rendered and compositing off frames take about 8 seconds.
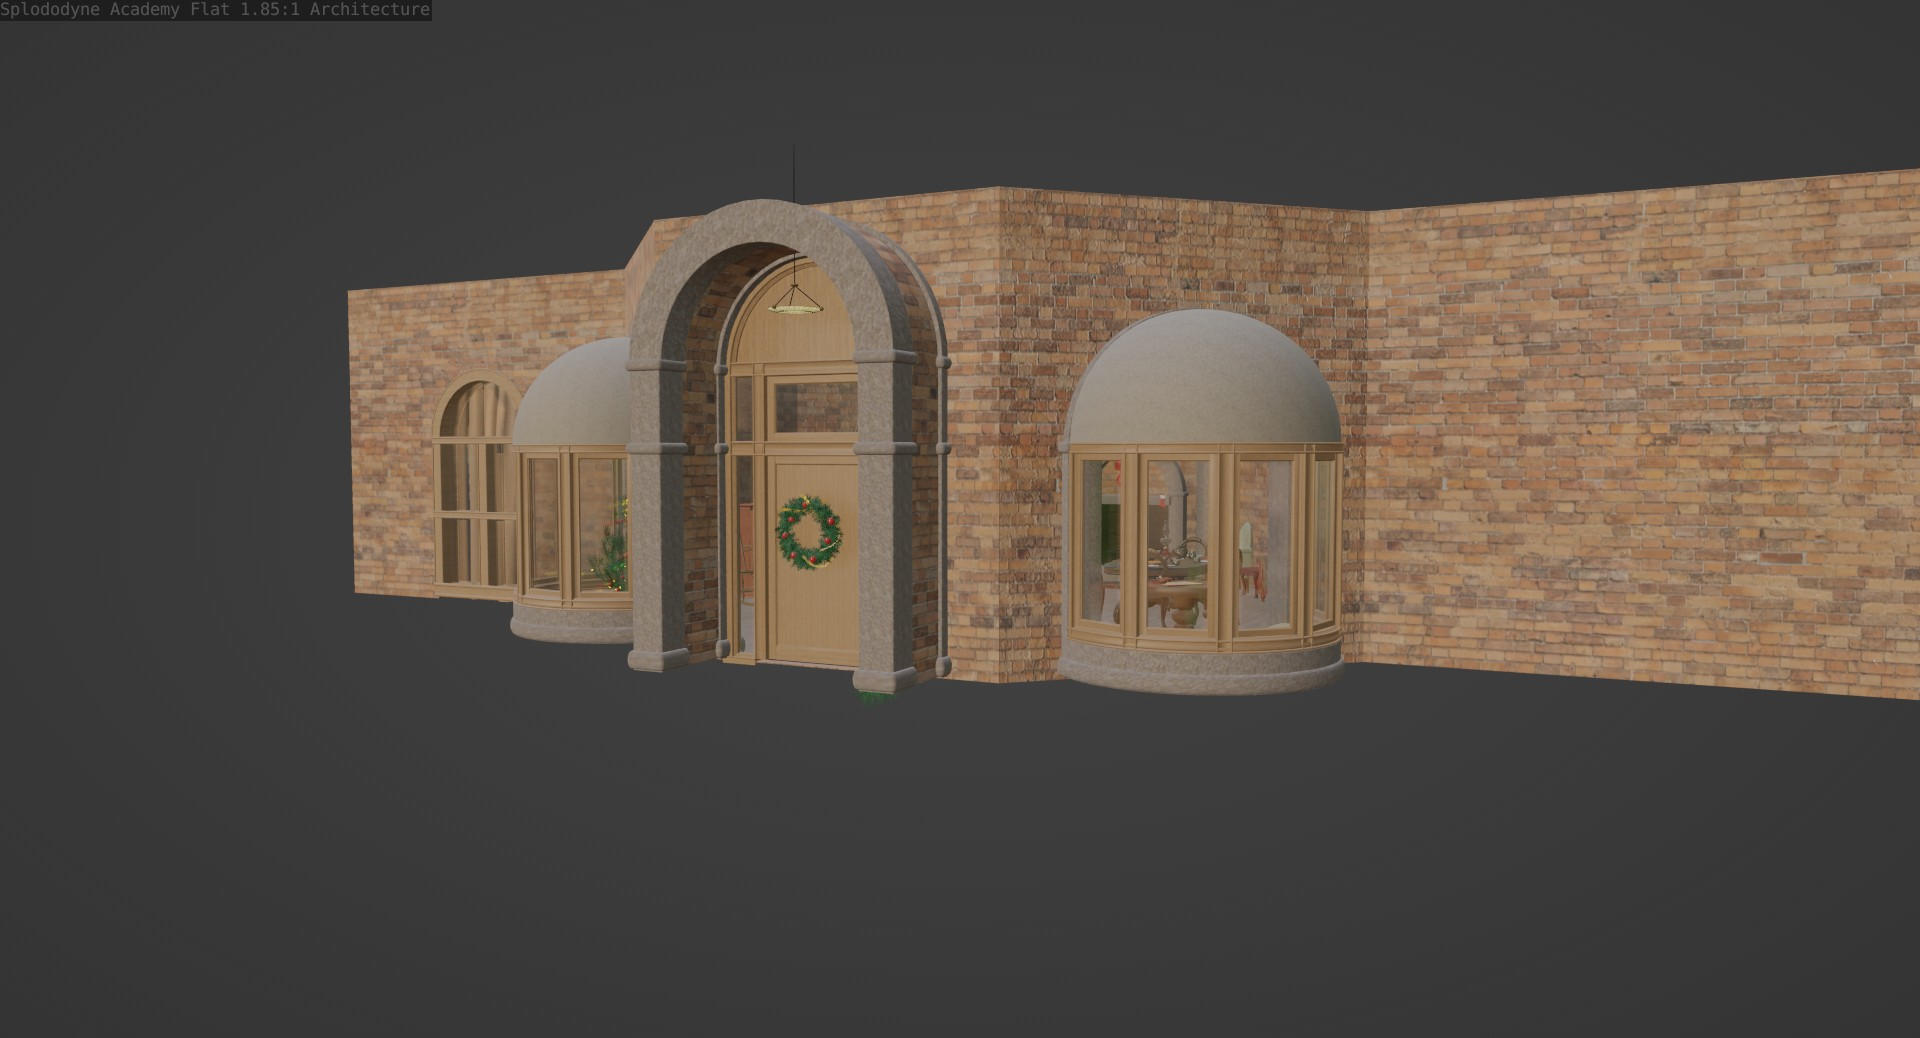
Most of this is kitbash and I’ll give full credits when it’s done. I modeled a few items and the architecture.
I spent 3 hours using the physics simulation to fill the bowls with fruit and chicken. Starting arrangement was important. Would have been faster to do it by hand.
Customized parts include:
optional special objects
Christmas cards
stockings
photos
gift tags
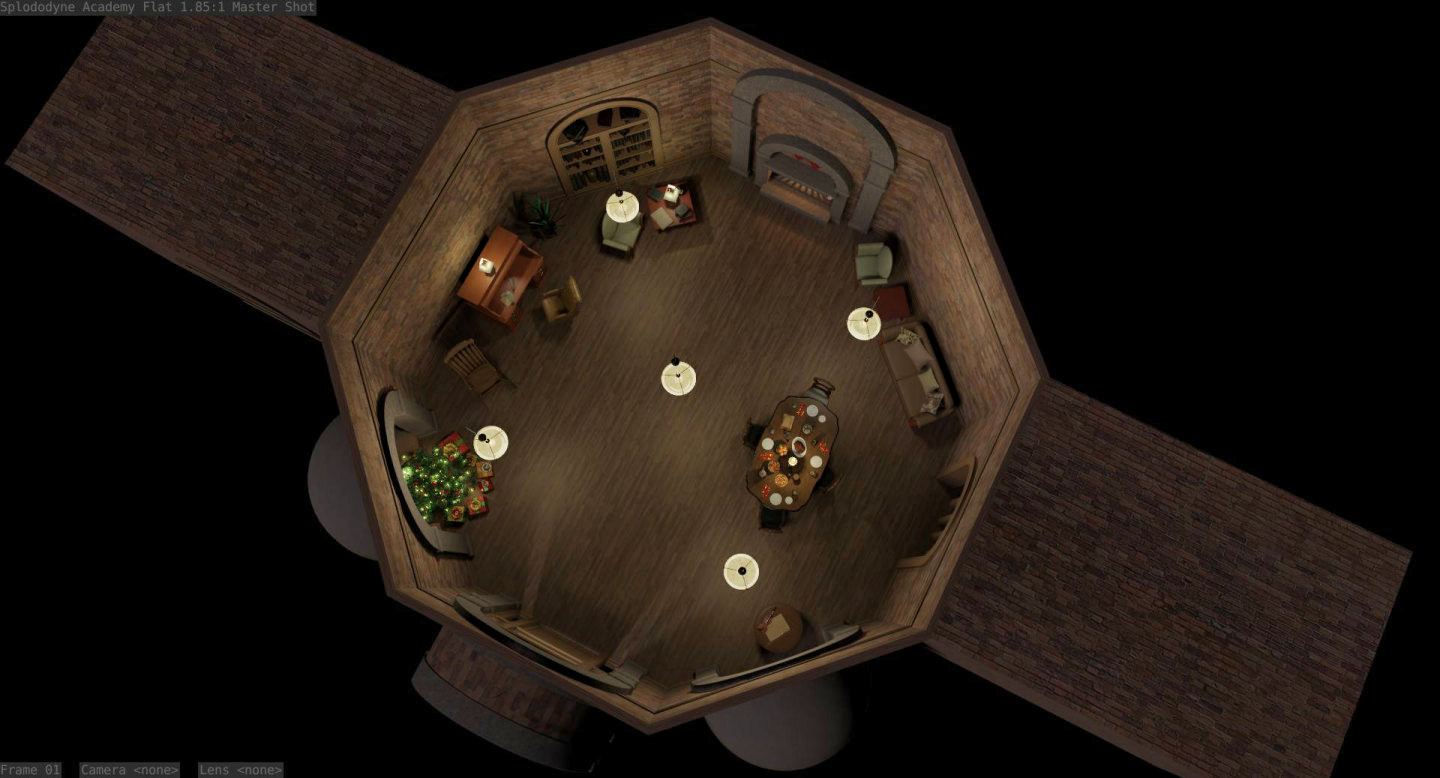
An overhead view. The fireplace, bay windows, bookcase … have boolean objects to cut out the wall. They could be moved around with that.
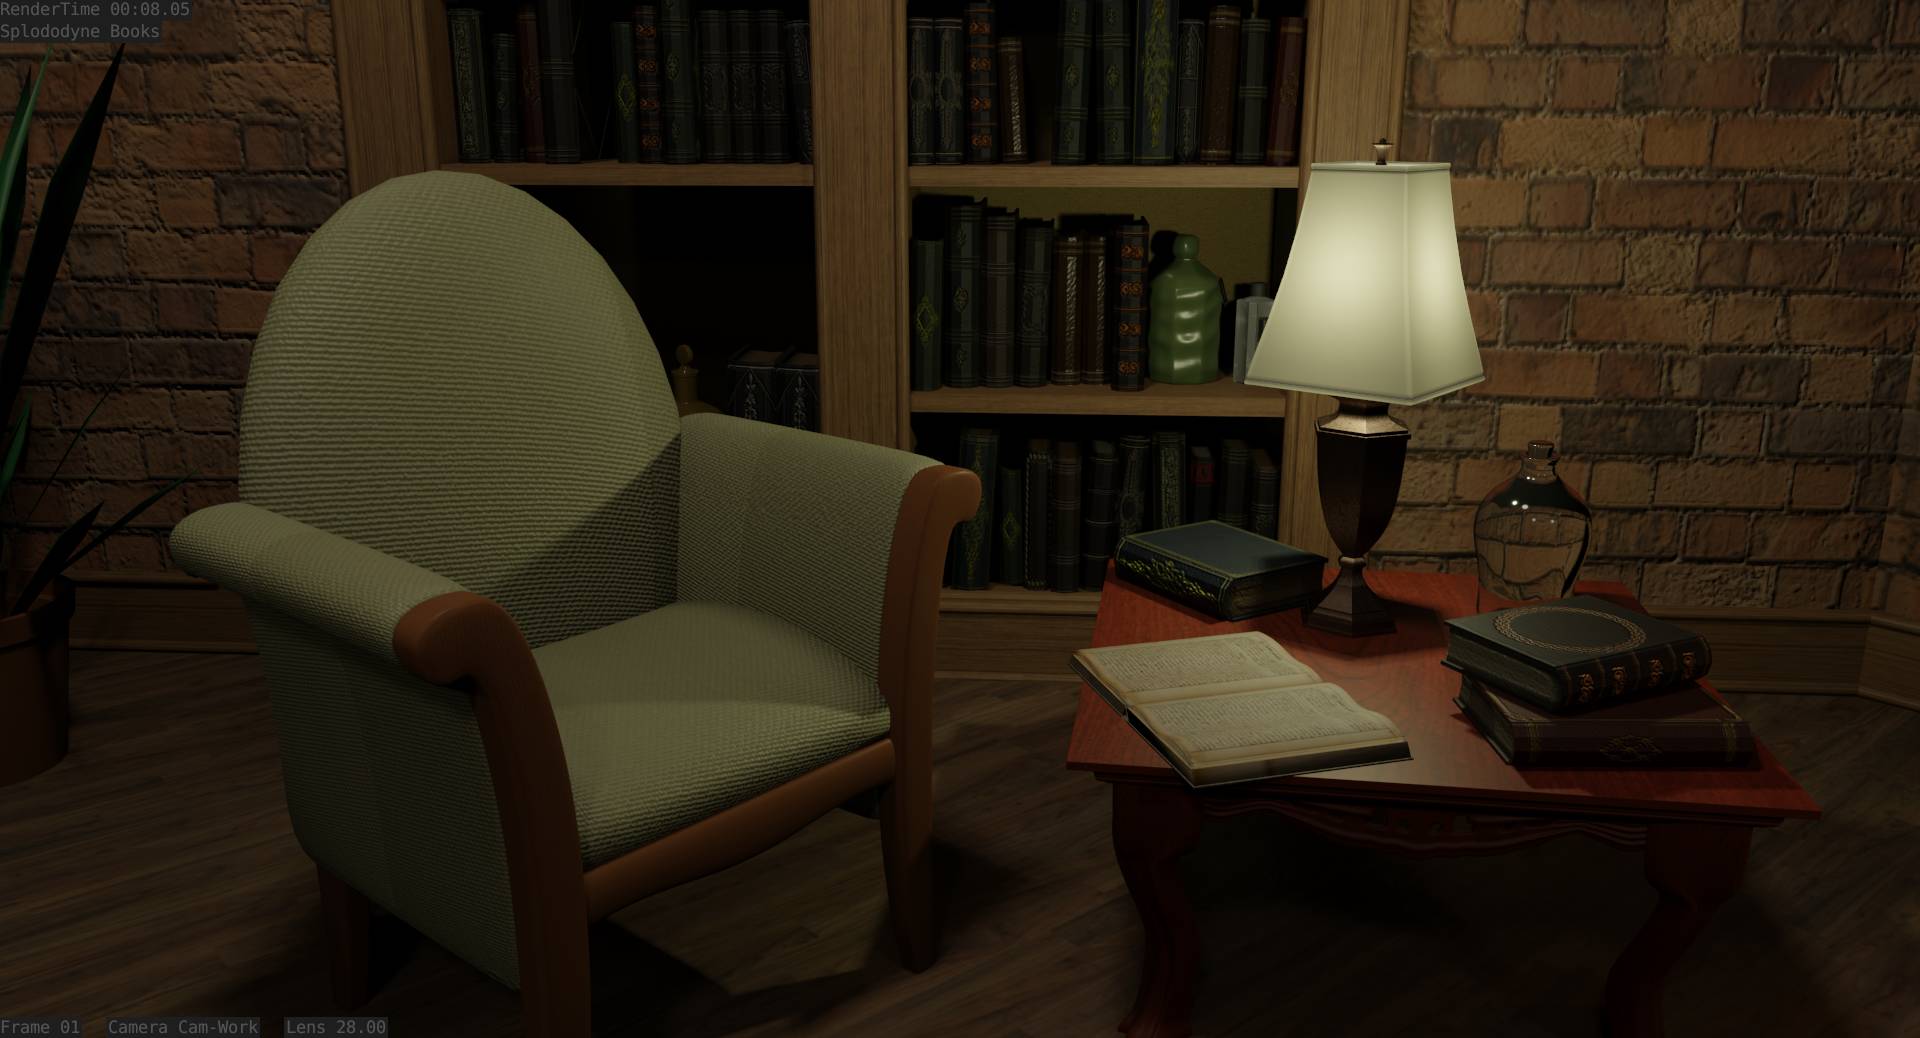
This area is in memory of my sister G. She read a lot and had an extensive library. The table utensils are gold like her’s. Since Thanksgiving is part of the festive holiday season the open book features the first page of William Bradford’s “Of Plimoth Plantation”.
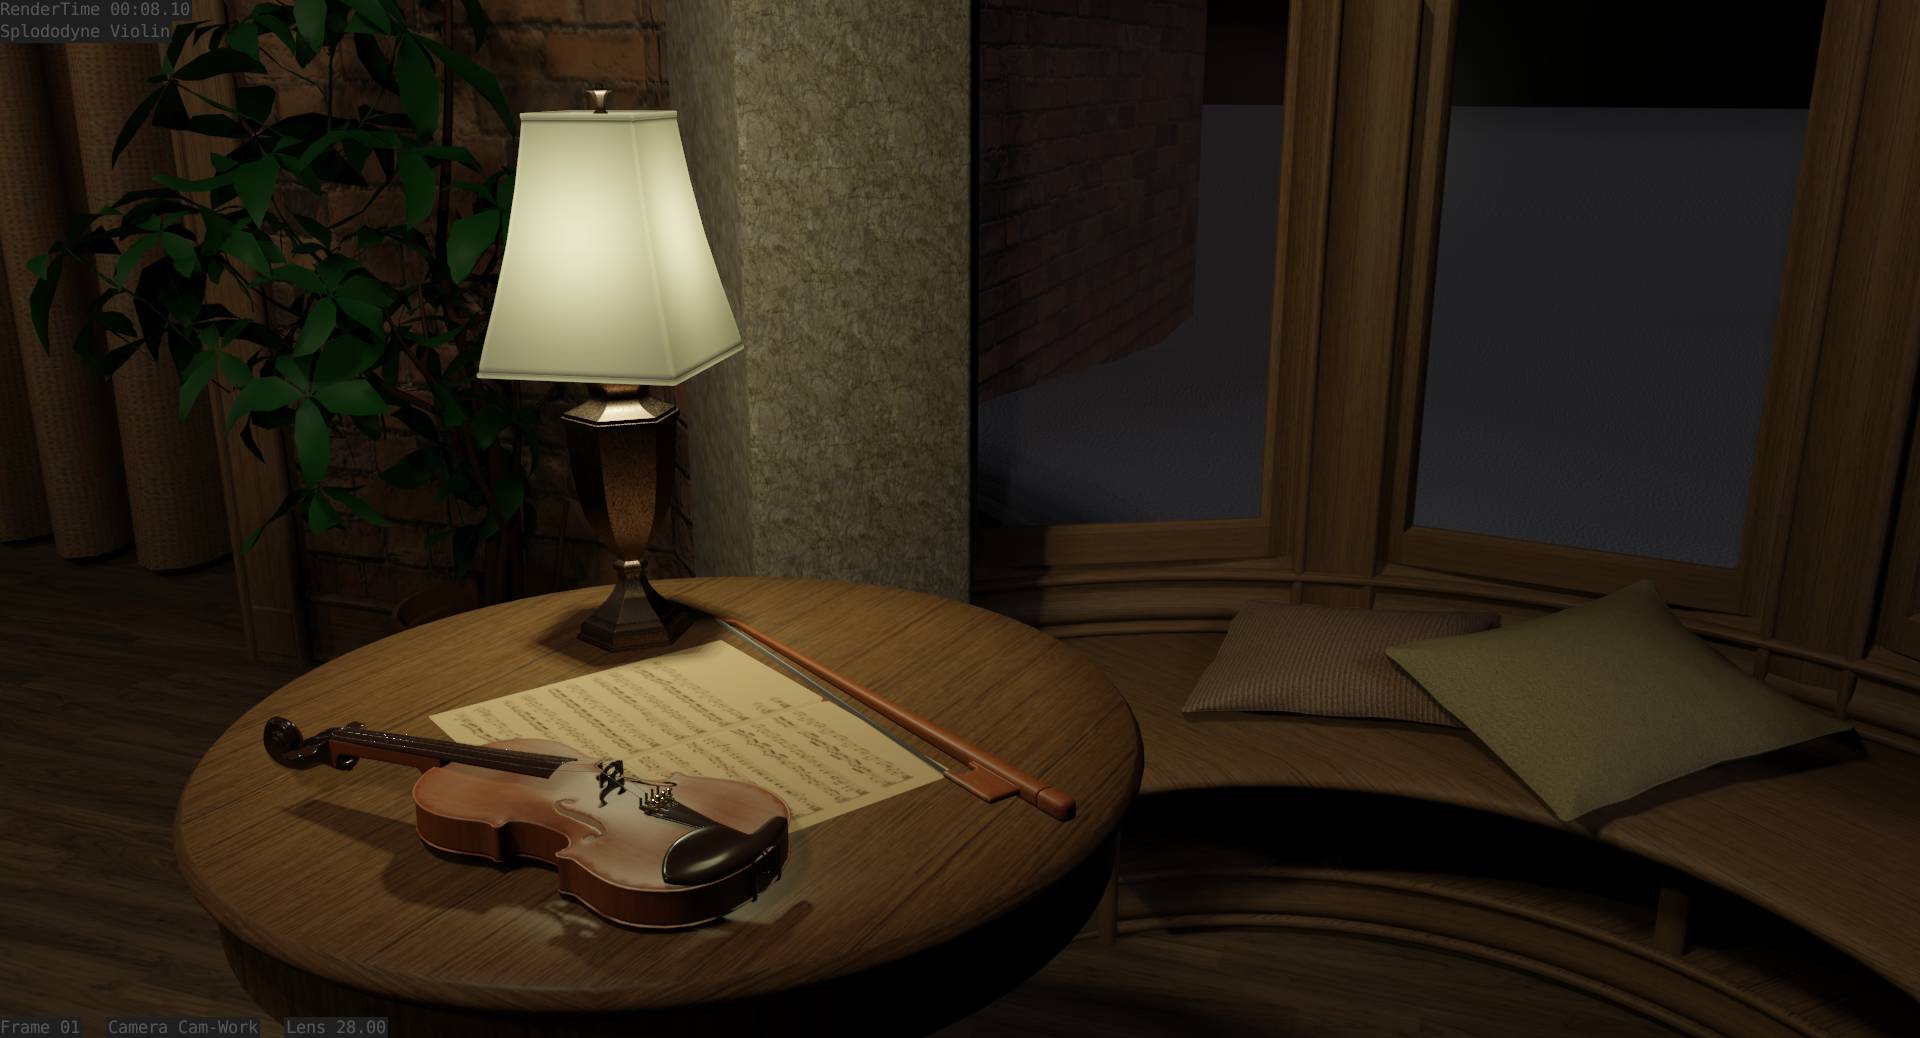
This area is in memory of my sister B. She played violin for the Dallas Symphony Orchestra for a few years. My niece’s daughter has her violin now. This picture shows the seat in a bay window.
I will use viewport renders as animatics. I’ll put them in a video editor and shrink or stretch to the duration that fits the music or otherwise looks good. Then use that information to fine tune and render the right amount of frames for the production clips.
I’ll use a wide 28mm view to show the viewer where he is and where he’s going. Then a close narrow 50mm view will move along that destination. That moves the viewer from area to area to see customized things.
Notice the fire in the clip. When the camera tracks along the house it looks good but odd flickering happens as it approaches the door. That is due to the way volumetric items are rendered in eevee. Distance from camera to fire matters so when it changes …
Full clip render test and animatic. This is the establishment shot that begins the video. It shows the viewer where (house), when (Christmas), and sets the emotional tone. Dissolve to the indoor clip at the wreath. Render time one hour and 10 minutes. These frames take the longest since fire, tree, cryptomat, and compositing are all active or visible.
Wide shot shows we are in the house near the door. See the violin and dining table which are our destinations.
Close shot shows the violin. Close shot of the dining table follows this.
Using HitFilm Express for this film since I know it and time is short. Later I’m moving to DaVinci Resolve.
Far too much time spent on this but it’s fun and I’m learning many things about CG, Blender, and animaiton.
I see a sudden corner and start/stops in transitions to smooth out. A dark transition to investigate. And the part between the presents and the card desk should be different.
I’ll inventory the 3rd party models used and include in the credits for the finished film.
Barely enough time to make finished videos so few adjustments can be made but suggestions, advice, ideas, observations are welcome.
Spoiler Alert : Nearly Complete Animatic
Vimeo HIdden and Unlisted aren’t cooperating with embedding here. The embed code they provide works but is a simple display.
 Nice render!