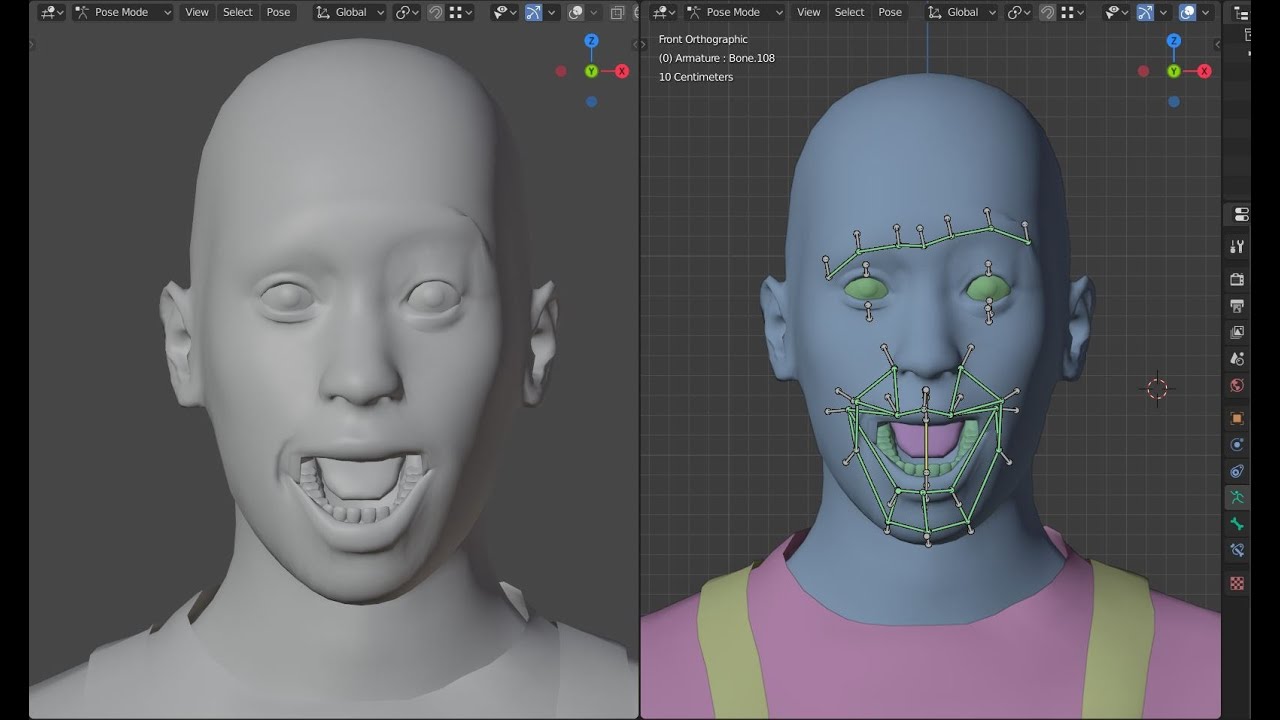
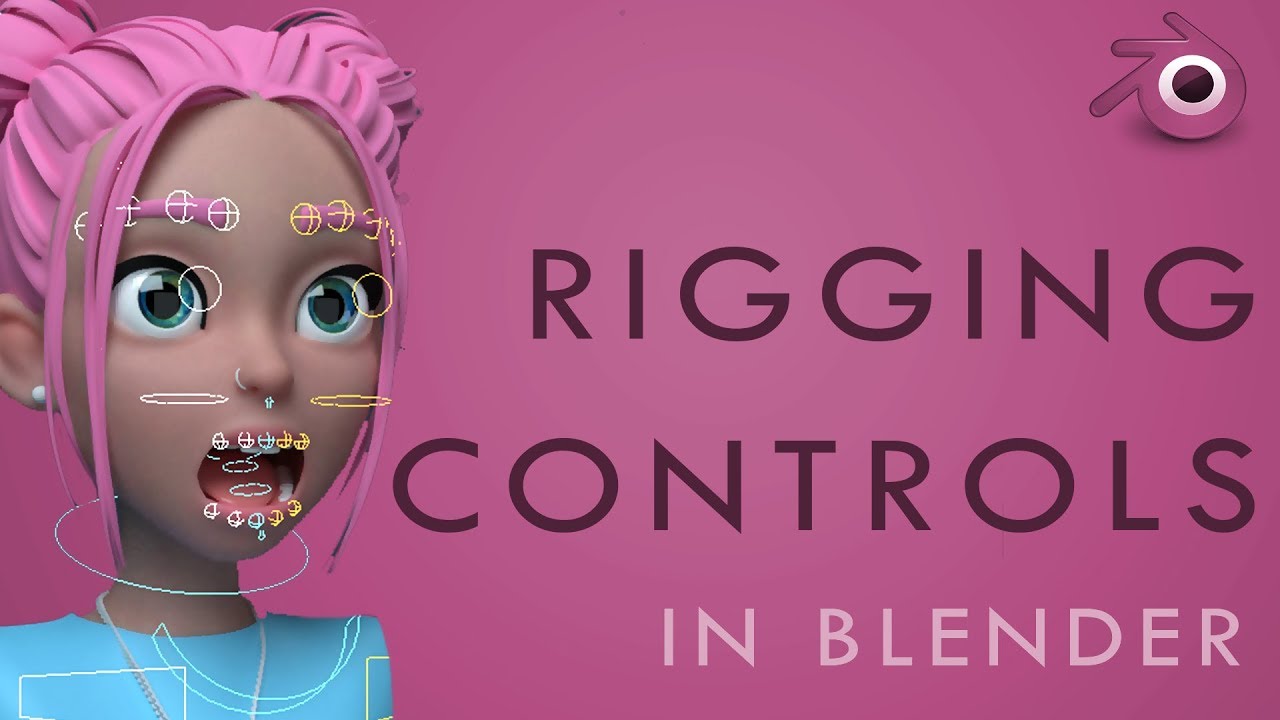
Hi, I’m wondering if anyone can recommend any tutorials or courses for advanced facial rigging for feature animation. Ideally, I’d like to be able to achieve the same level of deformation control as the Rain rig, but most of the Blender tutorials I’ve seen only cover basic to intermediate techniques (even though I know Blender is capable of going much further). I just discovered Josh Sobel (who uses Maya), and I’m thinking about taking his course and applying it to Blender.
Any thoughts?
Yeah you dont find much. Maybe the course for rigging here https://flippednormals.com/downloads/the-art-of-effective-rigging-in-blender/ or this one only for the face: https://flippednormals.com/downloads/face-rigging-in-blender-tutorial/
I did the first one and i have to say its pretty boring but with great information. The courses from him are always way too long and the same information could be presented in less time…
From the second guy i looked into the realistic face creation course and and short enough with great information so i prefer the second creator with in this case is dedicated to only face. Should be better for you.
There is also a great channel for rigging that you should have a look at. He also has some face rigging but there might be more in the future but again only basic to intermediate… https://www.youtube.com/user/SuperRaziel1989
Thanks for the recommendation! I have Pierrick Picault’s course; it’s amazing (although he uses a LOT of bones). I’ll have a look at Konrad’s as well.
So I just finished watching Josh Sobel’s face rigging course, and I’m quite impressed with what it covers. Even though I haven’t used Maya in 2 years, and the rigging workflow is completely different from Blender’s, I was able to follow most of the information, and I’m wondering how such a workflow could be applied to Blender.
Maybe a Maya user could help me out with this: In his workflow, rather than adding all the deformation joints to one rig, he has the following set up:
- First he has a global rig which the animator operates. It has controls for the head, jaw, upper and lower parts of the head, as well as the eyes, brows, mouth, nose, and ears.
- However, only the head, upper and lower halves, and jaw have deformation joints and weight painting. Rather than adding joints for the other parts directly in the global rig, he has separate “local rigs” for each part of the face: one for the eyes, one for the nose, one for the mouth, and one for the ears (the eyebrows and cheeks are handled purely through blendshapes). Each rig consists of a duplicate of the mesh, and deformation joints for the head and one specific facial feature. Now here’s where it gets interesting:
- The controls from the global rig directly affect the joints from each local rig via a transform constraint. And then their deformations are transferred back to the global rig’s mesh via blendshapes.
What’s the benefit in working this way? As far as I can tell, it’s a less destructive way to work, because it means you don’t have to worry about messing up your weight painting, and might give better control over how the face is deformed. On the other hand, it seems unnecessarily complicated. Has anyone ever attempted something similar in Blender, maybe with the Mesh Deform modifier or something?
Never animated these Sobel rigs and i wonder how fast they are. But then again i find that Blender is much more foregiving when it comes to dependency loops and the Sobel way might be due to Maya dependency limitations.
I can think of a couple of ways to do this in Blender. Usually you get something similar by using a combination of FFD (or Mesh Deform) plus Armature. Or it might be enough to stack a couple Armatures on a mesh and layer different parts of the face. Figure out what fits your character best.
Yeah, I saw a vid recently where someone had used one rig to control a body via Mesh Deform, and then a second rig parented to the first one using bone envelopes.
Do you have example of people successfully using multiple armatures for the face?
How would you copy a pose or select all bones quickly with multiple armatures?
How normalize all works with multiple armatures?
It’s not a limitation to have a local rig, it makes it easier to debug stuff, to see the isolated deformation in the center of the world free of any transformation. You can see simultaneously the results of the local changes on the transformed mesh which is awesome.
In Blender, in case of shape key editing, you have to go into a zero transform pose and hope you guess right how the modification will look like on the transformed mesh. It is unintuitive and inefficient.
I must disagree with you on Blender being good in terms of dependency loops.
There is no proper way of processing weight deformations after shape keys which is a nightmare for me.
One proposed warp deformers but they don’t deform well when combined and are very annoying to manage in the modifier stack.
I really don’t like that the vertex groups can’t be layered. Sometimes I have vertex groups only for modifiers but they come in conflict with weighting when normalizing.
One very annoying thing that I don’t get is sometimes I sculpt a modification on the base but for some reason the sculpting tools break the symmetry but I don’t notice… Then later I discover the weights are broken only to realize it’s because some vertices aren’t symmetrical… Then I need to symmetrize the mesh but it breaks everything… There is that restore symmetry script but it works half of the time.
So yeah, when you work on local rigs at least the breaking only affect the part you are working on, not the main and fully rigged mesh.
To resume, I have trouble with weight painting in Blender for many reasons and layering weights like in Maya would be of great help.
That includes stacking active Blendshapes, something i miss a lot from Maya.
Is there any development going on regarding this? Like having a way to use multiple meshes as active shape key inputs?
That would be great if there were more options regarding weights.
No, not for the face but i made a test some time ago, using 2 armatures working togethersplineIK_spine_test.blend. But thats just a control Armature driving a deform Armature.
Maybe not so convenient, but you could write simple python selection scripts for that.
I’m not sure i get your right here but are you aware of these two options?
Not a big fan of corretive shapes and try to avoid them where ever i can. But i have done it and experienced no problems with deformations AFTER shape keys.
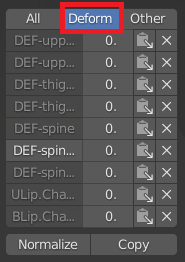
Just lock the vertex groups that you dont want to be normalized. In addition you have the option to normalize only deform bones

There is a nifty tool that i use for that.
And there are a lot of tools i miss from Max when i worked with Maya. Bottomline is, every package has its own way of doing things. Admitted, Blender is far from perfect for Rigging and Animation purposes. Just leave your Maya conecpts in doing things behind and get into the wonderful rigging tools of Blender ( certainly helped me).
There is the Animation2020 poject that got posponed to 2021. The thing is that Blender is implementing the ‘Everything Nodes’ concept so in the future rigging will be done with nodes.
Well having two armatures doesn’t give the options of having separated weight sets so i don’t really see the point.
I’m aware of the Edit mode and Cage options, I was talking about having the local and the deformed meshes in sight simultaneously . So when the local one is deformed the result is seen on the local and the deformed meshes at the same time. You don’t have to switch to compare and that makes a huge difference.
I’m not sure you get what I meant by deforming after shape keys.
Correct me if I’m wrong but in Blender you can’t have a mesh deformed by shape, having weighted bones following those deformations and moving those bones to deform on top of the shape key cause it creates a loop.
You can easily do it in Maya using the method cairnsm mentioned.
I thought normalize all didn’t care about locked groups but I just tried it and it works as you said, thanks a lot for that, it will help me a lot.
I wasn’t aware either of that Deform option, thanks for that too.
About the symmetry option in Weight Tools, my goal was to use only free addons so I can’t use it but indeed, that function seems pretty good.
I don’t really get how bones could deform on top of a Mesh Deform setup… Wouldn’t it be the opposite? Mesh deform on top of a weighted bone setup?
It’s too bad all the tutorials mentioned above are paid, if anyone have great free ones i would appreciate to have them!
I didn’t find the Rain rig tutorials on the Blender cloud thing but the Rain modeling course was very good. If there is a link to the making of the rig please share it, the link posted here only points to a video showcasing the rig, not how it was made.
I didn’t found a free tutorial covering it all from A-Z that satisfied my needs but searching for different parts like Eyes, Mouth and Jaw I’ve found individual tutorials that seemed good enough for what I needed. I can post them here but you can find them easily by searching on youtube.
Here are some common ones I found useful:
Wow, this has generated quite the discussion! I think one of Blender’s biggest challenges with rigging is the Armature Modifier based workflow, which works quite differently from Maya’s node system. But as SidV pointed out, that may change with the addition of Everything Nodes in 2.92. Incidentally, there is a Rigging Nodes addon available here, but I haven’t tried it yet.
It’s a way of doing really specific to Maya and it won’t fit into blender. You should try to make one armature per rig. At least if you plan to link your character in various shots.
I’ve seen these tutorials a long time ago, I don’t remember everything , maybe it’s there to achieve a “dorito rig” ? : https://www.youtube.com/watch?v=SfgHAWTMLrE
It’s quite fancy and great to have, but it’s better to concentrate on the basics. Each feature you add in a rig piles up on top of each other and generally I find more and more difficult to add them because a new feature may break an old one.
I think getting good rigs come in 2 steps, first you should know the basics, that’s where tutorials can help. To learn rigging recipes and how a face/character is supposed to behave.
Once you know that , the best way I found to start a rig is to write down each feature the rig should have , how many controllers, what should they do. I look at rigging reels to see what features they includes, talk to animators ect…
And generally I try to implement one feature at a time on the main rig, and at this point I don’t refer to tutorials and try to find the solution in my own way.
Hope that can help !
Good luck !
That makes sense. I suppose this is one particular feature that gives Maya a major advantage when it comes to handling complex rigs with hundreds of moving parts, but probably not essential for the majority of workflows.
yes I haven’t used it , but looks quite powerfull indeed ! Anyway you can still do a lot in blender and output high quality animation and visual with it !
Since vertex groups are name based, of course you can.
Your refering to a ‘Dorito Effect’. This technique is kinda old and can slow down a rig quite a bit. However, it is possible in Blender, even tho i wouldn’t recommend it. Theres some facial rig stuff in my WIP as well. Again, get rid of your Maya mindset.
You don’t really need tutorials for the rain character. Download it and take look. I just posted it because you can find some effiicient rigging techniques in there. I’d say you can learn more from rain then your posted youtube tutorials combined. Thats the only tip i can give you, if you don’t want to spend any money.
I really don’t get the multiple armature thing. Whatever the names are, you can’t normalize from vertex group name from what I know.
I’m aware of the “dorito effect” and it seems to be a loop when used with armature, probably why it’s slow.
Look at the last comment on the video, the guy describes it reacting like it’s a loop. Like he moves it, reset it ALT+G but the bone doesn’t refreshes unless he changes frame or some other refresh action.
It’s super slow as you say anyways.
It doesn’t seem to be the most efficient way of doing things in Blender anyways.
I really don’t get how you did your emily face rig with no bones and cast modifiers btw… Aren’T cast modifiers changing meshes into spheres or something? Your dance video is pretty cool btw, cool character 
You are right, I’ll definitely open the Rain rig and look at it, i’ll probably find some useful stuff.
Thats right, spheres and cylinders. You can also define a vertex group on a cast modifier. I used an empty as target, parented to the head root and automated its transformation with an action constraint based on the mouth corner movement. Check out the Human Progress thread that Michael posted above. Somewhere in there i posted an eye rig that uses a cast modifier. Download it and have a look.
That Chris Jones guy is out of this world… So nice that he’s transferying his knowledge to Blender.
So you used the cast thing only for the bulge of the pupil?


