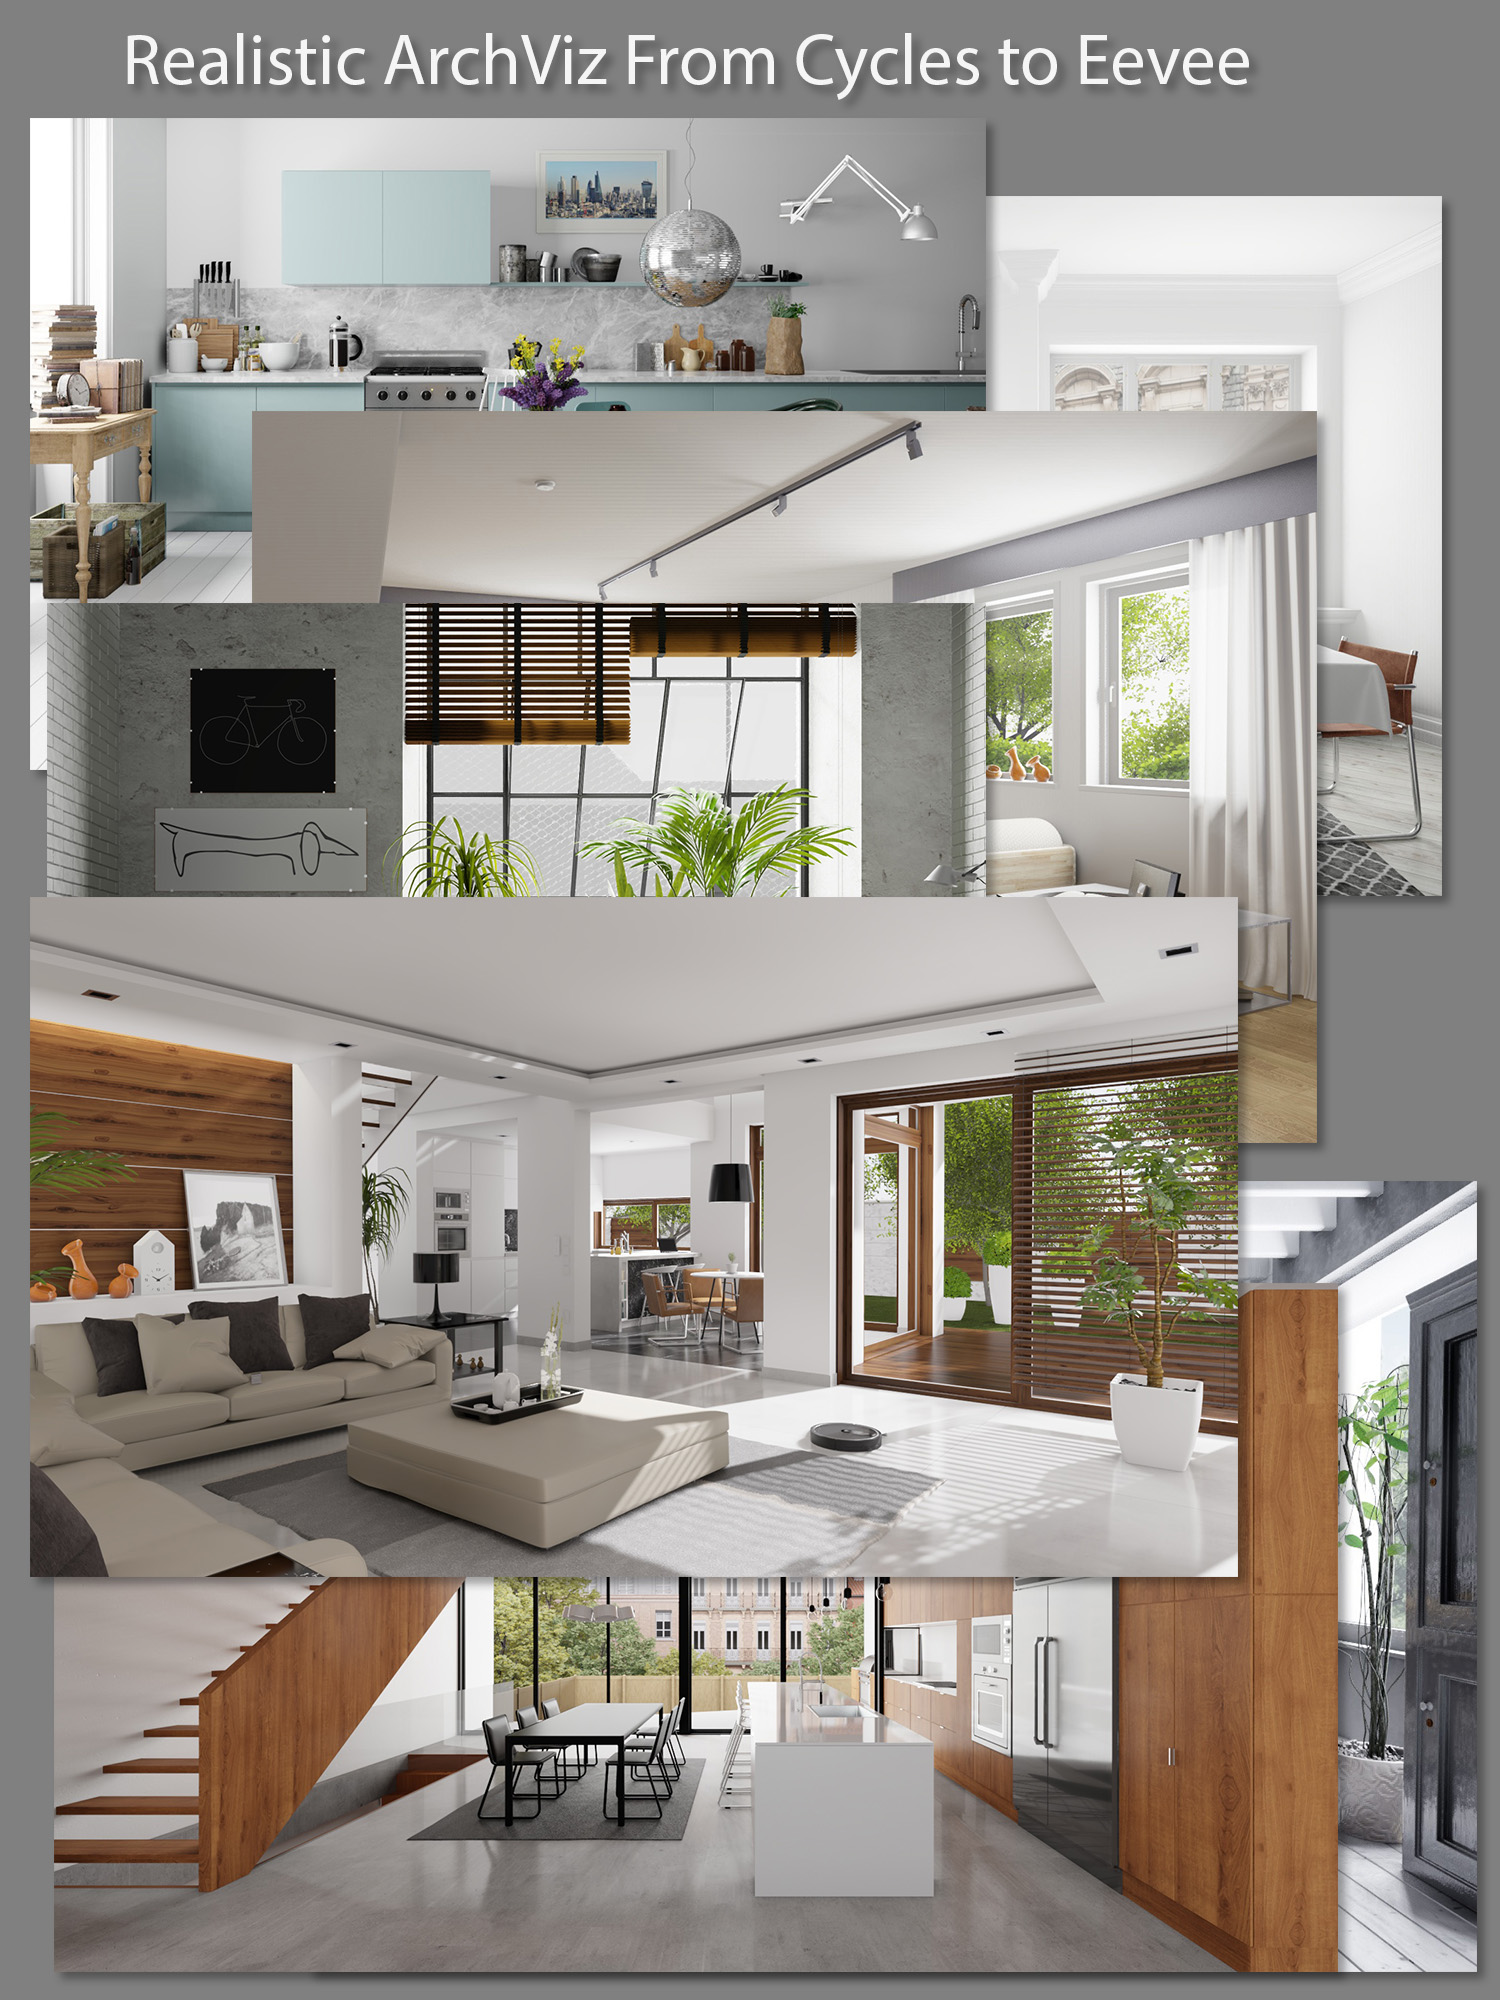
In this series will be doing different types of high quality architectural scenes in Eevee with tips and comments about the problems and solutions in creating realistic ArchViz in Eevee. The series includes a collection examples from ArchViz scenes in Cycles from Evermotion, Chocofur and others as basis to convert to Eevee.
My workflow and tips for realistic rendering are available in a number of my posts:
Do a Cycles render pay close attention to the lighting specially the shadows. Shadows can be sometimes difficult to create accurately in Eevee but are critical for realistic rendering. Lastly material differences like glass. This will be good a reference starting point for your Eevee scene.
Tips on setting up IRV probe samples for better accuracy and avoiding intersecting scene objects. In addition tips on Multi room IRV’s probe setup IRV samples setup and Multi-Room.
I will start the series with three scenes from Evermotion Volume 43 and continue with a couple of scenes from Chocofur.
Edit on 06/01/2019: Updated link on nested IRV’s.
Edit on 07/13/2019: Updated scenes and comments with Blender RC. Improve a number of scenes and added a few more Chocofur scenes.
Edit on 10/02/2019: Updated scenes and comments with Blender 2.81. Improve a number of scenes and added tips for flicker free animation walkthrough.
Edit on 05/31/2020: Added Chocufur interior scene 06 and update with Blender 2.90. New tips in IRV samples setup and Multi-Room IRV.
Edit on 08/02/2020: Added two new scenes from Entity Designer. The “Warm Bathroom” and “Dark Interior Scene”.
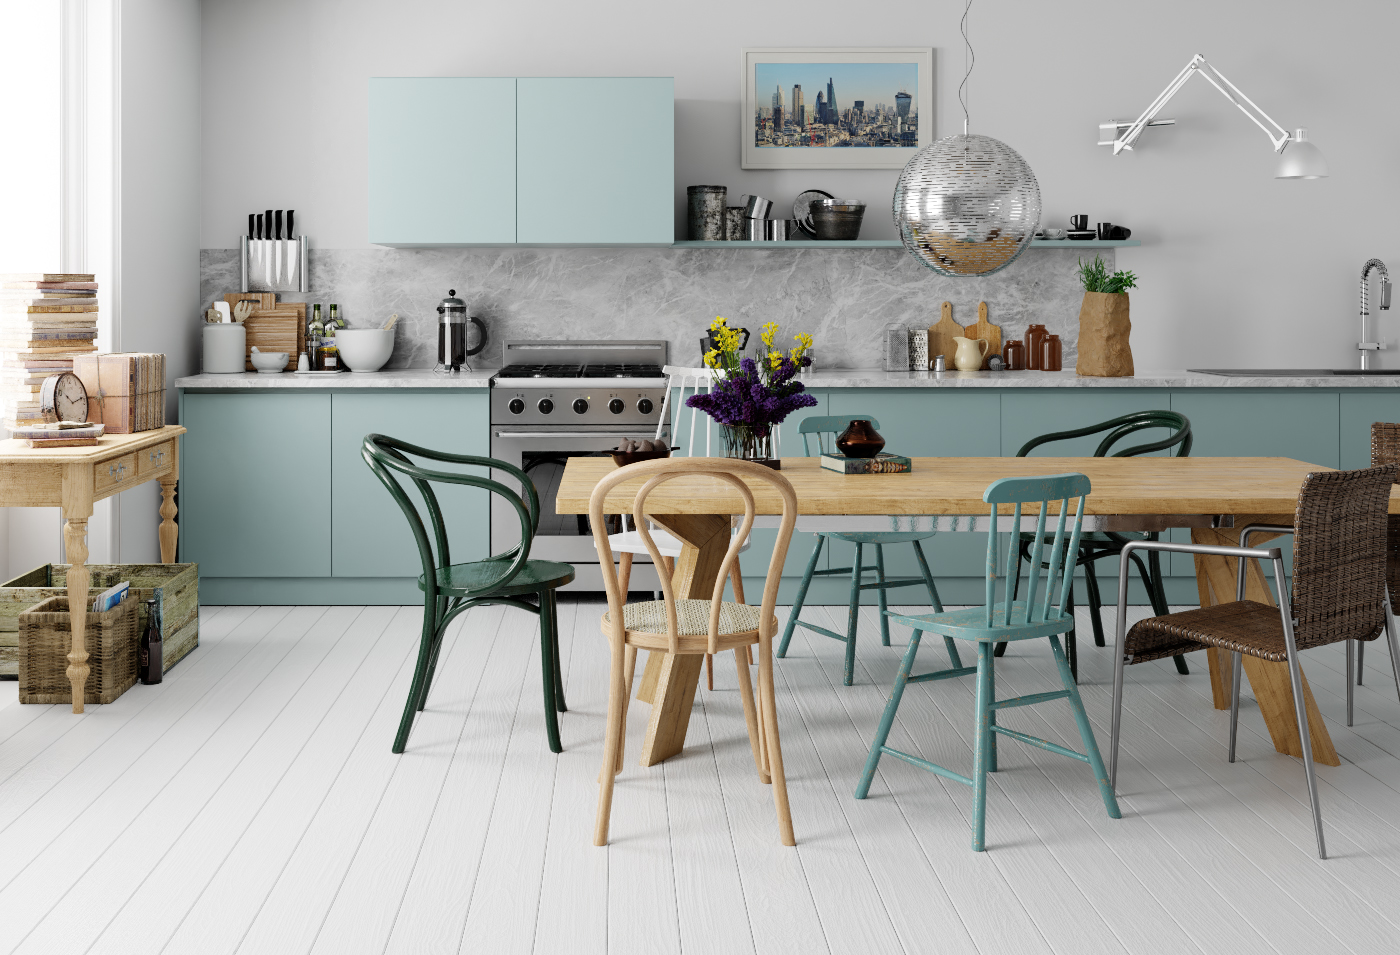
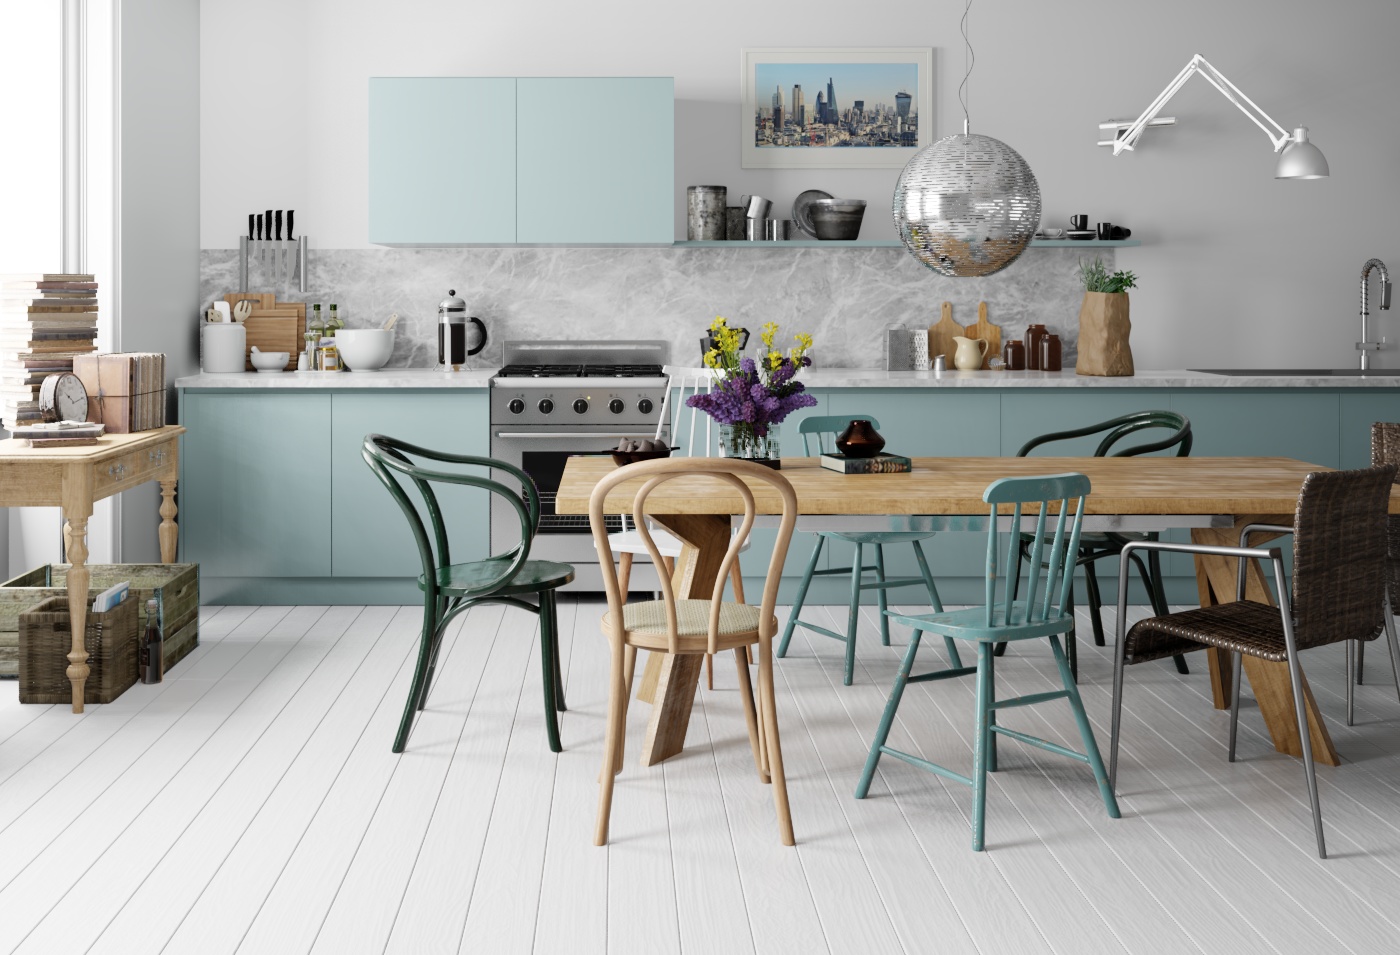
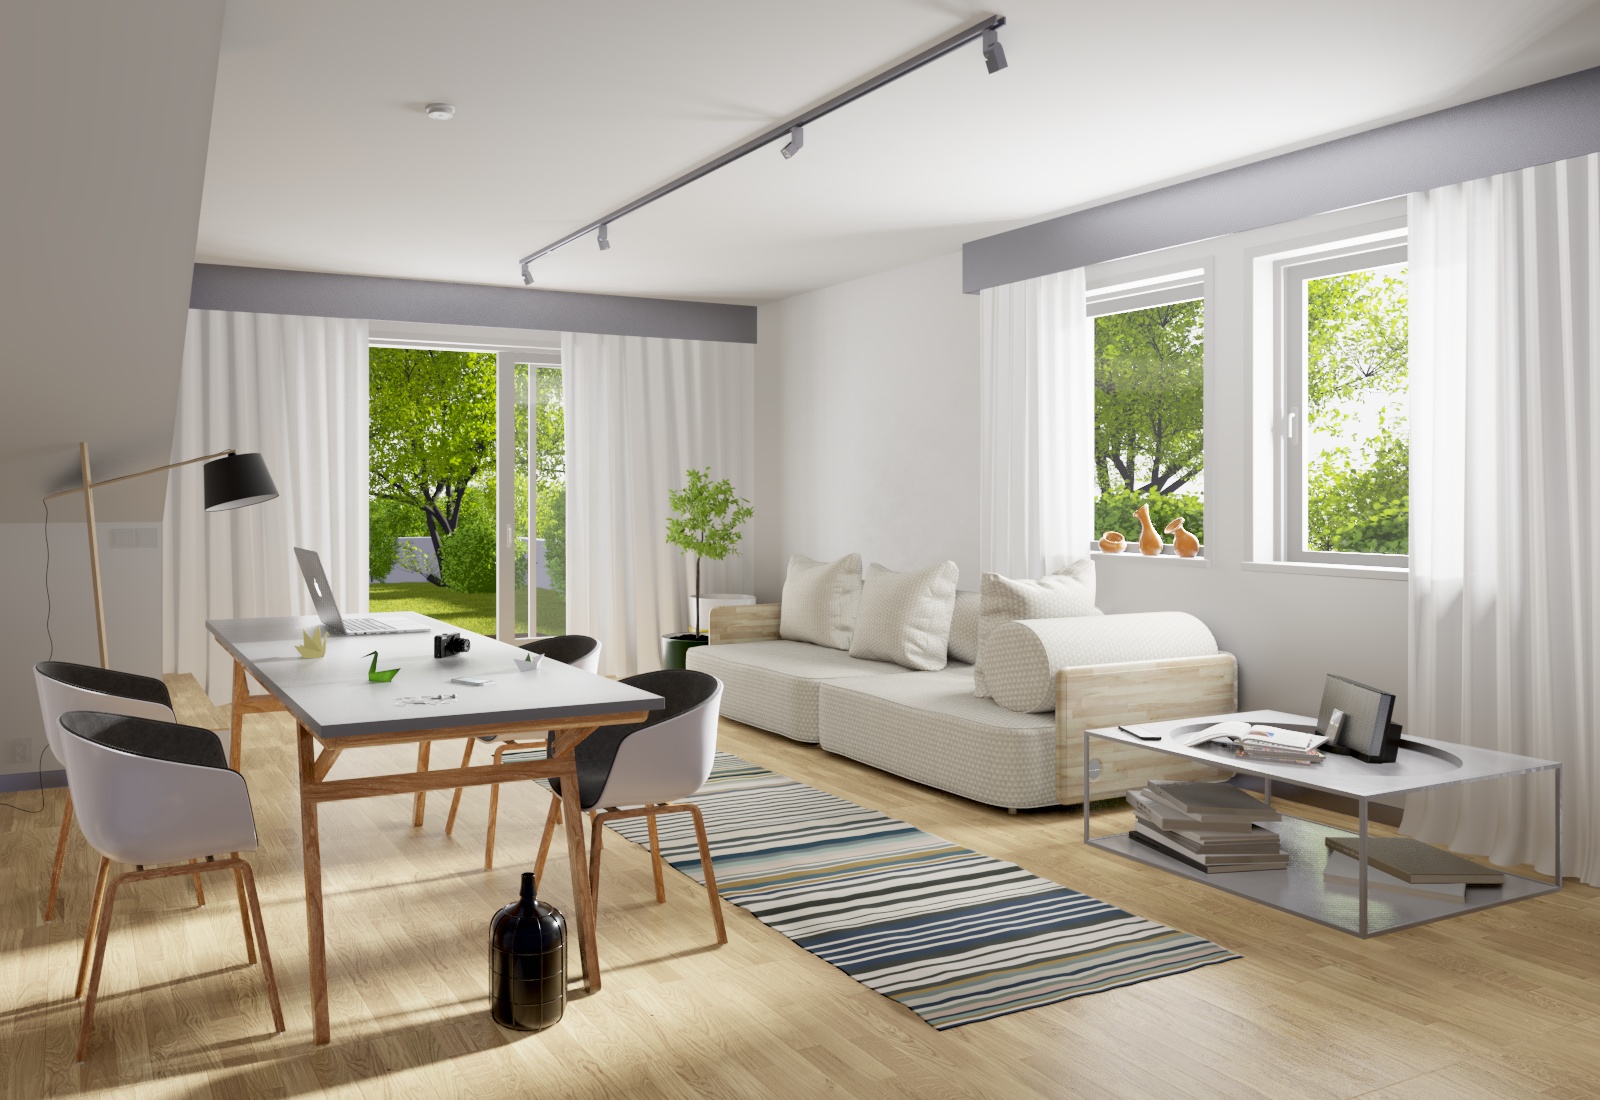
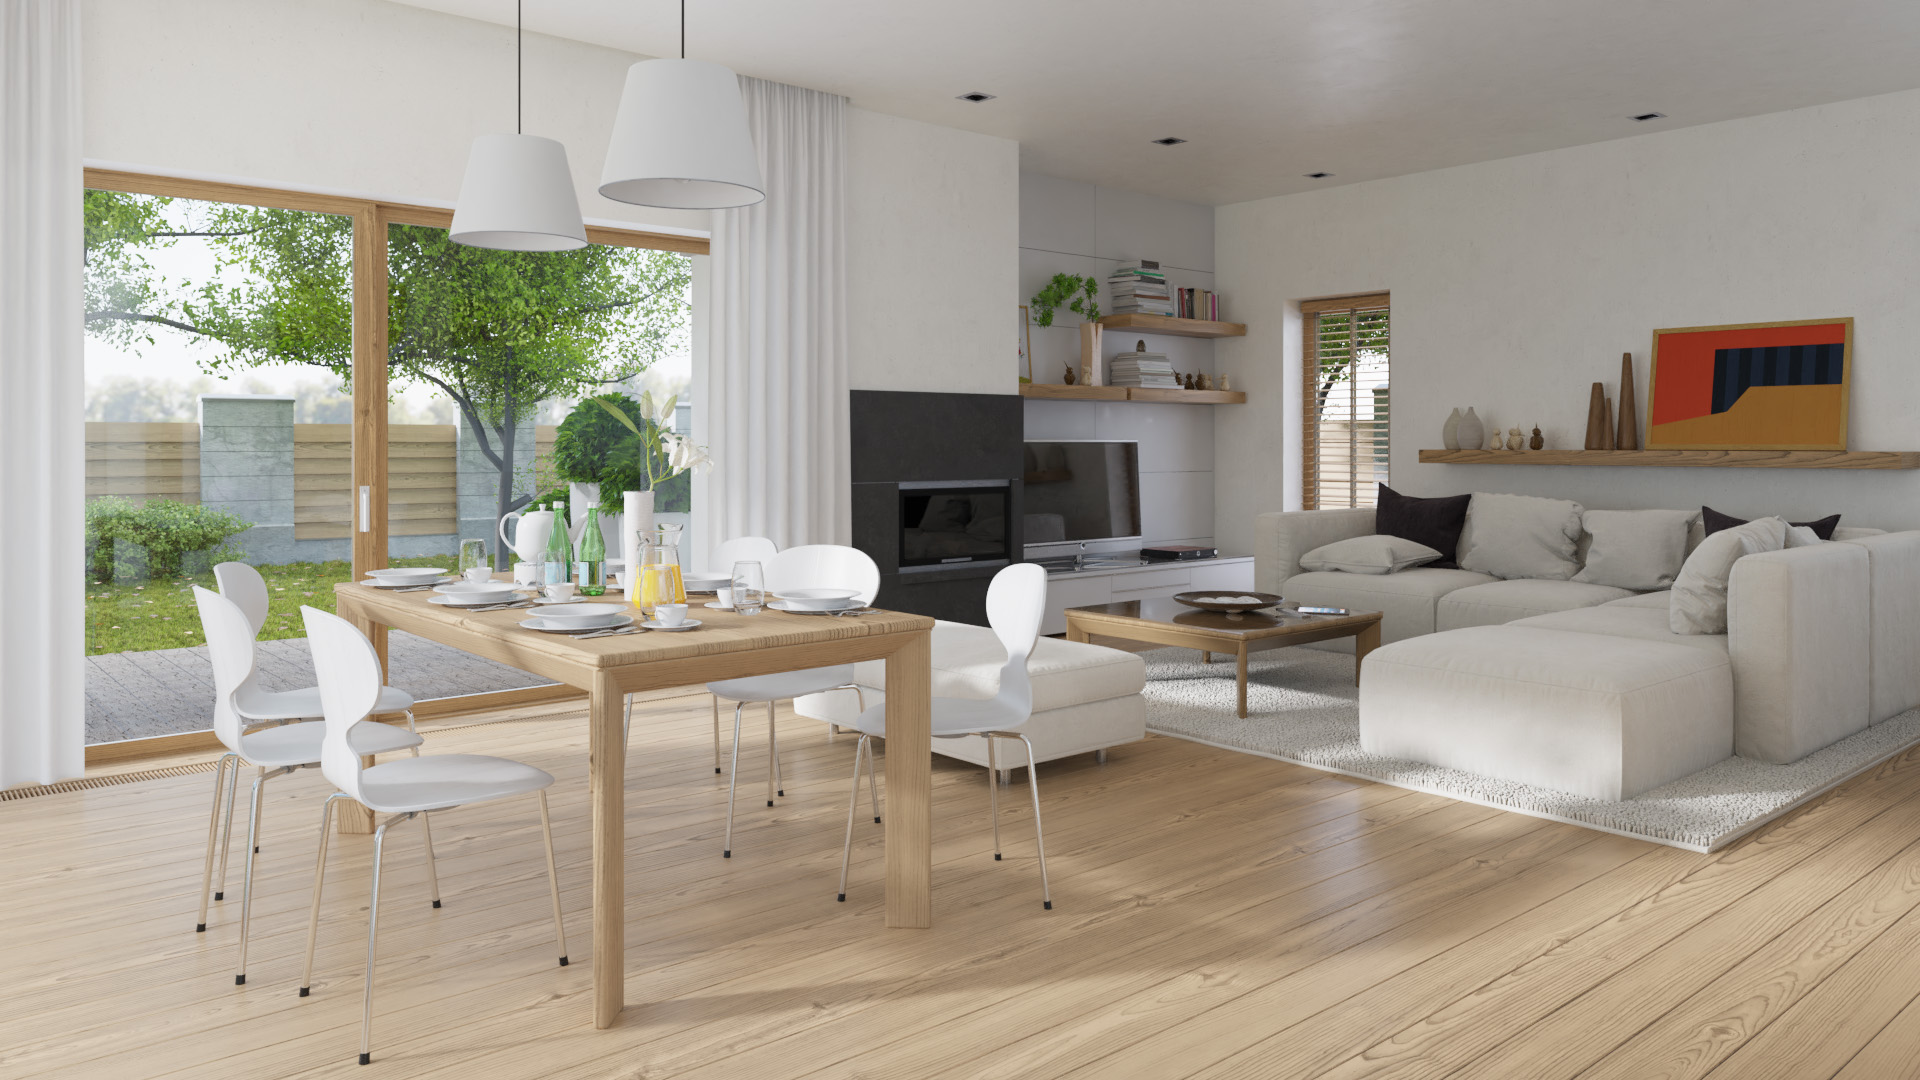
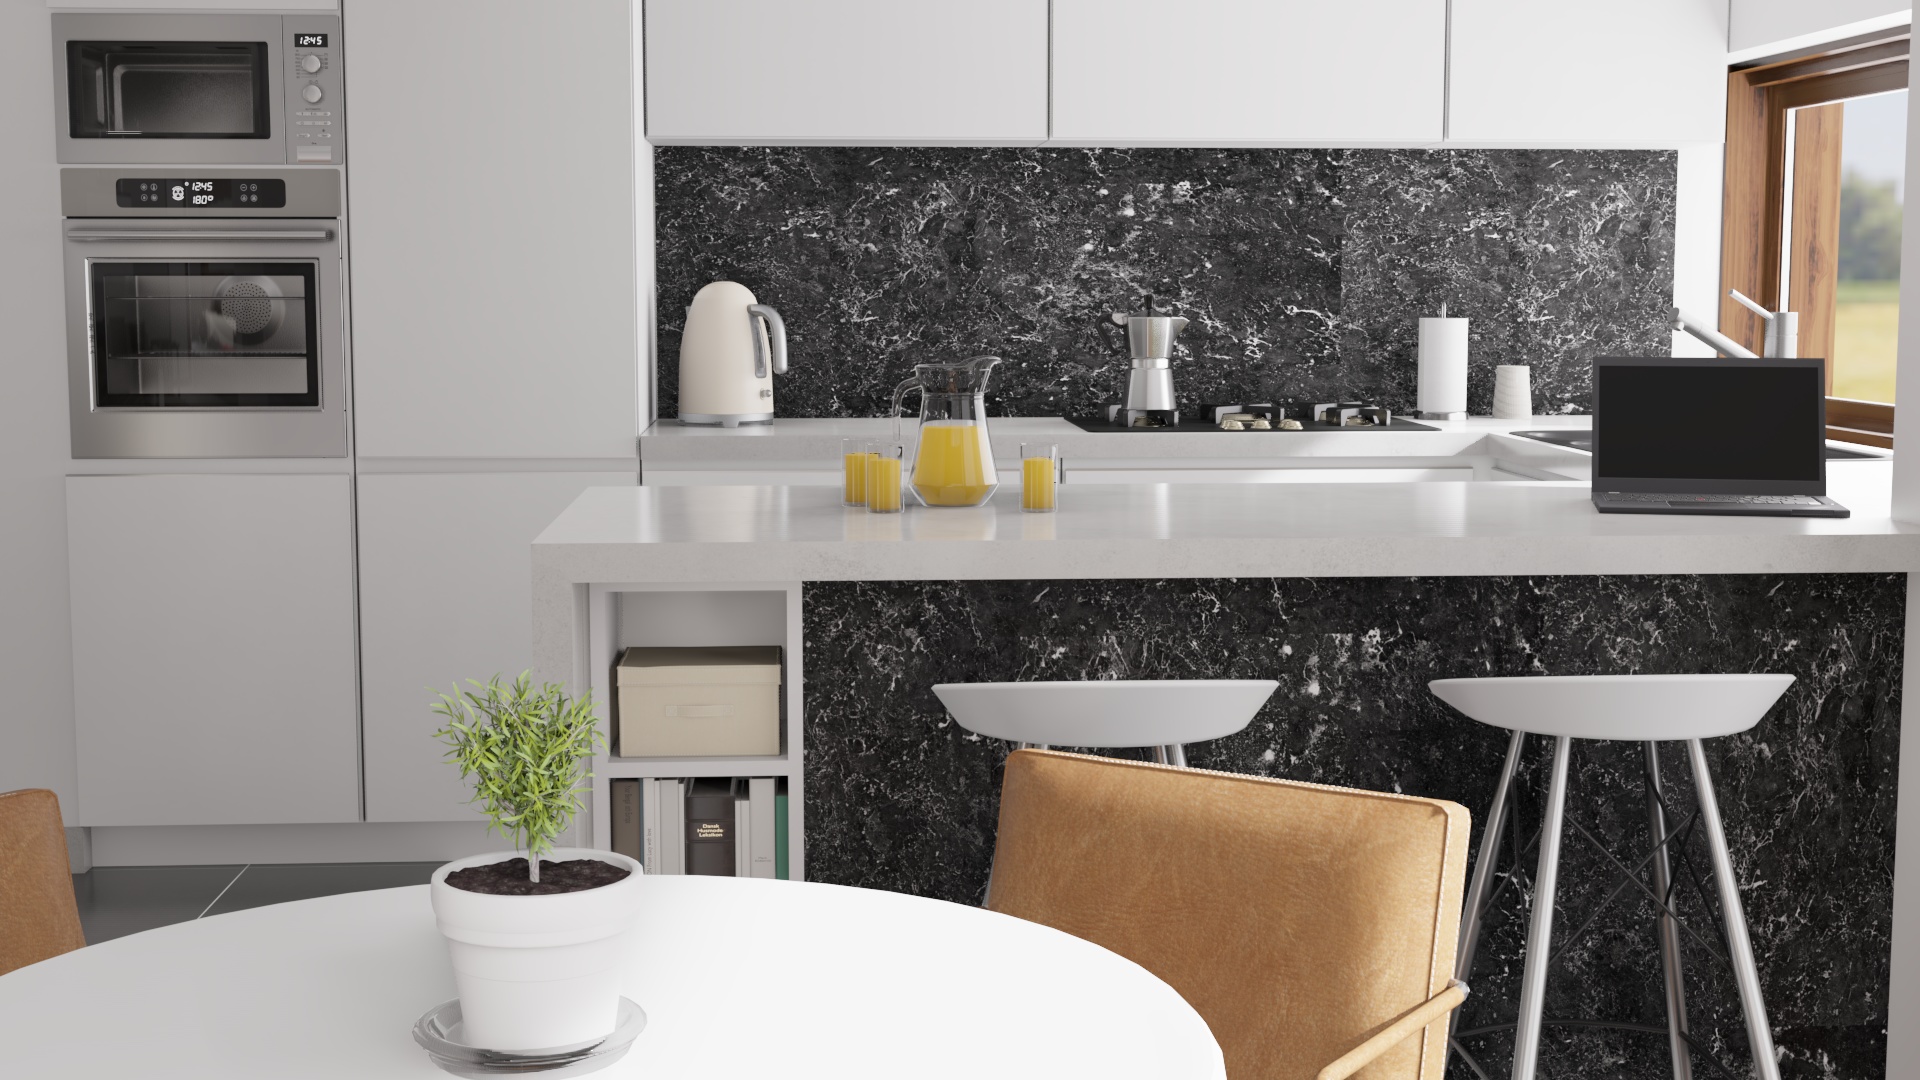
This is a heavy scene with grass and trees total vertices use is about 75 million.
Workflow:
Adjusted power for area lights.
Use an HDR world background node.
IRV for the main room of 4x4x3.
Rectangular reflection cube map.
Most of the materials were update to use the principal shader replacing all Chocofur custom glossy and metal shaders. This shaders cause Eevee artifacts.
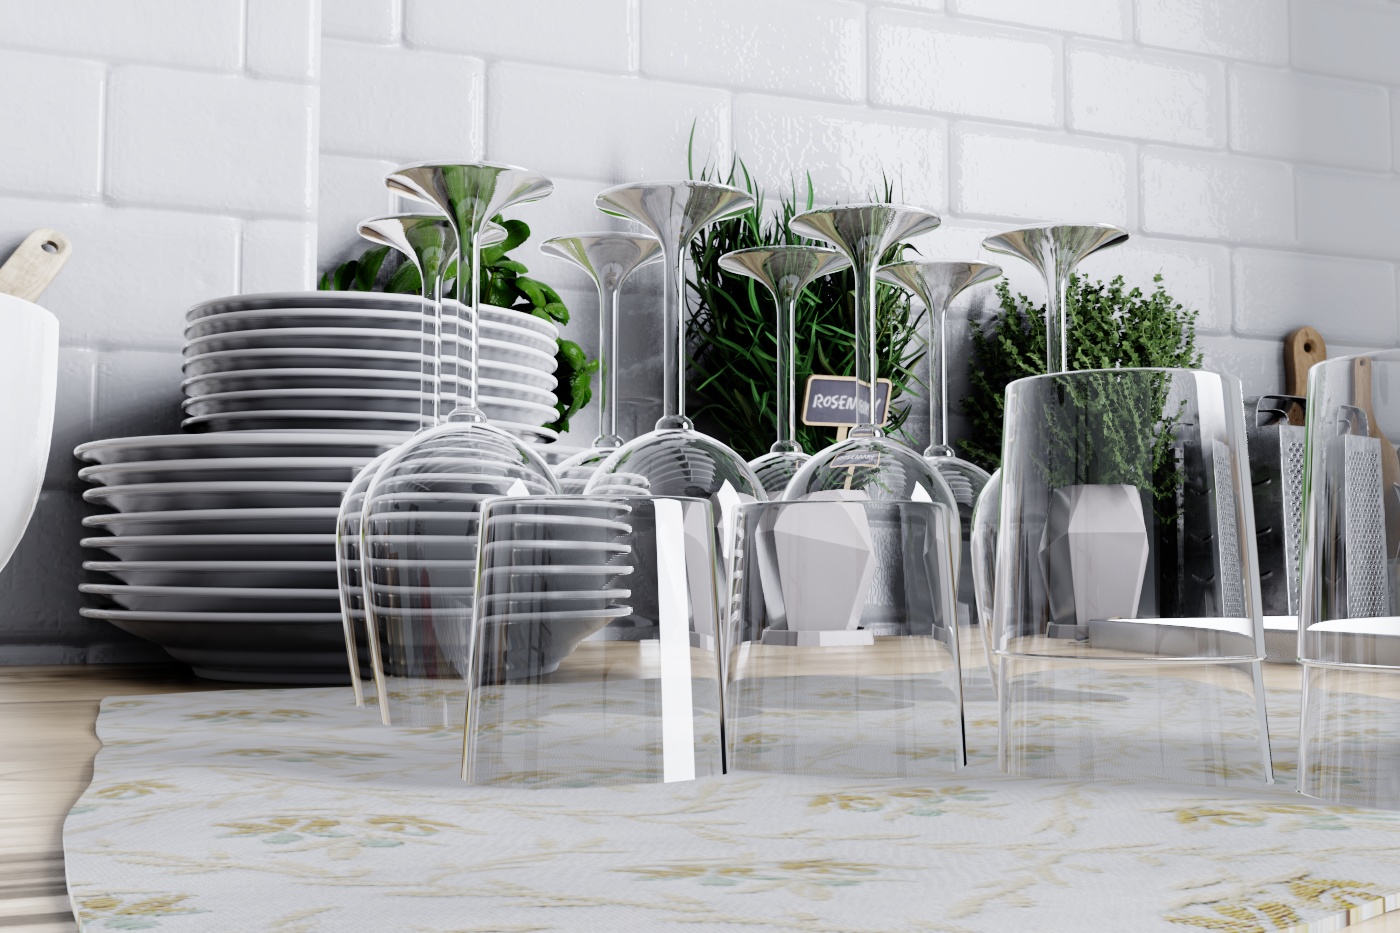
Use my realistic shader for glass items.
Added small amount of shadow softness to the area light.
Reduce the size of the contact shadows on the area light to match the cycles render. Notice how closely the Eevee shadows on the floor matches the Cycles render.
Hi @eklein , thanks for these great tips, I bookmarked the topic and checking it occasionaly.
I’ve couple of questions about these scenes:
1- Where do you place the area lights? Is there any light inside the room contributing to the illumination?
2- Where do you place/nest IRVs? I would like to know especially how you setup their falloff and distances with intersecting IRVs? (I often get slight artifacts on the walls when I nest them and it’s hard to control)
IRVs (Irradiance Volumes) can be one of the most frustrating issues in Eevee to get GI lighting correct in an interior scene. After working on many interiors. I usually don’t have to many issue with IRVs now. See my workflow below.
Tips for Main and Nested IRV’s are:
Create a main IRV for the room that is not to dense no more 4x4x4 or less. The goal of the main IRV is to have just basic GI coverage on the room.
Having too dense of a main IRV usually creates more problems by having probes intersecting objects and creating GI artifacts. Dense IRV also increase the baking time considerably.
Stretch the main IRV close to walls.
If certain areas of the room having missing GI lighting is okay, because it will covered later with nested IRVs.
Distance for the main IRV should be 1.0.
Distance for nested IRV typically range between 0.3 to 0.6. In this scene I have a nested IRV on the wall with distance of 0.5.
Falloff for the main and nested IRV leave it at the default of 1.0.
The Intensity I do vary depending on the scene lighting between 0.6 to 1.2.
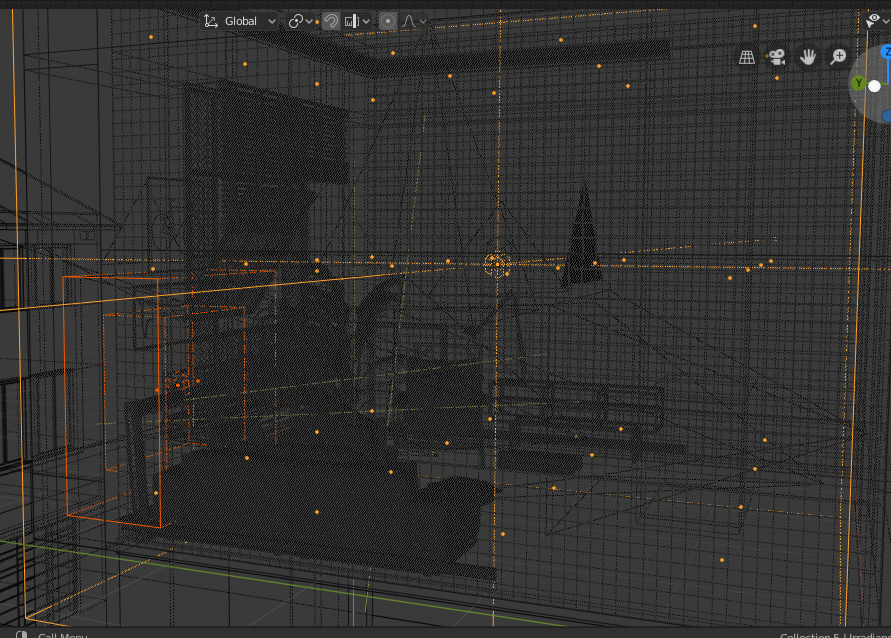
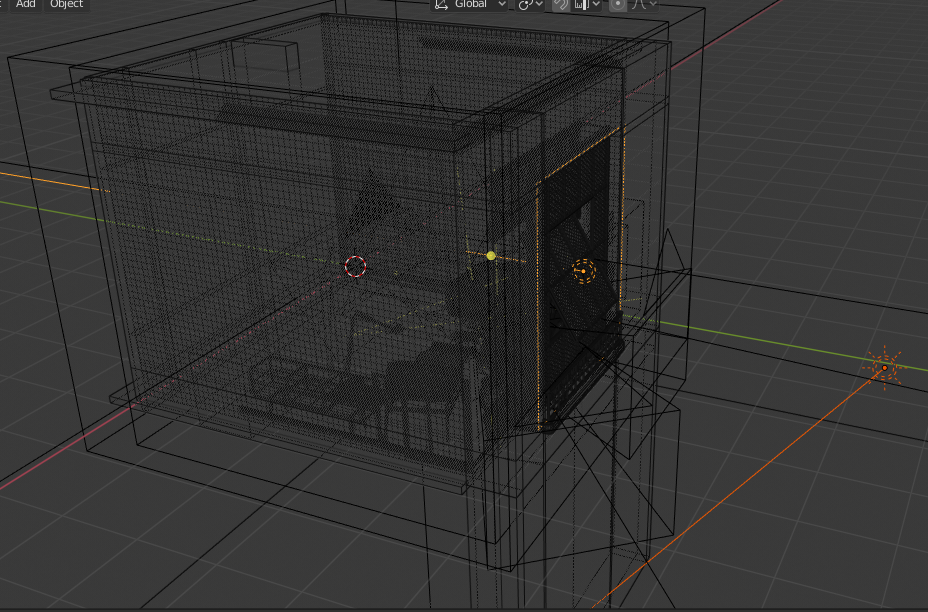
To achieve good blending between the main IRV and the nested IRV. Make sure the size of the nested IRV has some slight overlap with the main IRV probes. Also that the intensity are the same. See image below.
Wireframe of Main IRV (4x4x3) in yellow and the nested IRV (2x1) in red. Notice the size of the distance in the nested IRV.
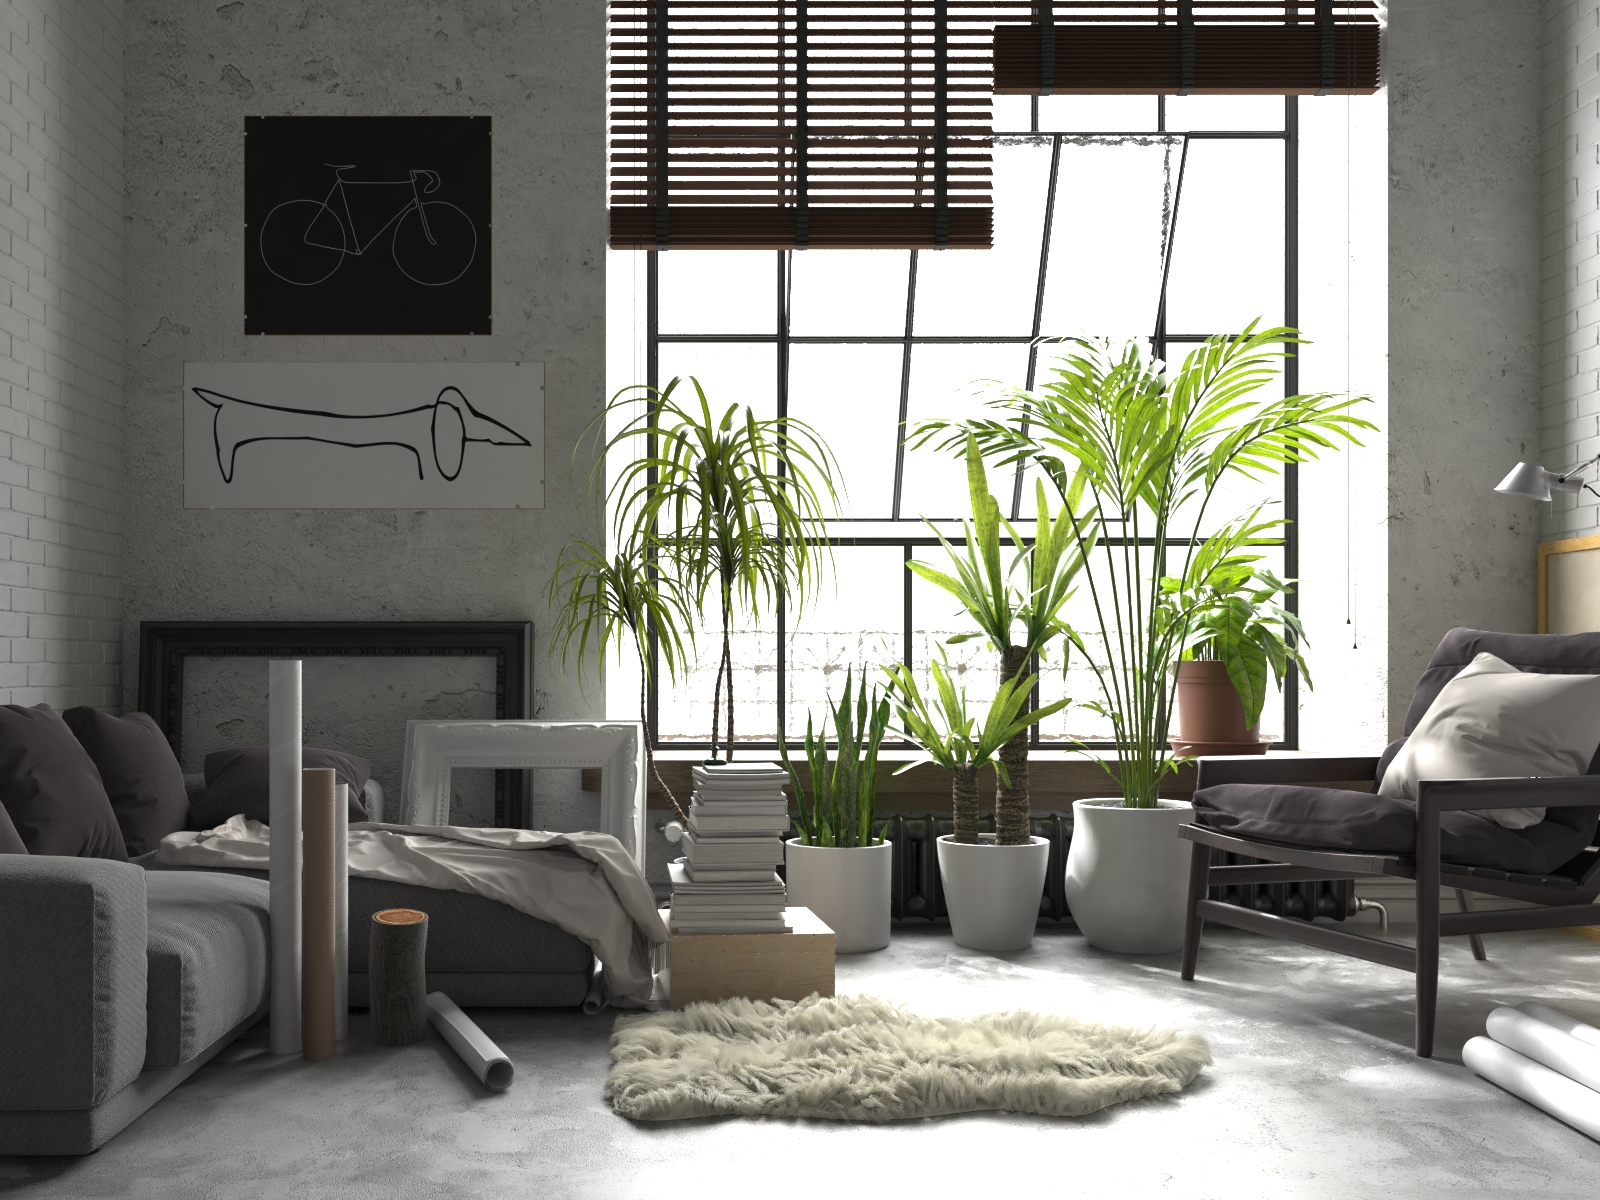
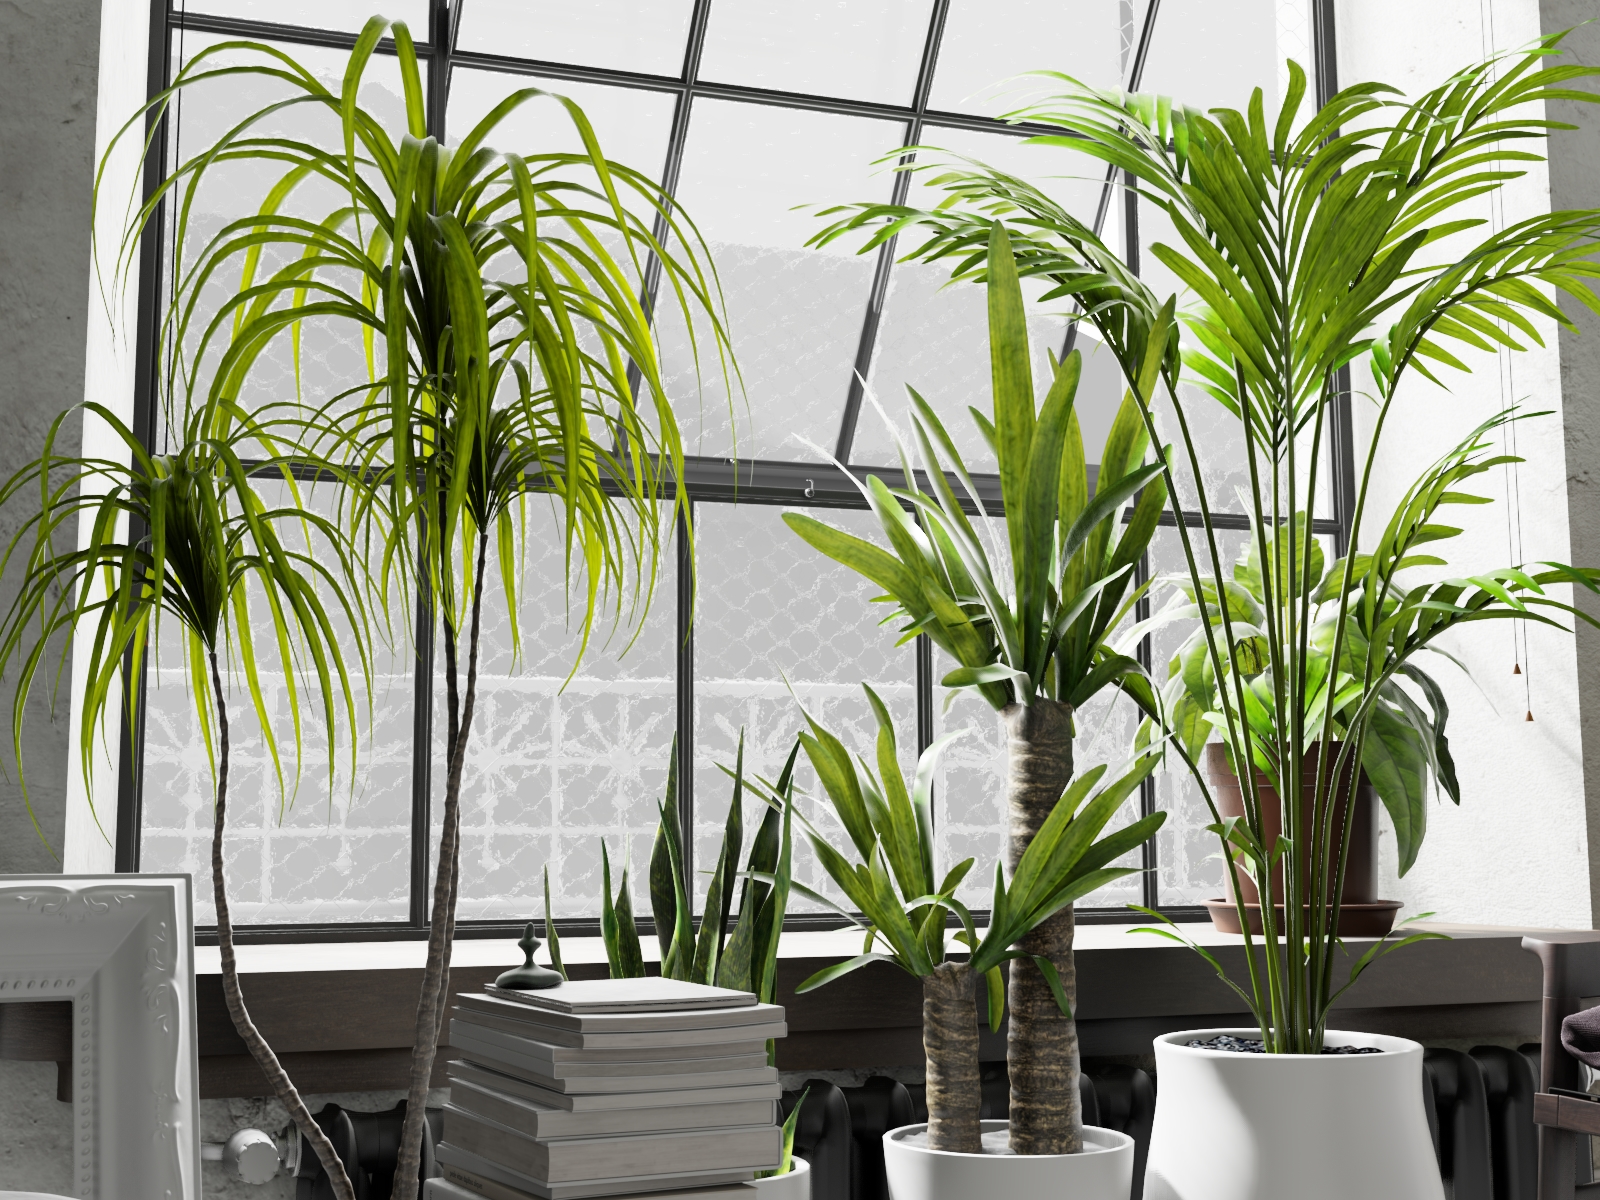
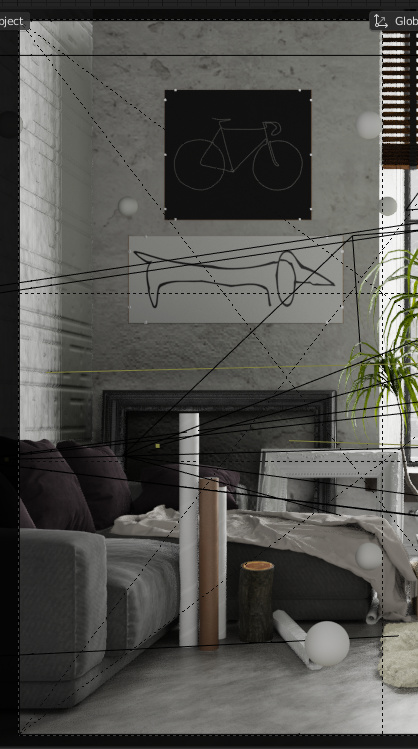
In this scene I added the Nested IRV because the Main IRV created a dark lighting GI artifact on the wall by the picture frame. See render without the nested IRV below.
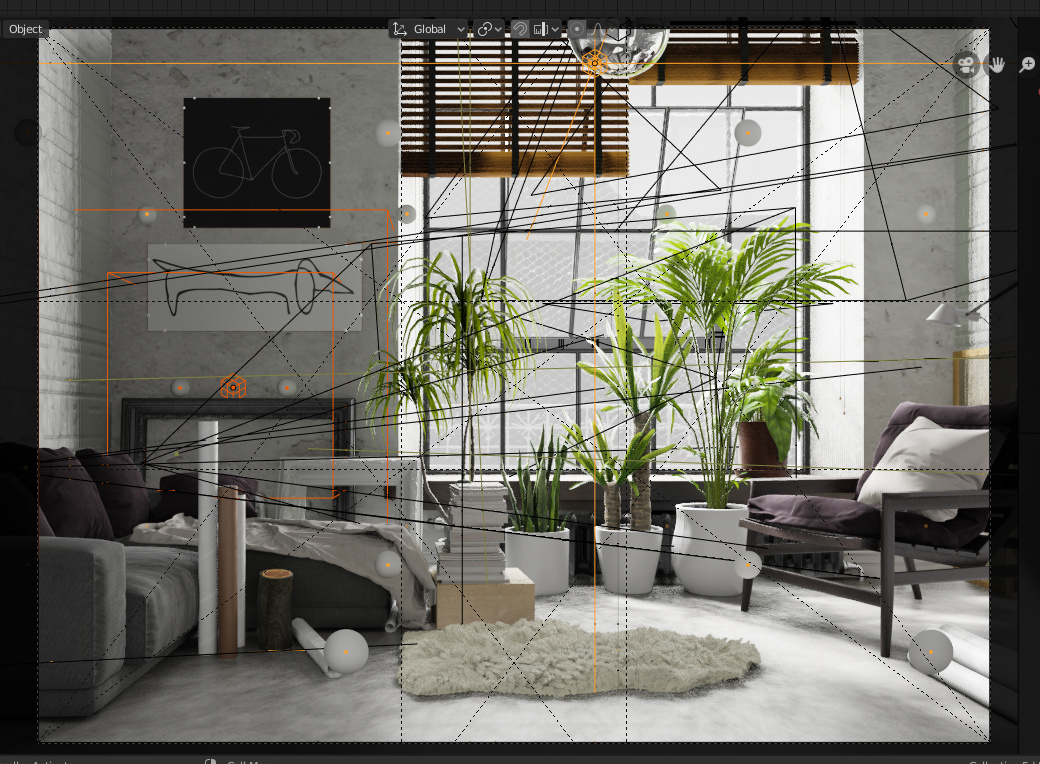
Now the render using both the Main IRV and Nested IRV (2x1). See how smooth the blending is on the wall between the Main IRV and Nested IRV and correcting the previous dark GI lighting artifact.
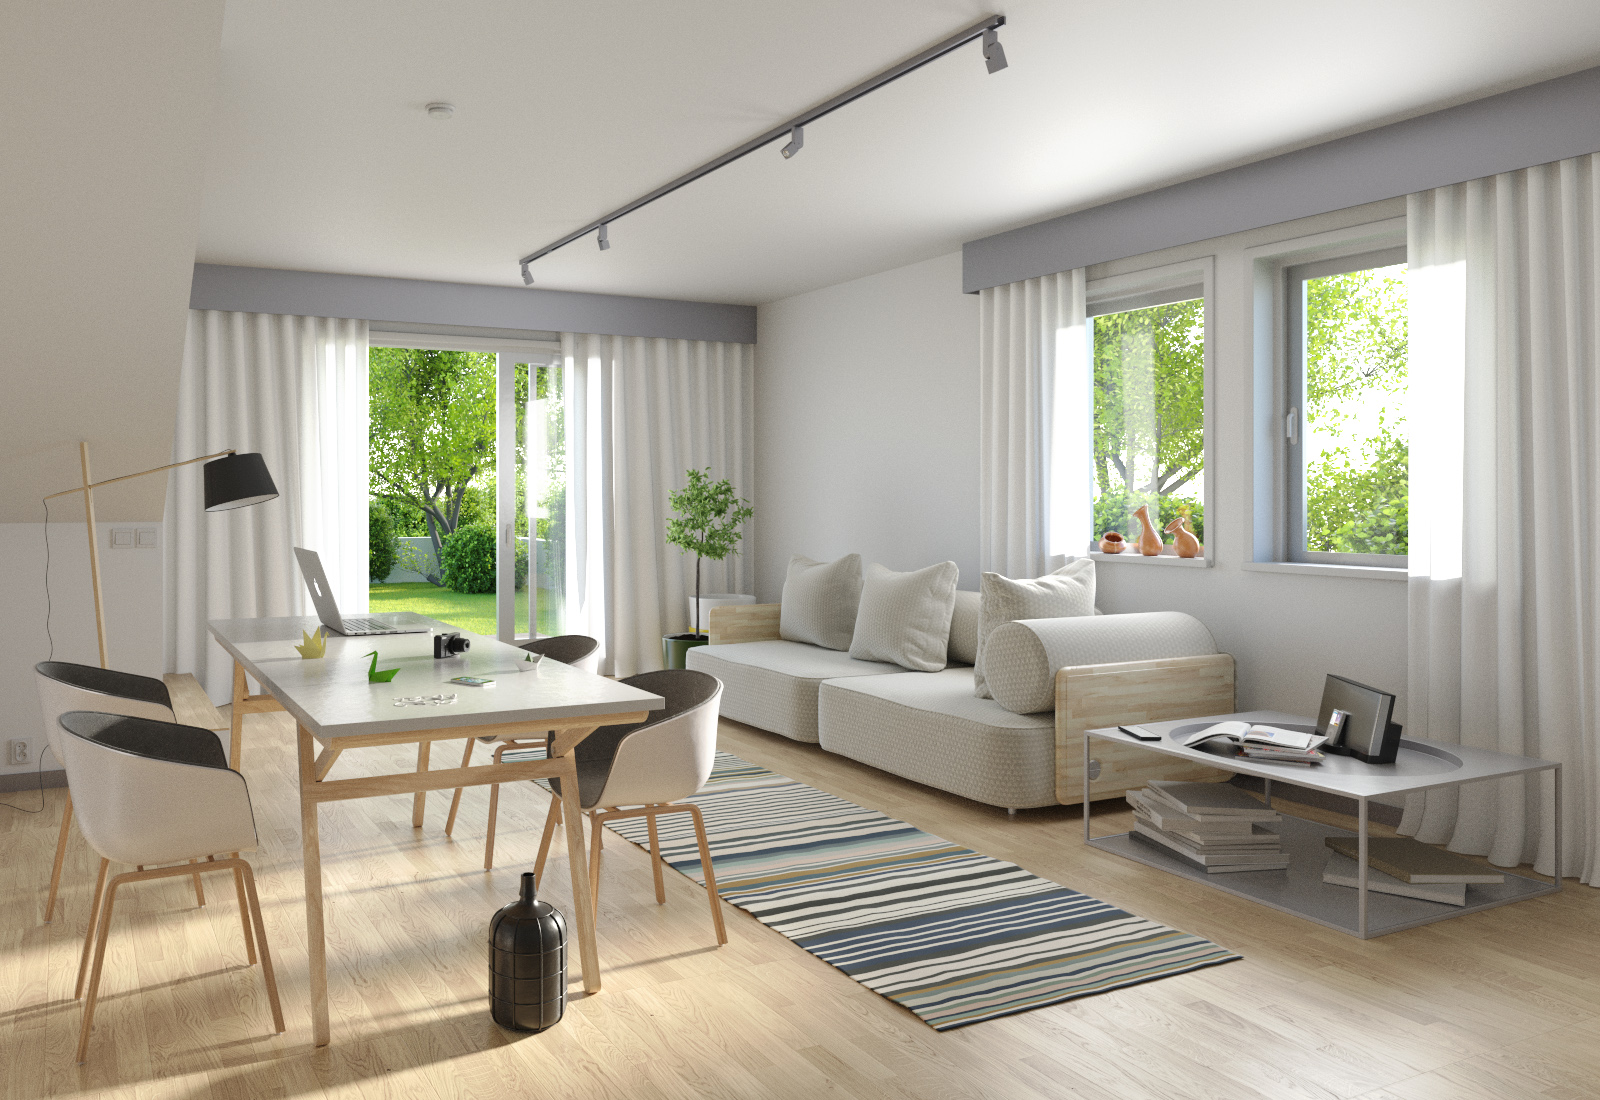
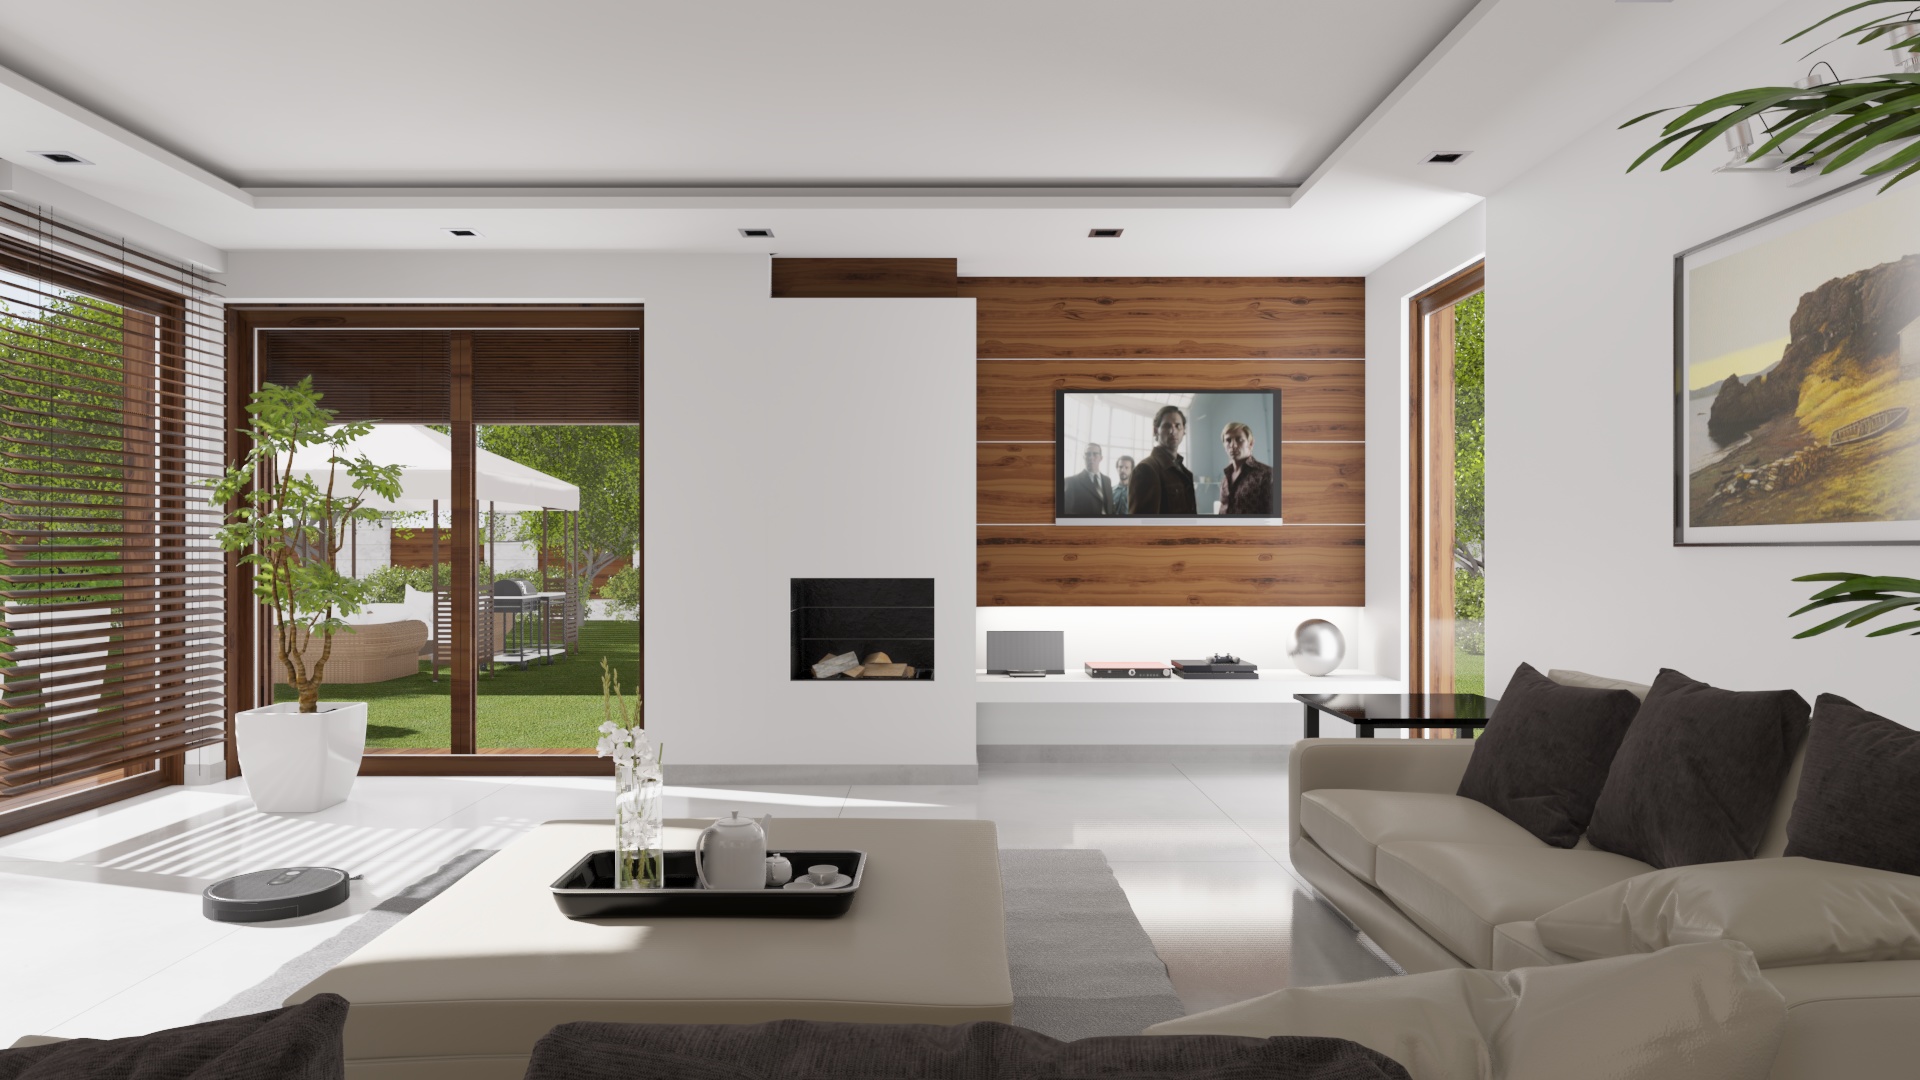
The lights in this scene are quiet basic one area just outside the window. The area light creates a good fill light on the room. One sun light creating nice back lighting and highlights on the plants and light on the chair. This increases the visual interest and dynamics on the interior scene. I usually don’t add area lights inside an interior.
Pretty nice. I love eevee as a preview renderer, and I managed to do some productviz with it too. But the gi quality is horrible and I really don’t like the whole concept of irradiance volumes, looks kinda ok on first glance but it is just shit imho. I would much rather see a hybrid rendering with raytracing and some GI baking for eevee. That said cycles needs some better option than brute force for GI too for these type of renders to be efficient with resources.
The GI in Eevee won’t be as accurate as Cycles. The quality in many cases is good enough specially once you gain experience with Eevee. In this series of interior scenes I came close to the quality of a Cycles render. To create a compelling scene is not only about GI lighting, but also quality of texturing, direct lighting, shadow definition and tone mapping.
Once the lighting is baked working with an Eevee scene is real-time and noise free. The time saving can be huge in high resolution stills and in walk-through animations it can save days of rendering.
As you mention working with Cycles GI lighting can be difficult in interior scenes. Adjusting the lighting to reduce noise especially in an interior with small windows. Their is also hot spots and splotches to improve and many more potential issues.
I agree in the future not having to use irradiance volumes probes for GI lighting would be great. I expect Eevee to move into a raytracing solution like other real-time engines like Unreal. See the video below on working with a GI raytracing in Unreal.
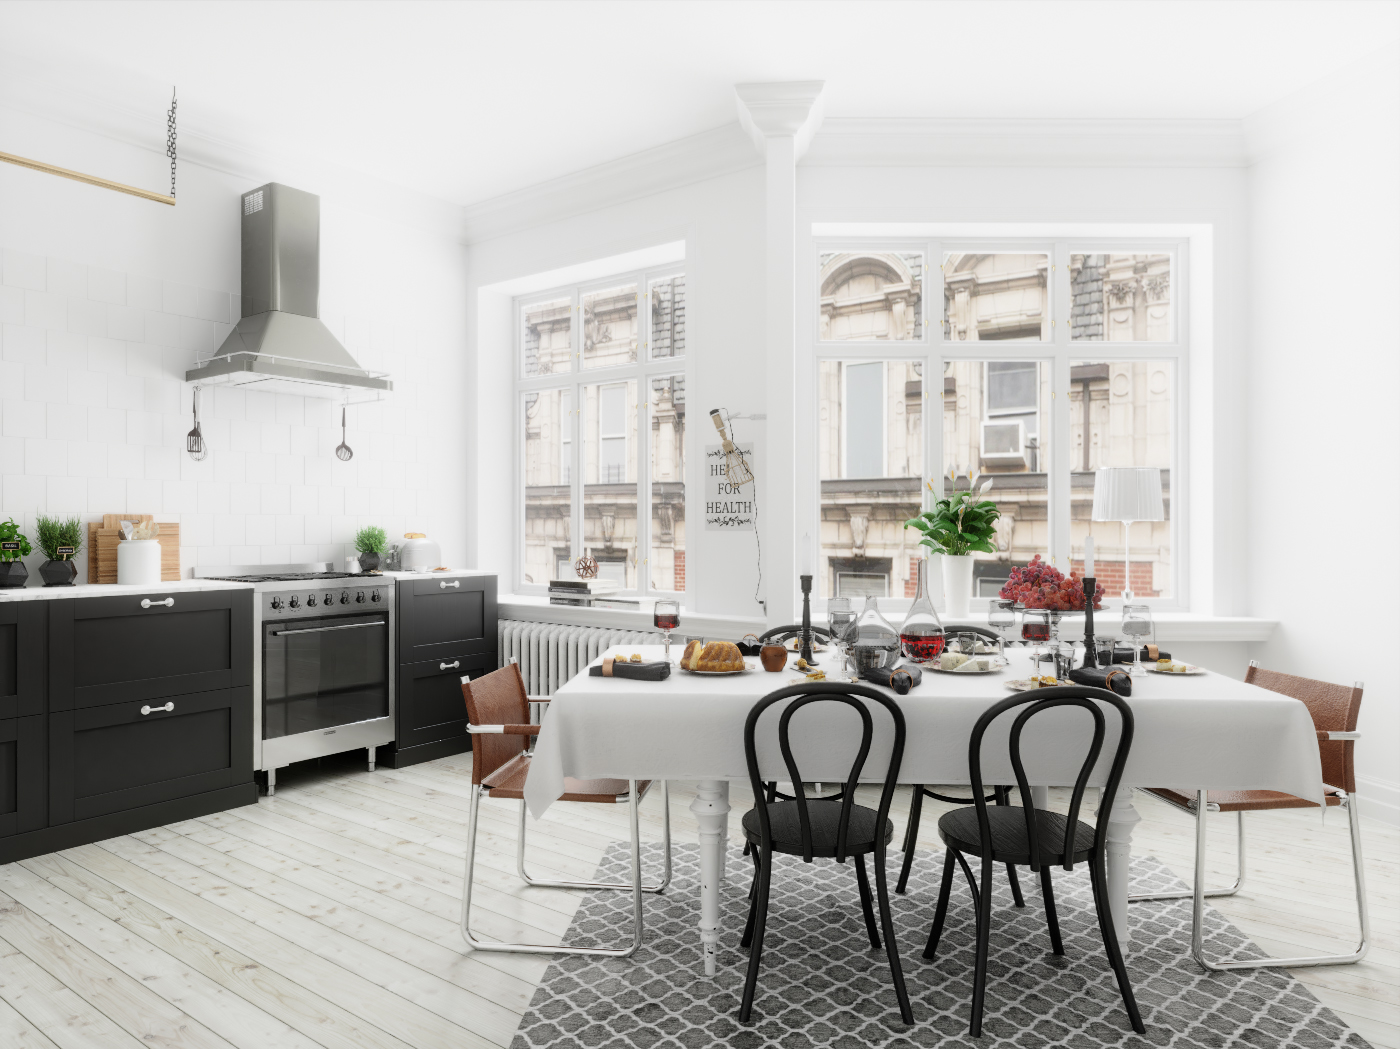
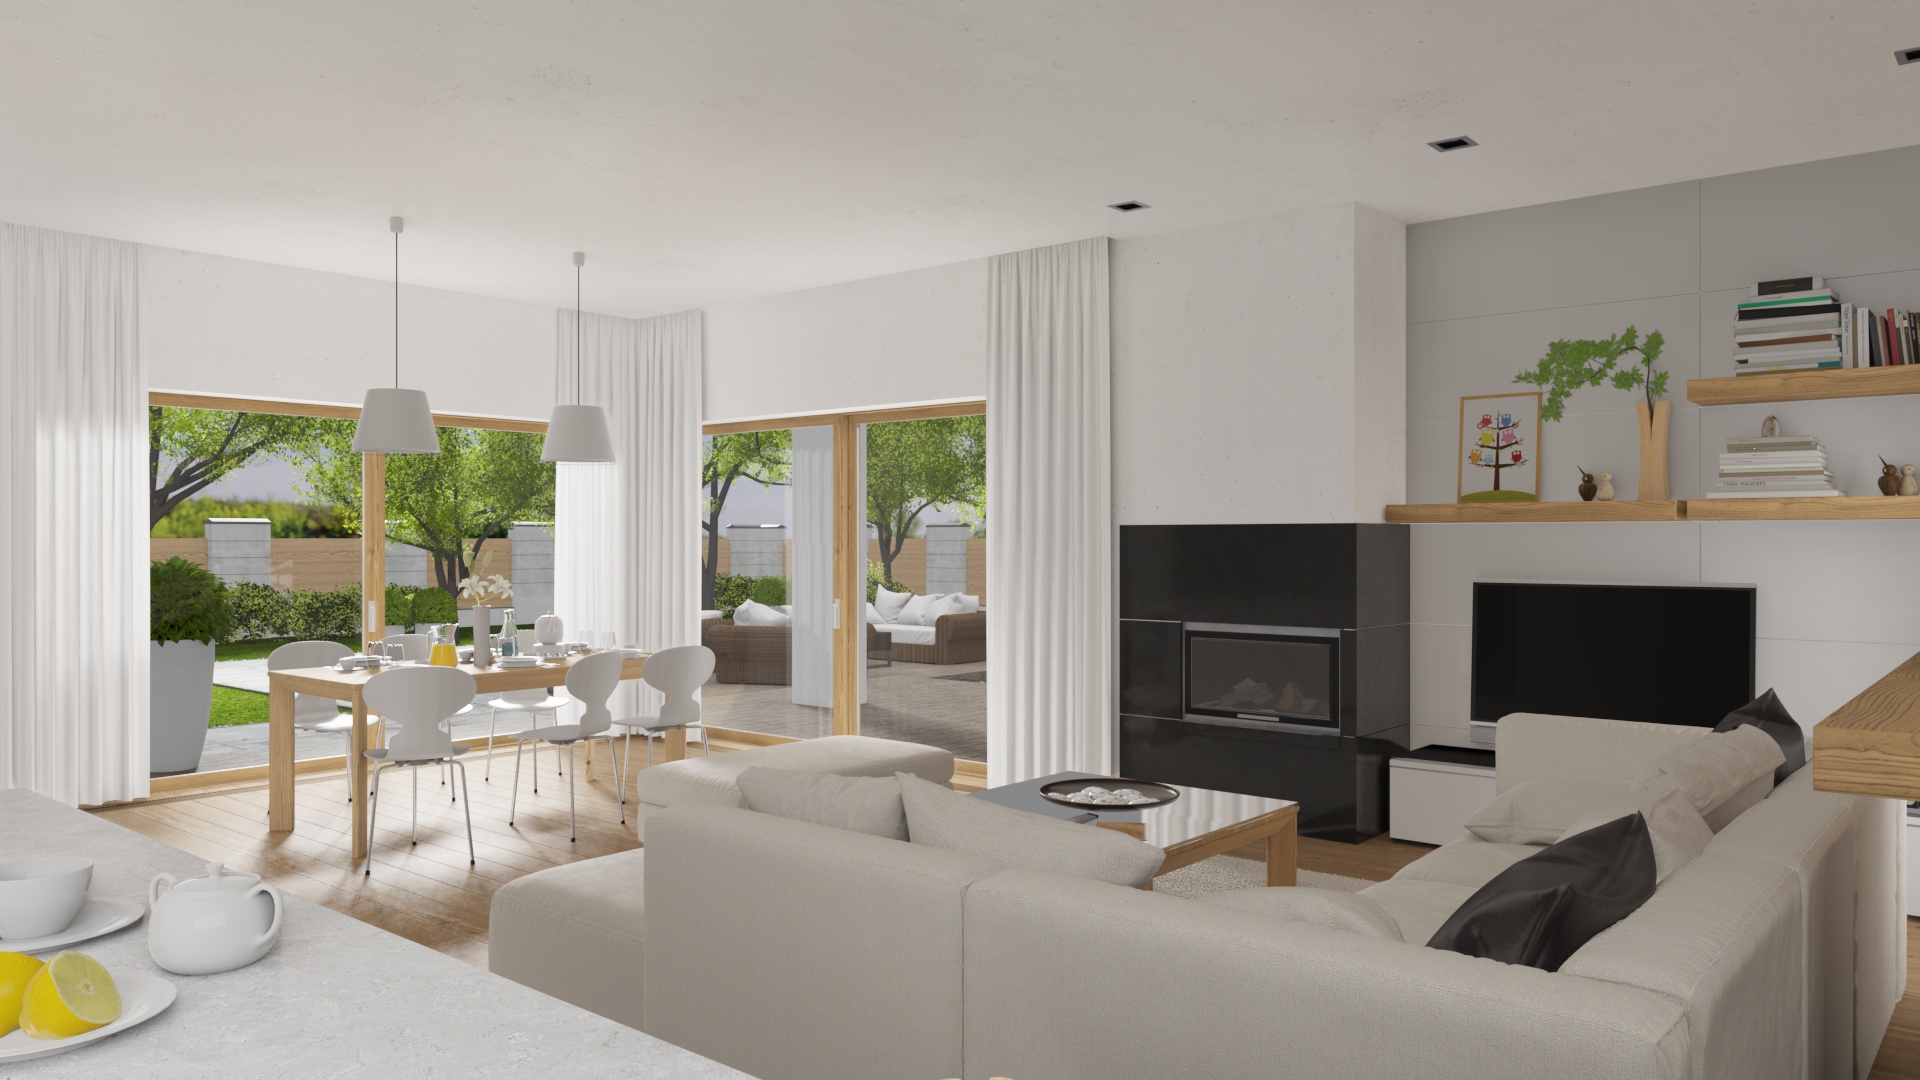
This is a heavy scene having multiple rooms with trees, plants, carpet and grass. The large carpet and many trees made from hair particles added minutes of additional rendering time at 512 sampling rate. The change to PCF shadows in Blender for this scene require high sample rate to completely smooth the shadows.
Optimizing to only render the trees that are visible can reduce the rendering time dramatically. I did not do the scene changes required for this optimization.
Workflow:
Adjusted power for area lights.
Use an HDR world background node.
IRV for the main, kitchen and hall room of 4x4x3.
IRV of 2x1x1 under the sofa for better shadow definition.
Rectangular reflection cube map.
Most of the materials were update to use the principal shader replacing Chocofur custom glossy and metal shaders. This shaders cause Eevee artifacts.
Use my realistic shader for glass items.
Reduce the size of the contact shadows on the area light to closely match the cycles render.
Sampling rate of sampling at 512 to smooth the leaves shadows on the floor and sofa.
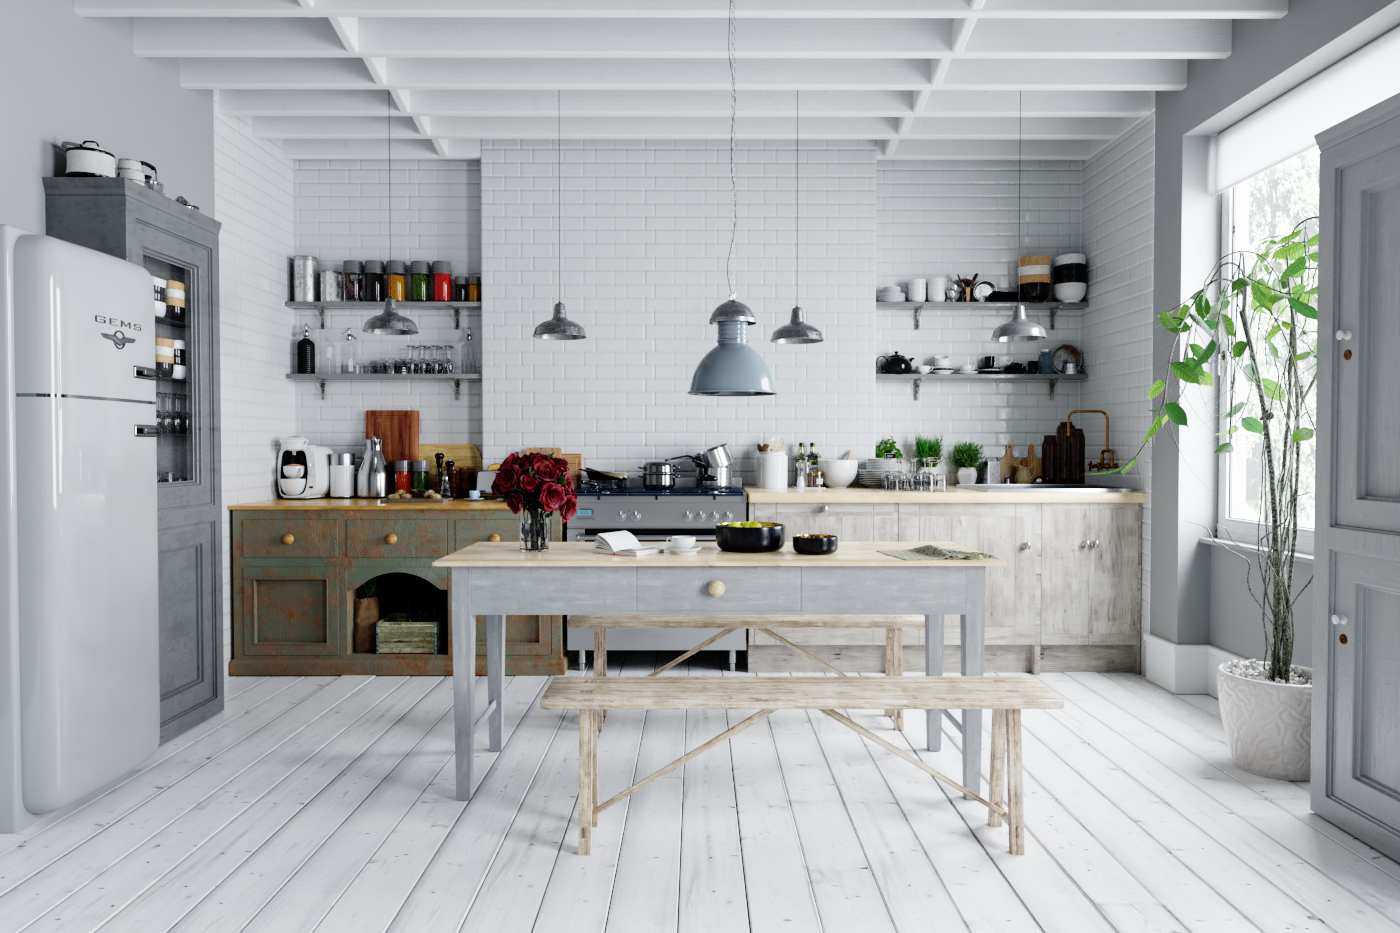
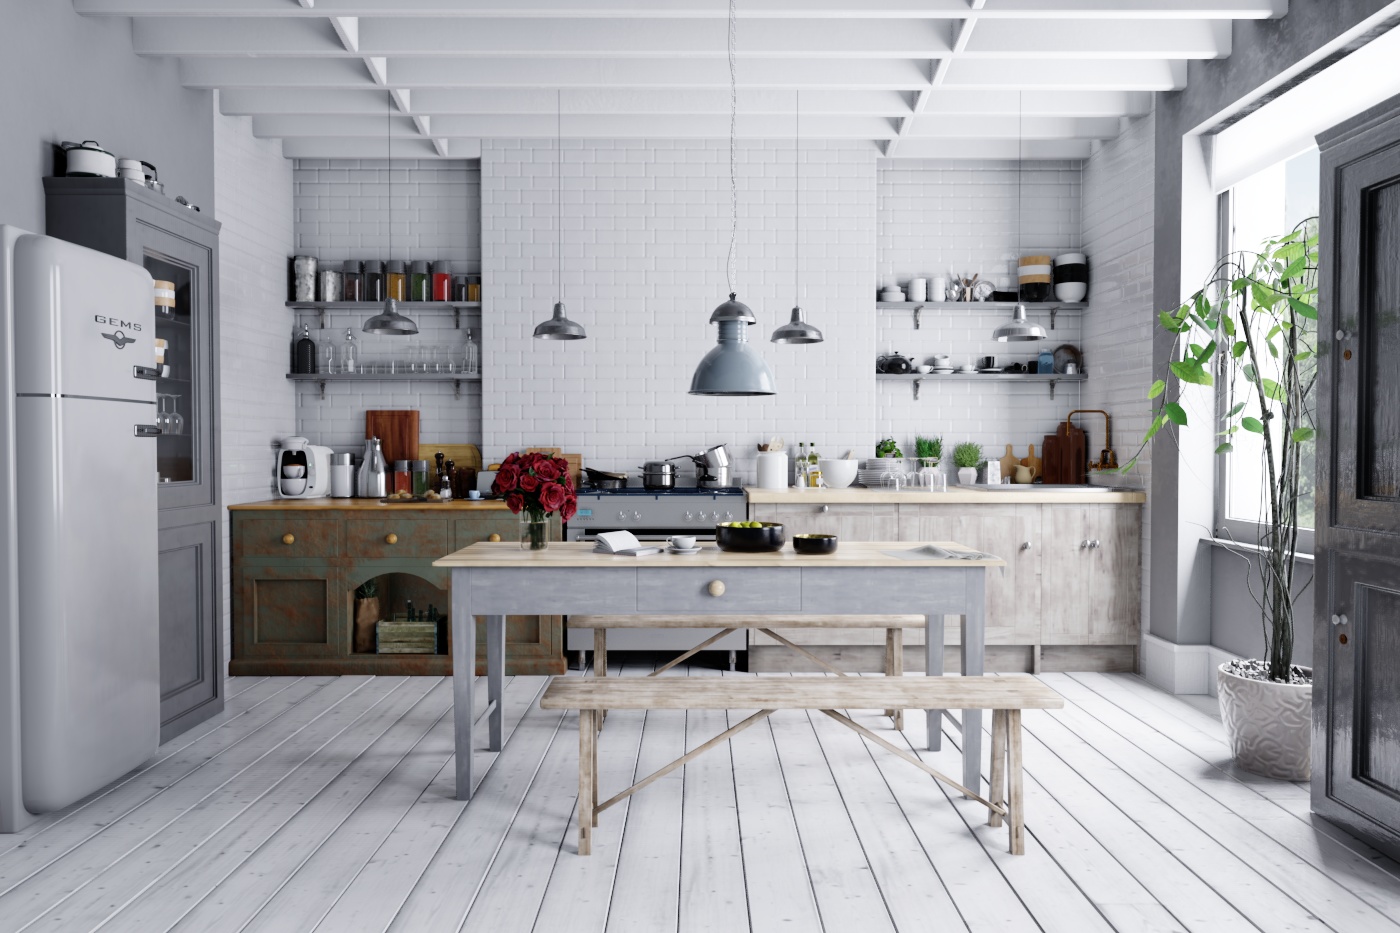
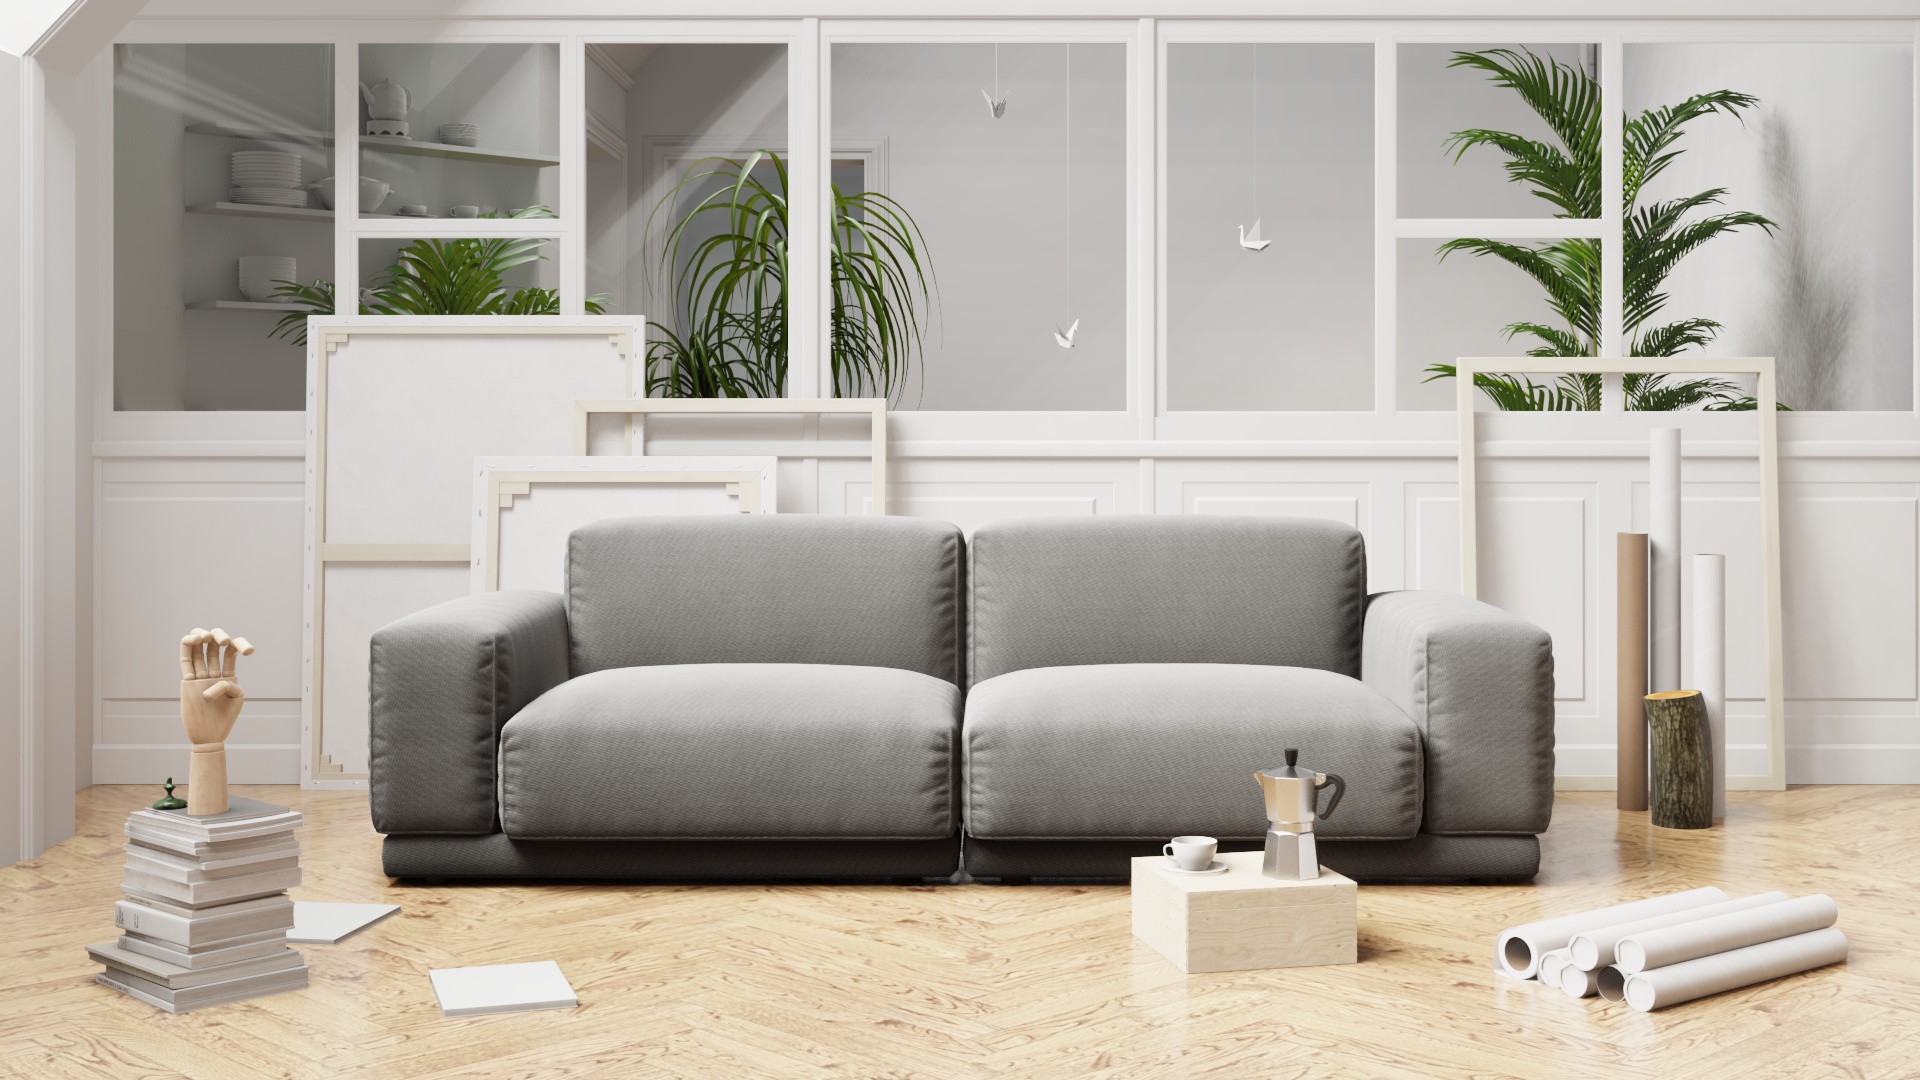
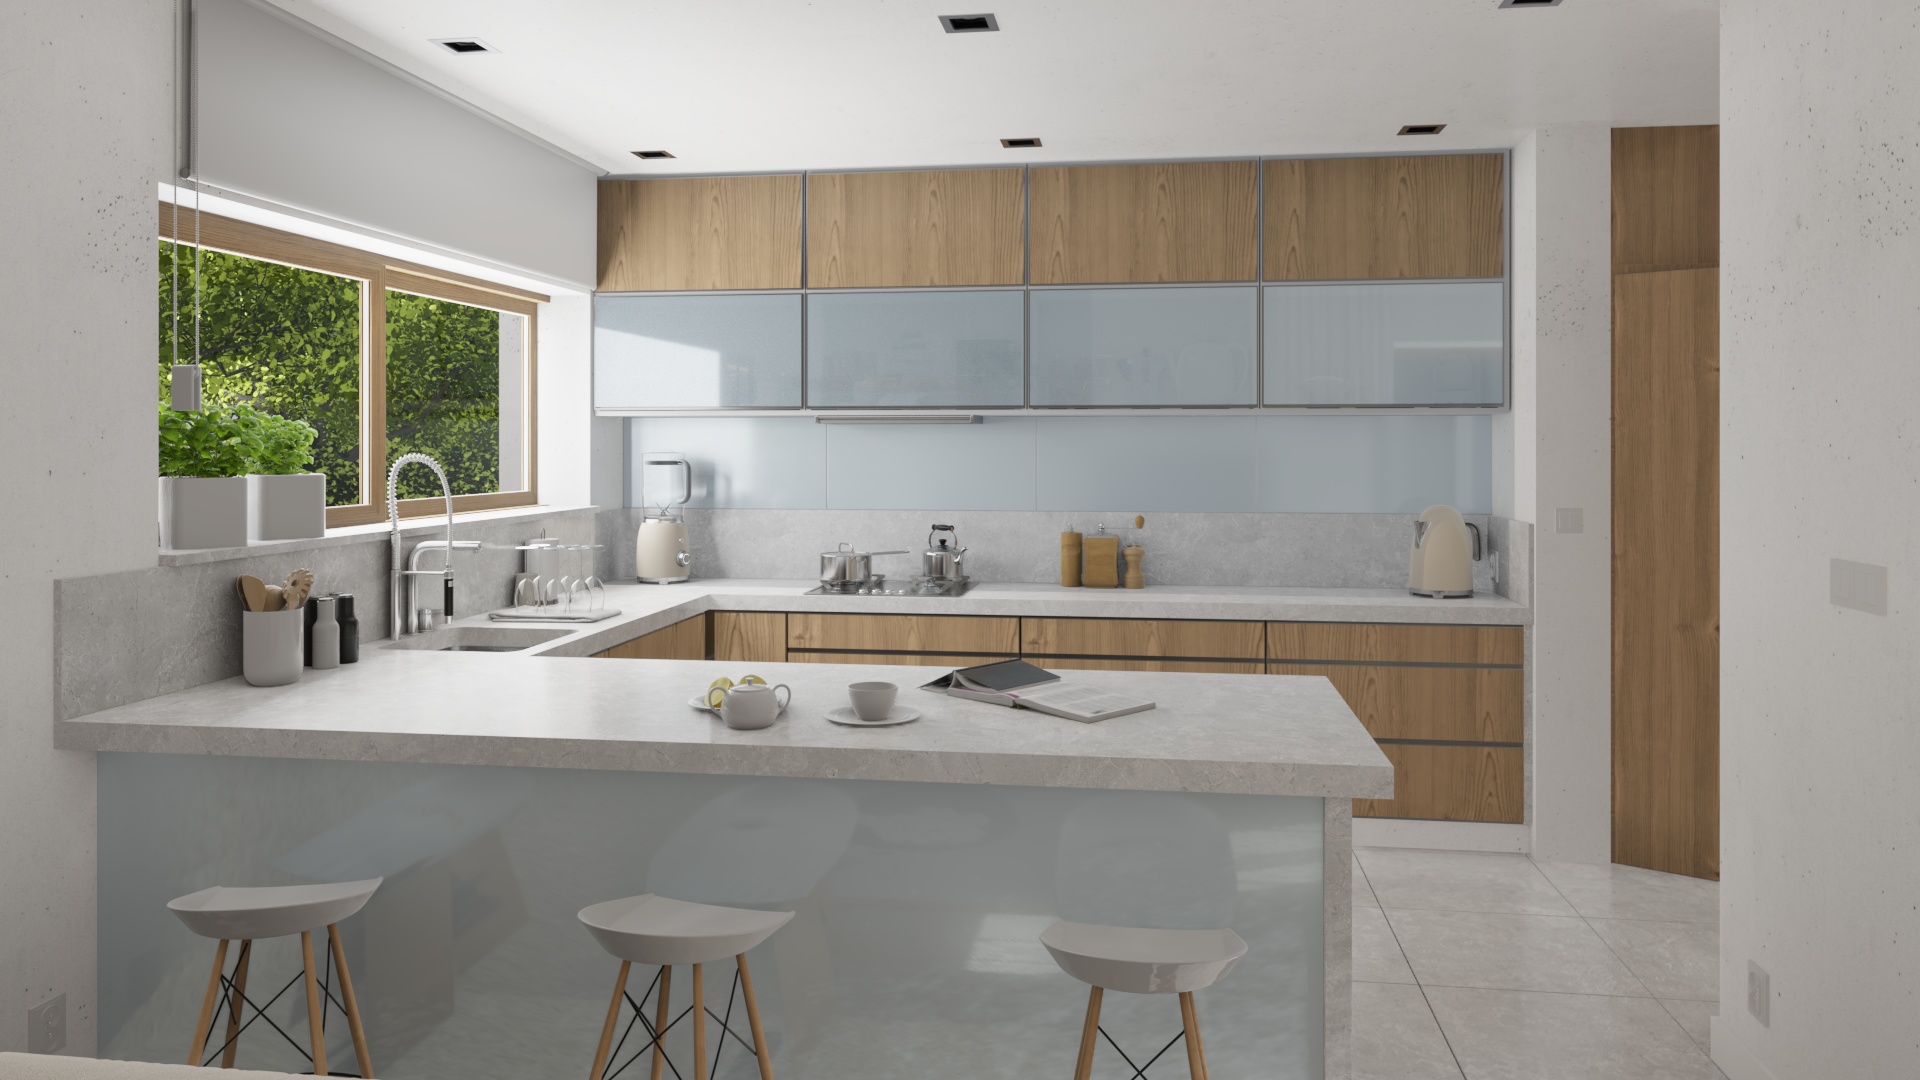
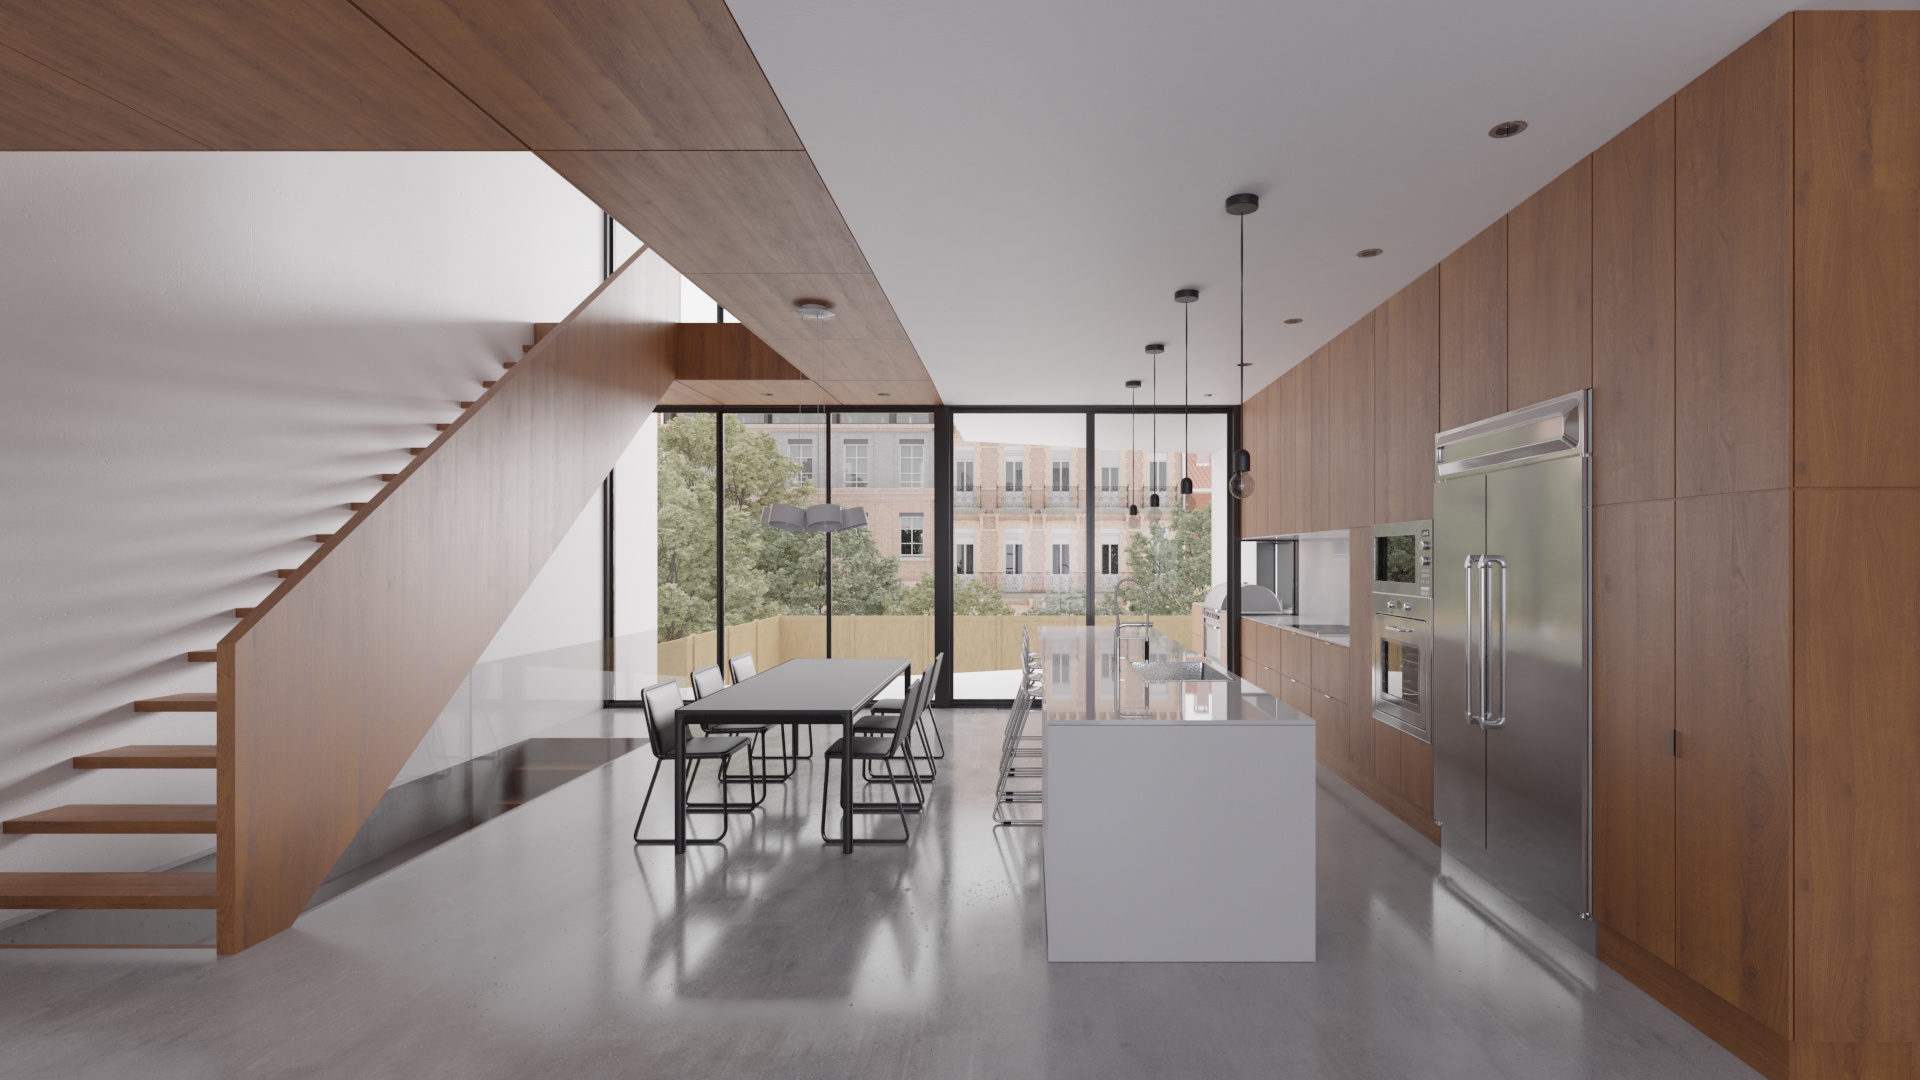
This is the main scene in cycles from Chocofur “Interior Visualization” course. This course is highly recommend for realistic interior archviz in Blender 2.80. See link ArchViz Course.
Original image from “archilovers” best project 2017:
Analysis before starting by comparing the original and cycles image:
Need to add environment light to replace the outdoor lighting from the HDRI in cycles.
Soften the strong table reflection on to the floor. That distracts from the rest of the scene composition.
Correct the lack of reflection on the wood panels from ceiling, right side panels and refrigerator compare to the cycles raw image.
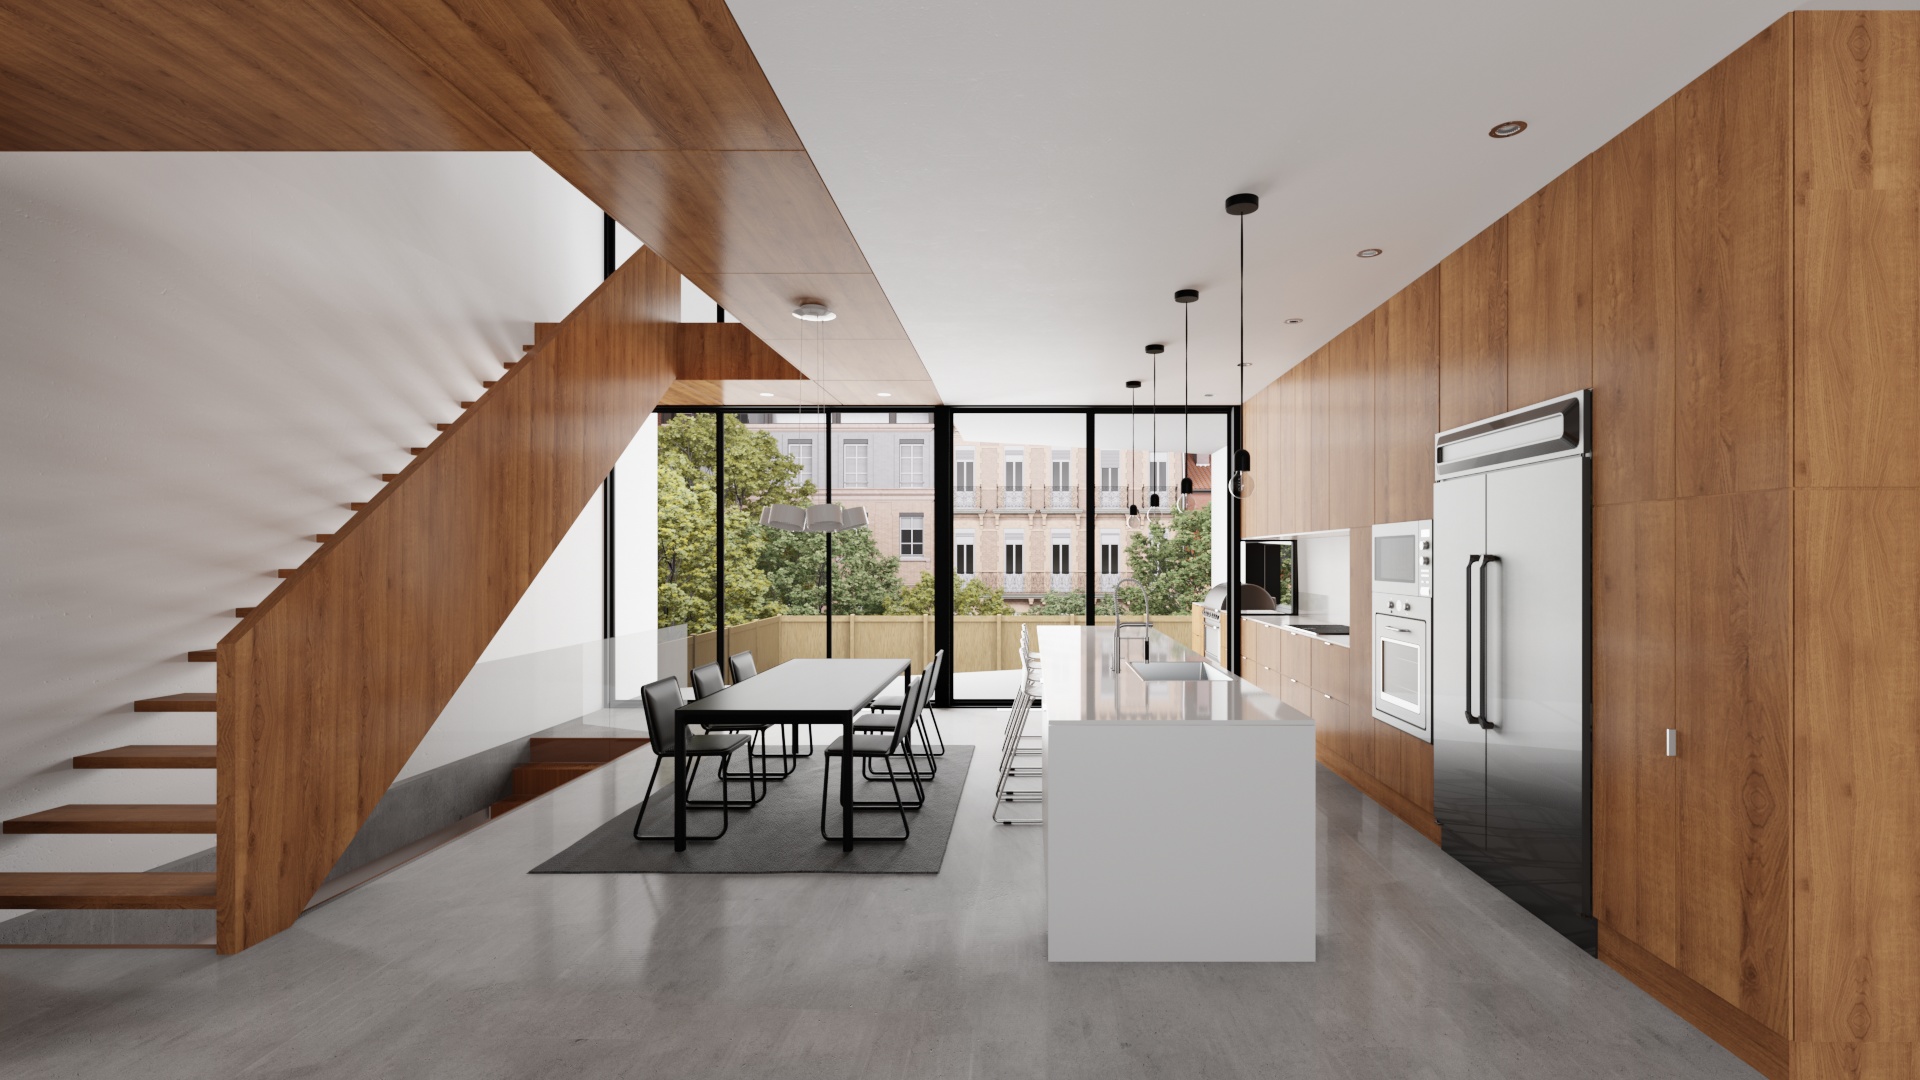
Add a carpet under the table. Visually it works better by breaking the monotony of the long flooring and matches the original.
Pay close attention to the shadow pattern on the wall created by the stairs.
The goal to match the tone mapping and materials to closely from the original image.
This is a very nice scene of medium complexity.
Workflow:
Adjusted power for area lights.
Use an HDR world background node.
IRV for the first floor 4x4x4.
IRV for the second floor of 3x2x2.
Added a reflection plane to refrigerator and appliances.
Rectangular reflection cube map.
Most of the materials were update to use the principal shader replacing Chocofur custom glossy and metal shaders. This shaders can cause Eevee artifacts specially in animation.
Use my realistic shader for glass items.
Reduce the size of the contact shadows on the area light to closely match the cycles render.
Sampling rate of 512 to smooth the shadows on the wall cause by the stairs.
Thanks @eklein for this great resource and your work on creating a great Eevee glass shader. I must ask you, does one need to delete the lighting cache before baking new irradiance volumes that have been added (to avoid doubling up the results of the previous bake)? In other words, can newly added irradiance volumes be baked without affecting current volumes and slowing down the baking time by having to bake ALL volumes at once? Thanks!
Unfortunately no. The “Bake Indirect Lighting” button clears the lighting cache and bakes all irradiance and reflection probes. What is important is how to keep your baking time to a minimum.
Tips for reducing indirect lighting baking time:
Keep the IRV’s probes grid size as small as possible. In most of my scenes the max size is 4x4x4 or smaller. Another benefit of smaller IRV’s grid is less chance of collision with scene objects that cause lighting artifacts.
Make a separate collection “no bake lights”. Put ceiling lights, small lamps or other lights that do not illuminate the scene in a big way. Hide this collection while baking or exclude from baking using the “Visibility Collection” property in IRV probe.
Put interior particle objects like rugs or exterior objects like e.g. trees, plants, grass, building, etc. in separate collections. Hide this collection while baking.
Following this techniques even in heave scenes of was able to keep my baking time to 30 seconds or less.
Just a tip: If you want to retain your present collection/hierarchy, you can just link those objects to a collection with Shift+M shortcut and that collection will work for IRV restriction.