What do Silkies eat? | Blender Animation

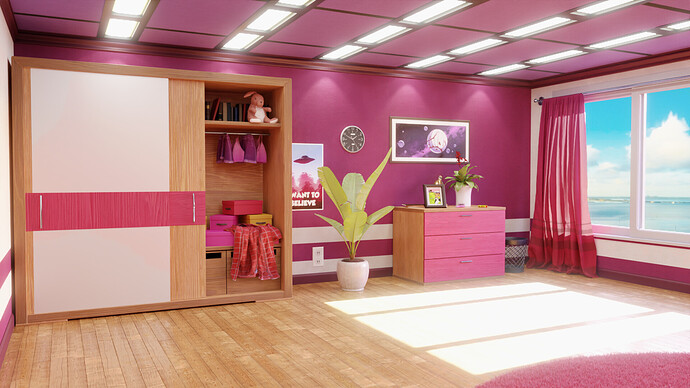
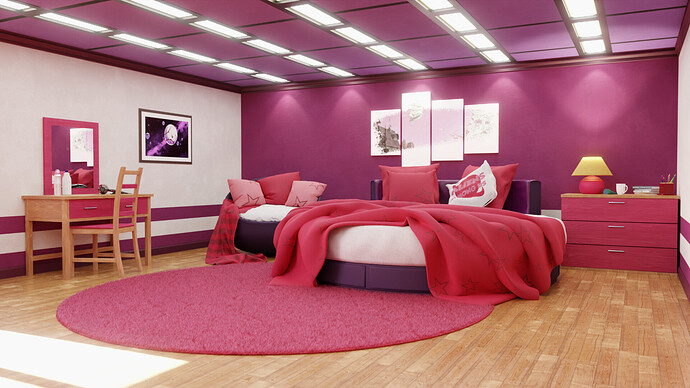
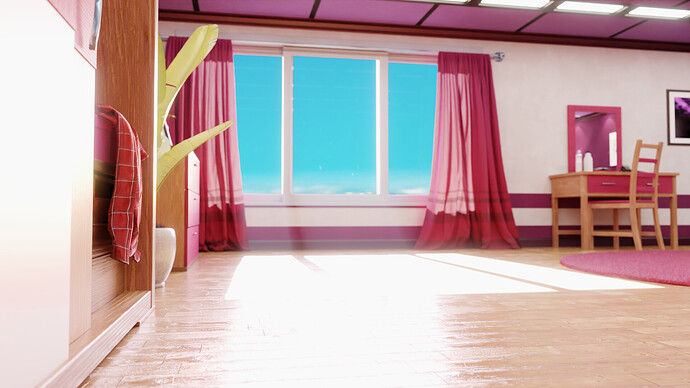
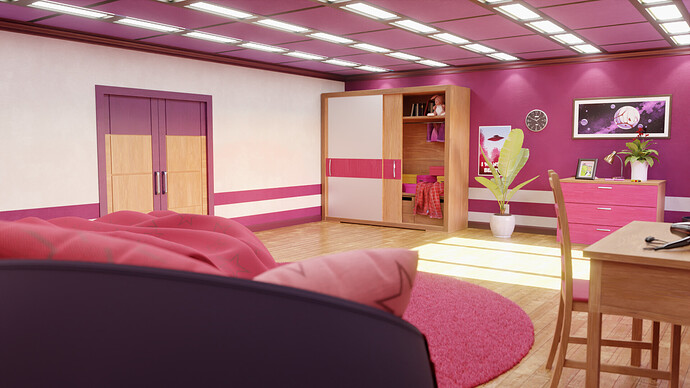
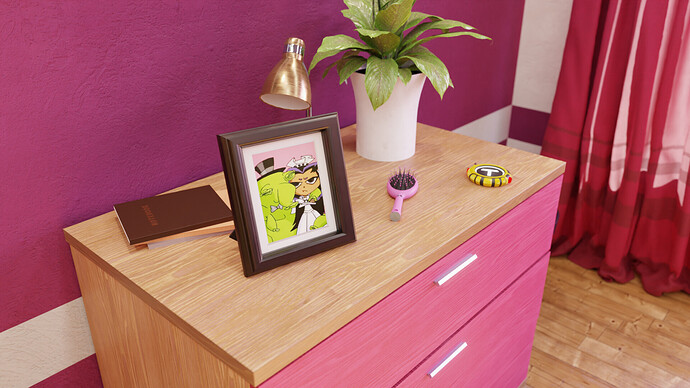
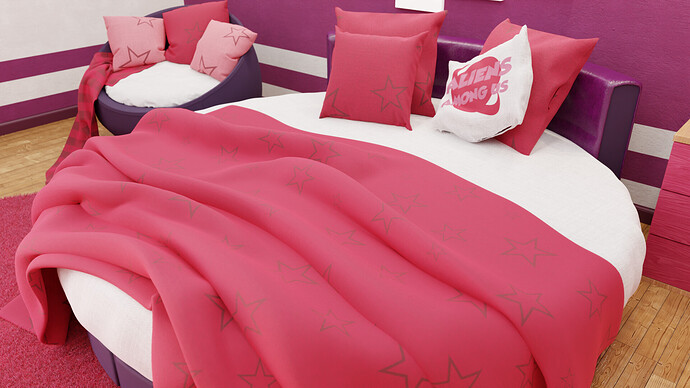
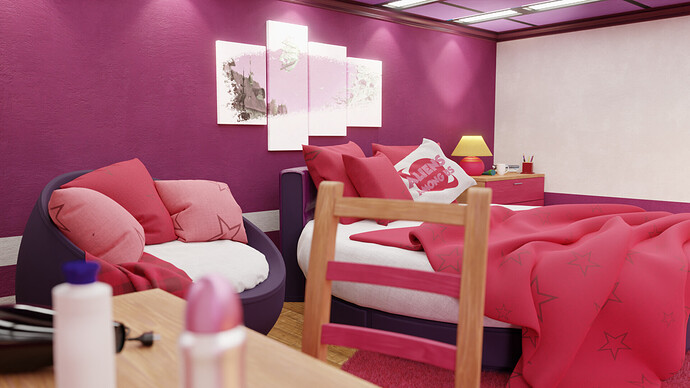
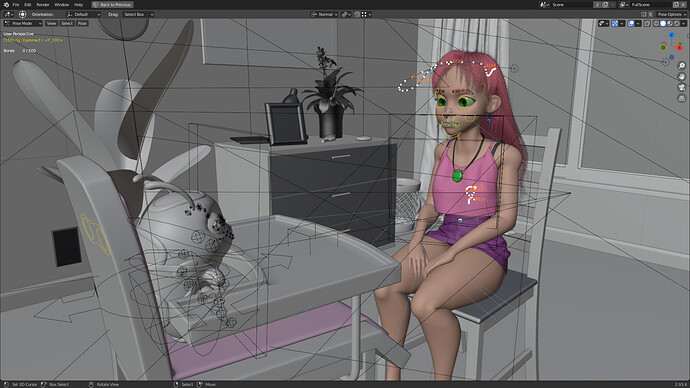
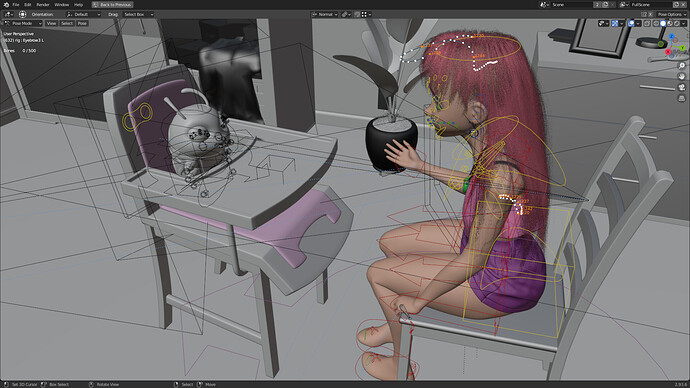
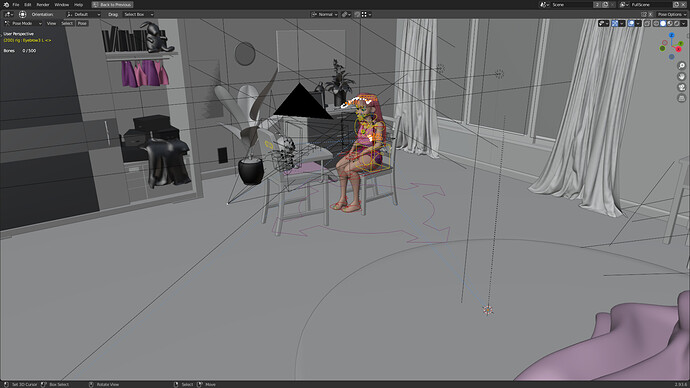
Finally! My probably biggest Blender project so far is finished! There’s practically no shot where I wouldn’t like to improve something, there’s always a little mistake, but I have to put a period somewhere. It took me ridiculous amount of work, rendering time and disk space. A lot, a lot of days spent first on creating characters, texturing, rigging, then animating and simulating the physics of clothes, hair, jewelry. Countless nights spent on rendering, then fixes, compositing, post-processing. Creating the room also took a while, because I don’t have much experience in creating Enviro, so some of the less important objects in the background are free assets available on the internet. The rest of the foreground stuff I did myself. I experimented a lot with the lighting - it could definitely be much better, but I’ll leave it as it is. The whole project is about 200GB. All of this to create a video that’s less than 20MB. Ehh… I hope it was worth it.

I treat the Starfire character model and the animation itself as 2 different projects. Because in a way they are 2 separate projects even though they are closely related.

What you see here is the result of a little over a year of my work in my spare time. If I’m being honest, it’s hard to really say how long I actually worked on the animation. Rendering itself took me about 5 months, mostly at night. It was quite a challenge, especially considering I had no budget for a renderfarm (which would have helped me a lot). So I tried to optimize the process as much as possible without losing too much on the quality of the output images. I had to sacrifice a bit anyway (motion blur, partially lighting, some less important details), but thanks to that I was able to finish the project at all.

I saved a lot of time by only rendering moving objects such as characters. The rest of the scene was rendered only once for each shot, and then those layers were put together in the compositor.

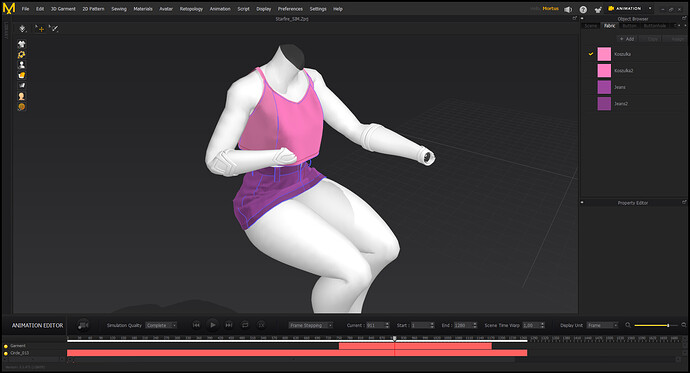
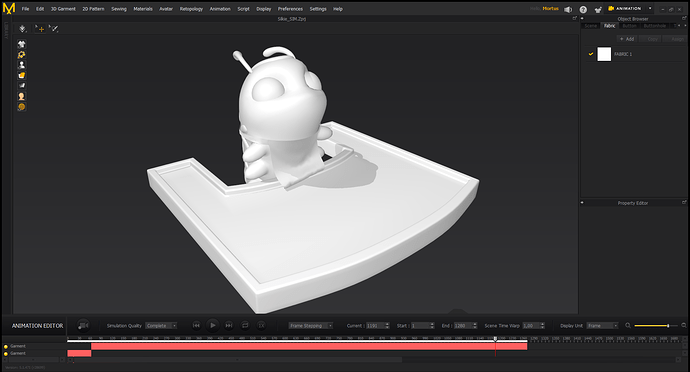
Most part of the project was obviously made in Blender. But not everything. For example, for cloth simulation I used Marvelous Designer. It’s really an amazing tool.

Simulating hair was a challenge in itself, because it’s not at all easy to keep long hair where you want it :grinning_face_with_smiling_eyes: Depending on the shot, the hair is simply simulated, simulated with additional animated colliders, or is manually animated with a custom-made particle deforming rig. I didn’t even know this was possible at all (!).

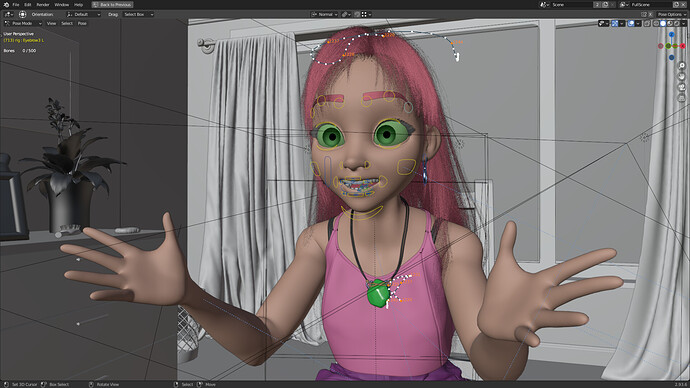
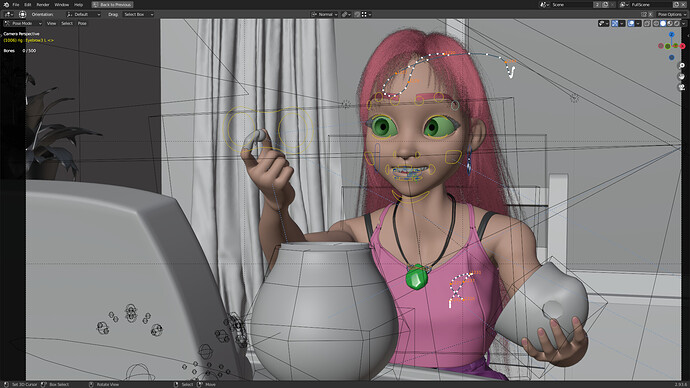
W.I.P. and facial expressions in high resolution: Starfire
Starfire in “Finished Projects”: Starfire
DeviantArt: https://www.deviantart.com/mortusk/art/What-do-Silkies-eat-Blender-Animation-902236570
ArtStation: https://www.artstation.com/artwork/xY3Nr2




79 Likes

Excellent animation, very well done :+1:

3 Likes

Thank you :slightly_smiling_face:

1 Like

This should be on the featured row!
Very well done, mate!

Do you mind some questions out of curiosity?
What’s your render engine?
Did you rendered always at the same fps or did you change it from scene to scene?

Anyway, great timing, the fluidity is a bit too much in some shots, but those are choices and not at all easy to achieve. Congrats :wink:

Did you make a single file for each shot? Didn’t you use different scenes? How can this be 200gb, maybe the imported assets had some heavy textures?

Congrats again! :slight_smile:

1 Like

Thank you for those kind words! It means a lot.
It was rendered in Cycles. The whole thing is uniformly at 30fps, but especially on the beginning it can look a little bit less smooth. I messed up Motion Blur settings that cannot be changed in postpro, so I would have to re-render the first few seconds of animation from scratch. Why do you ask, is this difference very noticeable?
I was thinking about making separate files for each shot, but it turned out, that it’s not necessary. So whole animation is in one file. However, the entire scene is split into layers that were rendered separately. The characters were rendered normally, but the background and the view outside the window are separate layers. To save time, in each shot the background was rendered only once, and then in compositor I combined all the layers into one image.
A good half of these 200GB are raw frames in OpenEXR MultiLayer format. In my case one such file takes slightly over 100MB.It took me a few months to render this animation, so I wanted to make sure I’m saving as much raw data as possible.

1 Like

Hello Mortus4 :slight_smile:
Sorry for not coming back to you sooner.
Thanks for the detailed explanation.

I think you rendered like a pro, you’re right, there is one or two shot we’re the motion blur mess up a little the fluidity but you gotta consider that I was looking for the error, and when you look that hard you can find little imperfections even in masterpieces like Arcane. So I wouldn’t sweat over it.

(by the way of course its 200gb if you’ve gone trough EXR, my bad for not thinking about it)

It’s actually very nice discovering the whole thing rendered in cycles, cause her hair are MAJESTIC.

Why they don’t flicker? Ahahah
It caused me so much pain hair flickering in cycles that I started rendering in Eevee.

If you’ve gone for EXR, you probably denoised everything at the end? Like a temporal denoiser?
Motion Blur helped too, I can Imagine, but nonetheless, you did a great job with it.

Keep up the good work mate :slight_smile:

4 Likes

P.S.
By the way, watching it again now, i cannot even find that imperfection I was telling you about, the eye is already adjusted to it. I fell like an old man.
:slight_smile:

2 Likes

That’s why feedback and fresh eye are so important. I was watching this animation so many times that now I probably don’t see a half of imperfections that are present here.
Thank you. When it comes to hair, I’ve really experimented a lot. Not just with the material, but especially with the physics. Animation of this type of objects is actually a whole separate topic. At its core, of course, it’s a simple simulation, but at times it’s really heavily art-directed. Sometimes by additional, animated colliders, sometimes particles are animated manually by a separate, specially created for this purpose armature. I didn’t even know it was possible at all (!). Despite all the effort, at times the hair still gets a little out of control and I am fully aware of that.
Yes, the whole animation was denoised in compositor, with Blender 3.0. Honestly, I’m not a big fan of this new OID denoiser. Yes, image is more “clean”, but also less detailed compared to old solution. Fortunately I was able to partially restore some details in compositor, so I’m not complaining.
I’m not too happy with Motion Blur either, as I’m using the “cheaper” solution here, the “vector blur” node. The real MB would require way too much time to render. I even managed to partially replicate this “volumetric” effect of real motion blur in compositor. Unfortunately, I don’t fully understand how data is stored on a vector pass, so the effect was very inconsistent across the frames and I had to abandon it altogether. But still, I learned a lot with this project.

1 Like

I can see that, the hair motion is gorgeous (an armature for the hair? OmG, I have to look at it) and I can only imagine the amount of work and experiments. Thanks to explain it in such details it was kinda inspiring. I too think that with each project you can go deeper and deeper into blender. I don’t think you should be so angry with the software ahahaha, you brought up a piece of real television with it. Nice work!

I was looking for a nice general solution for the flickering, but doesn’t seem like you encountered it that much. One of my early project was devastated by it, cause the denoising was brutal.

I think I need to go deeper.

Keep the good works up, best of luck :slight_smile:

1 Like

You’re on the #featured row! :+1:

2 Likes

whole thing looks very polished!

I would love to hear more about the custom particle deforming hair rig!

3 Likes

wow ,
that was a long journey!, but you did it.
The result is really beautiful and the animationstyle is excellent.

3 Likes

This is incredible!! I feel re-inspired to try harder and master more of Blender!

2 Likes

Don’t forget to send pics of your new office at Pixar!

3 Likes

@Andrea_Cicero Thank you! I still have on my disk a few test renders from the time when I experimented with physics of the hair, necklace, earrings etc. Besides of that, I don’t know if it’s even visible, but her thighs are deforming as well. This effect is enabled throughout whole animation, but it’s best visible around 0:27, when Starfire is moving on the chair. There are a lot of little things I’ve done and aren’t even visible on the first sight :grinning_face_with_smiling_eyes:
It depends on what you actually mean by “flickering”. Do you mean hair behavior during simulation, visual issues after denoising, problems with the material or something else?

@bartv Thank you so much! :pray:

@shteeve Thank you, nice to read that :wink: I found this method on Blender Cloud. In short it’s using lattice and additional Armature that is mimicing bones from the main rig. I don’t remember why it needed this second Armature, but for some reason it didn’t work just with one. Recently, I also managed to build a rig that deforms curves with similar method. Combined with Spline IK, this makes for a pretty cool tool to animate e.g. tentacles. Maybe I’ll use it some day, haha.

@TanzaniteMNK Thank you, I’m glad that my work inspired you :slightly_smiling_face: Such comments encourage me to try harder and harder with each project.

@PedroCorreiaArtwork With great pleasure, although I personally think that I still have a long way to Pixar level, haha :wink:

2 Likes

Hey there Mortus, yes Its all in that fluidity I was praising you about. Fluid motion comes with its duties, I think its one of the greatest thing about animation, blender in particular gives you no limits about it, I always have fun with the Animall add-on.

Sorry, for Flickering I meant the actual video flickering due to the noise that comes when the light hit the hairs and how you did denoise it. I couldn’t bring myself to temporal denoise it all in Blender, I did many tries, did u use Davinci? I had some issues trying to get rid of it with Premiere.
Am I the only one who get this dam flickering ahahahhaha

1 Like

Excellent work in the rigging and animation, and well of course the character modelling and all the setup!!!
beautiful character as well!!!

2 Likes

this is really good work .animation excellent. its completely rigify character or custom rig?. love it hair simulation and stratchy part🔥

2 Likes

I featured you on BlenderNation, have a great weekend!

1 Like

@walt1 Oh, I don’t know how I missed your comment. Yes, it definitely was a long journey, but very satisfying one. Thank you!

@Andrea_Cicero Ok, I see. Actually, if you look closely you can see a bit of flickering in some shots. In the shot where the worm is eating from the jar, you can see pretty strong flickering on his antennas. It’s entirely caused by the denoiser. No, I don’t use Davinci. Dunno, maybe I should.

@MichaelBenDavid Thank you! As I said - I’m treating character and animation as 2 separate projects.Thanks to that I was able to focus on both things better. Nice to know it was worth the effort :wink:

@NipunHeshan It depends. Whole rig for Starfire is based on rigify, but I changed some settings for my needs. However, the rig of her face is completely custom made. Rigify is using bones to deform face, but personally I don’t like that approach.So I created my own rig based on shape keys. Thank you.

@bartv Thank you so much once again! :heart_eyes:

5 Likes