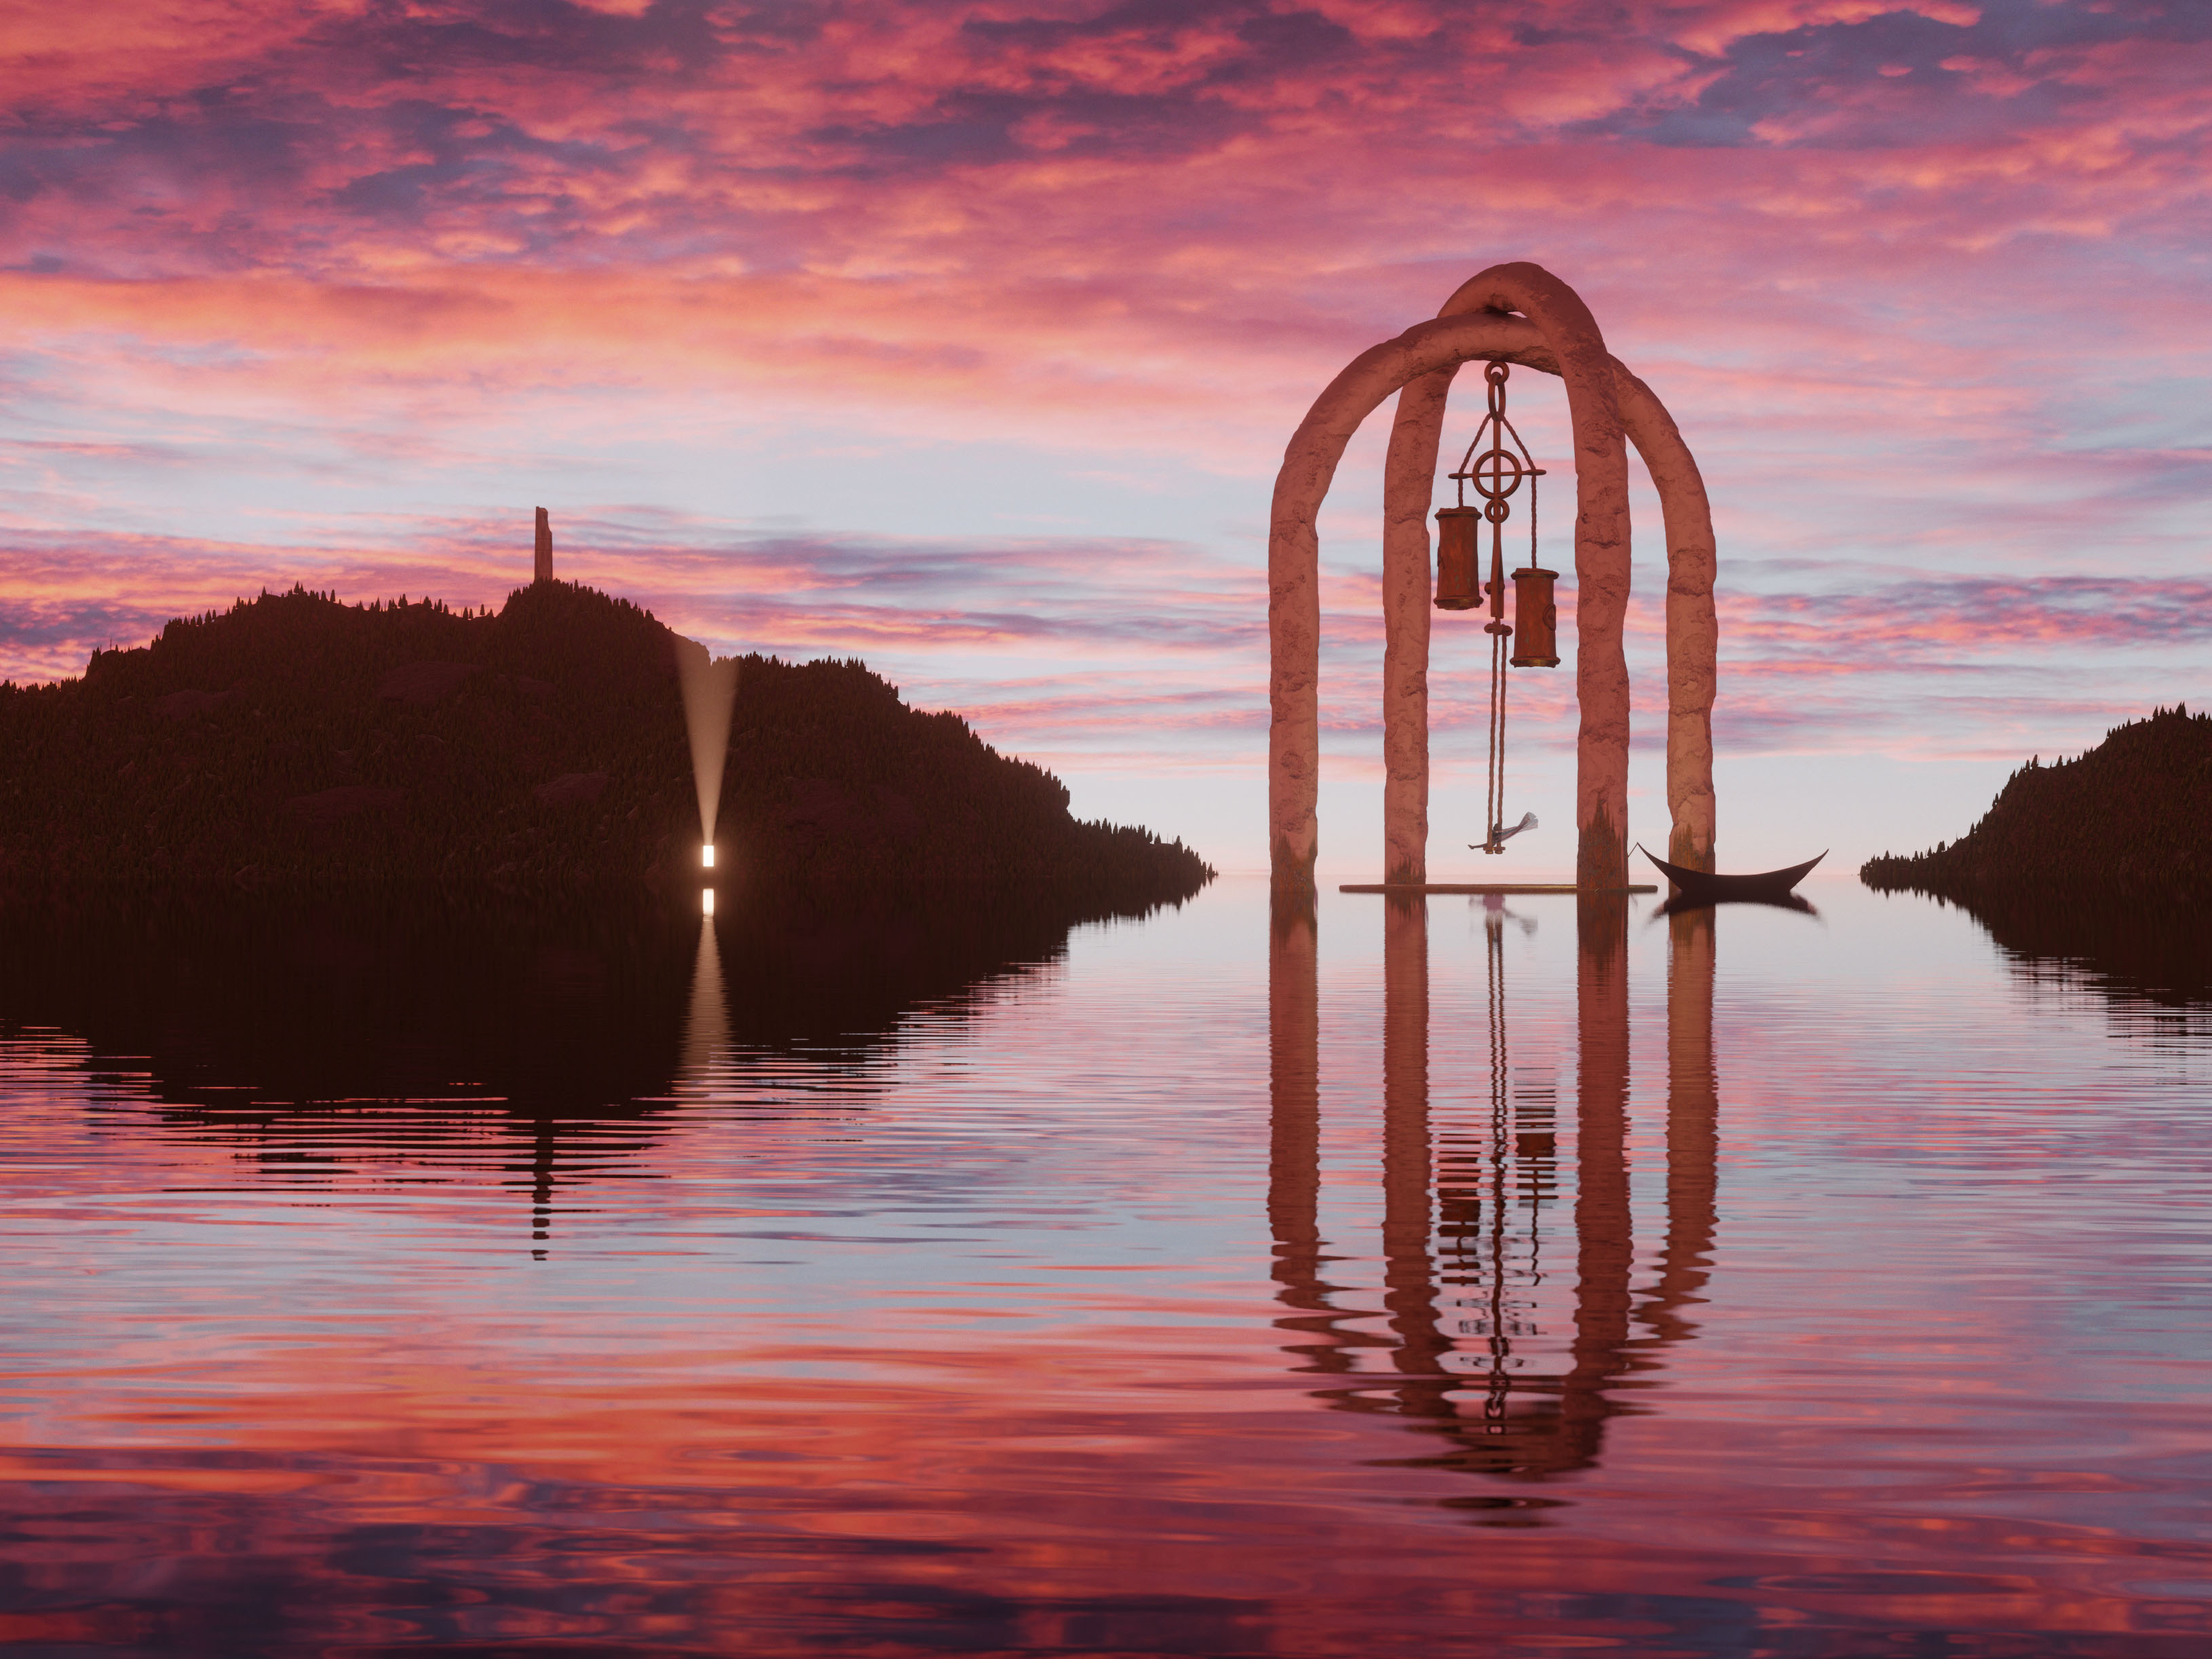
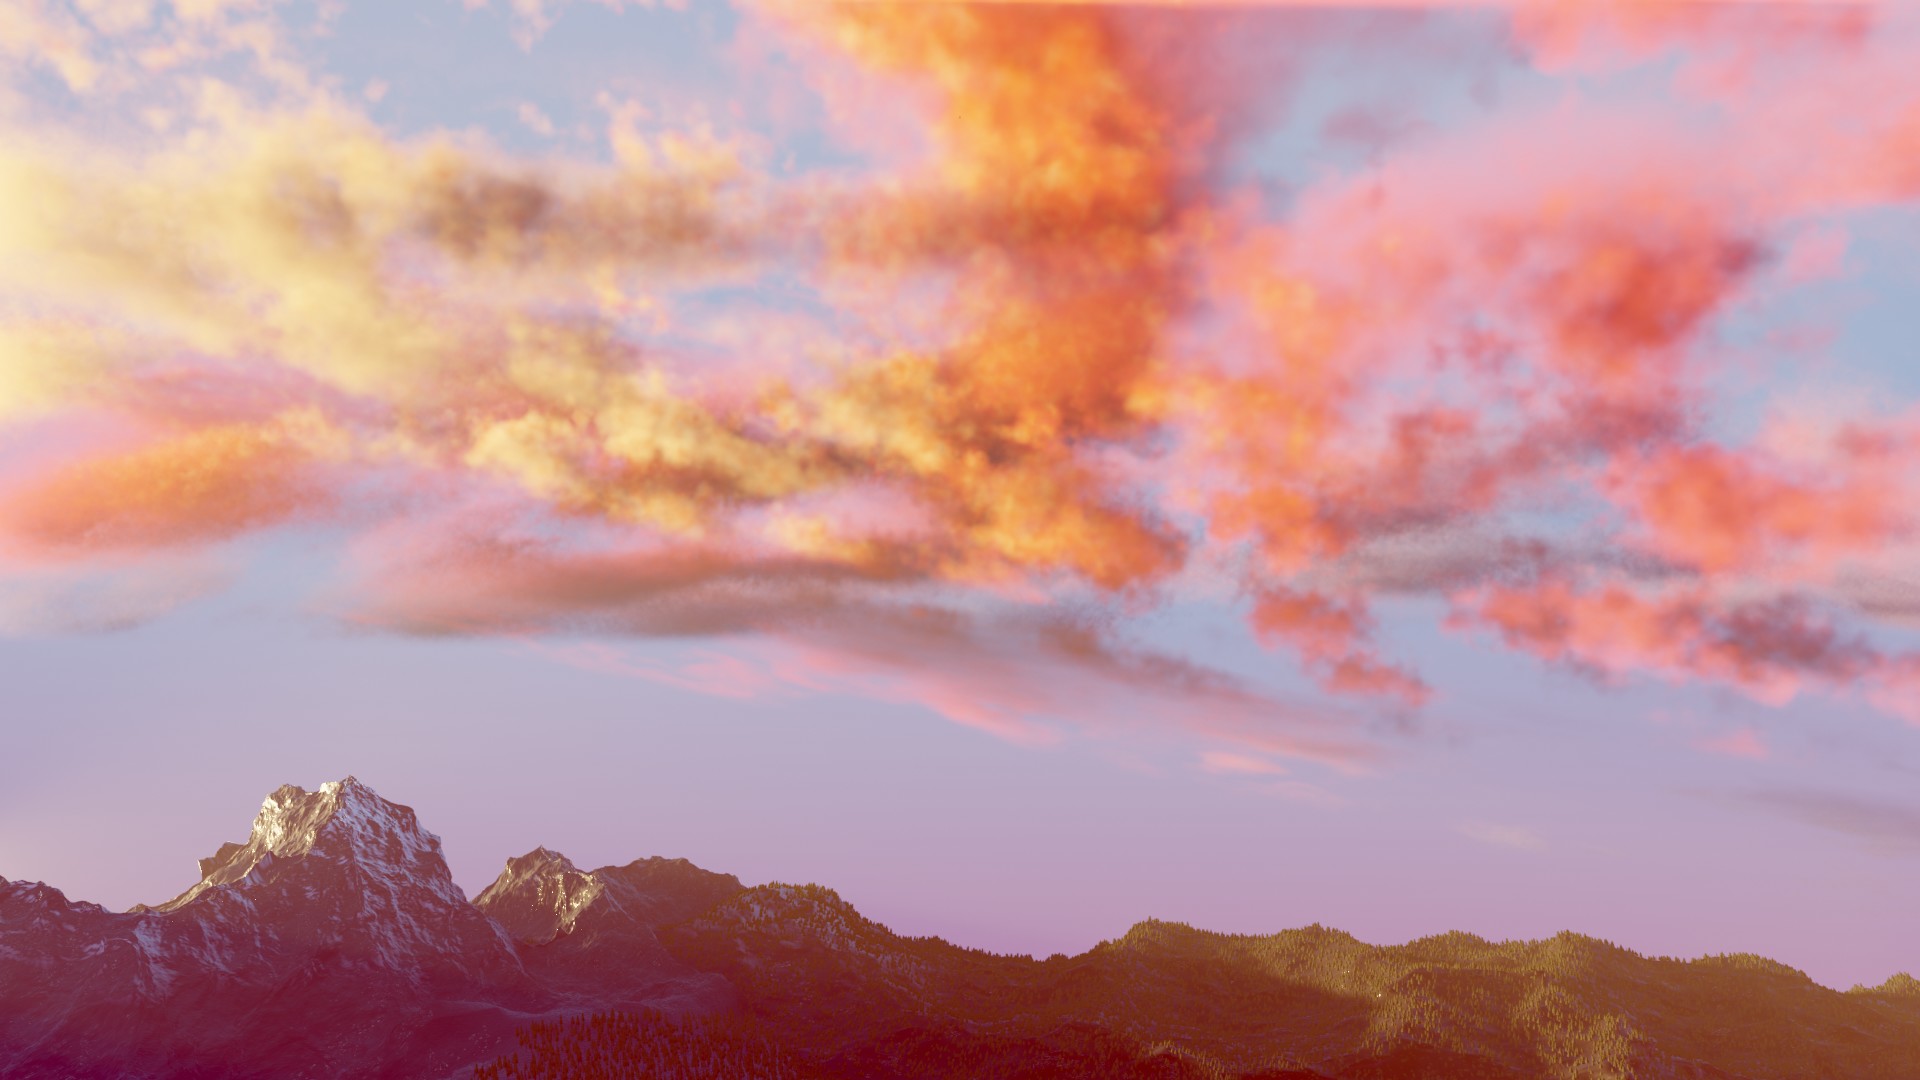
I used an image for the sunset in the first, which is a not uncommon to do, but I didn’t like how dependent the final render was on it. I think using a photo for the sky or background is fine as long as it doesn’t overshadow other elements of the scene and become the most significant part, which I think may have happened in this case. So, I went searching around for information about making clouds in blender with EEVEE, which is how I found this tutorial on youtube. Using that information, I created the mountain sunrise scene. I think it came out pretty well, although some of the details don’t hold up to close scrutiny.
I have ideas about making an animated timelapse version. However, it’s a stretch to call the scene real-time, even more so than previous scenes, making the process difficult. My RX480 is struggling in blender; I have been on the verge of buying a new graphics card for quite a while, hoping for price drops. It seems the best time to buy may have been September. I think the price, although more than I want to pay, may be worth it to speed up my blendering, at this point.
Thank you for the recommendation! That is not a terrible price given the current market. That would not be so in saner times though. (that is me shaking my fist)
That card is $1000 CAD ($750 USD) on the canadian site, but it looks like it is available at other retailers in Canada for about $600 USD. The lowest price for a 3070 on pcpartpicker Canda is $800 CAD ($600 USD) at the moment. That is $600 USD for tech launched over 2 years ago with an MSRP of $500. But if the supply isn’t there and/or people are willing pay that price… well here we are. (that is me shaking my fist again)
I spent a few hours making this bust to practice sculpting in blender. The look took some influence from the recent creations of Steffen Hartmann. I was not using any reference, though the final face looks somewhat like an actor whose name I can’t recall.
I did some more blender sculpting practice. This time I tried to do a likeness sculpt based on some reference images. I tried using the methods shown in this really great tutorial by SpeedChar (Nikolay Naydenov) on youtube. Basically, start with a UV sphere, use grab brush to morph it into a head and neck shape, remesh to a density of 0.05m, use the geo available to get as close as possible to the reference shape, pull out ears, remesh to 0.01, again use available geo to match reference, then make some polygon hair.
I don’t think I nailed the likeness, but I’m happy with my result. I may come back to this later to improve on it. I’d also like to investigate skin detailing options in blender and other hair creation methods; this may be a good base to experiment with.
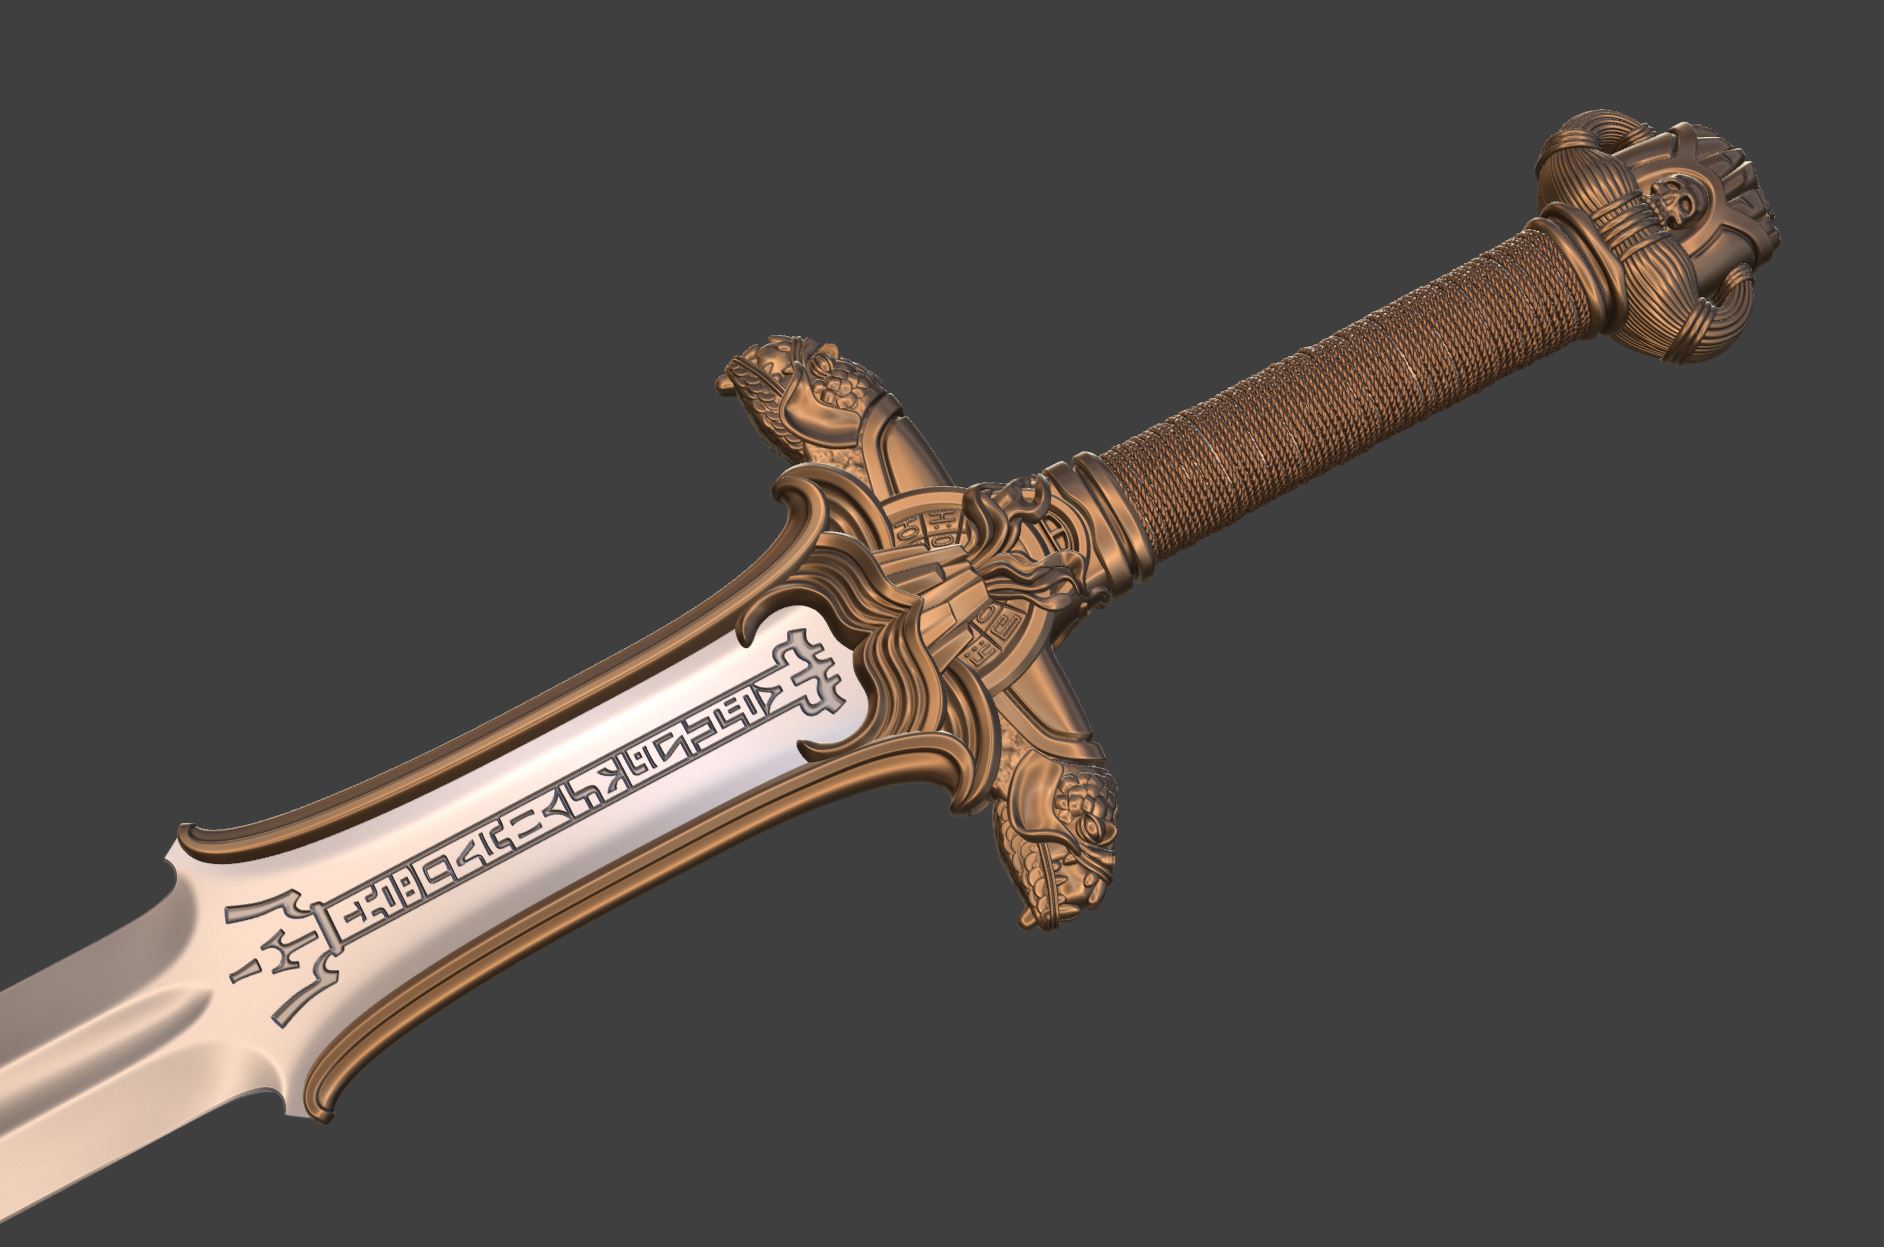
Not really. For those that don’t know, it’s the Altantean sword from Conan the Barbarian.
To explain:
My interest in 3d modeling grew out of my want to make mods for the elder scrolls games. I’ve made a few game-resolution weapon models to that end, over the years.
A few years ago, I watched Conan the Barbarian and loved it. I think it still holds up, despite some iffy special effects (ahem giant snake). The music is especially good. And Conan’s sword design, although being of questionable combat effectiveness, is great, aesthetically. It is among some of the most iconic movie weapons, and I wanted to try creating it in blender.
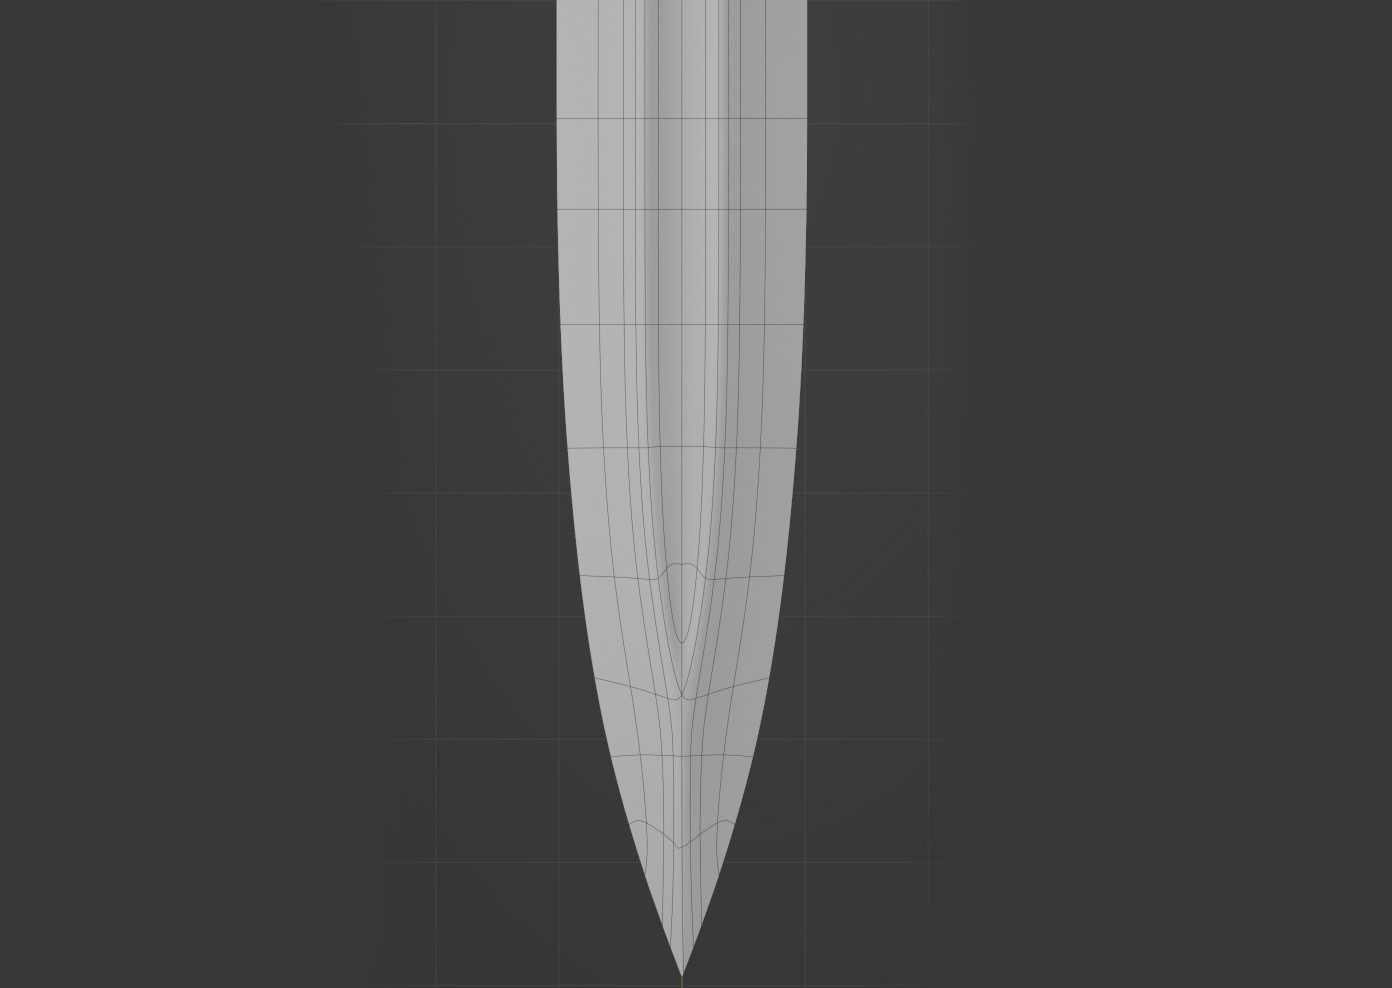
Similar to my Warp TV animation, I started this quite a while ago, made quite a bit of progress, and then abandoned it. Recently, I came back to it. It’s still a work in progress and I’m uncertain of what the final result may be: mod, rendered scene, or something else.
You’re the third person here who I know got into 3D modeling through wanting to make mods for games.
I like the sword, that’s a really neat, intricate design with a lot of attention to detail (and maybe somewhat weirdly I especially like that the hilt wrapping is slightly uneven).
Oh yes, you got into it to make mods for house flipper. Before recently, it was probably one of the more common ways to get into 3d modeling, although that might be due to an anecdotal bias on my part. I’m sure interest in moviemaking is another big one, too. The past few years, I think exposure to 3d renders and animation on social media has become a bigger driver of interest. The improvements to blender’s UI, the fact that its free, and people being at home on a computer more due to lockdowns, created a situation where there was very little resistance to getting into it.
Anyway, how ever it happens, the more the better! More art, more tools, more learning resources, more improvements to blender: it can’t hurt.
I sculpted another head using SpeedChar’s method. I also experimented with the particle hair system to create some hair, which I enjoyed doing quite a bit (I’ll get back to Paul soon).
EDIT: Forgot to mention that I sculpted this with my graphics tablet (not the screen type). Which is notable because so far I’ve only sculpted with a mouse. I’ve had the tablet for years, originally purchased with the idea of trying 2d digital art, but I bounced off of that.
I happened upon Chris Jones’ Human Progress thread the other day, and now I’m experimenting with facial animations again.
See:
**The above animation was done with shape keys on a mesh with a multires modifier.
Reading Chris’ thread from post one, I soon realized it would take some time to read through the entire thing and properly absorb the information, so I took a break from that around the point where tension mapping is being discussed. Later, I searched for information on tension maps in blender and found this Bad Normals tutorial.
I modified the geo-nodes setup in that video to get this:
** Currently this is only a visualization of the changing of the area of mesh faces due to the influence of the shape keys.
I am using a duplicate mesh with no animation to get the initial face areas, I capture and sample that information in a geo nodes node group attached to the animated mesh. Do a bit of math with the face areas from the animated mesh and the base, feed it into a color ramp, output that color, then use an attribute node in the shader to apply it on the mesh.
I reread my post and realized I did not point out that the face morphing is done via shape keys, not with tension mapping. I have edited it to the correct that. The tension mapping(?) is only a visual representation of the morphing of the face areas, at the moment. But there are quite a few other applications for it, like adding extra wrinkles, and maybe a visual aid when sculpting new expressions.
The reason I am saying any of this is because there is a possibility that you understandably, thought I was using the tension mapping for the animation. To be clear, I am not. And if you didn’t think that, then
I’m back with another creepy head animation — see below.
I read through more of Chris Jones’ Human Progress thread, and I did more research on tension maps — the results of which can be seen in the above animation. I found another geometry nodes tension map system, this one is by @cgvirus (see BA.org thread). And it turns out that for their recent short Charge, blender studios developed a geometry node setup for some of the main character Einer’s wrinkles (read more about that in this article). If I subscribe to blender studio I can download a blend containing Einar, which should contain the wrinkle system they used, I think. But instead of doing that, I’ve been experimenting myself to see where I can get.
[EDIT (see edits viewer for changes)]
Based on information from the article about Einar’s procedural wrinkles, I added functionality to @cgvirus’ node group to account for the length change of the hidden edges (both possibilities) of the mesh’s quads. I also added the option to subdivide the meshes to smooth the tension data. This works because geometry nodes utilize the mesh elements (verts, edges, faces, face corners) to calculate and store data, so the data resolution is only as good as the mesh resolution.
Unfortunately, I’m stumped on how to achieve the directional wrinkle texture squish that is described in the same article. It’s a bit above my level at the moment. I’m only using a generated noise texture that is pre-squished in one axis, which is why the wrinkles are all horizontal.
Creepy, but funny. Really enjoyed that little shake. Overall I feel the head looks a lot more Paul Rudd-like now.
Sorry I have nothing to contribute (so far above my paygrade). But I am thinking of subscribing to Blender Studio myself, considering how much I’ve so far benefitted from Simon Thommes’ knowledge, and that they have a procedural shader course.
Glad you liked it! An animator I am not, but I’m learning some here and there.
Good that the Ruddiness is coming through more now. I’m finding that likenesses are hard (who woulda thunk it), especially true given my limited sculpting experience scattered throughout the years. Reference images are all over the place: inconsistent focal length, lighting, facial expression, and age.
As for subscribing, you are convincing me that I should. I didn’t fully know what was on offer. My approach to learning 3d is as needed, as I go, although I’m not advocating that anyone else should do as I do. It can leave holes. A more methodical approach such as what you are doing, I think is better. Maybe I’ll give some of their courses a try.
It’s been over two weeks since the last update, here’s what has happened.
I subscribed to blender studio to get a look at the wrinkle tech for Einar. As detailed in the Einar procedure wrinkle article on blender studio, they did not use the fully procedure wrinkle setup for the final character, only a version for micro skin details. As far as I know the full version described in the article is not available, but an example blend is that includes a similar wrinkle setup. I played around with that on Paul, however I didn’t get great results. Then I got distracted by non-blender related things.
As you see him here, no procedural wrinkles are being used. I am utilizing my previous tension mapping setup to control the intensity of a painted wrinkle map. The wrinkle map is fed into a displace modifier, then the intensity is modified using vertex weights stored in a vertex group.
Then there is the hair, which is particle hair that I groomed using the particle edit mode. The eyebrows are individually placed hairs, while the head hair and stubble are interpolated and utilize clumping and kinking. I nearly lost hope of getting a decent result when grooming the head hear, but I kept pushing (and combing) and I think it came out pretty well, at least from this angle
I want to get back to dissecting Simon Thommes geo-node wrinkle setup, but I am going to put Paul on hold for a bit while I work on other projects.
It must be great fun to do characters, something that I would like to do myself in the future. Facial shape keys are great. I love your interaction with Paul! Tell him I approve of his facial hair.
@piranha4D
Paul often doesn’t feel like shaving. We have that in common though, so I confess to some minor hypocrisy. I’m happy that modern style standards let me get away with it
@Minamookevlar
Thanks! Overall, it is, although there are peaks and valleys.