Thinsoldier's Sketchbook 2022

First post will be used as table of contents to link to other posts and hold main thumbnail.

Post Thumbnail:


Other Sketchbooks

2020-2021
2023
2024

Works In Progress

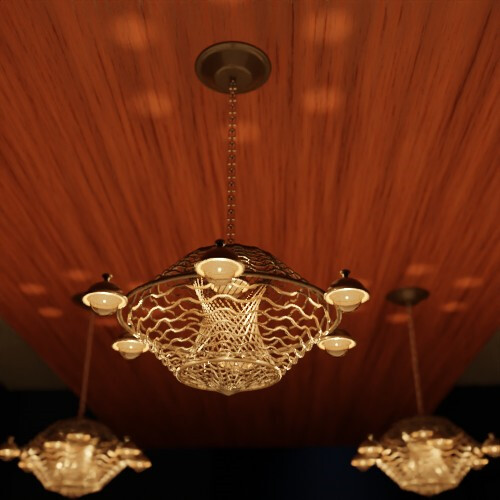
Crown - before 2019-04-04

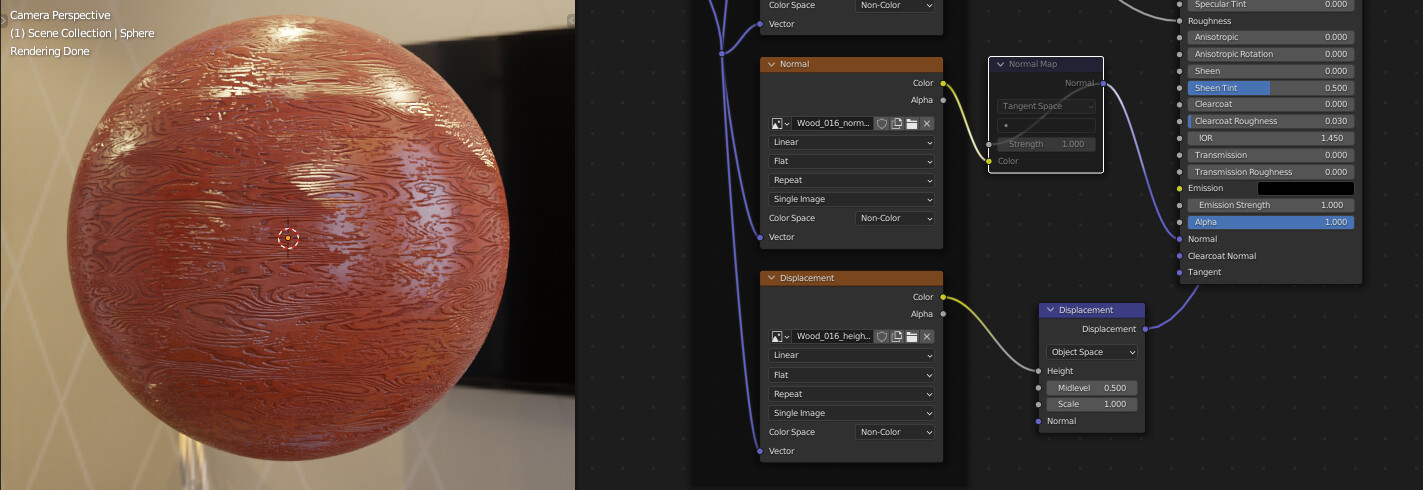
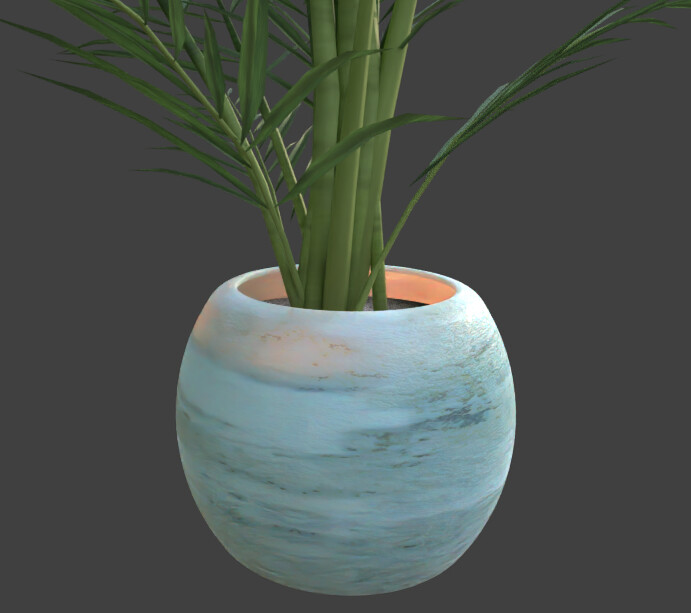
Pineapple Cup & Displacement - February 25, 2019

Mii Plaza Restaurant - April 2020

El Damont Bottle - June 2020

Illustration Navigation - August 3, 2020

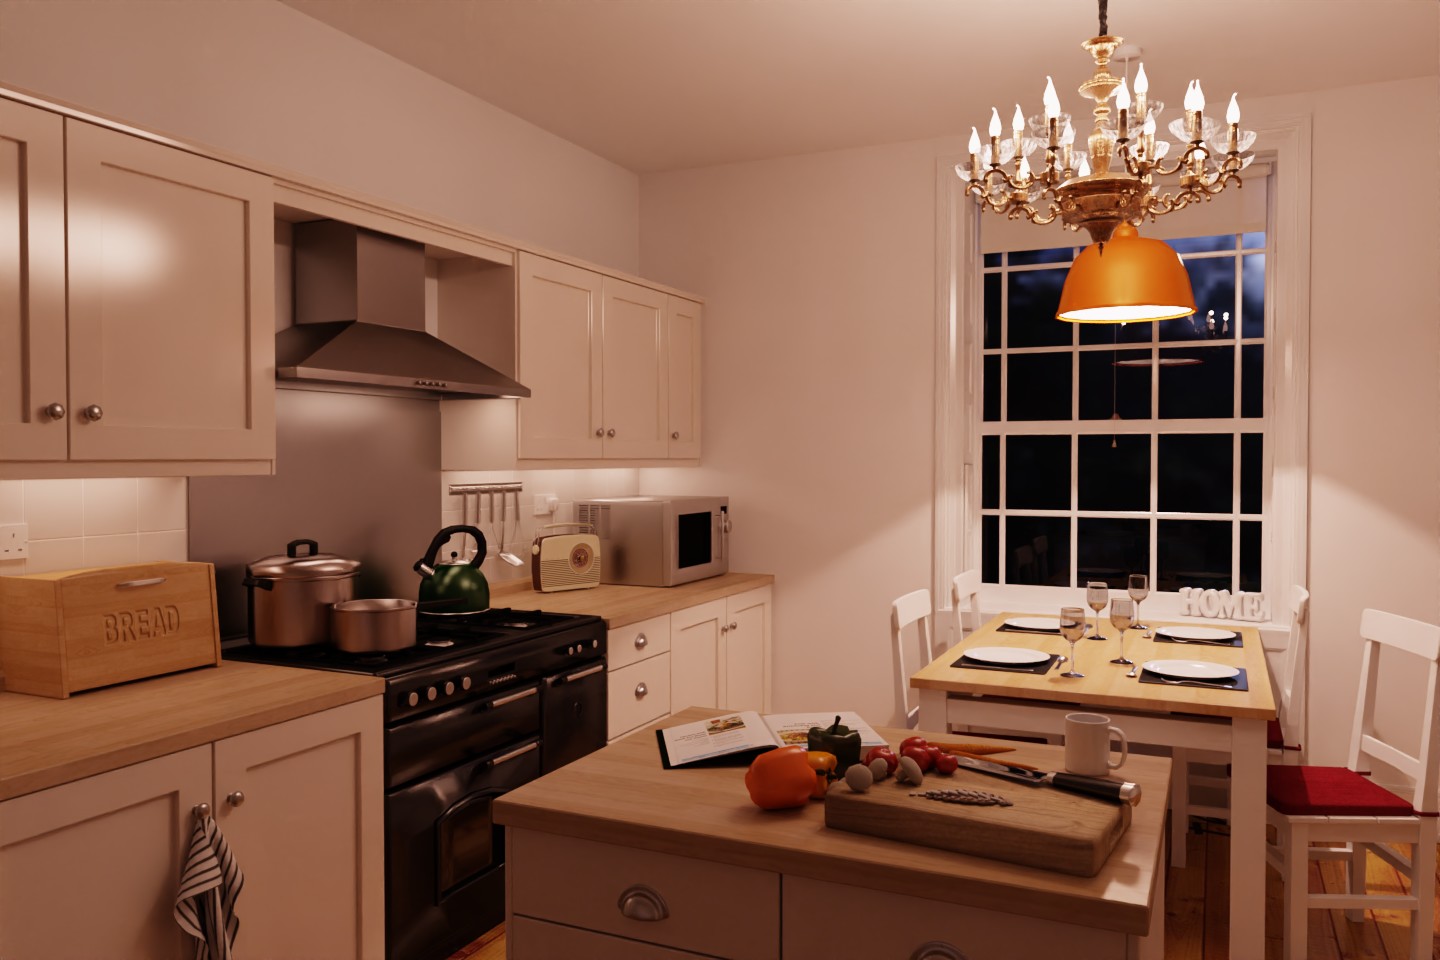
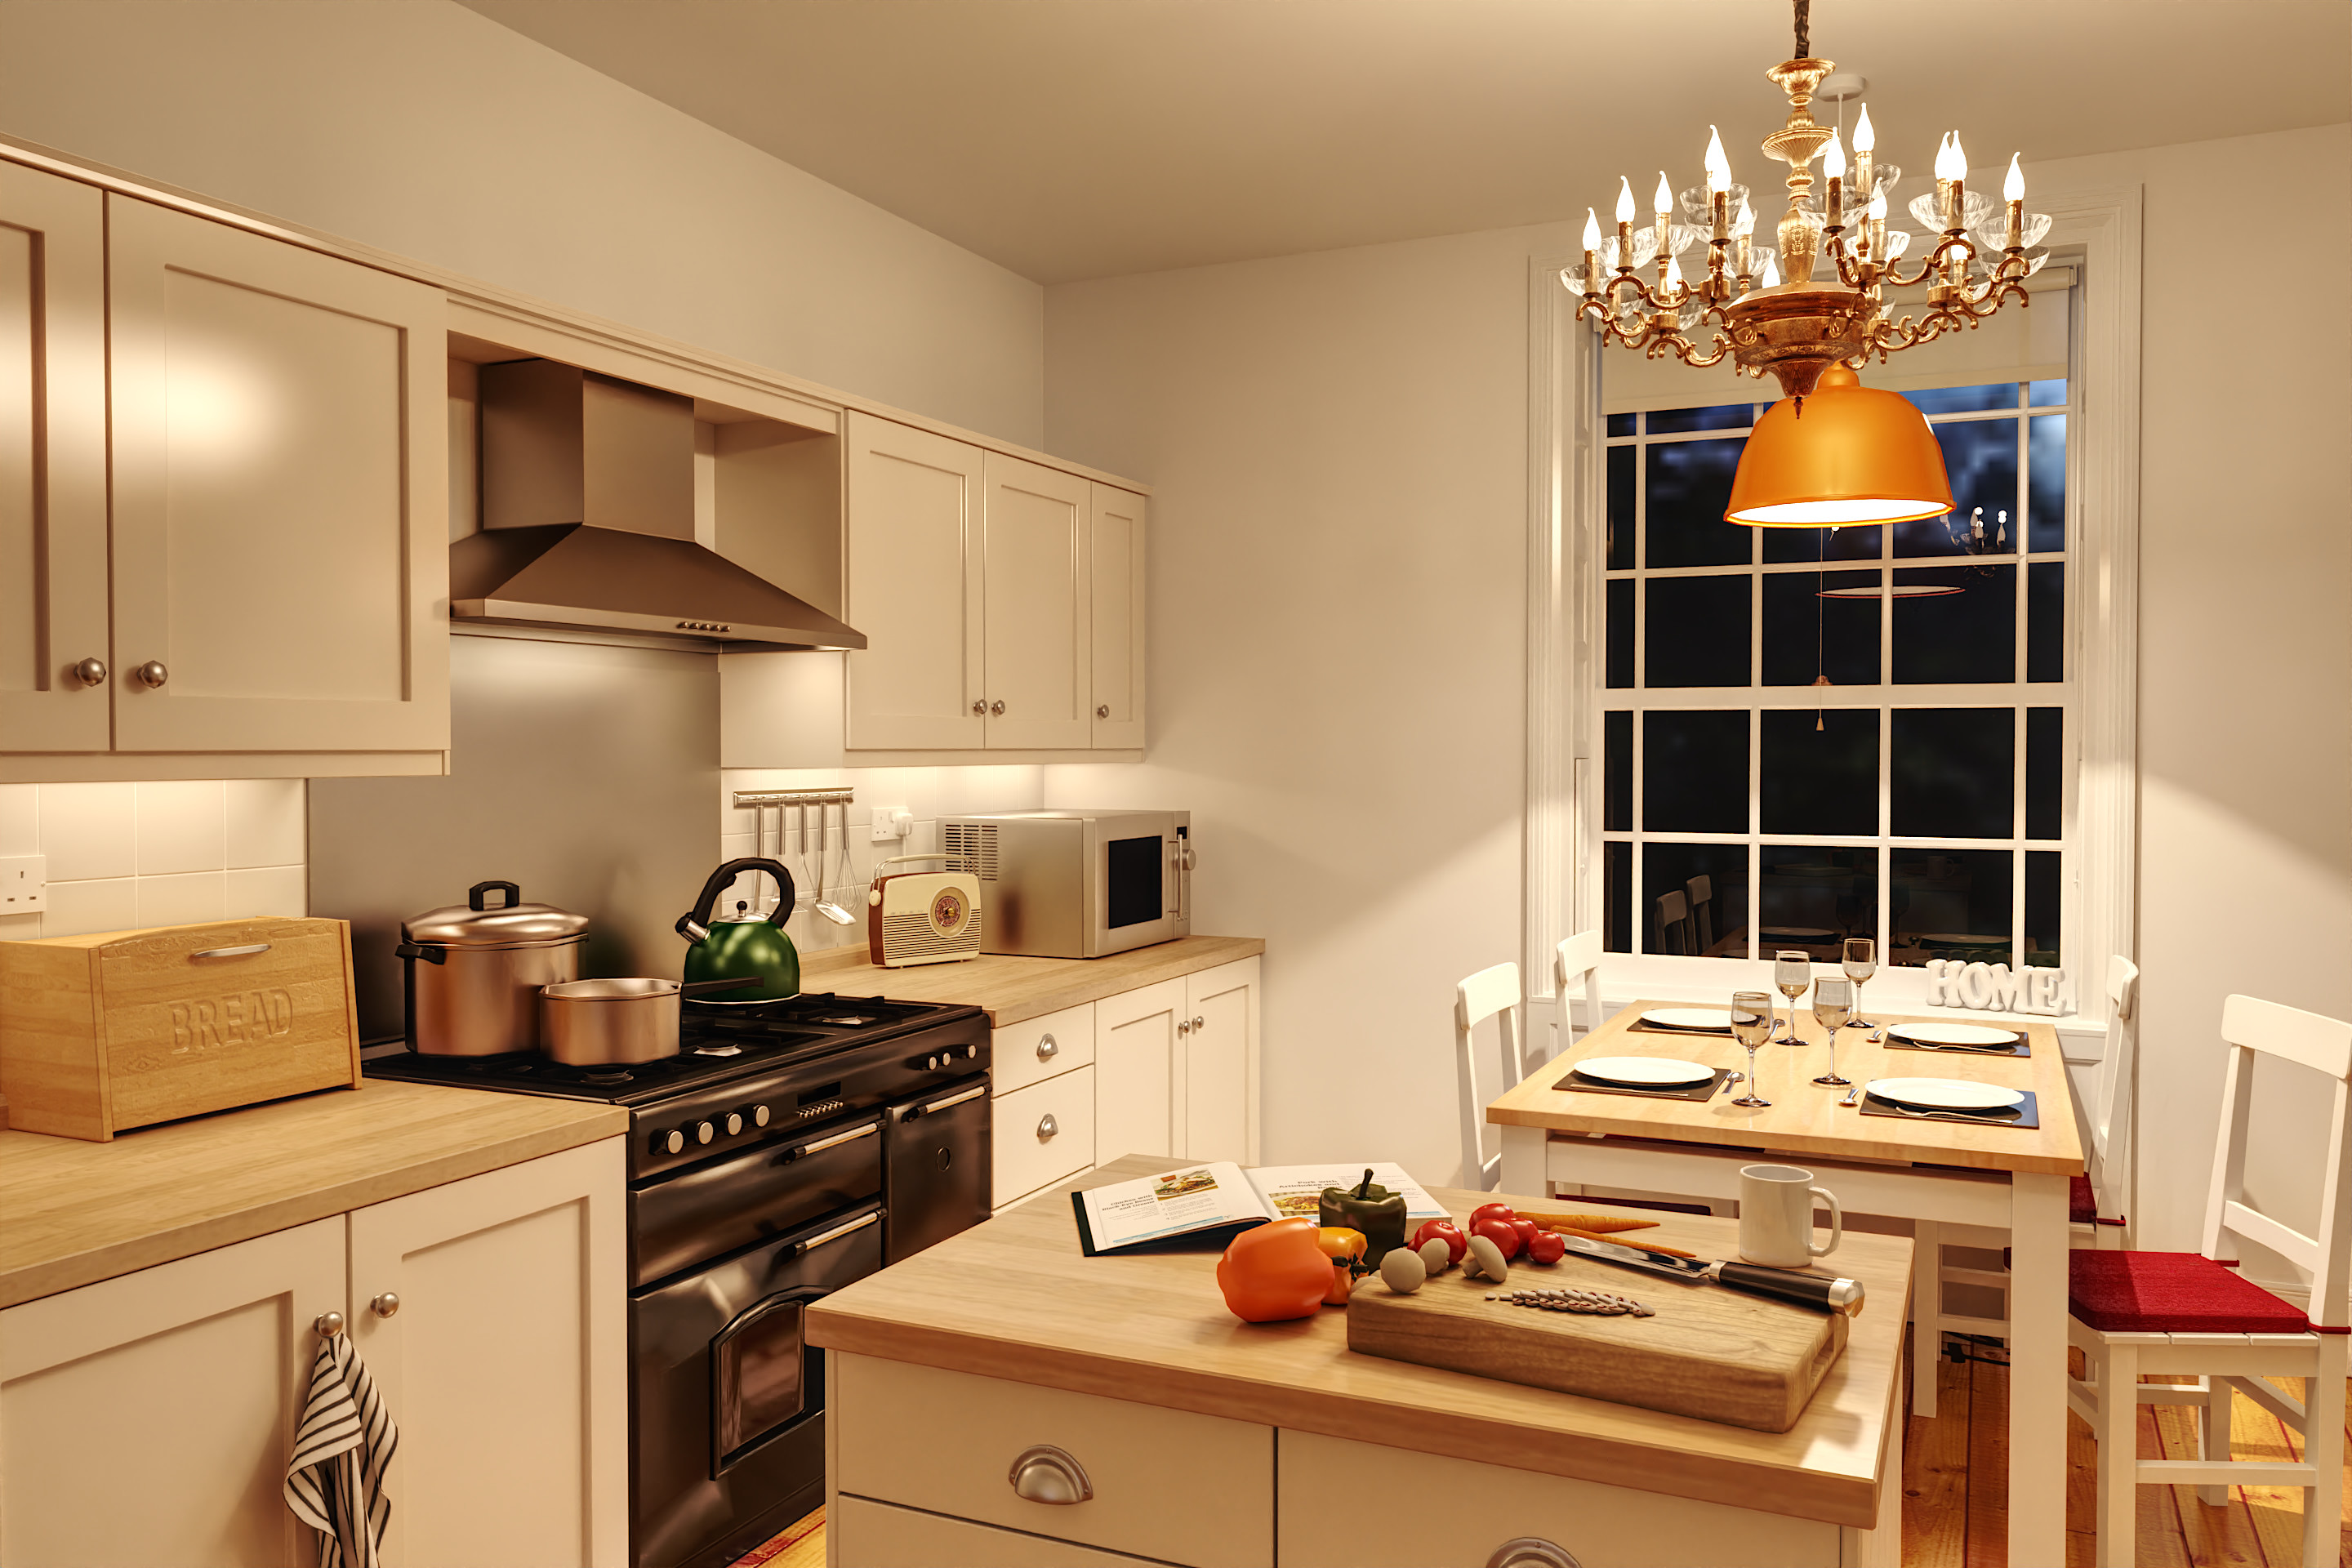
Julie’s Kitchen - November 6, 2020 / July 13, 2021

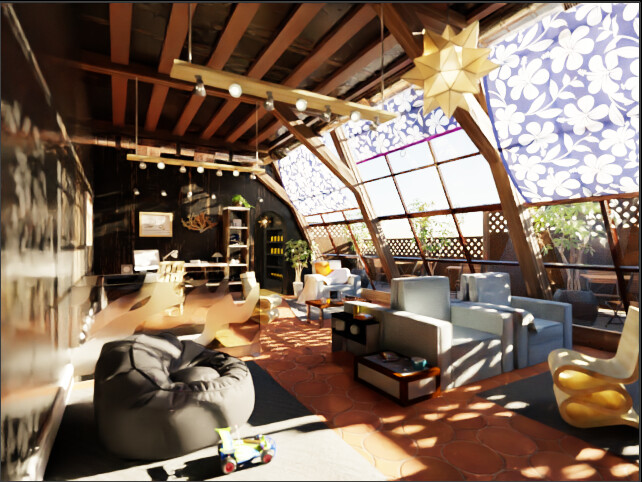
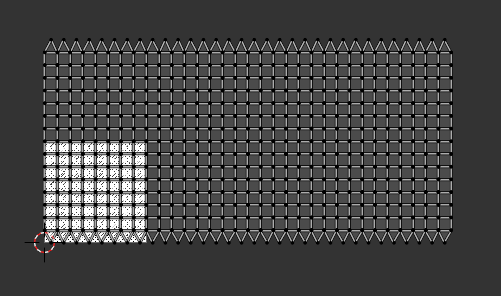
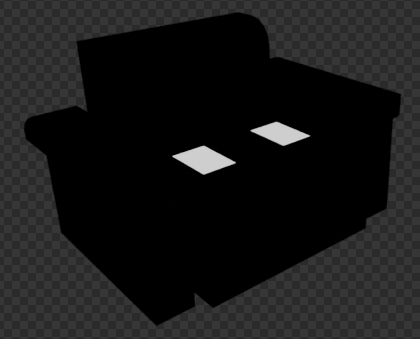
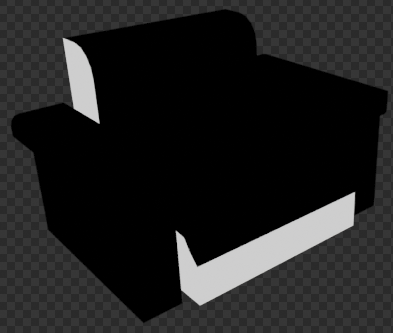
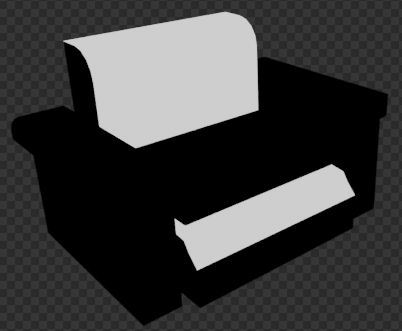
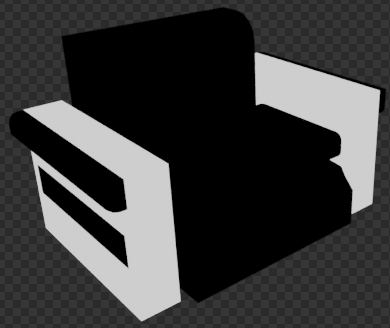
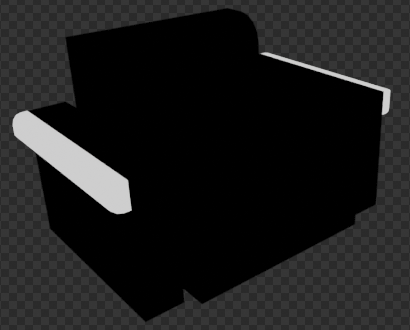
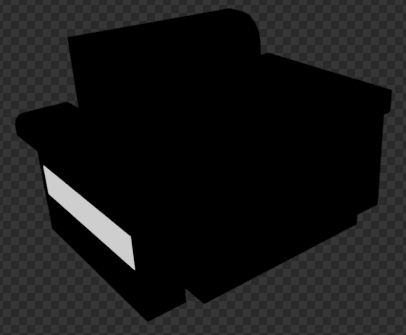
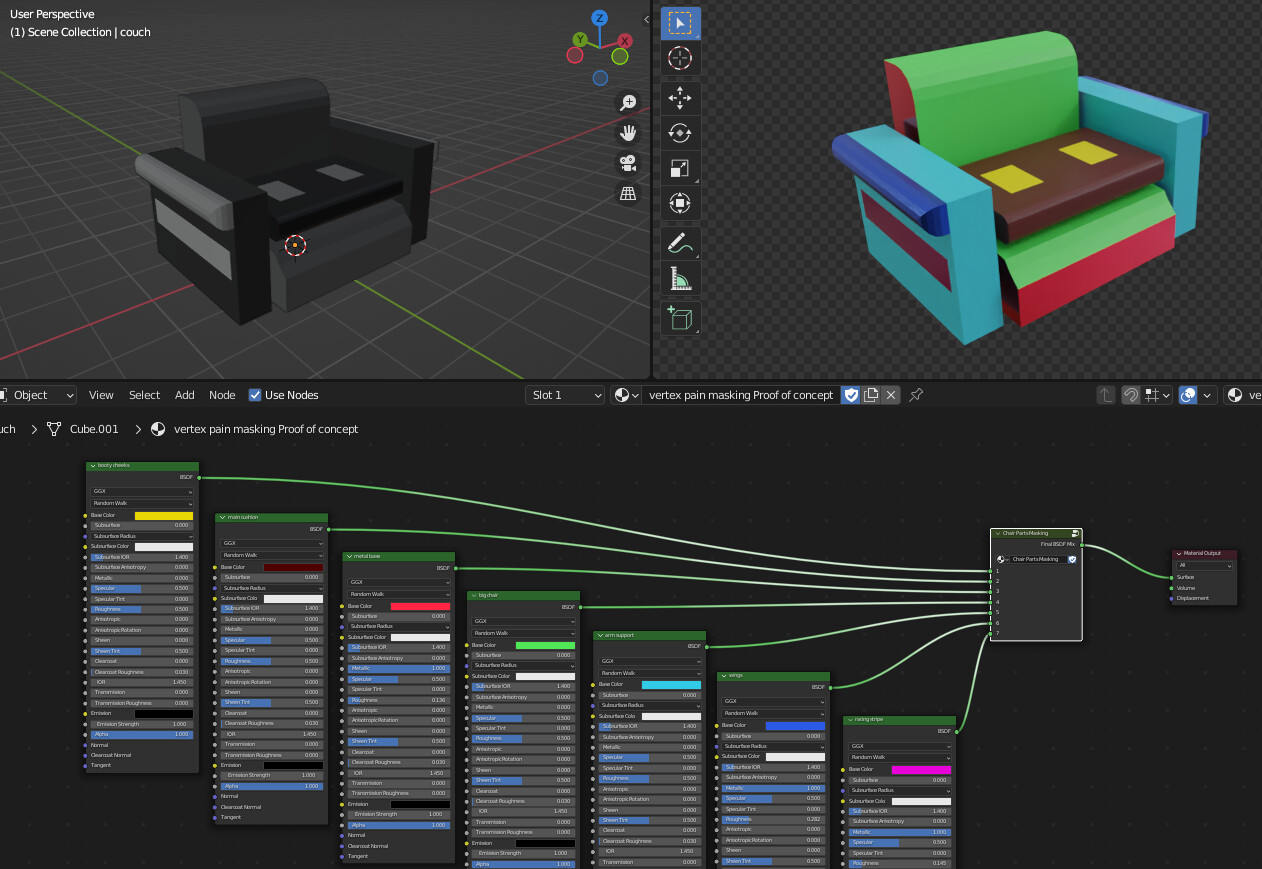
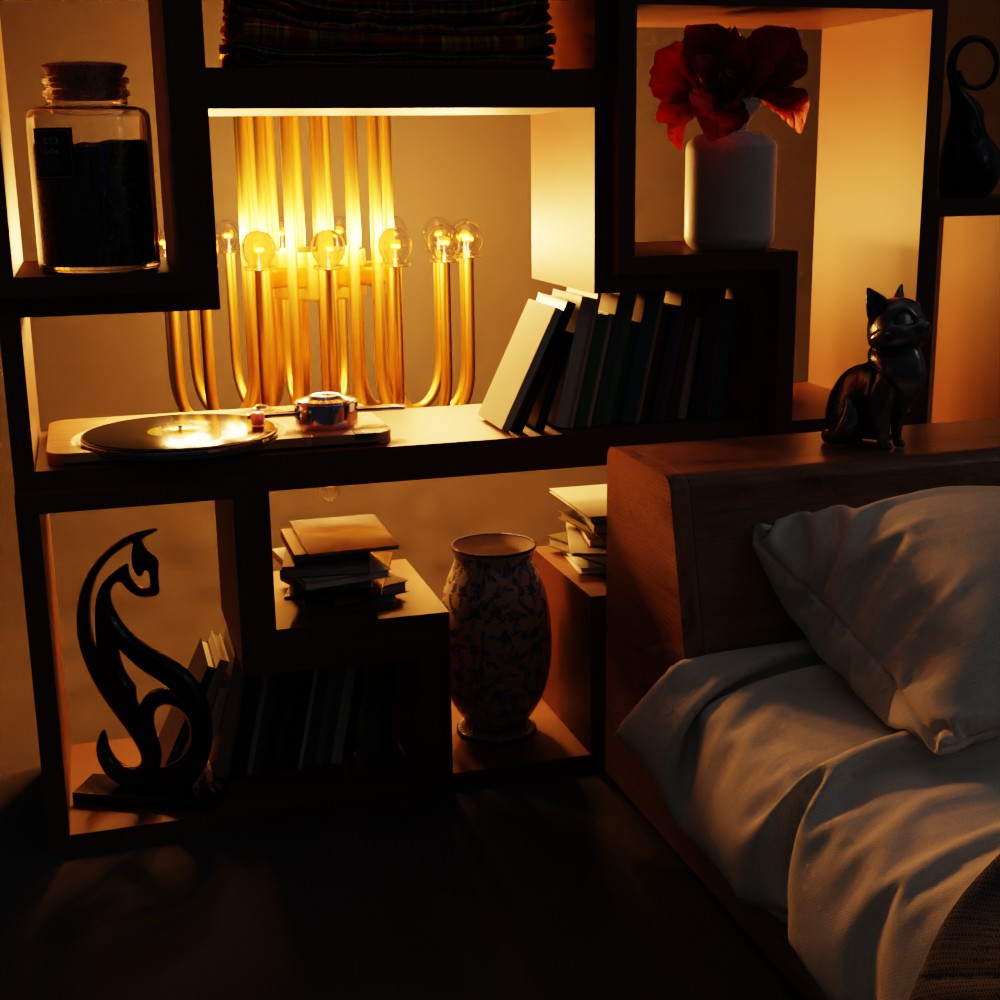
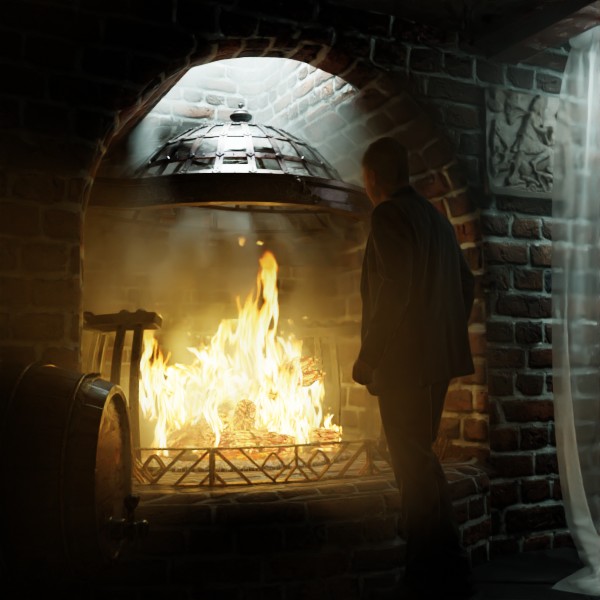
Living Room (fight noise in renders) [feb 3 2021, dec 11 2021, dec 27 2021]

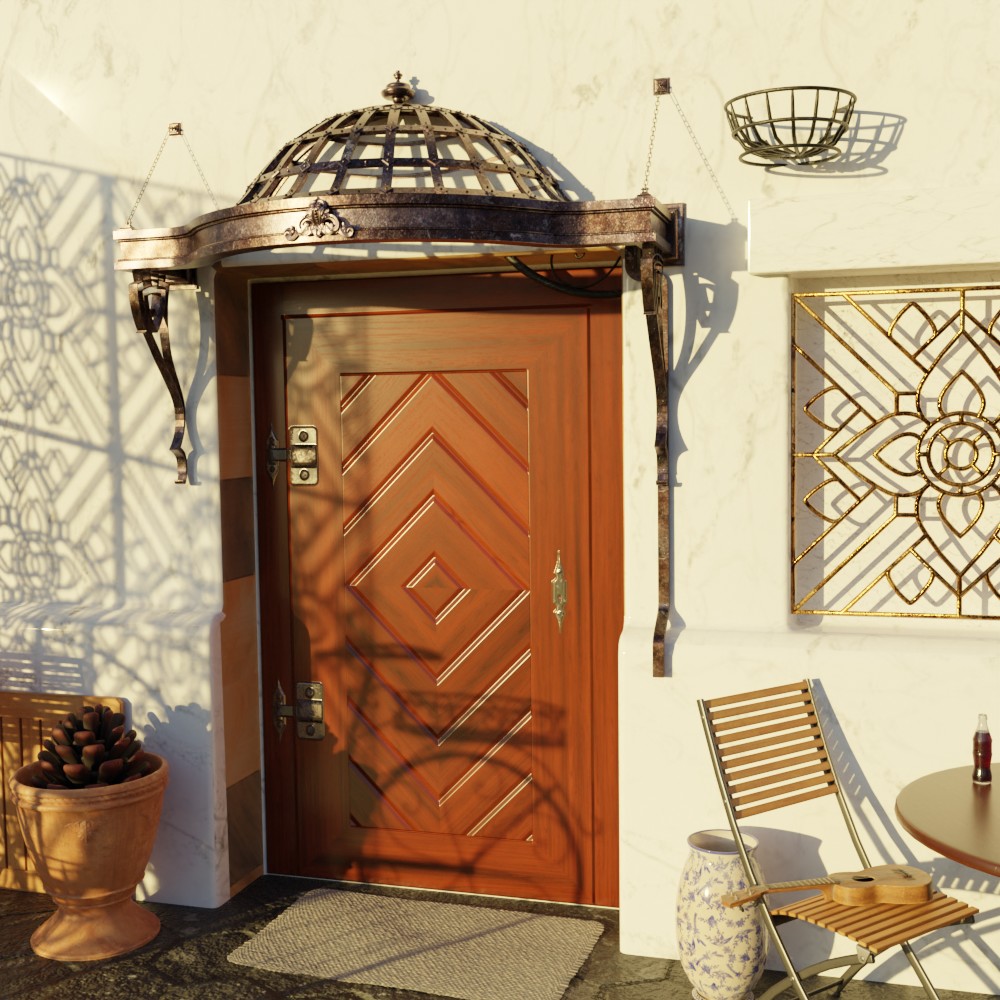
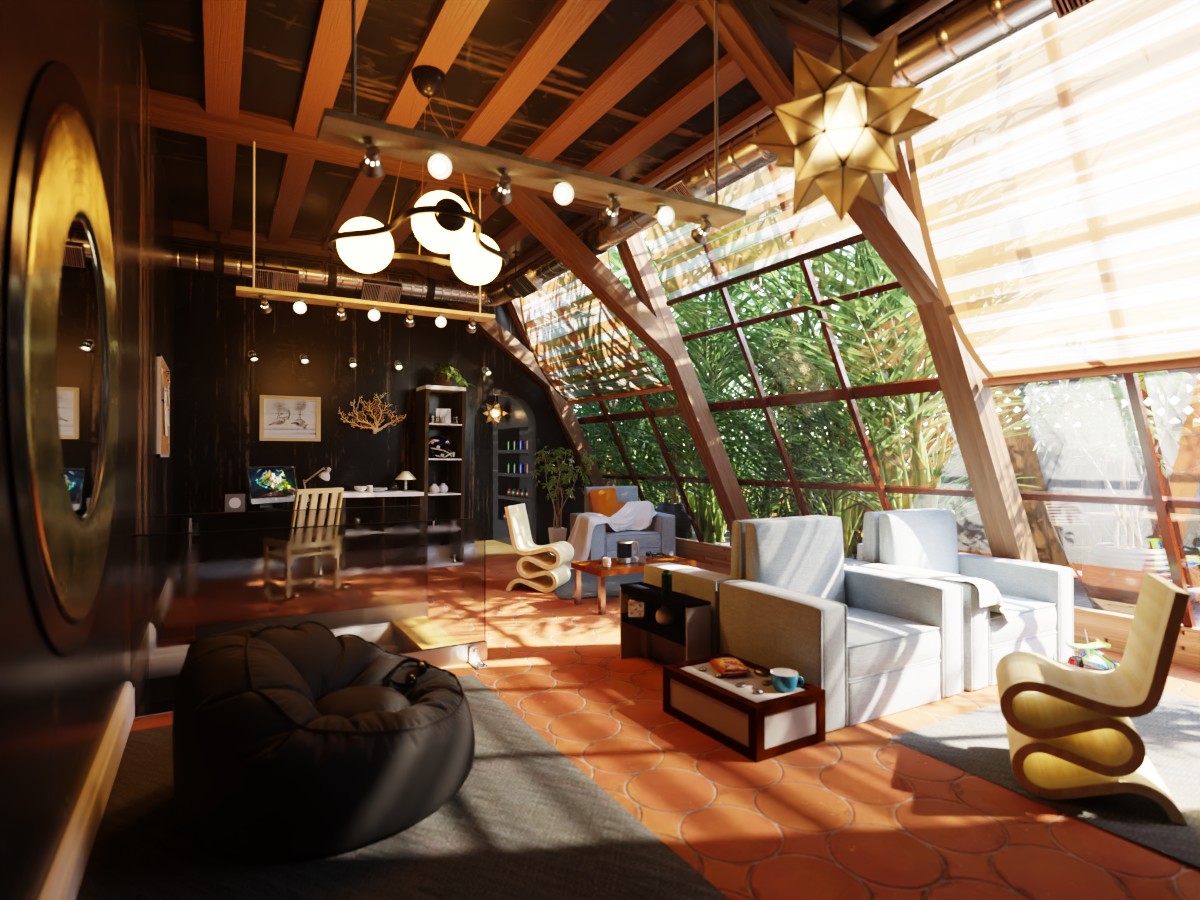
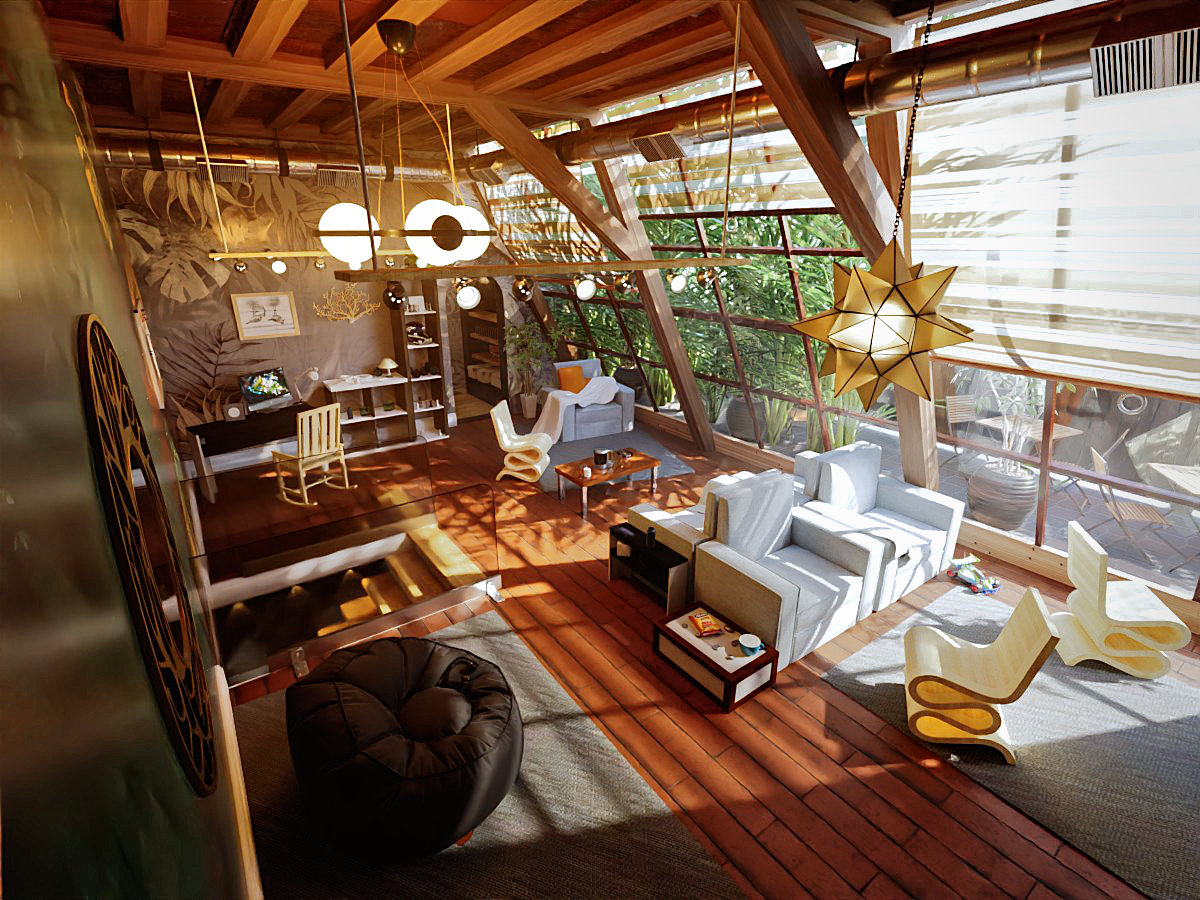
Villa Interior (Blendswap) april 8 20201

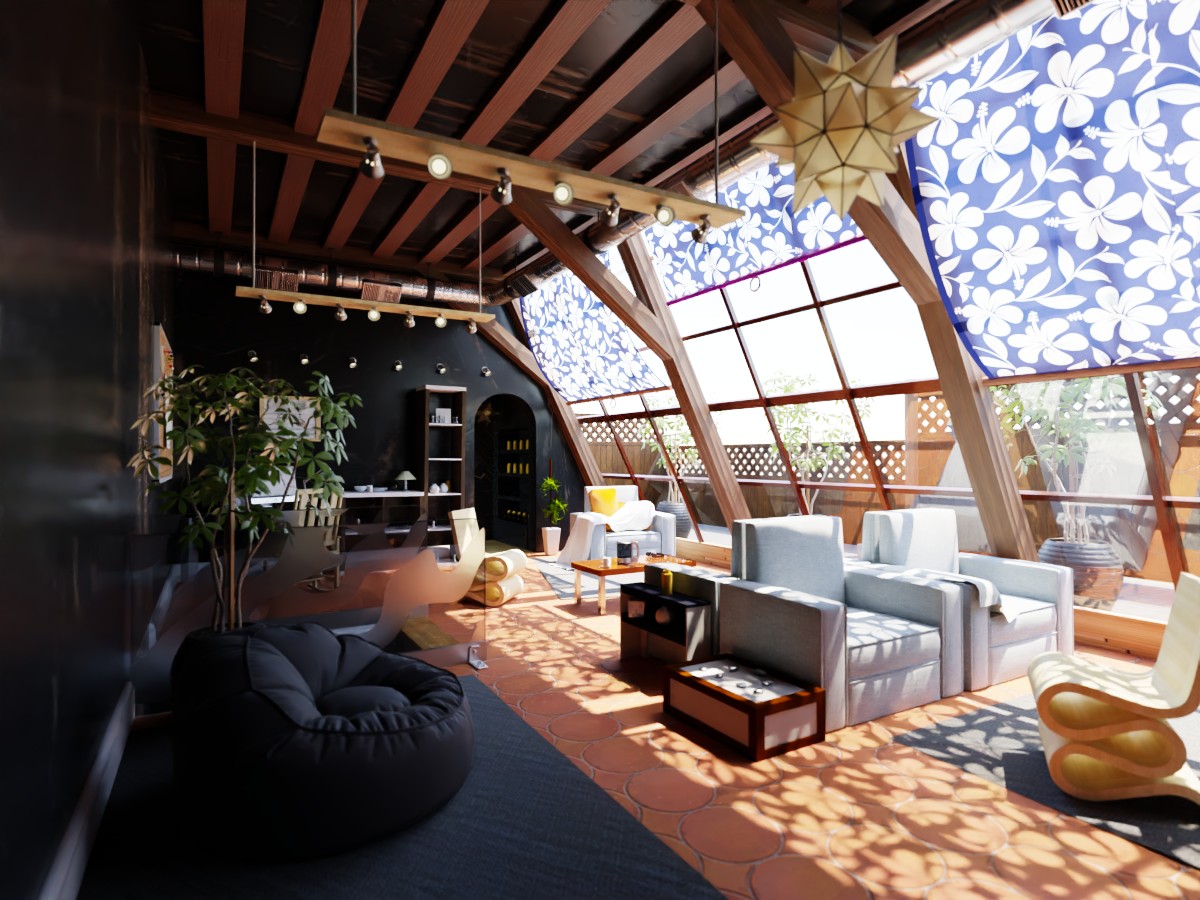
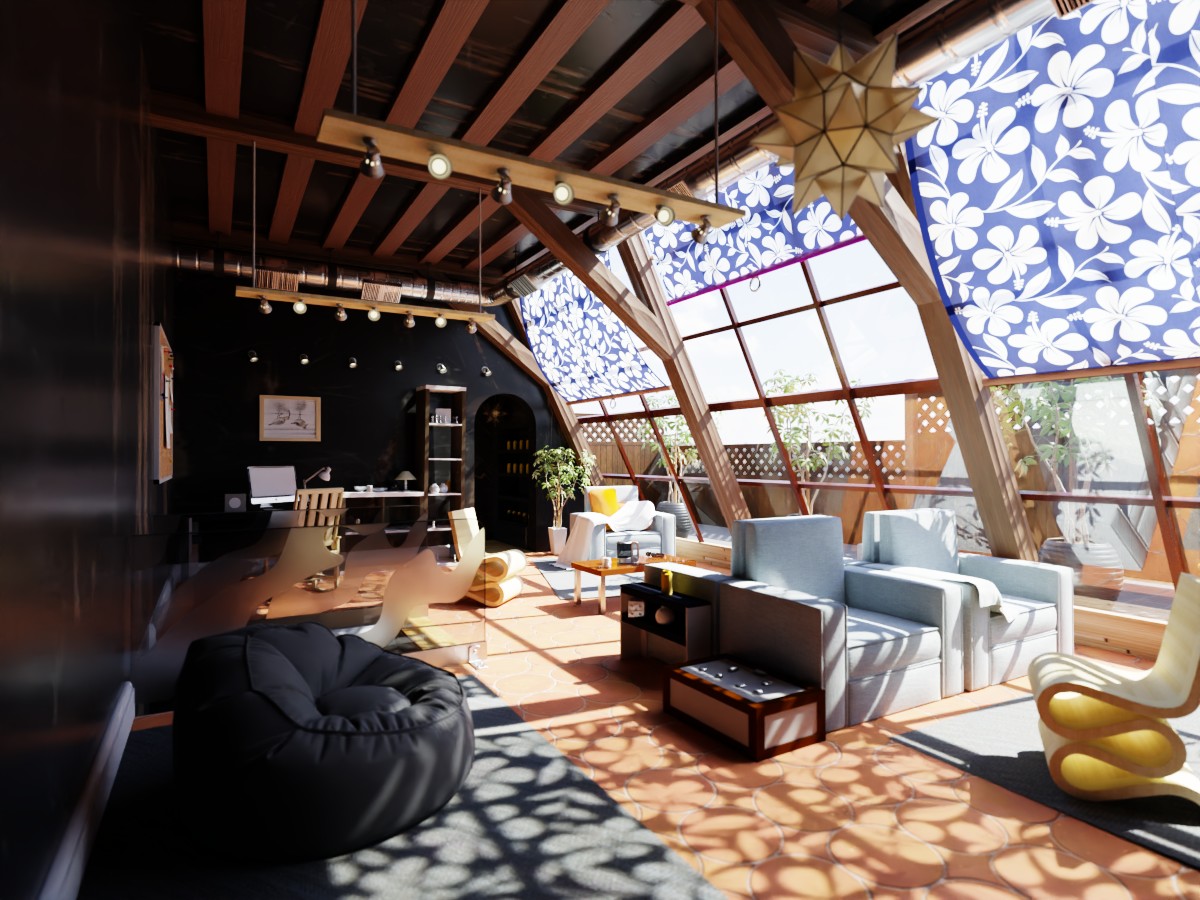
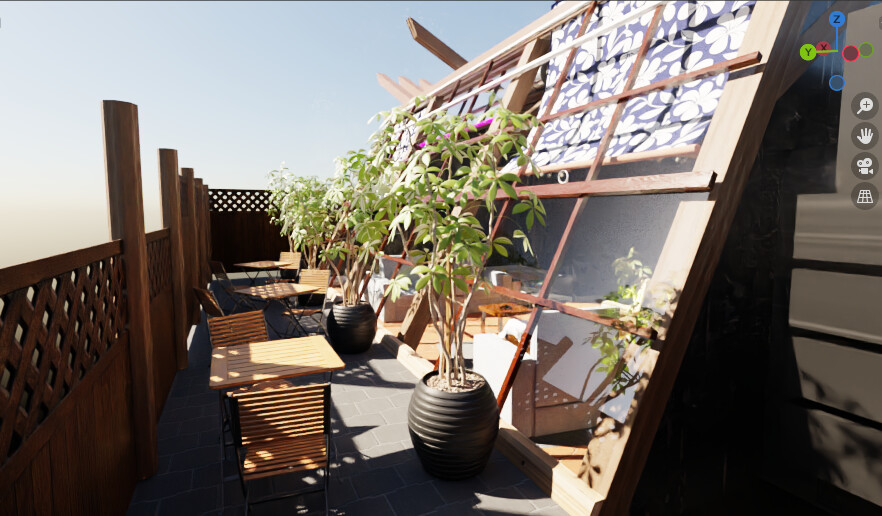
Sunny Room (Blendswap) april 26 2021

Newcomb High Prom May 30 2021

Zest Tree - August 2, 2021

Murloc - August 8, 2021

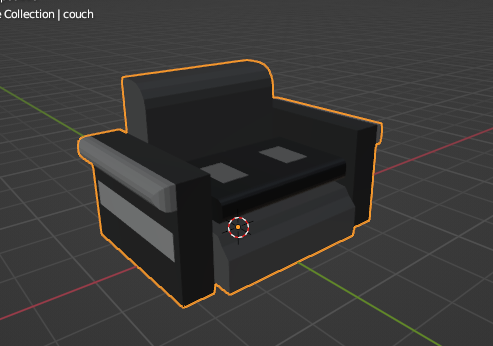
Blender Asset Conversion - October 14, 2021

Chamber of Secrets Bathroom - ?nov 2021?

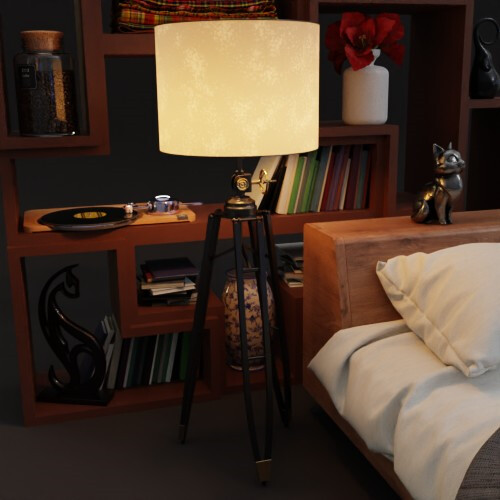
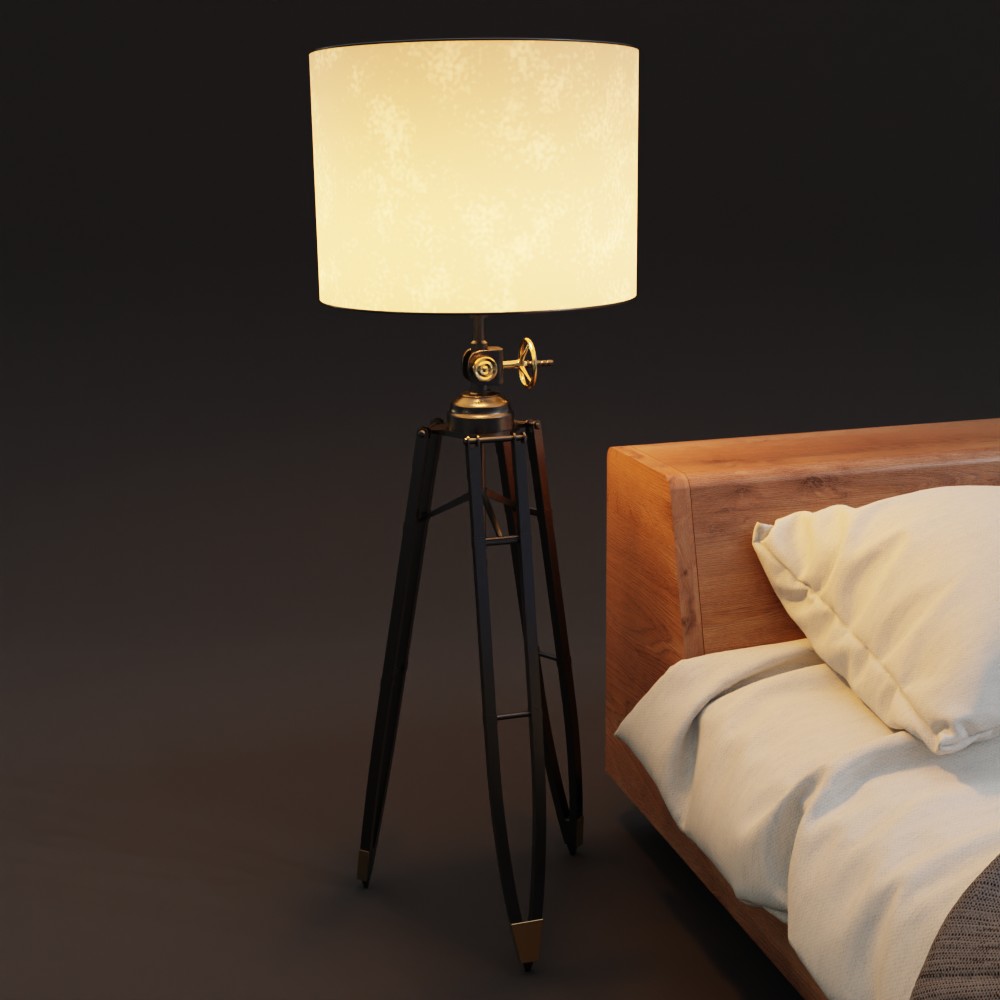
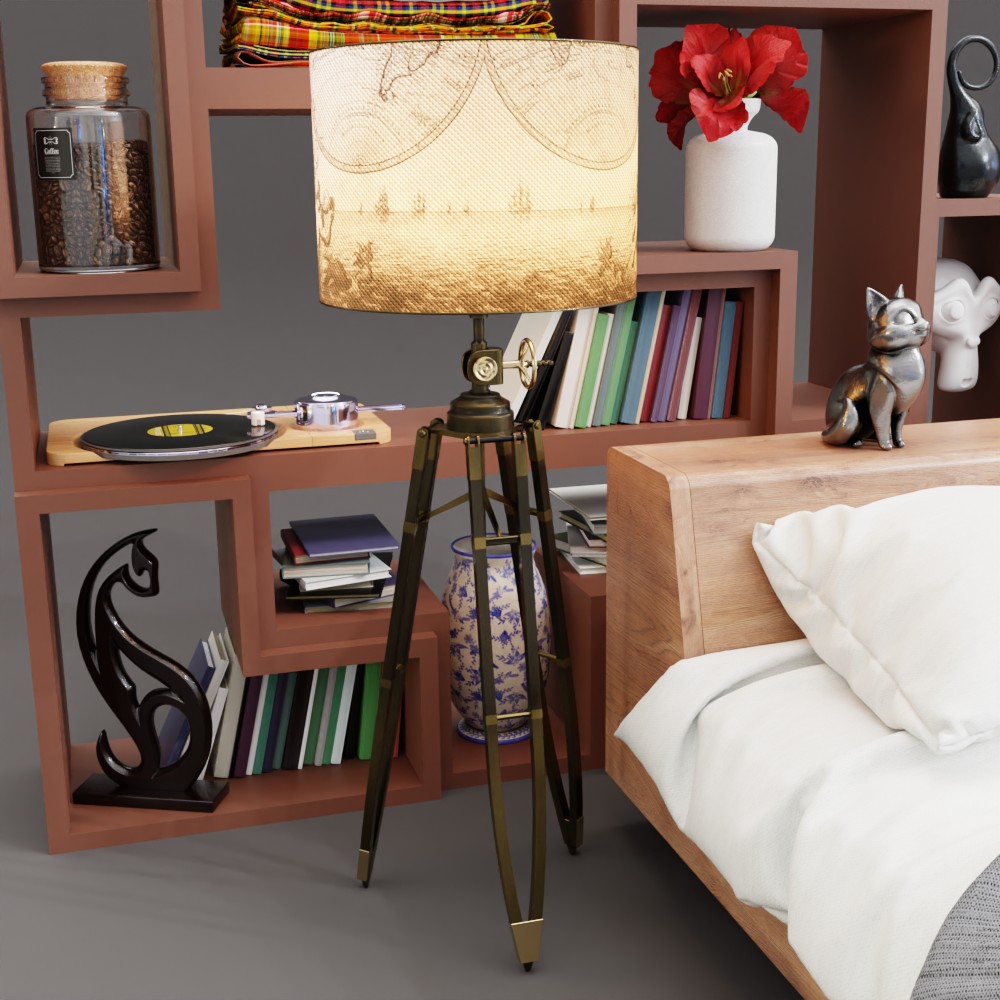
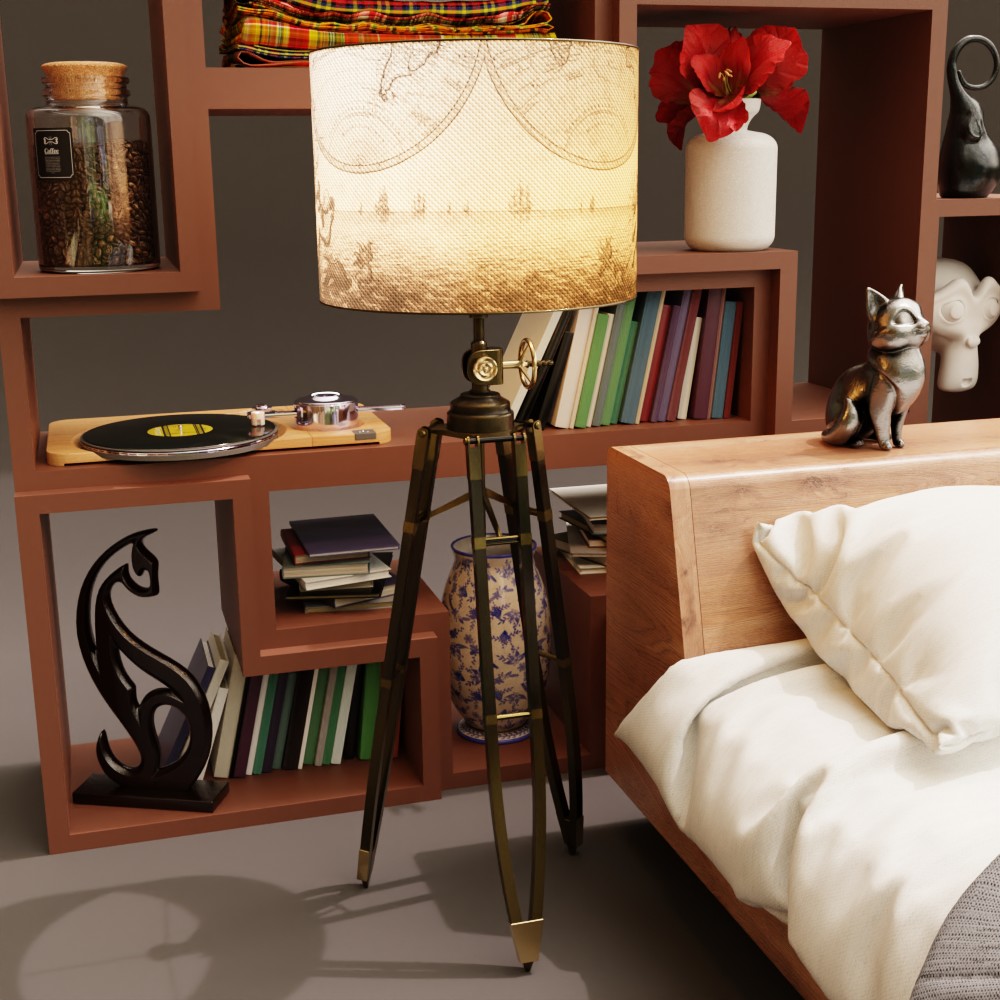
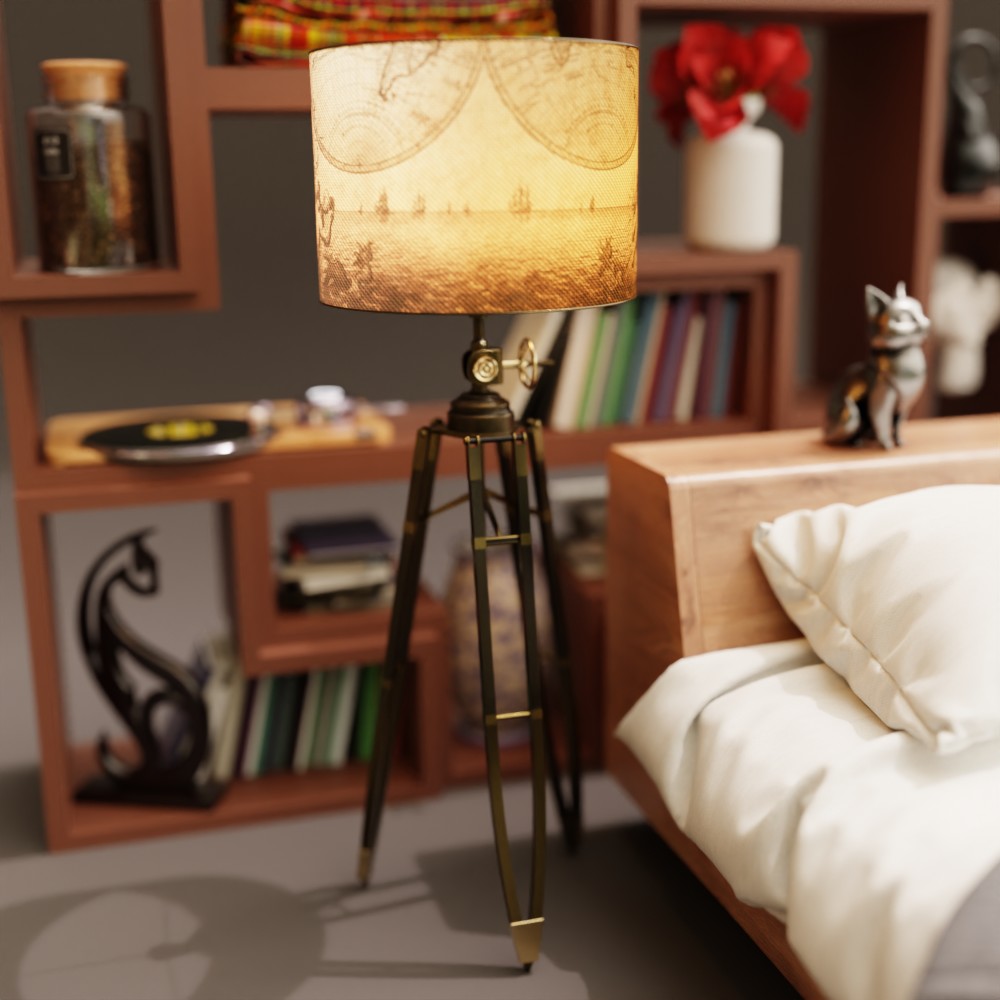
Bedroom 2022 WIP - March 26, 2022

Bedroom 2022 Finished

Miscellaneous

Have you tried looking at reference images? Pintrest is a very good place to start. Or just try googling what you want.
Archdaily and Dezeen are good places to look for ideas and contemporary architecture images and projects.
The archviz section of artstation is always worth your time.

advanced curtain shader https://frabuondi.gumroad.com/l/xnojn

THERE IS A LOT OF USEFUL SHADER NODE INFO IN HERE:
https://wiki.blender.org/wiki/User:OmarSquircleArt/GSoC2019/Final_User_Report

Also in here:

blender.today monday questions:

Geometry Nodes

Check out Higgsas’s groups. Lots of the modifiers (and more) implemented there.
Zorro Weaver’s Geometry Nodes Cookbook
Post 97 in this thread is a list of all the parts of the Geometry Nodes mega-thread that I participated in or learned from.

Conversation about leaf scattering and grunge buildup for the temple arched roof scene starts here

4 Likes

image
image

Use small light size (zero) to get defined light rays in volume. Use anisotropy of volume to get different stylized looks of light rays.

1 Like


(https://www.blendswap.com/blend/6468)
Grabbed this old scene to test some PBR textures I downloaded and liked the result.

Got sidetracked once again wondering what the missing ingredient is for photo-realism.

Cranked up the world light strength a lot and got this which I think looks 10x better:
HDRI: kloofendal_48d_partly_cloudy_4k.hdr
Strength: 300
Exposure: -5

So that once again leads me to wish for a simple known measurement for working with lights in Blender.


https://docs.blender.org/manual/en/latest/render/lights/light_object.html?highlight=lumens#power-of-lights


I think I have to take back what I said about cranking up the world light strength. This next image is Nishita sky at strength one and color management exposure at at zero. Maybe there is just something about the quality of the light in the HDRI if using HDRI instead of nishita?


:cry: the shadows being cast by the pattern of the curtains should not be as solid as shadows being cast by solid objects like the couch and wood beams.

image

12 Likes

Leeching dozens of free materials from https://3dtextures.me/

Default UV sphere works better for previewing adaptive displacement materials if the UVs are scaled like this.
image

Materials intended for use on a flat plane don’t look so good on a uv sphere without adjusting texture coordinate mapping scale and then you have to set the scale back to [1,1,1] when you actually want to use the material. Easier to just scale the UVs of the sphere and leave the mapping scale at 1.

It seems normal maps override displacement maps:
With both active I think only the Normal Map is seen.


With the Normal Map disabled the full strength of the overly strong Displacement is seen:

With almost every material the Displacement value looks best at 0.01 when doing actual 3d displacement.

All of the free materials are only 1024x1024 so their normal maps look like something out of a video game. Most of the time it’s best to disable the normal maps and only use the displacement map as bump.

4 Likes

Trying to figure out values for world background and sun lamp that are of equal value to Nishita sky texture’s default values.

view transform: filmic
look: none
exposure: zero


Sun lamp
strength: 120
angle: 0.545d
rotation x: -45d

World
strength: 3.8

Nishita World
sun size: 0.545d
sun elevation: 45d
everything else: default

scene: https://blendswap.com/blend/5156

3 Likes

Regarding material slot names proposal on rightclickselect: https://blender.community/c/rightclickselect/yFfbbc/

My comment: https://blender.community/c/rightclickselect/yFfbbc/#comment-54052

Demonstrating using vertex paint values on faces as masks to mix together many different shaders within a single material.

In edit mode select faces. In vertex paint mode enable “face selection masking for painting”. Use shift+k to fill the selected faces with a shade of grey.
image
Demarcate the various parts of the model this way.

Use the math compare node to isolate each part of the model based on the vertex color provided by the attribute node.

imageimageimageimageimageimageimage

You can then plug a different shader / node group into each masked area:

vertex-color-masking-test.blend (1.1 MB)

1 Like

image

needed a demo object for building a configurable chandelier with geometry nodes then linking only the node network into another scene to be able to use it without all the clutter of all the objects it’s using coming along and filling the outliner.

Testing Extra Lights addon:

All light is from emission under the cabinets, 1 area light in the fixture and 6 point lights over the chandelier. HDRI light outside the window is practically irrelevant.

Chandelier from polyhaven: https://polyhaven.com/a/Chandelier_03

Scene from blendswap: https://blendswap.com/blend/5156


004 2x.exr (1.7 MB)

2 Likes


https://archive3d.net/?a=download&id=c213eff0 + blendswap + polyhaven + 3dtextures.me
canopy.blend (3.5 MB)

4 Likes

Original object from https://archive3d.net/?a=download&id=b650ec98
image

Enhance!


image
image
image
image
image

Final

5 Likes


4 Likes

image

1 Like

1 Like


2 Likes


… damned colorblindness…

6 Likes

GN ceiling lamp.blend (174.4 KB)

image


2 Likes